


How to Make a Perfect 2-Loop Bow (2 Methods)
To some, it's no big deal. For others, a total mystery! How to tie a bow that looks beautiful!I happen to be a bow tying enthusiast and here is my favorite classic 2-loop bow. It's an easy way to make any project look more polished and PRETTY!There are a lot of people who use the "bunny ears" method to tie a 2-loop bow. Yet with just a bit of patience and attention to detail, you can graduate to a big person bow tying technique. I'll show you here!If you want a more permanent bow solution, you'll love the second method I share below. It's a sewn 2-loop bow that will make any gift or project look AMAZING!If you want to SEW a perfect bow, check out my other projects here on HomeTalk.
First, here are your supplies to gather:
- Ribbon
- Scissors
- Box
- Basic Sewing Supplies (for 2nd Method)
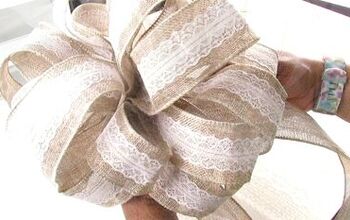
Here, you see my method to tie a 2-loop bow. You can use either wired or, as I show, unwired ribbon and they both look fantastic!

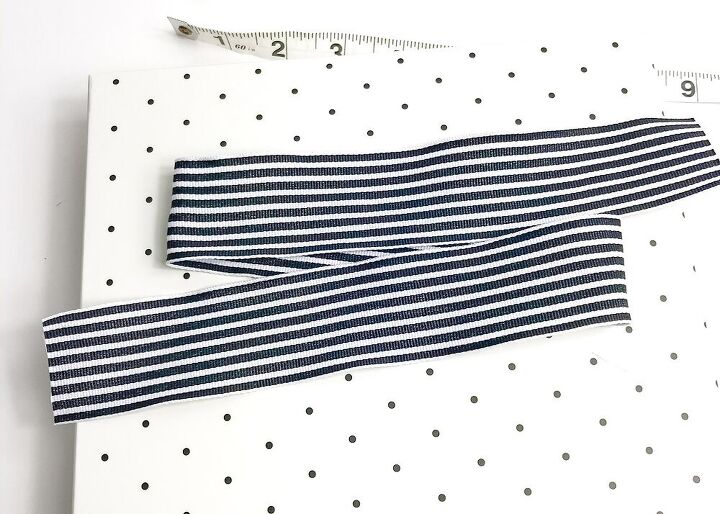
Measure the perimeter of the box. Add 2″ to this measurement for the back seam. Add another 1 1/2″ or more again for the front loop. If your ribbon is over 2″ thick, then you may want to add 2″ for your front loop.
So the equation looks like this:
Perimeter + 2″ + 1 1/2″ = Length to cut*Add 1/2″ if your ribbon is over 2″ wide. Remember this number!
Cut your ribbon to this length.
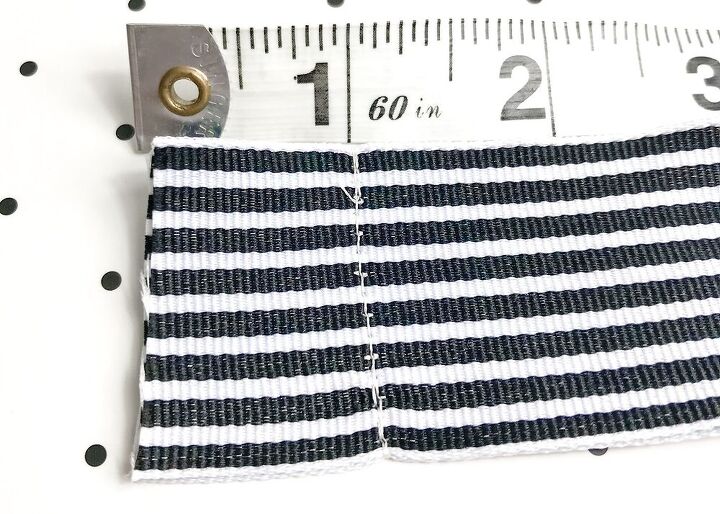
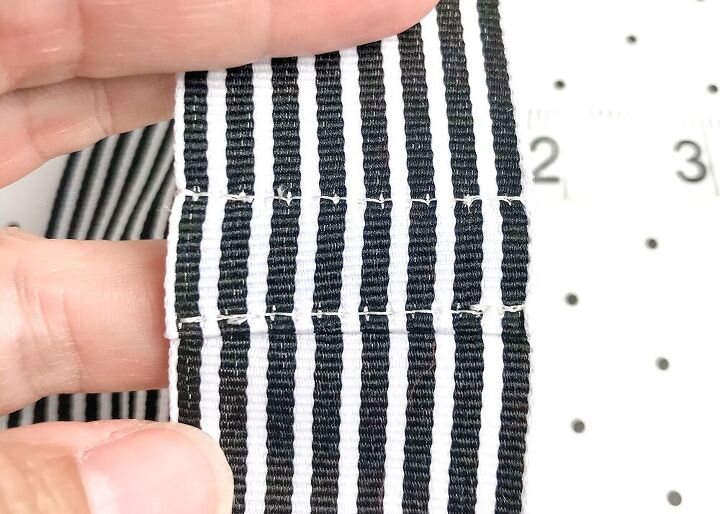
Stitch the ends together leaving 1″ seam allowance.Note, if your ribbon has a right and wrong side, then the make sure the wrong sides are together, which means you see the right sides!
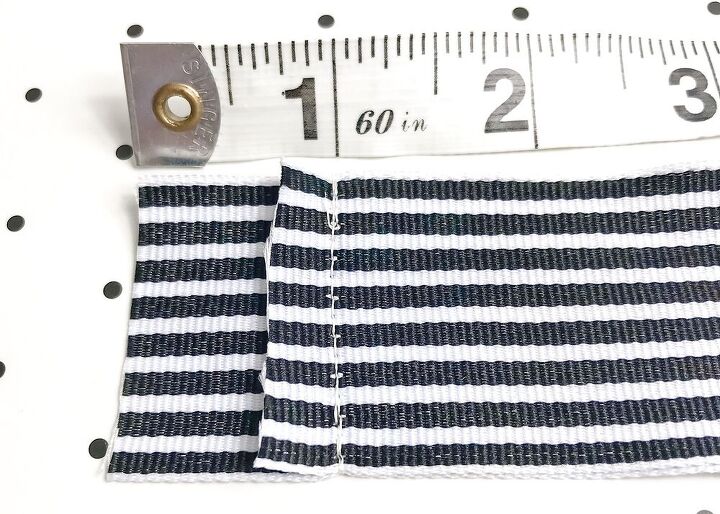
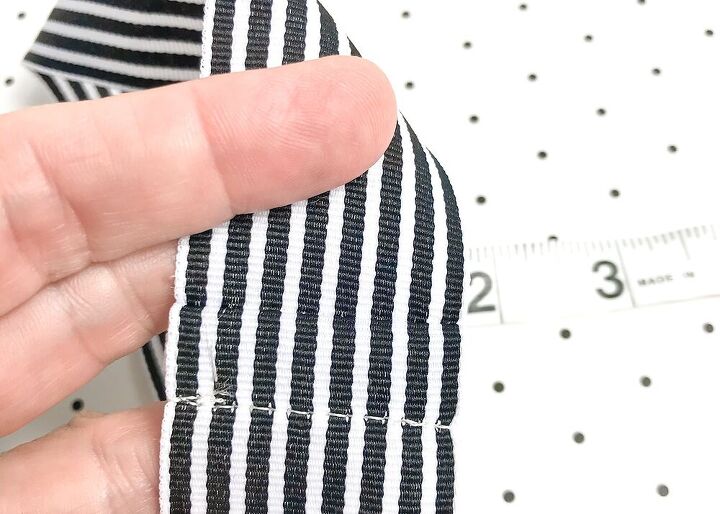
Trim one of the ends, leaving only about 1/4″ seam allowance.
Fold long end over short to meet the seam.
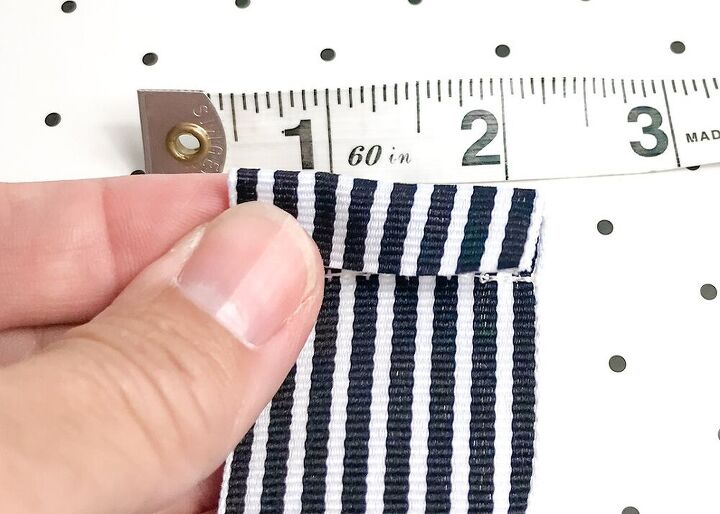
Pin in place.
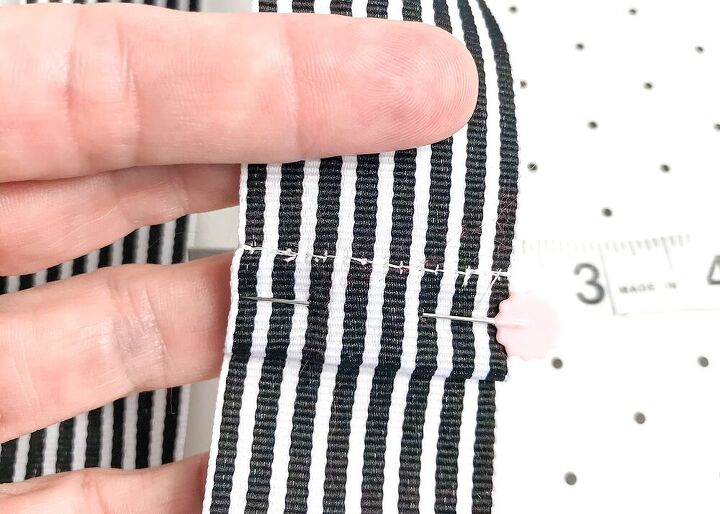
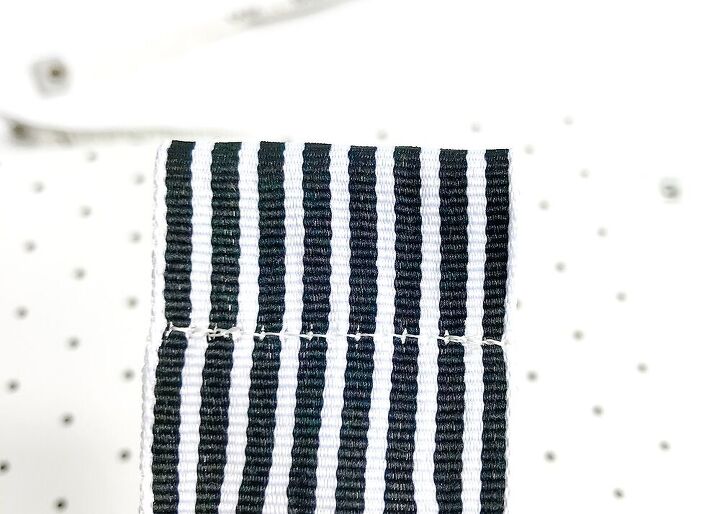
Open up the big loop of ribbon and edge stitch this fold to one side. This means to stitch the flap down just on the inside of the fold edge.
This is how the back side looks.
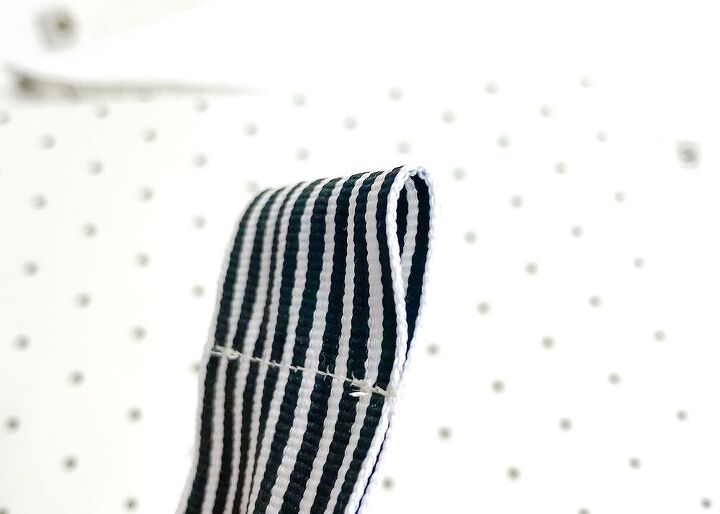
Fold the big loop in half, with the flat felled seam on one side.Take HALF of the front loop measurement you used in your equation above and stitch with that much seam allowance. So if you used the suggested 1 1/2″, then the seam allowance here is 3/4″. If you made it bigger because your ribbon is over 2″ wide, then you have a 1″ seam allowance when you stitch this loop.
This is how it looks from the side.
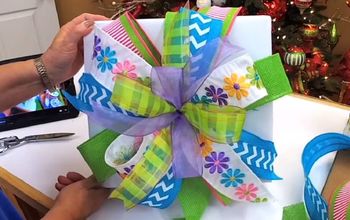
Layout another piece of the ribbon on your box and decide how wide you want the bow to be. Fold over the length again two times leaving about 2″ extra on each end. This is easier to understand in the picture.
Fold the ends of each third in and pull through the loop you sewed above.
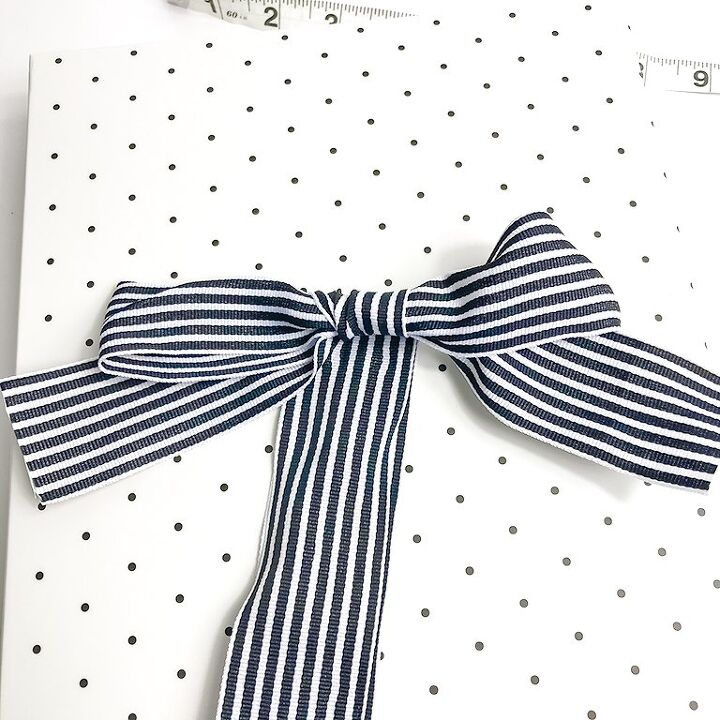
Pull the ends out to extend about 2″ each. Don’t worry about making it pretty yet.
Slide the big loop around your box. Yes, it will be very snug so just be gentle and patient.
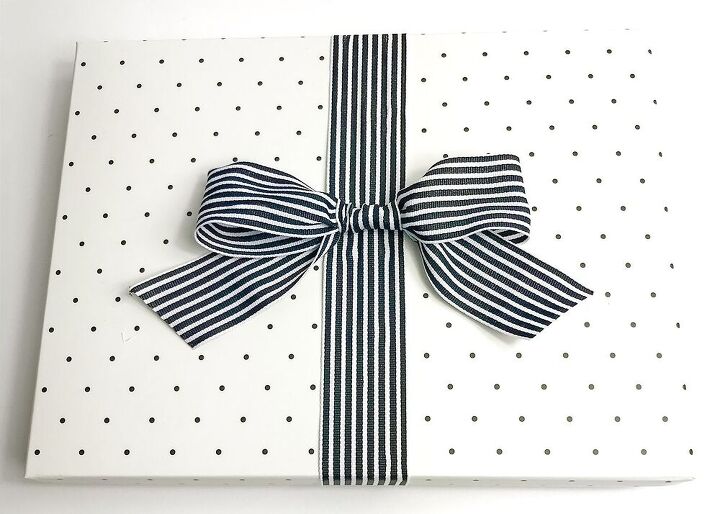
Now make it pretty! Tidy up the loops and trim the ends to be symmetrical.
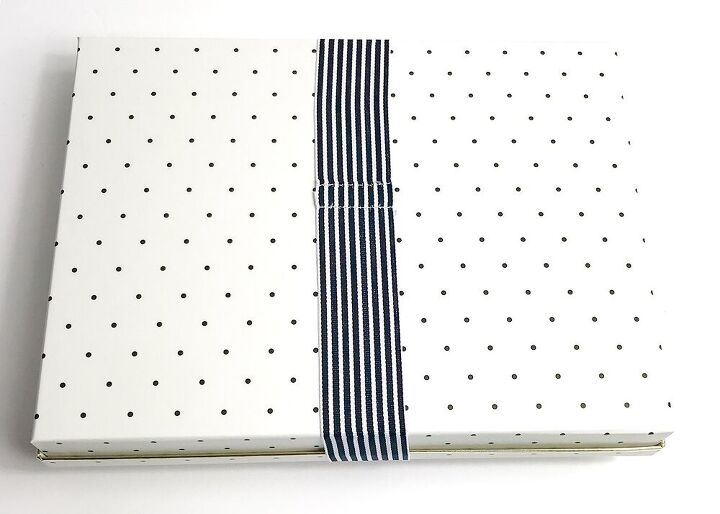
This is how the back will look. Isn’t it so professional looking!
Voila! You have the most beautiful Pinterest perfect bow anyone has ever made! And you did it!!
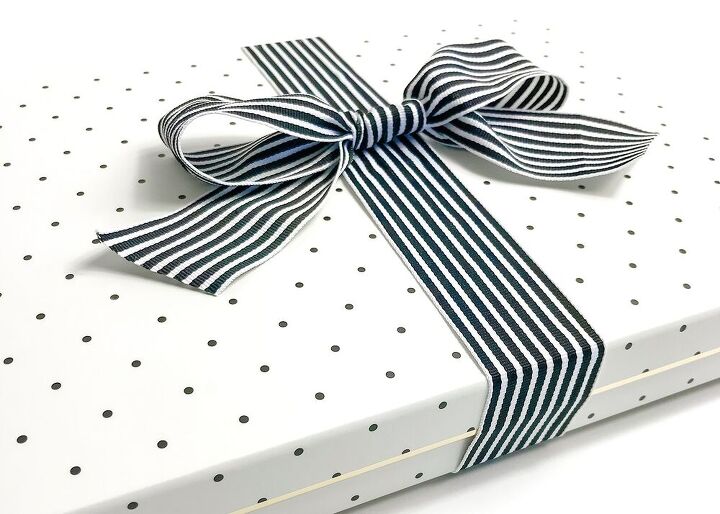
Nobody will believe that you MADE this bow! If you're all about saving waste, making a beautiful gift presentation like this is just one perfect solution. It can be reused in so many ways and is so pretty that your gift recipients won't throw it in the garbage!
Great job!
I hope you enjoyed this tutorial and visit my page (follow!) to see all of my HomeTalk posts!Btw, you can also find me on FoodTalkDaily and (soon) on UpStyleDaily as well!Have fun creating! XOXO, Ali.


Frequently asked questions
Have a question about this project?