


DIY Wooden Finial Ornaments

by | Nov 25, 2021 | Decorating, DIY, Handmade |

In this post I am sharing how to make DIY wooden finial ornaments. It’s a fun and easy project that is perfect for the holidays.
On a recent trip to Maine, I had the great fortune of stumbling upon an old woodworking shop which has been in the same family for several generations. Inside the shop was an entire room devoted to turned pieces of wood that were “seconds”. These pieces were in perfect condition but could not be sold as initially intended or used due a number of factors. For example, a customer may have changed their mind about the design wanted. Or the shop may have inadvertently carved the piece of wood incorrectly.
In this shop, I found about 12 wooden finials that had never been used. At the time, I wasn’t sure how I would use them but I purchased them on a whim and decided I would figure out what to do with them in the future.
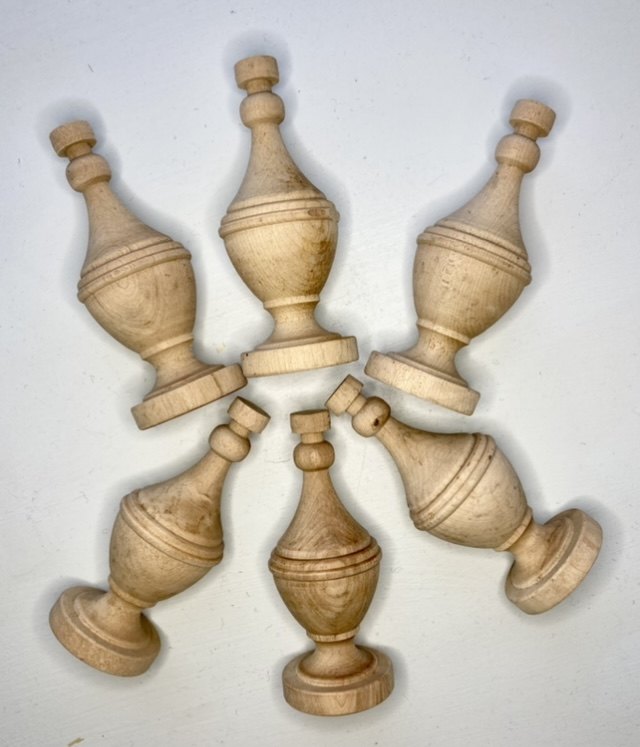
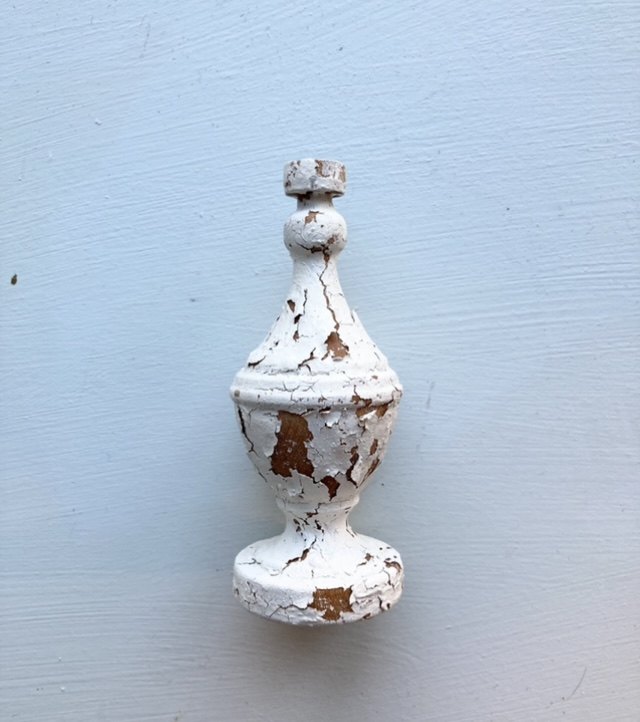
Some of the wooden finials found at the workshop in Maine
You don’t have to go to a woodworking shop to find finials. They are also available at architectural salvage stores, on Ebay, on Etsy and even at the occasional yard sale.
Now, you all know how much I love to use milk paint on old furniture because it imparts character and texture that modern day paints don’t. Specifically, milk paint crackles, chips and layers in a way that looks as if it had been applied decades earlier. I talked about why I use milk paint in this post HERE.
So, for this project I decided to paint the finials with milk paint and then attach some vintage ribbon to them.
Supplies Needed
Here is a list of some basic supplies you will need for this project.
- old wooden finials
- milk paint- I used MMS Milk Paint but Shackteau Milk Paint and Sweet Pickins Milk Paint are also good
- a small brush
- Howards Feed-n-Wax
- screw eyes
- a drill
- a small drill bit to install the screw eyes
- ribbon (I used vintage ribbon but any ribbon will work)
Prepare the Finials
The first thing I did was clean the finials. They were dirty from sitting in the shop for years and had collected a fair amount of dirt and sawdust. I scrubbed them in the sink and let them dry overnight.
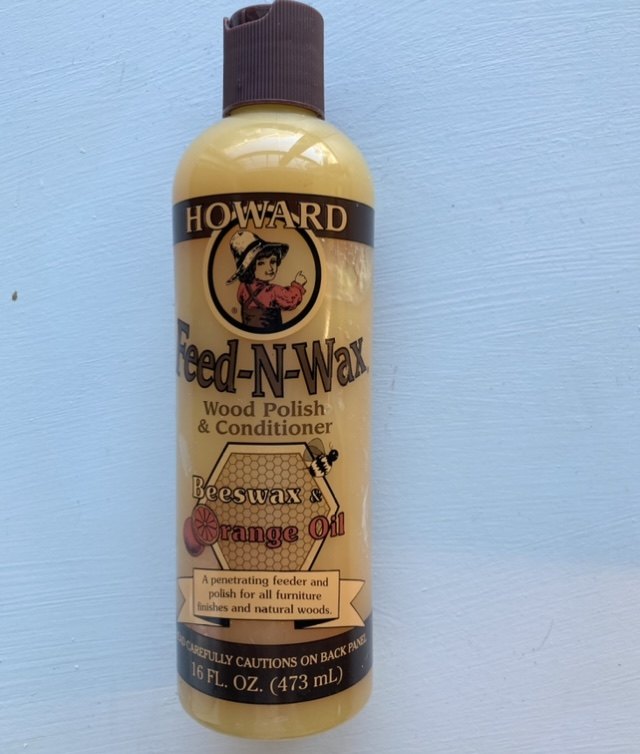
Howards Feed-n-Wax
The finials were raw wood and I knew that milk paint would readily soak into the pores of the wood. Since I was after a distressed, chippy finish for the finials – I decided to create a “resist” surface on the finials. This resist would ensure that I would get the textured look that I wanted from the paint for the finials.
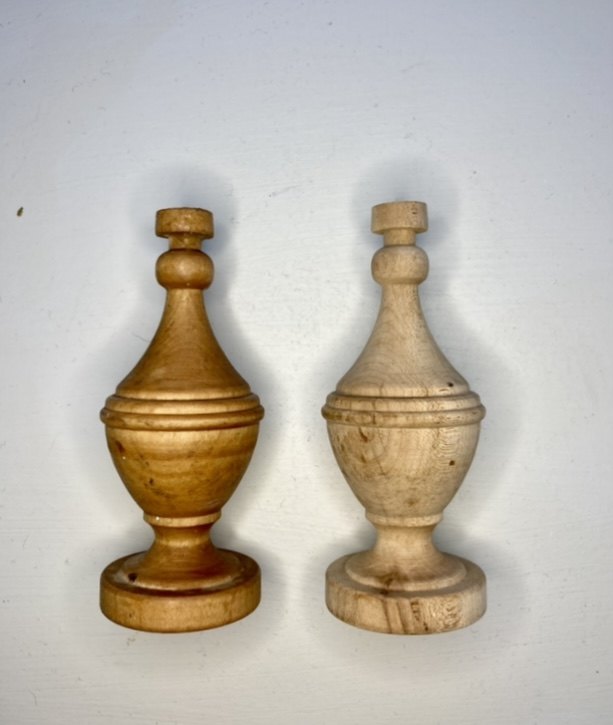
Finial on the left treated with a resist
After the finials were clean and dry, I applied a small amount of Feed-n-Wax to them. I used about a nickel sized amount of the wax on each finial. The photo above shows where the finial on the left has been treated with a resist (Howard’s Feed n Wax) while the finial on the right has not.
A note of caution – do not apply too much of a resist! If the piece of wood is treated too heavily with a resist then the paint will not adhere.
Paint the Wooden Finial Ornaments
The next step is to apply the milk paint to the finials. I applied two coats of paint and I helped each coat dry quickly by using a hair dryer.
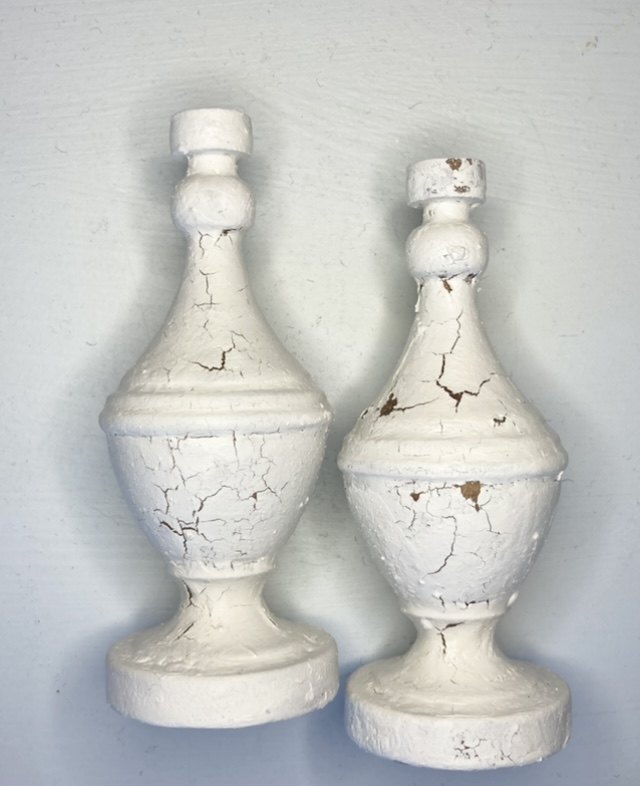
Two Wooden Finials Painted with Milk Paint
The photo above shows how two of the two wooden finials looked after applying the milk paint. I was happy with the crackled and chippy affect! This is what I was hoping for since I wanted the finials to have character.
Remember when I said to be careful in applying the resist?
Too much of a resist was applied to this finial
The photo above shows what happens when I applied too much of the Howard’s Feed-n-Wax. There was too much of a resist on the surface of the wood so the paint didn’t adhere and was literally falling off the finial.
Make the Wooden Finial Ornaments
Next we make the ornaments using our painted finials!
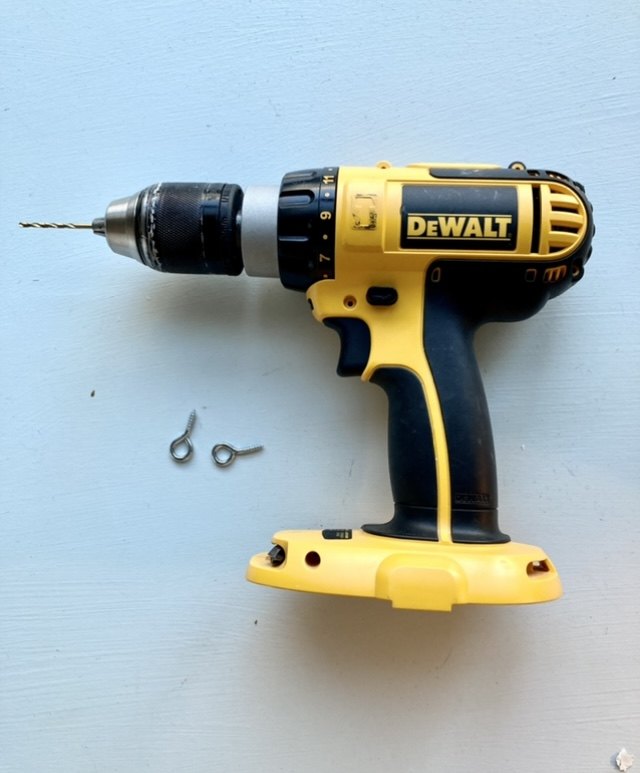
Use the drill to install screw eyes on each finial
My preference was to hang the finials upside down so that the pointed part was facing toward the ground and the wider flat part was at the top. I drilled holes into the center of each finial so I could attach the screw eyes.
Then, I cut some ribbon to thread through each screw eye. After tying a knot to secure the two ends of ribbon together, the finial was ready to hang.
For fun, I embellished the top of each ornament with a little bit of greenery.
DIY Wooden Finial Ornaments
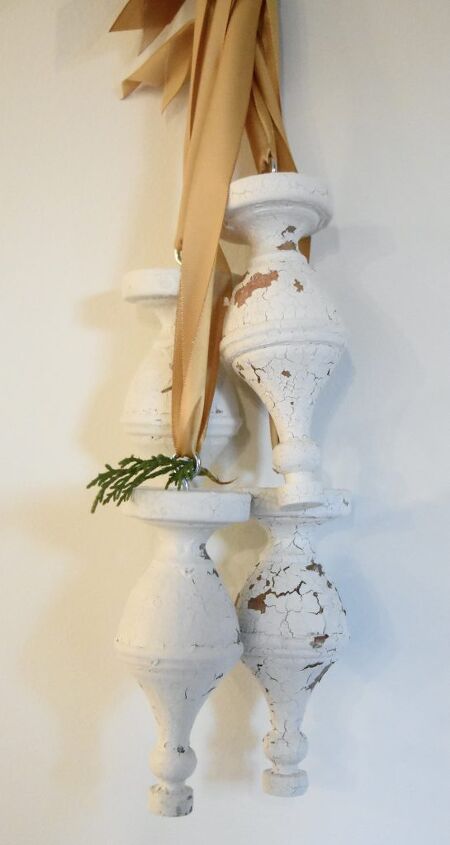
DIY Wooden Finial Ornaments
The photo above shows how the wooden finial ornaments look after being painted and hung up.
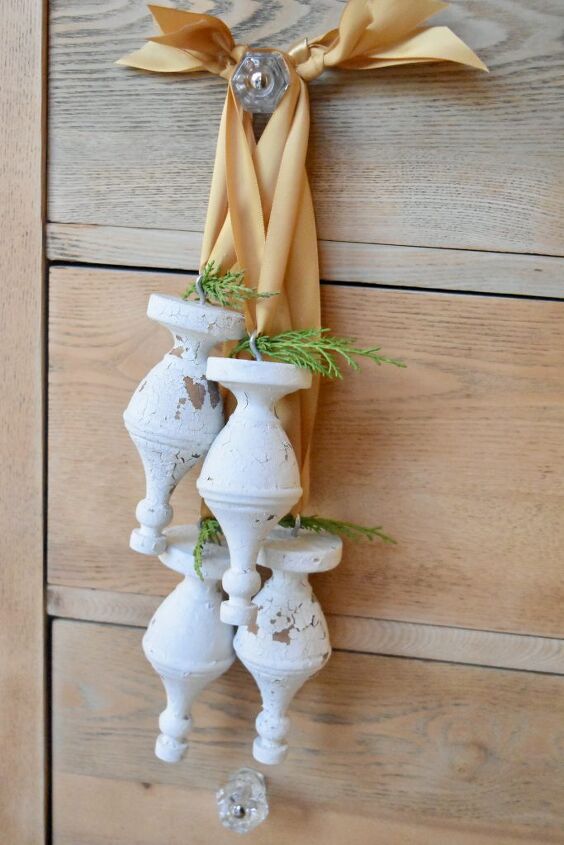
DIY Wooden Finial Ornaments
Here is another photo of the finials and this one shows how greenery was added to the tops. I just tucked in little sprigs of evergreens for a festive look.
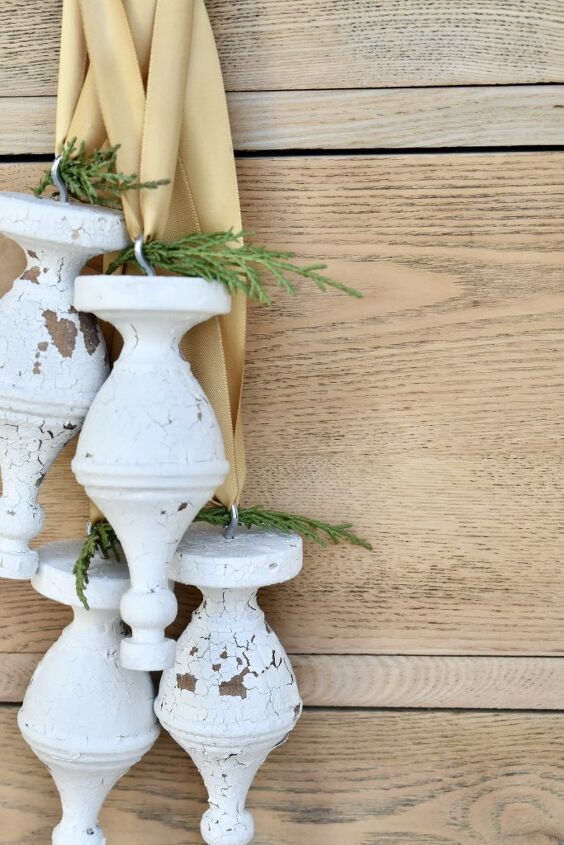
A close-up of the wooden finial ornaments
Here is one last photo with a close-up of the DIY wooden finial ornaments so you can see how the use of a resist and milk paint created a crackled and chippy texture.
Have fun making your own wooden finial ornaments! It’s a perfect project for this time of year. If you make some finial ornaments, please send me a photo via email or on Instagram!
← Previous
Next →
Subscribe To Our Newsletter
Join our mailing list to receive the latest news and updates from our team.
You have Successfully Subscribed!
Recent Posts
- Easy Paper Snowflakes
- Reflections on the Holiday Season
- Easy Christmas Crafts with Paper
- Collecting Vintage Santa Mugs
- Holiday Booth Refresh 2021
Comments
Join the conversation
-
Hi, these look great but more weather-worn and beachy to me than Christmasy, but for me, that is a good thing! I can see you having lots of fun changing out the additions for different holidays throughout the year.
I live in Mid-Coast Maine (lucky me) and would love to know where the woodworking shop is that you visited and bought these finials from, it sounds like the kind of place I enjoy exploring. Thanks and Merry Merry.
-
Hi Alice! Thanks for your comment. I love mid coast Maine. The wood working shop was located near Biddeford. It was a fun place to explore. Merry merry to you too.


Frequently asked questions
Have a question about this project?
Where do you find these finials?