


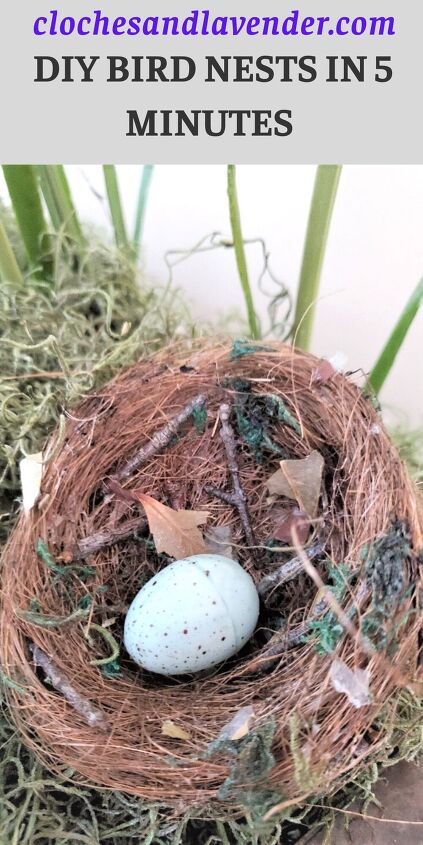
DIY Bird Nests in 5 Minutes
Welcome to Cloches and Lavender where I share crafts, DIY's and decorating ideas.
DIY bird nests in 5 minutes, a nest is especially good for early spring decorating. Wouldn’t it be great to learn an easy way to make these and in 5 minutes? Well, today I am going to share how truly easy this gathering spot for birds is to make.
Today, I am sharing my first spring project. The days are a getting tad longer have you been noticing.
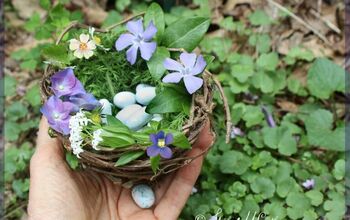
DIY bird nests is particularly pretty to nestle into a centerpiece add to a cloche, books stacked inside an ironstone dish or use in a vignette on your table.
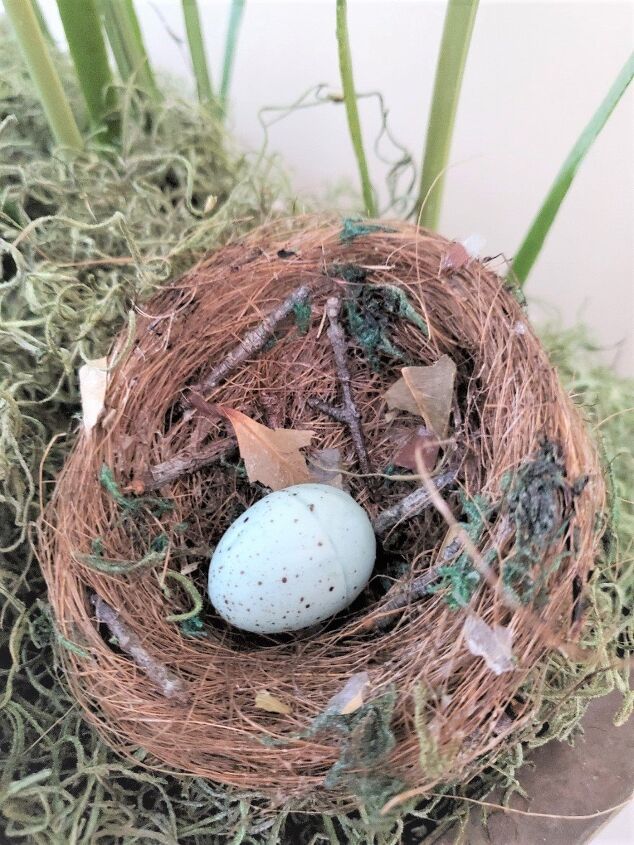
Also, adding a small egg, a found feather or even leaving them empty is pretty from spring through summer when birds are active.
Items Needed:
- bird nests as seen below or Spanish moss
- sticks you find in your yard
- green moss
- spray adhesive
- leaves you find
- rubber gloves
Forming the Nest with Spray Adhesive to Get the Correct Shape
Here for the DIY bird nests, I did purchase these forms on Factory Direct Crafts. These come in a set of six.
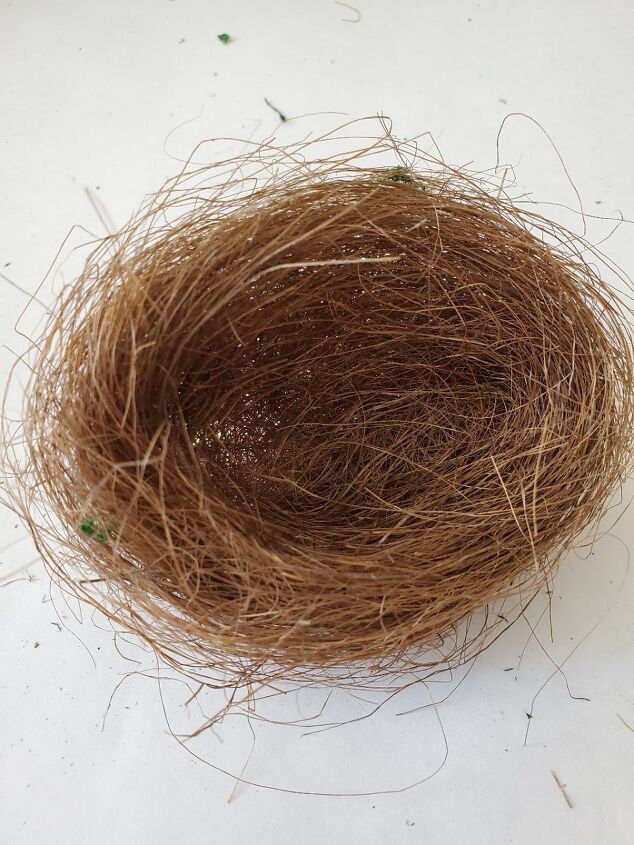
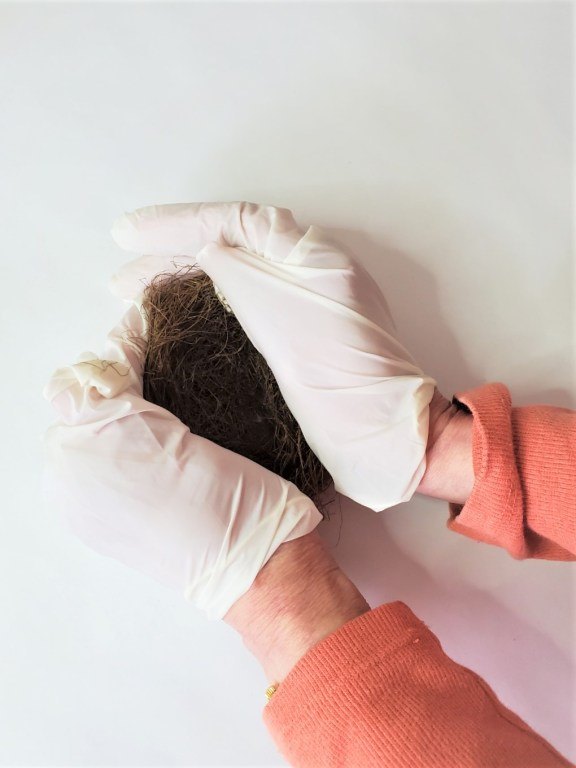
So then, because the nests were loss, I spray with spray adhesive to make them stiffer and also began forming a better shape.
By the way, I advise doing this DIY project outside but because it snowed and is cold in NJ, I did this out my office window. I simply hung my nest outside the window to spray with adhesive.
*As an Amazon Associate, I earn from qualifying purchases*
This post and photos may contain Amazon or other affiliate links. As an Amazon Associate I earn from qualifying purchases. If you purchase something through any link, I may receive a small commission at no extra charge to you. All opinions are my own.
Also, I recommend wearing gloves and be prepared, the nest will be beyond sticky.
My neighbors must have gotten a great laugh of this women hanging her hands outside a window while spraying an object.
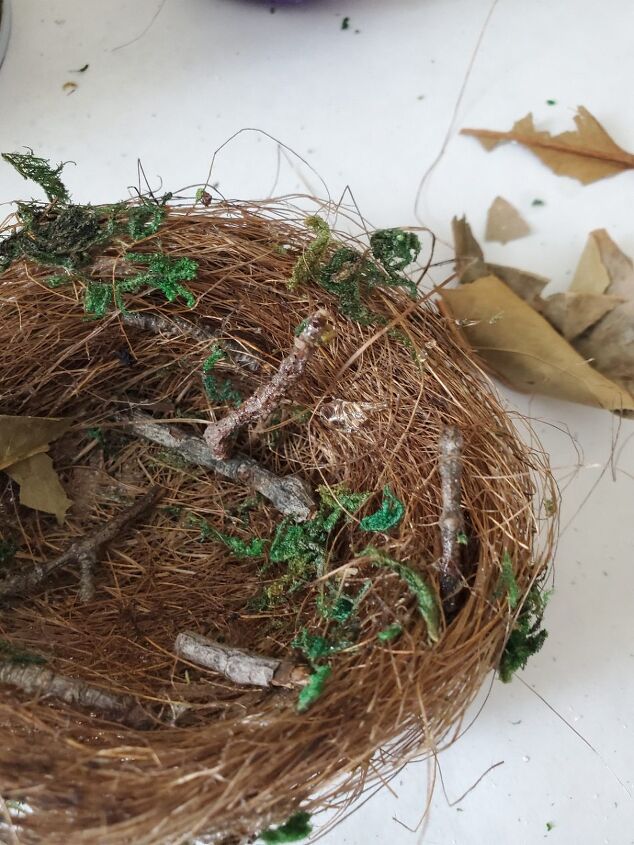
Adding Sticks, Leaves and Moss to the Spray Adhesive for a More Realistic Appearance
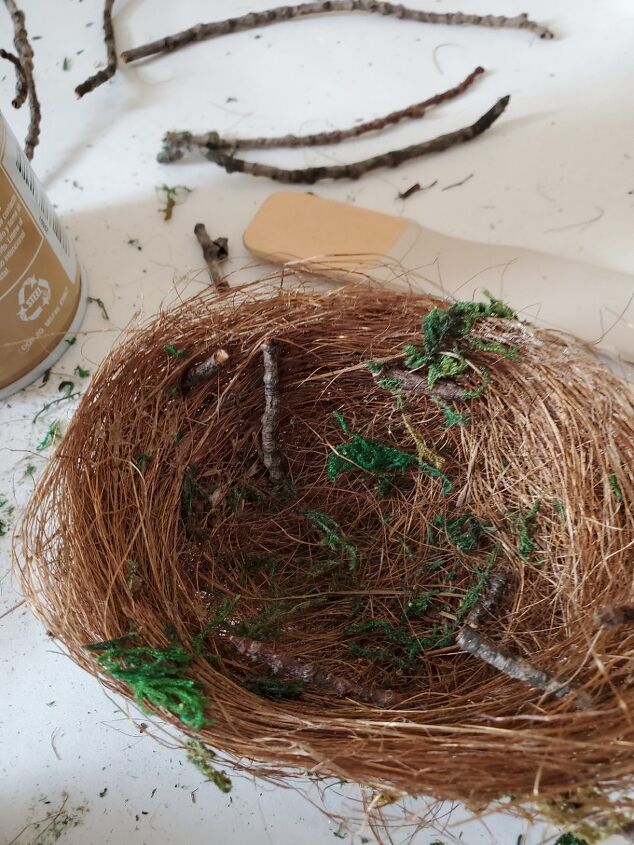
After, I have the correct shape, and the spray adhesive is still very tacky I add pieces of sticks from my yard.

Next, I began adding the sticks to my handmade bird nests. Also, this is a great time to begin adding them to the exterior and interior of the nests for more texture and a realistic look.
Besides getting the shape I speak about above; I also did take advantage of the spray being sticky.
This specifically helps keep the sticks stable as I add them in other areas of the DIY bird nests.
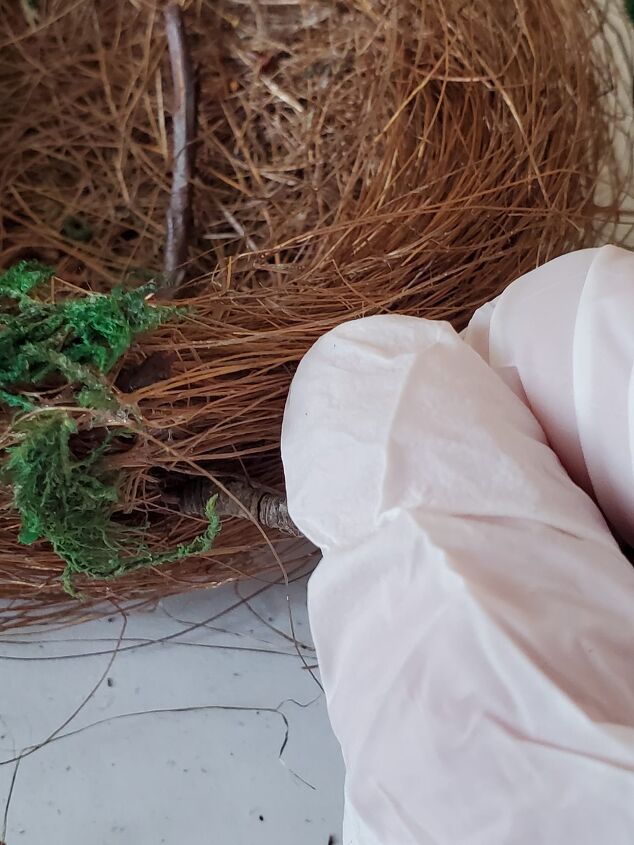
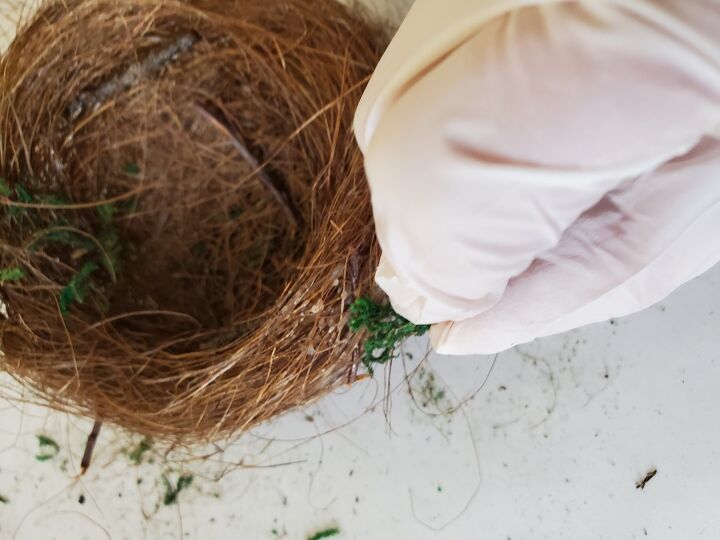
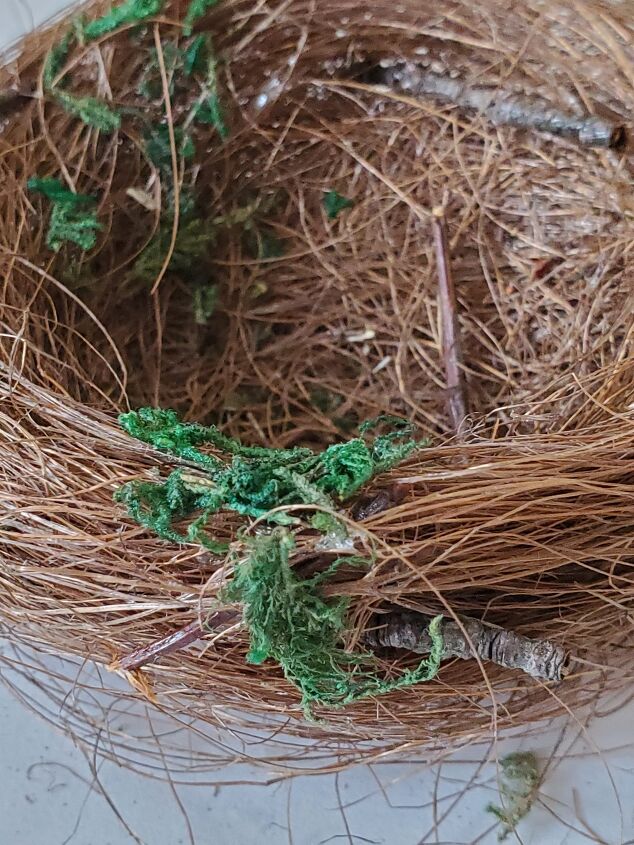
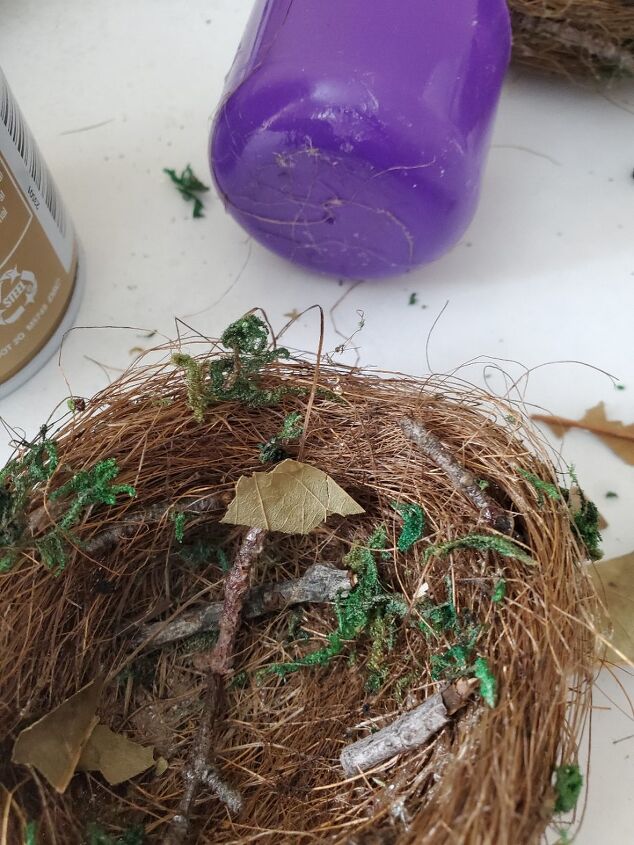
Finally, I add spray adhesive in spots and place green moss for more texture to my craft project.
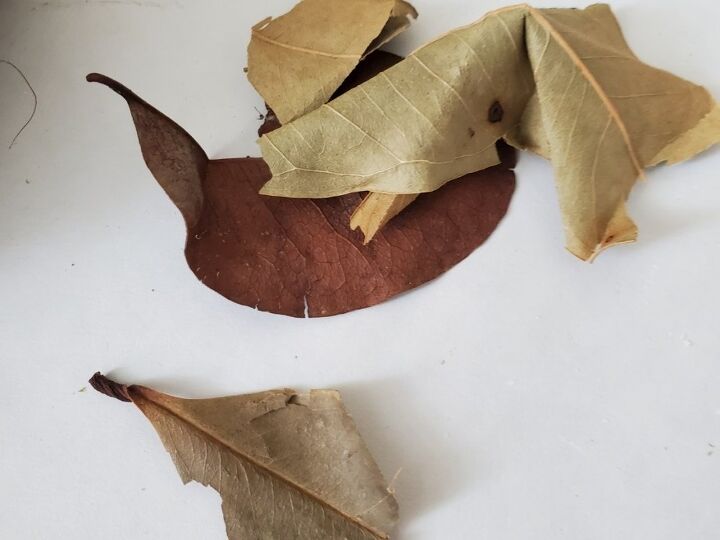
After adding the moss, I also added pieces of leaves that I found in our yard. This is an easy quick step and will truly take moments to accomplish.
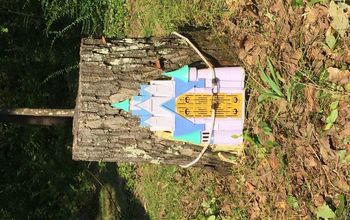
Placing my nest and egg resting inside a centerpiece I recently put together adds a piece of nature with its Robin’s egg.
As I begin decorating for spring, I will share a couple more nests I created.
Incidentally, I look forward to sharing this centerpiece with you during a Spring hop taking place on February 23rd. We will be sharing centerpieces, crafts and DIYs for spring.
Also, I hope this inspires you to give this DIY bird nests in 5 minutes a try for your decorating. Remember Pinning is always appreciated from Cloches & Lavender.
Do you enjoy decorating with nests and natural elements? I’d love for you to leave a comment letting me know.

PIN IT TO REMEMBER IT FOR INSPIRATION!


Frequently asked questions
Have a question about this project?