


Fall Centerpiece
by
Min30088854
5 Materials
$6
15 Minutes
Easy
I always envied those super pretty centerpieces and kept telling myself that one day I'd make one. Well, I finally did it!
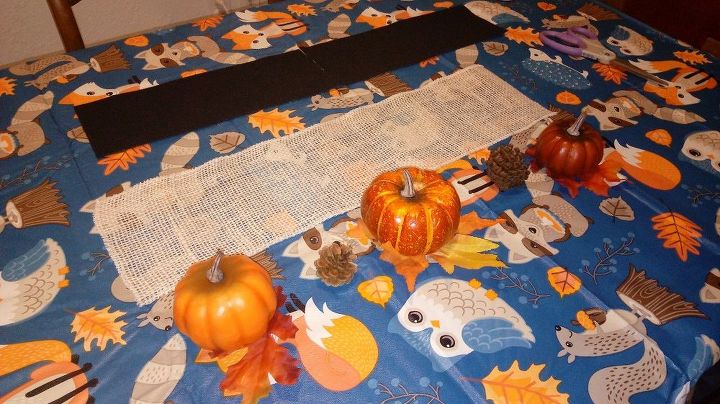
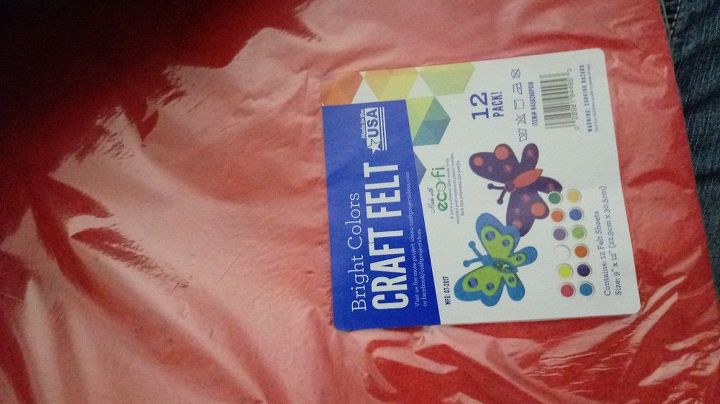
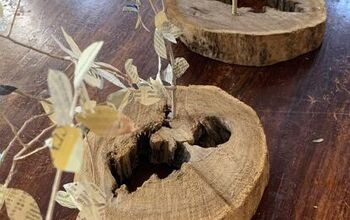
Lay out all your pieces. I got the little bag of pumpkins, leaves and pinecones from Wal-Mart for about $3. The felt (black) is one sheet cut down the middle lengthwise (hot dog style). The felt I used is shown below and that cost about $2, also from Wal-Mart.
Sorry I don't have a picture for this step. Whoops! Anyway, after cutting your felt, line up your 2 pieces end to end. Lay your burlap strip on top and trim off any excess (if any) so the felt and burlap are the same size. The felt is only there to make it easier to glue the pumpkins and things on top of the burlap since it will go right through it otherwise.

Since I didnt get proper pictures, I had to wing it and make one. So pretend this is your rectangle felt pieces butted up end-to-end. The green is where I applied the hot glue. Gently and carefully lay your burlap in place on top of your felt and hot glue. The, gently press NEXT TO your hot glue so you don't burn yourself but it still gets pressed into place.
Again, no photo. Yup, I'm terrible.
Mark your center with an X of hot glue and stick a leaf on it. Then put a circle of hot glue on the bottom of a pumpkin and stick that on top of your leaf. Do the same for the other leaves and pumpkins. I also used the circle method for the pinecones.
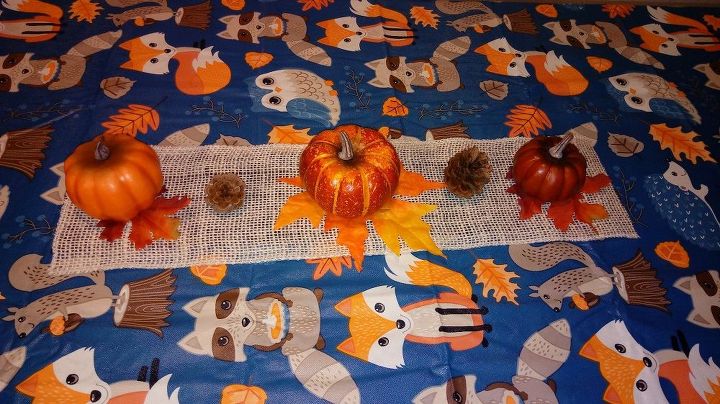
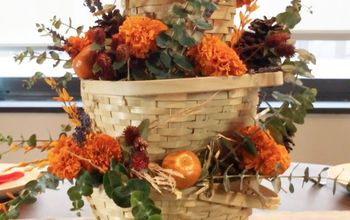
Here's my finished project!
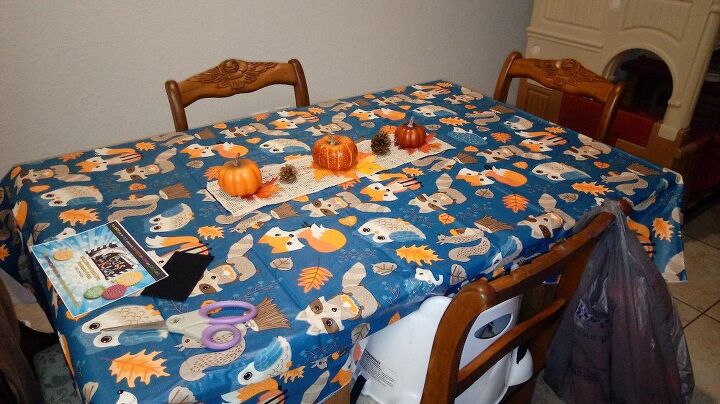
It looks great with my new table cloth! Also from Wal-Mart for about $3 in case you're wondering.


Any price and availability information displayed on [relevant Amazon Site(s), as applicable] at the time of purchase will apply to the purchase of this product.
Hometalk may collect a small share of sales from the links on this page.More info

 Love it!


Frequently asked questions
Have a question about this project?