


How To Create a "Hey There Pumpkin Doormat": Easy DIY Fall Porch Decor

Autumn has knocked on our doors, and it's time to answer with open arms and explore some exciting DIY ideas for fall.
Today, I'm thrilled to guide you through the process of making your very own Hey There Pumpkin Doormat.
So, let's roll up our sleeves, grab our tools, and embark on this creative journey that adds a charming touch to your autumn porch decor.
This post was transcribed by a member of the Hometalk editorial team from the original HometalkTV episode.
Tools and Materials:
Hometalk may receive a small affiliate commission from purchases made via Amazon links in this article but at no cost to you.
1. Print Your Design
Here's my step-by-step guide on how to print your DIY stencil:
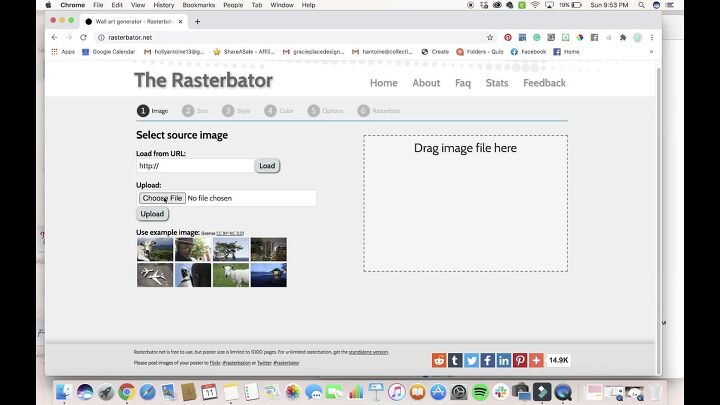
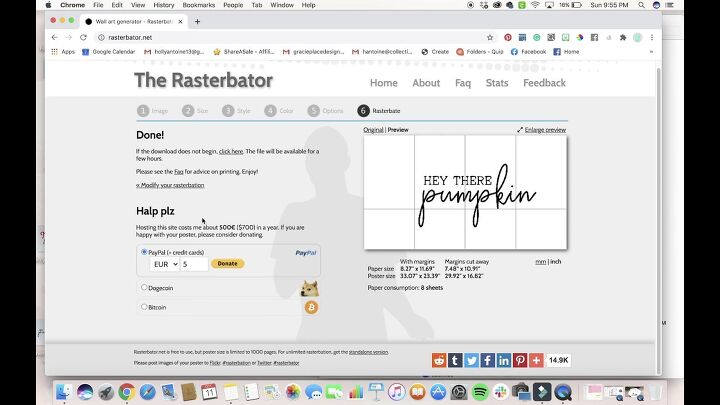
Visit this website to create your stencil.
Locate and click on the "Create Your Poster" option and upload the image you want to use for your stencil. This image may be a pre-designed template or one you've customized using a tool like PicMonkey.
Click the "Upload" button to initiate the image processing.
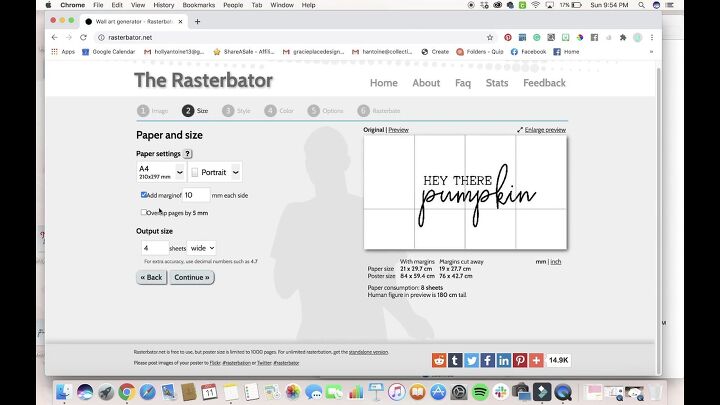
After processing, the image will appear on your screen, segmented into separate printing pages. Verify the image's dimensions, which can be displayed in either centimeters or inches, depending on your preference.
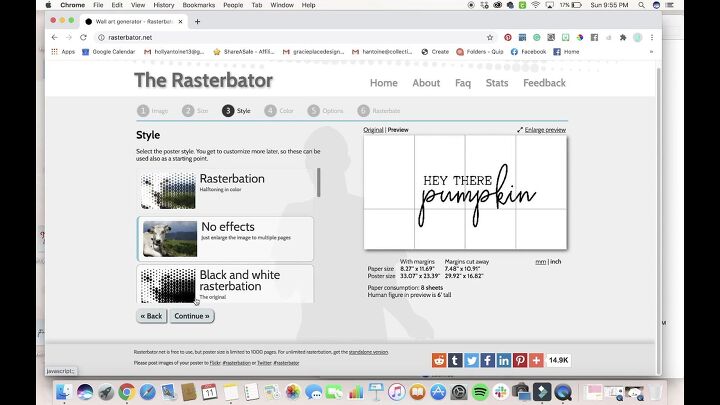
Select the option for "No Effects" to ensure the stencil remains true to your design. Then, click the "Continue" button to proceed to the next step.
On the following screen, known as "Configurate," make any necessary adjustments to fine-tune your stencil's settings.
Once your stencil is configured to your satisfaction, click the "Continue" button to proceed.
The website will now automatically download your stencil image to your computer. You'll find it in your "Downloads" folder, typically in the bottom left corner of your screen.
Locate the downloaded stencil image and double-click to open it. You're now ready to print your stencil. Use the options available on the PDF print screen to select your desired settings and print the stencil as needed.
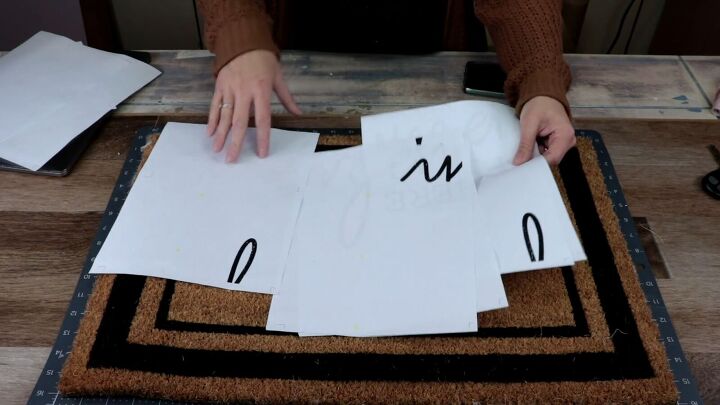
2. Assemble Your Design
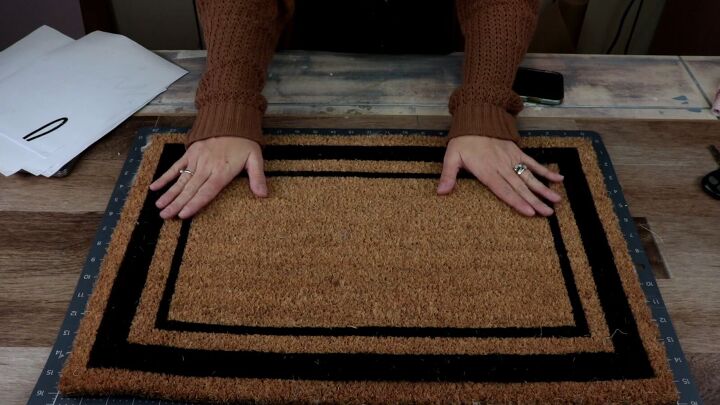
Begin with a plain coir doormat that already has a border.
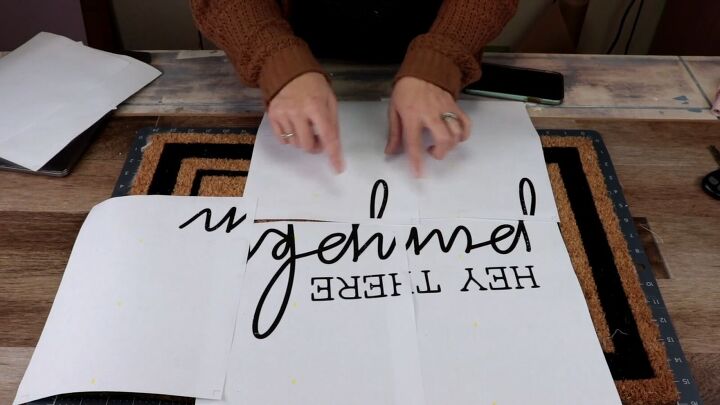
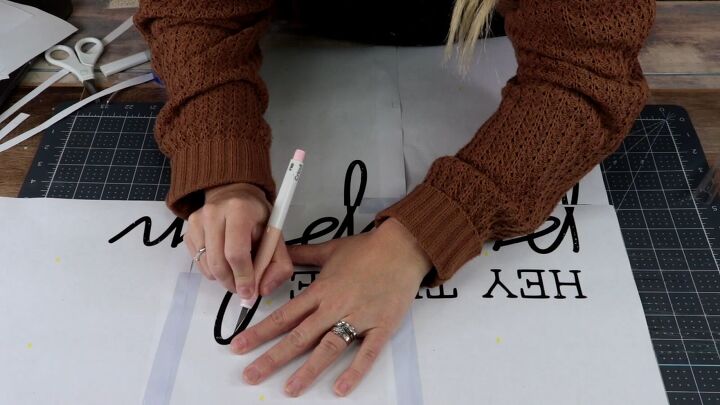
Ensure your design fits your doormat perfectly.
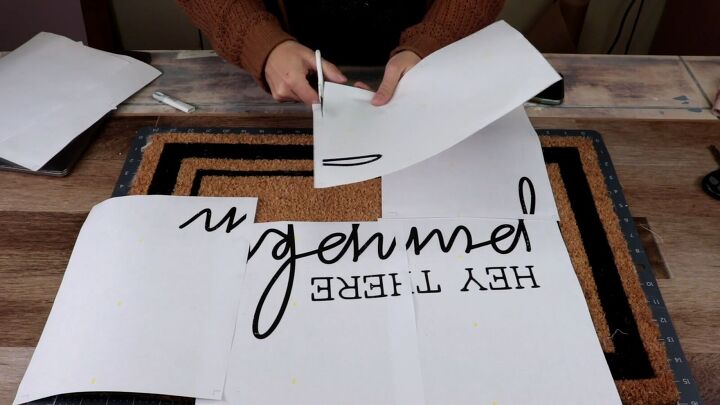
Trim off any unnecessary borders from the printed images.
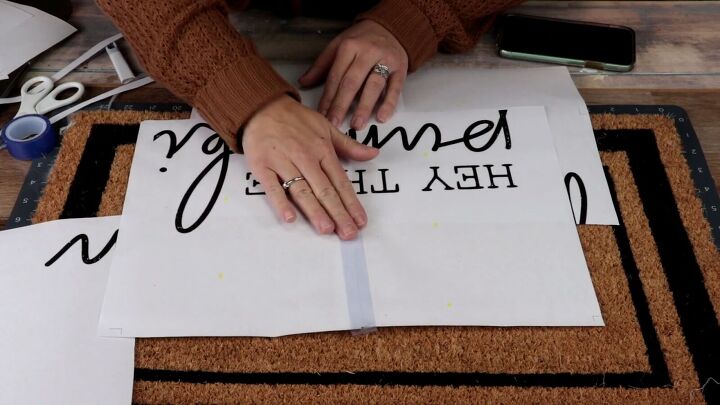
Use scotch tape to securely piece together your printed design, aligning it precisely for a clean outcome. Be meticulous while taping to ensure the design is uniform.
3. Cut Out Your Letters
With your design ready, carefully use an Exacto knife to cut out the letters.
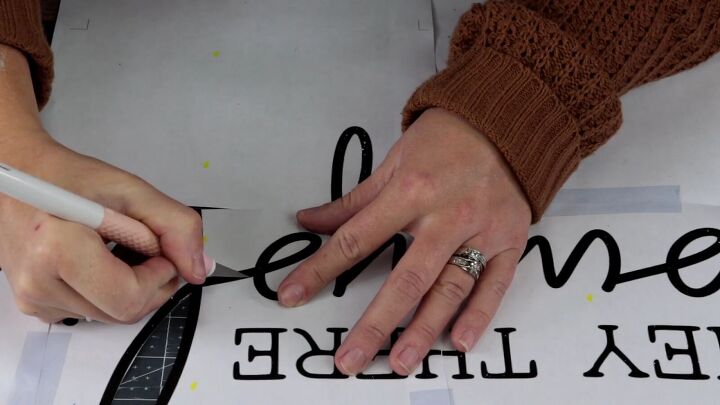
Pay extra attention to the middle portions of the letters as you'll need them for your stencil.
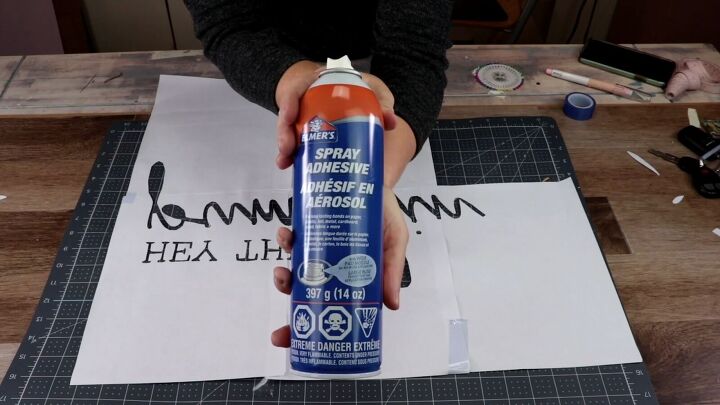
4. Apply Spray Adhesive
Spray the back of your design with adhesive. This extra step ensures your stencil sticks firmly to the doormat during the painting process.
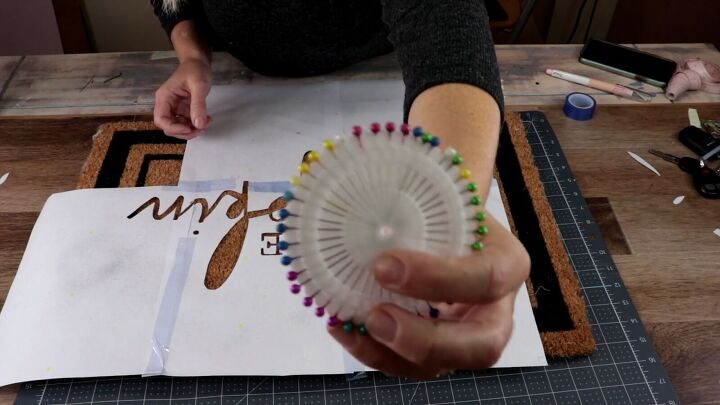
5. Secure the Design
Position your design on the doormat and use straight pins to hold it in place.

Make sure the pins are placed along the edges and securely fasten the middle parts of your design, like the K and P's.
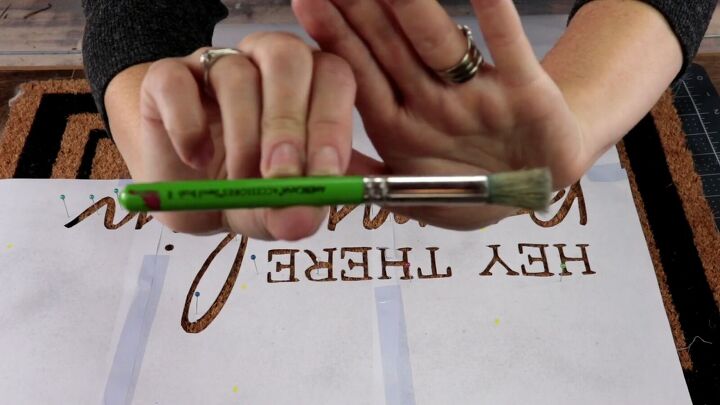
6. Start Painting
Now, it's time to add the pumpkin design to your doormat. Use a number 8 stenciling brush and dab it lightly in the black acrylic paint. Make sure to remove some of the excess paint.
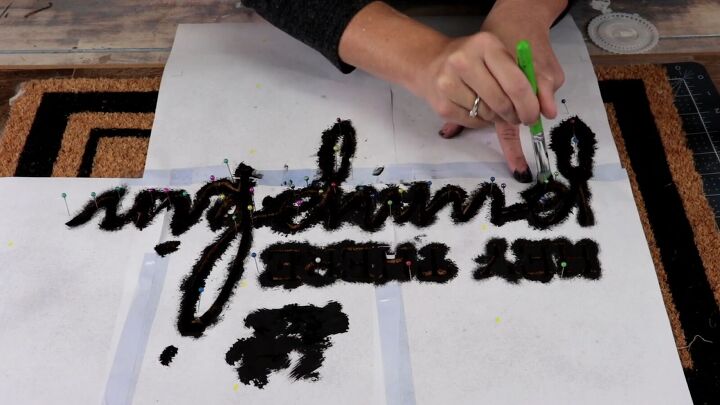
Ensure your brush is vertical, and apply paint with a straight, up and down pouncing motion.
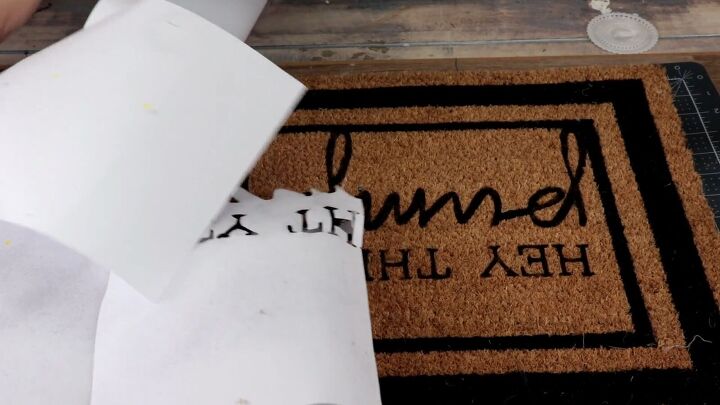
7. Remove the Stencil
Carefully remove the stencil to reveal your beautifully painted design.
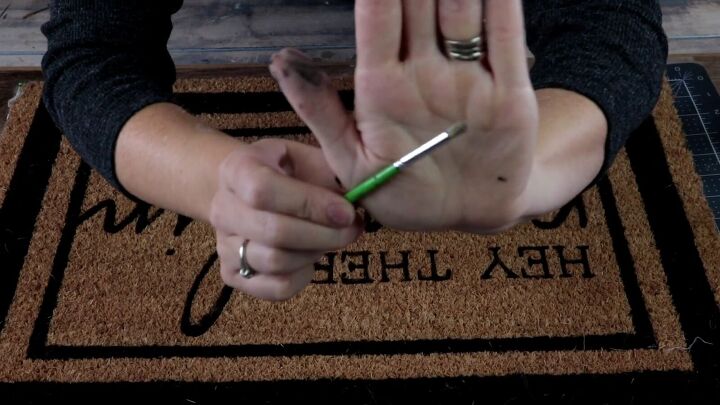
Touch up any light areas with a number 1 stencil brush using vertical strokes.
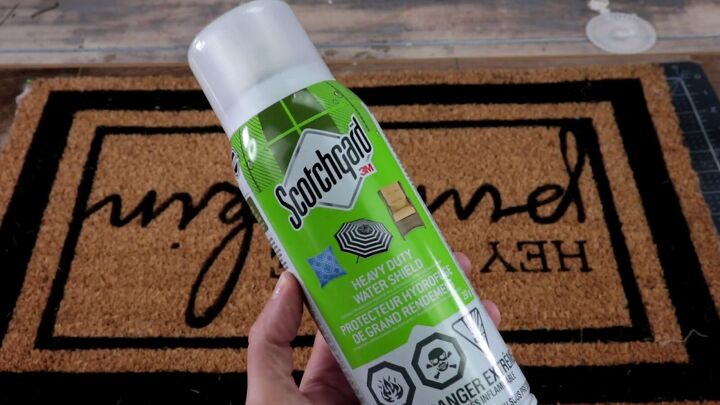
8. Seal Your Doormat
To protect your doormat from the elements, apply two coats of Scotchgard Heavy Duty Weather Shield. Let it dry for about 4 hours between coats.
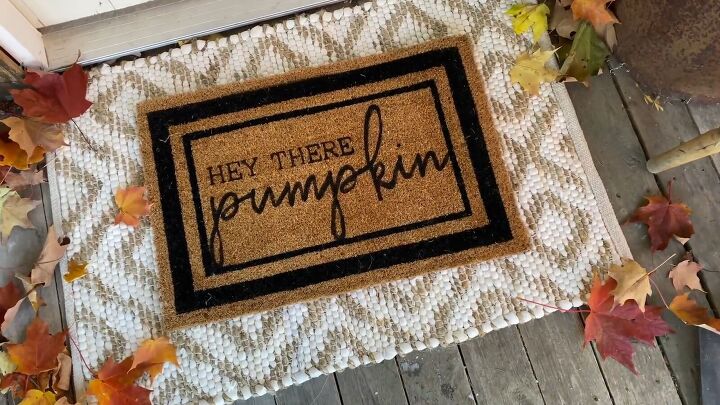
Hey There Pumpkin Doormat Tutorial
With your Hey There Pumpkin Doormat proudly displayed on your front porch, you've added a touch of seasonal charm that greets everyone with a warm welcome.
I hope you enjoyed this project and will give it a try. Remember to share your creations and ideas in the comments.


Frequently asked questions
Have a question about this project?