


How to Make a Garland
Here are all the details on How to Make a Garland, using regular brown craft paper, a simple leaf fall craft for you to try.
It’s actually super easy and inexpensive to make and I can’t wait for you to see the results.
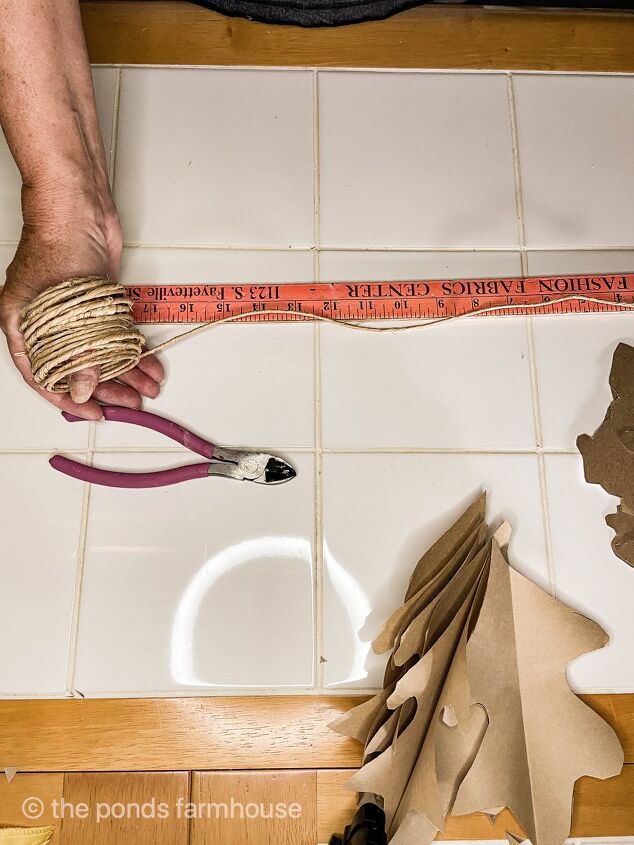
First, to begin this fall craft, you need to determine how long you want your garland to be.
I wanted a 6 ft. garland so I cut my Vine Wire 6 1/2 ft. This allows 3 inches on either end to use for attaching if needed.
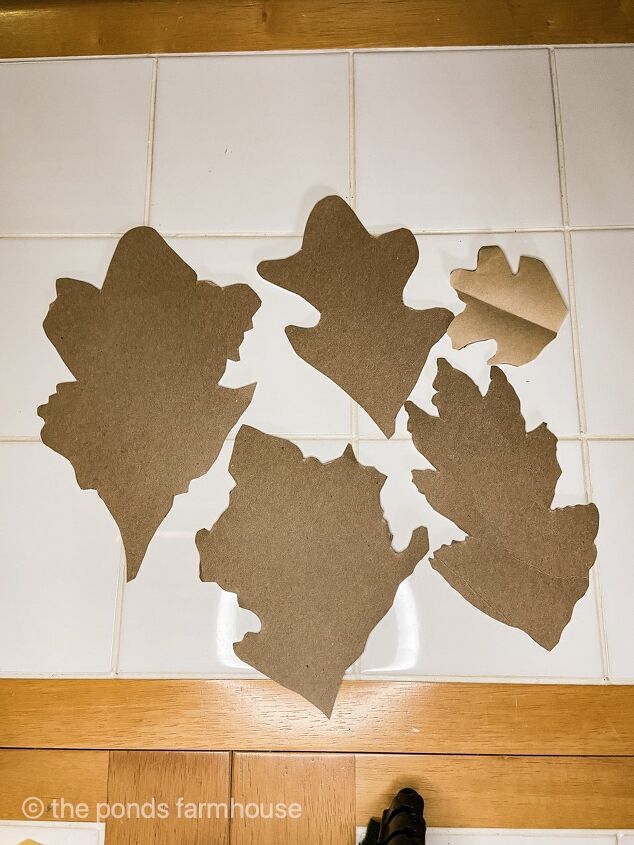
Next create a template for your leaves. I made 5 different shapes and size leaves using a piece of light weight card board. You can trace actual leaves or print a leaf shape to copy, if you’re not good at drawing them yourself. Keep your patterns simple for ease of cutting.
You will want to cut more than one leaf at a time, so cut a length of your craft paper and fold it several times.
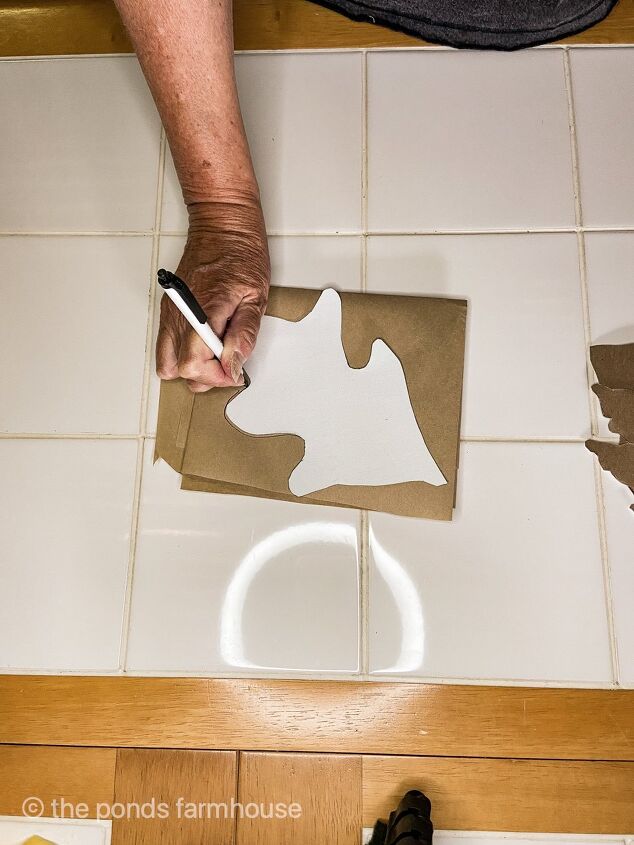
Now you are ready to trace your leaf designs and cut them out.

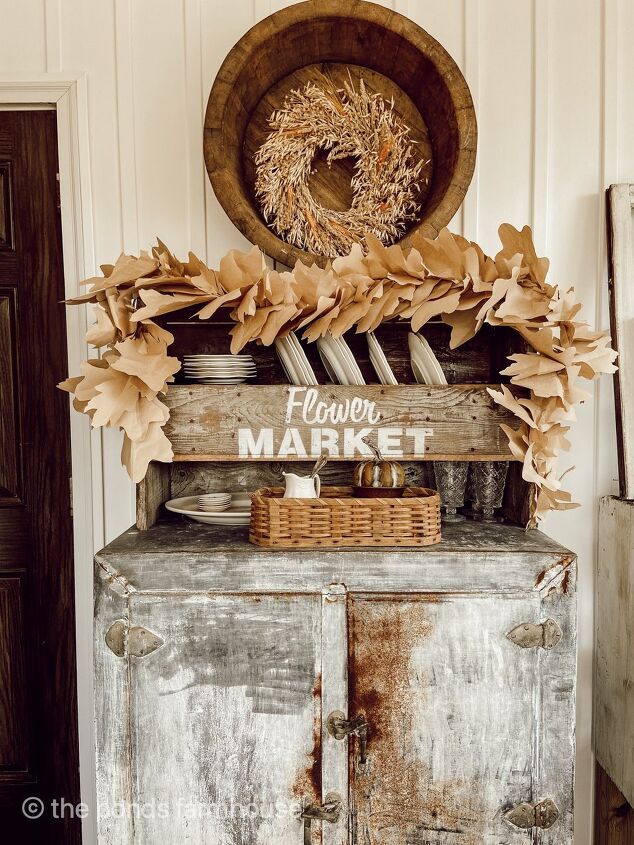
Be sure to alternate the leaf designs as you assemble along the wire.
Fall Craft Leaf Garland
See more tips and tricks to make an authentic-looking garland here.

I was amazed at how quickly the garland came together. I did have to cut approx. 8 more leaves to finish the project.
The garland was ready to use immediately after the last leaf was in place.
The vine wire allows the garland to be easily bent, where needed, to curve around your mantel or shelf.
I hope you enjoyed this simple tutorial on How to Make a Garland. It is an inexpensive and simple project. I hope you give it a try.
Resources for this project:
See all materials


Frequently asked questions
Have a question about this project?