


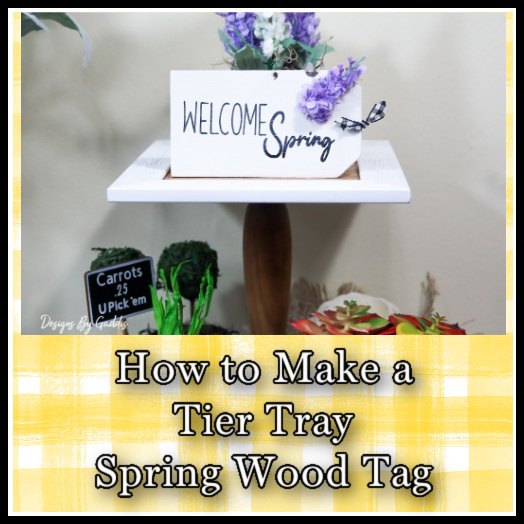
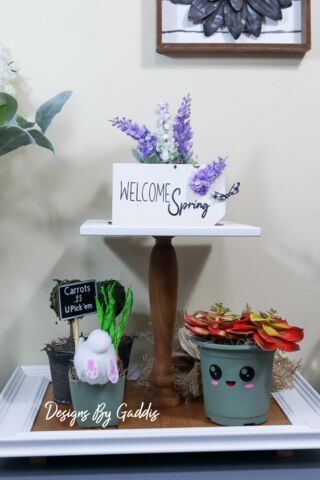
Spring Mini Wood Sign DIY | Tiered Tray Mini Wood Tag
I am so ready for Spring! What about you?
Today I will be showing you step by step how I take a piece of Hobby Lobby wood and create a mini wood tiered tray tag. I love making tiered tray mini wood signs and tags. They are simple to make and so stinking cute.
When I started my DIY adventure I was making large wood signs. They were big, bulky, and cost a lot to ship because of the weight. I really love making these mini wood signs. They are small and easy to work with and the shipping is almost nothing.
Step 1.
- I used a template to draw the template on the wood.

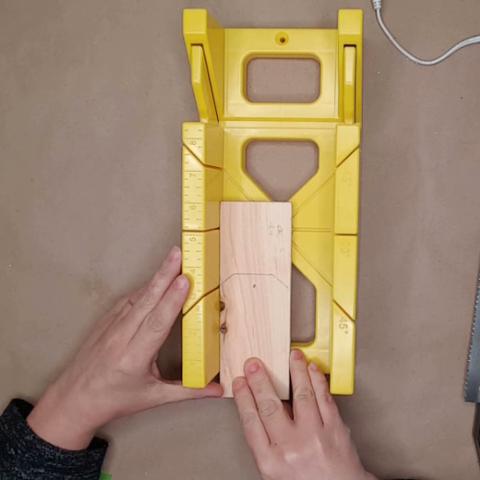
Step 2.
- I used a miter box and saw to cut the tag. You can also use a miter saw for this step.
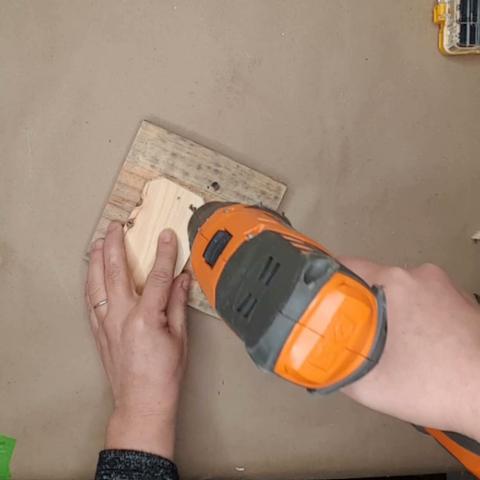
Step 3.
- I used a drill and drilled a hole in the top center of the tag.
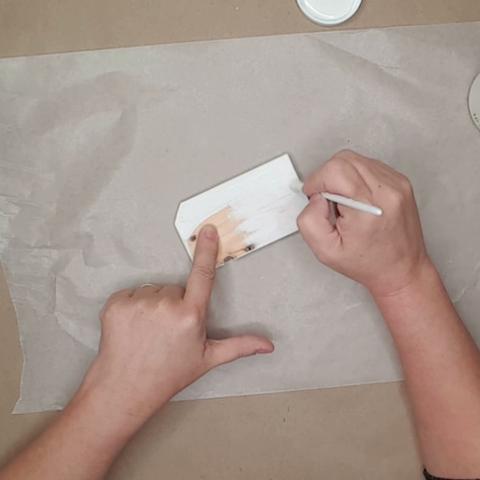
Step 4.
- I sanded the tag with 220 grit sandpaper and then painted the entire sign with white chalk paint.
Step 5.
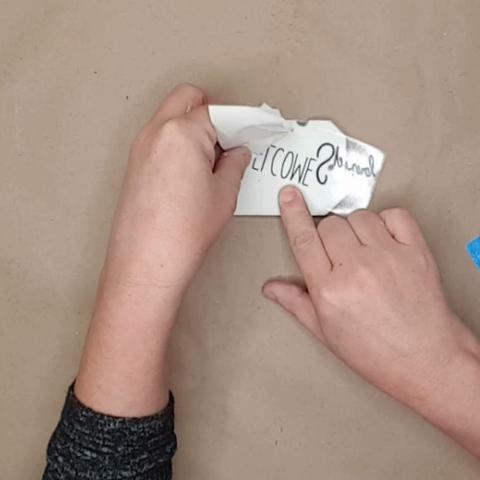
- I designed the Welcome Spring cut file using InkScape and then cut it using my Cricut. I applied the vinyl to the tag using transfer tape.
***Do you want to learn how to create simple cut files using Inkscape? If so, I will be starting a new series to teach you how I do it. Sign Up HERE to be notified when the series starts.
Step 6.
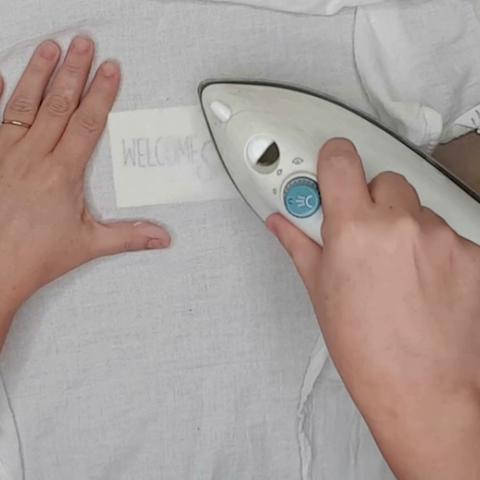
- I placed a thin piece of fabric on top of the tag and used my iron to melt the vinyl into the cracks and crevices of the wood. Be careful when doing this step not to let your vinyl get too hot because it will attach itself to the fabric and peel up.
Step 7.
- I applied matte Mod-Podge to the entire sign to protect it and to give it a finished look.
Step 8.
- Apply any embellishment you want to the tag. I used a ribbon and a floral sprig to add some dimension to the tag but the choice is yours.
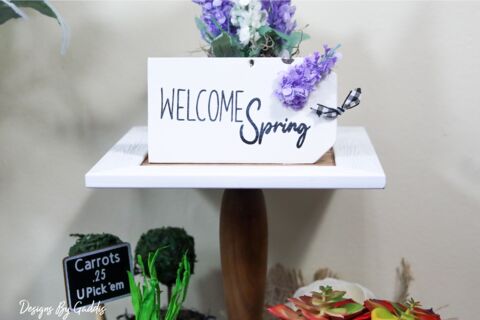
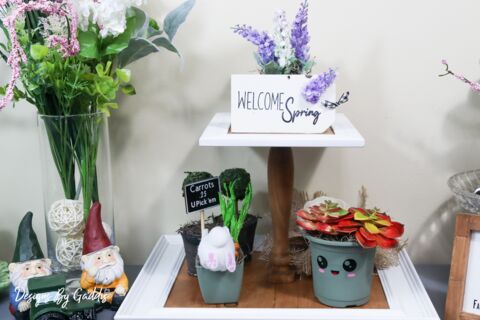
This was a fun and simple project and I just love how stinkin' cute the little tag turned out.

*** Welcome Spring Cut File or Pre-cut Vinyl
WATCH THE VIDEO BELOW FOR AN IN-DEPTH STEP-BY-STEP TUTORIAL.
JOIN MY COMMUNITY to get FREE Printables and Special Deals only for my subscribers.
My Disclaimer: All of the video footage, photos, and designs are created by me and are owned by Designs By Gaddis. You may only use the video footage, photos, and designs with my permission. My content is mine, and it is protected. I am not sponsored or paid by any product companies or tools shown in these videos unless otherwise mentioned. I have full rights and control of the content.
Copyright @ Designs By Gaddis 2020. Any reproduction or illegal distribution of the content in any form will result in immediate action against the person concerned.

Comments
Join the conversation
-
Looks awesome! Thanks for sharing.


Frequently asked questions
Have a question about this project?