


Easy Fall Thanksgiving Wreath DIY
Are you looking for a Fall or Thanksgiving wreath that is easy on the eyes and on your wallet? Look no further. This is so easy!
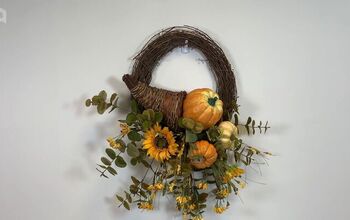
This DIY fall Thanksgiving wreath will have all of your guests asking “Where did this come from?” All it takes is a simple green wreath, a few pieces of foliage, and a few other supplies. Follow these instructions to create one for yourself or as a gift idea.
Make Your Own Wreath
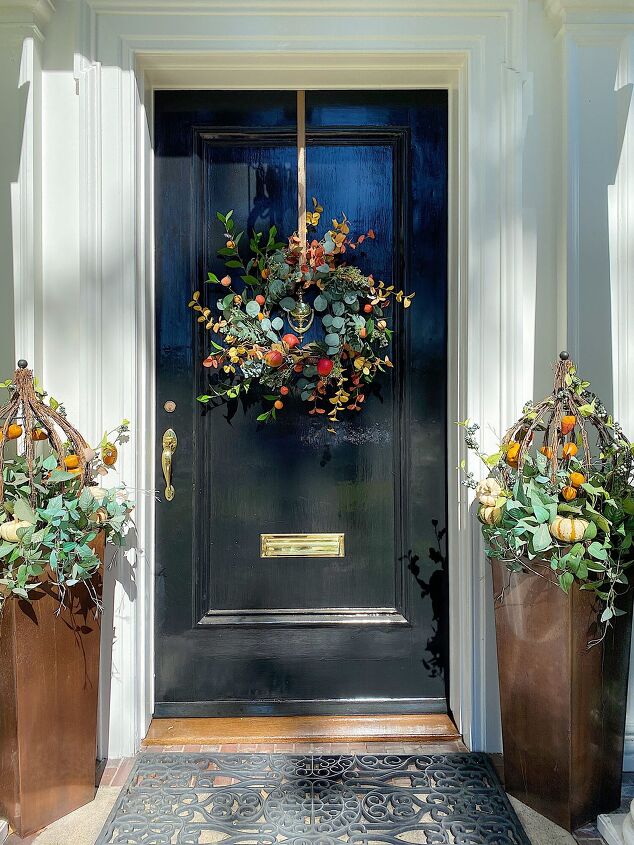
I always have a hard time finding a wreath for our front door. First off, our door is huge. And most of the very large wreaths are just too small. And they are expensive!
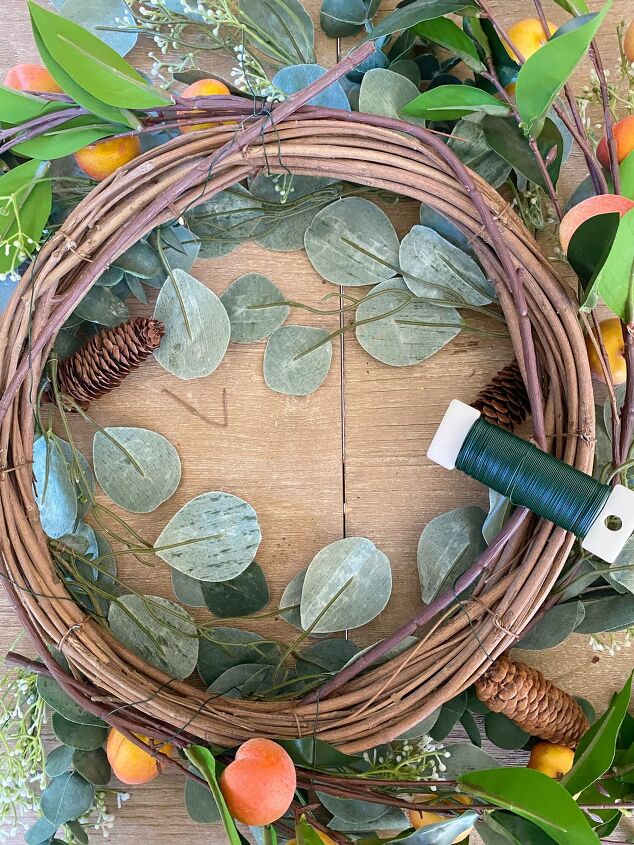
So I am sure it won’t come as a surprise when I tell you that I decided to make my own. I have a very easy method for my wreaths. I start with a somewhat plain wreath and just add some additional florals to the wreath. Often I just stick them into the wreath. For this one, I used some floral wire to attach the fall florals.
The best part is that the wreath is now so much larger.
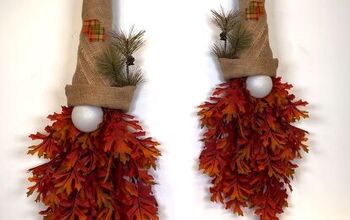
Here are some other wreaths (and the DIY instructions) I have made for our front door. Just click on the title for more information.
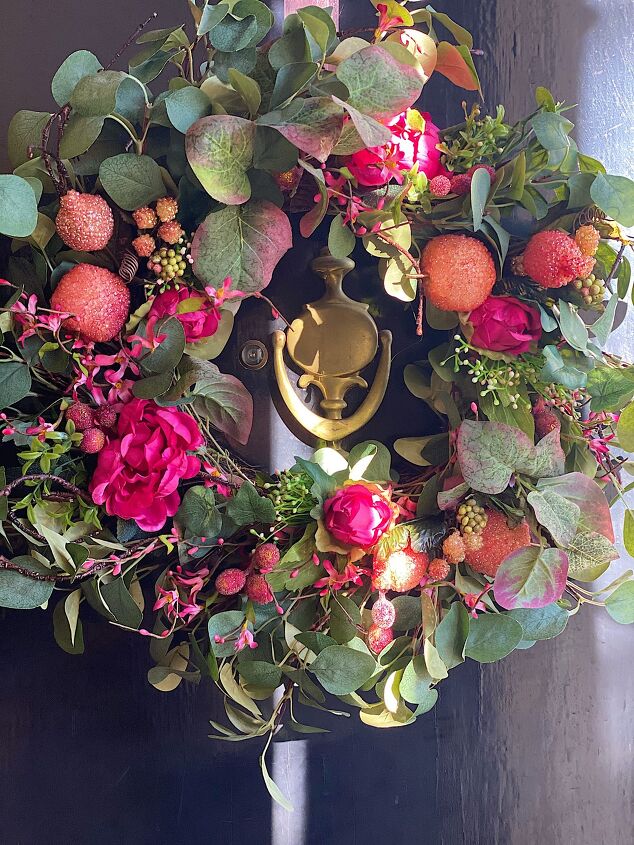
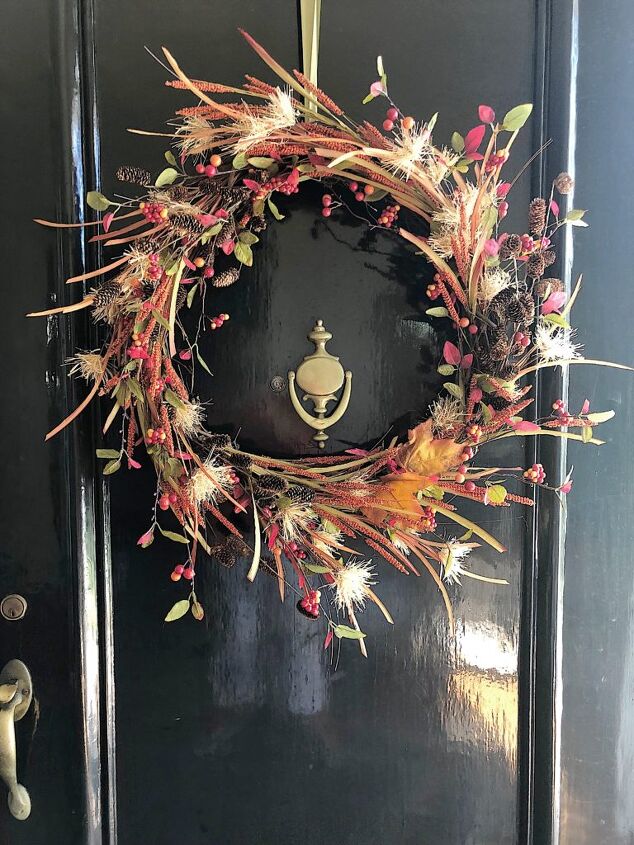
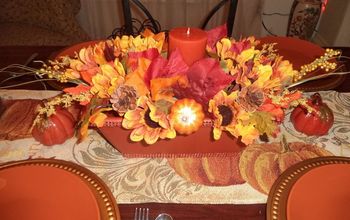
Fall Wreath
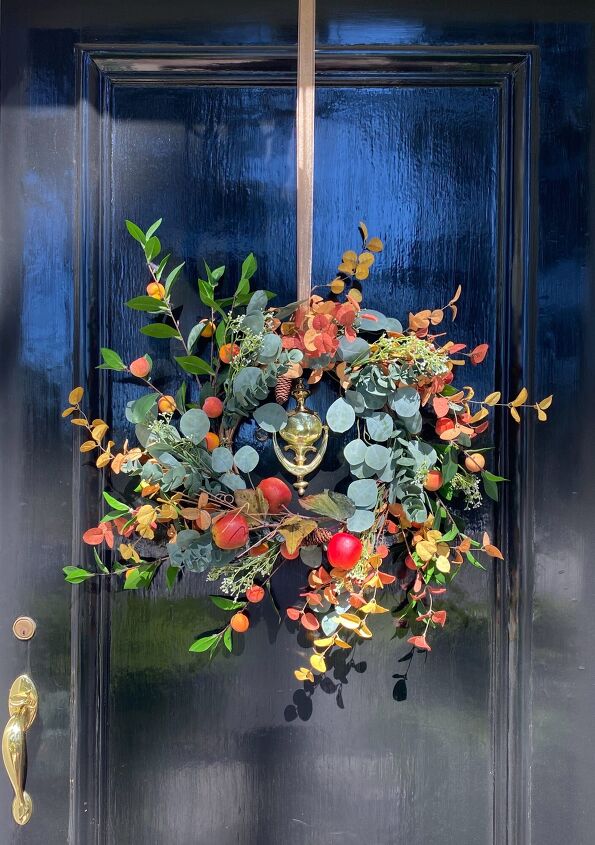
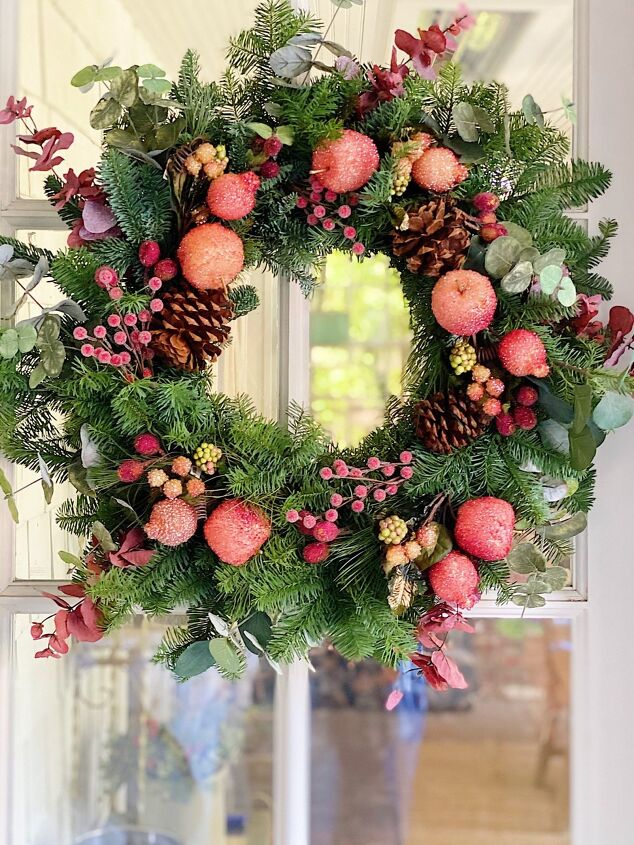
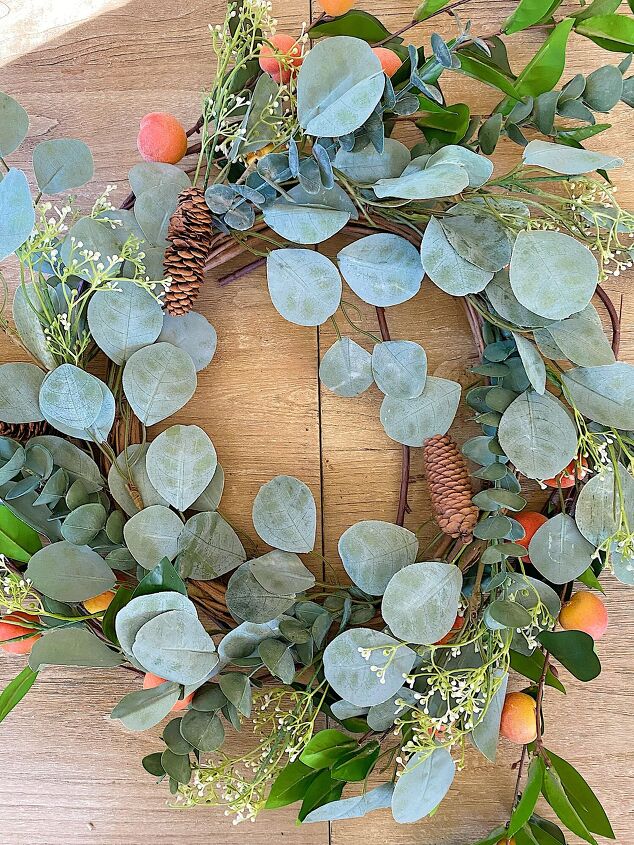
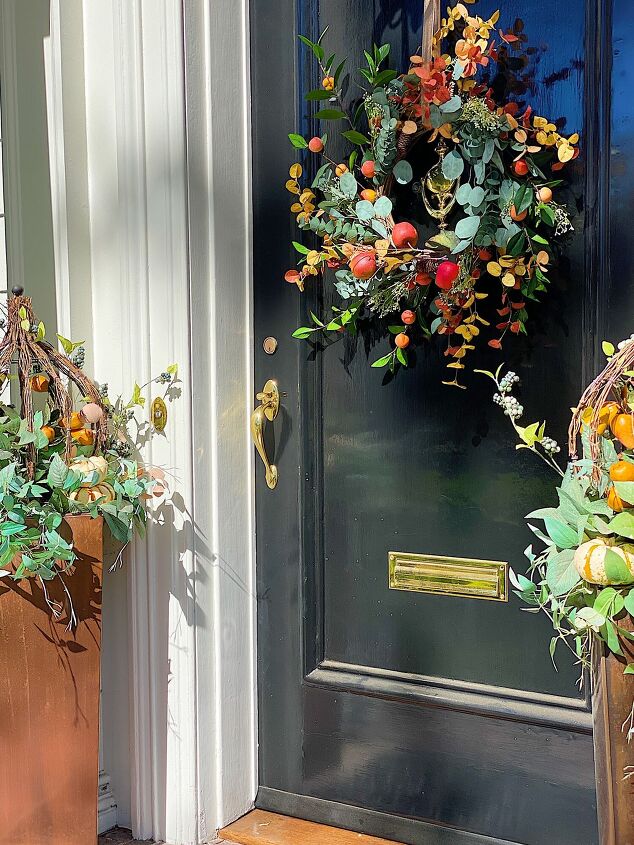
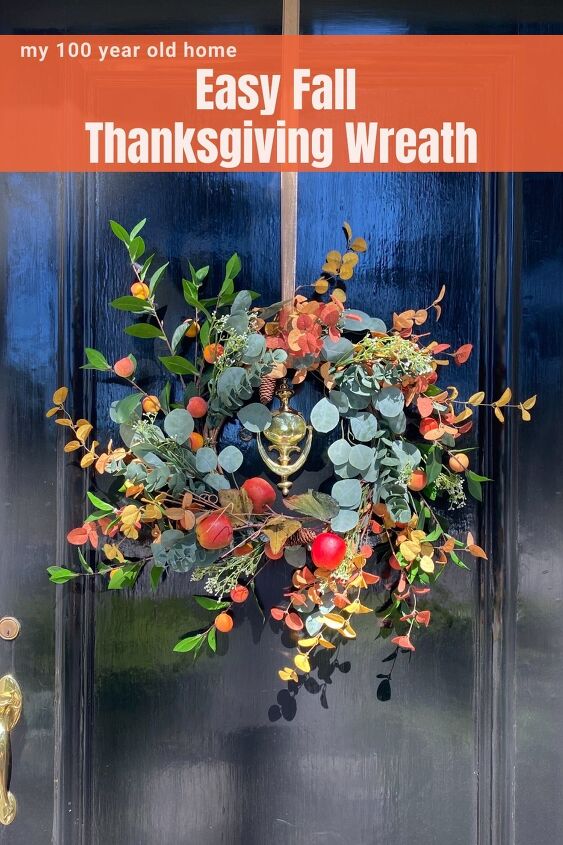
Doesn’t this look amazing on our front door? It is bright and colorful and looks exactly how I wanted it to look. I kind of went with an apple theme and used fall florals that I had laying around the house.
Materials you Need to Make a Fall Thanksgiving Wreath
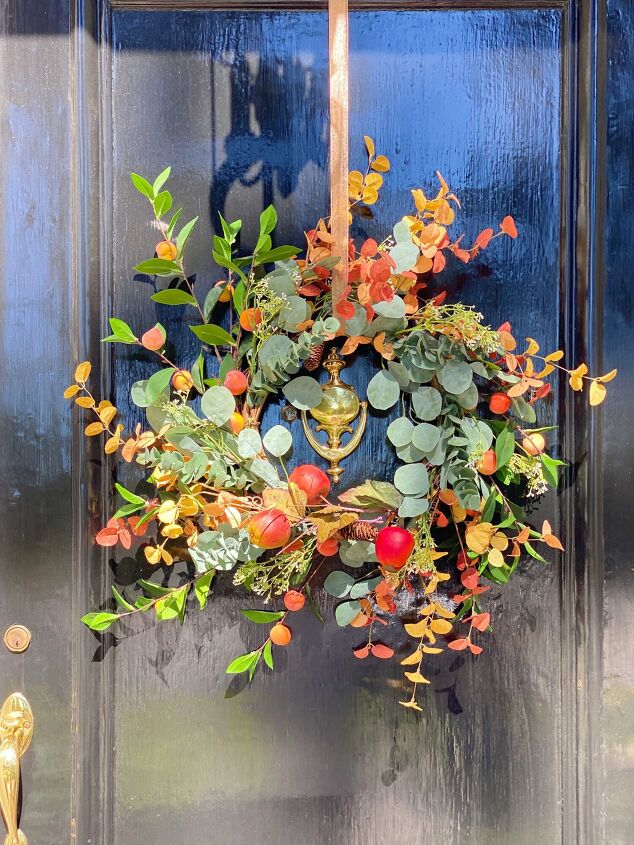
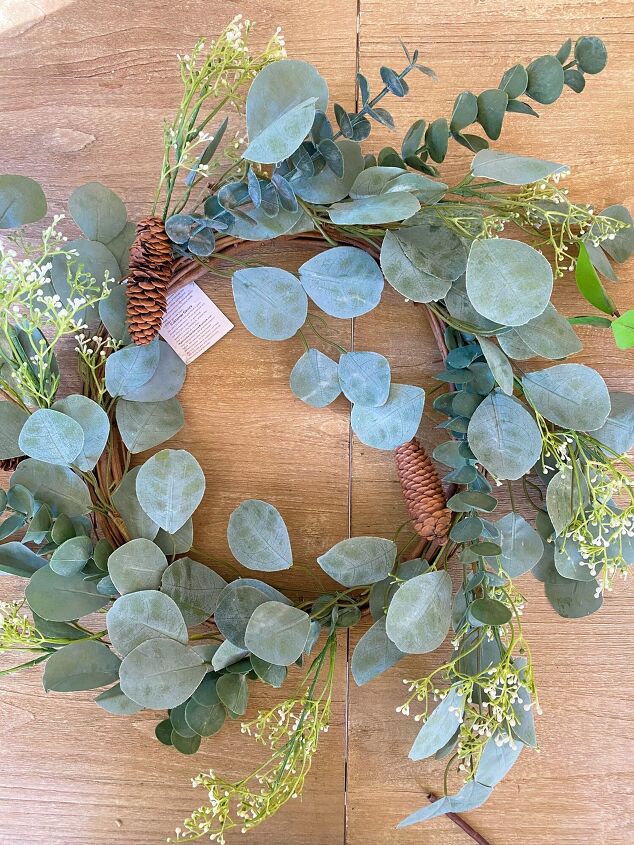
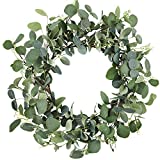
One real or faux green wreath – I used this 24″ Eucalyptus wreath. It wasn’t expensive and worked just fine.
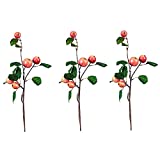
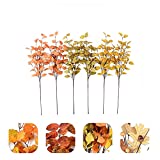
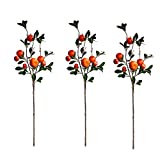
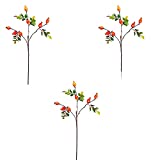
Assorted fall florals – You can use any types you want! I used three fruit branches, four fall eucalyptus branches, and one small bunch of apples.
Green floral wire
Wire cutters
Ribbon for hanging (see below)
How to Make the Wreath
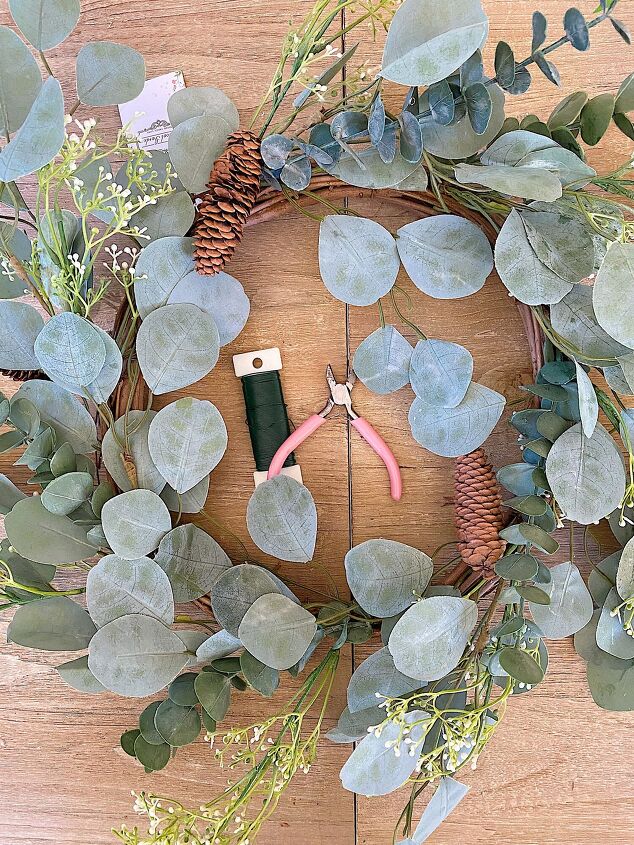
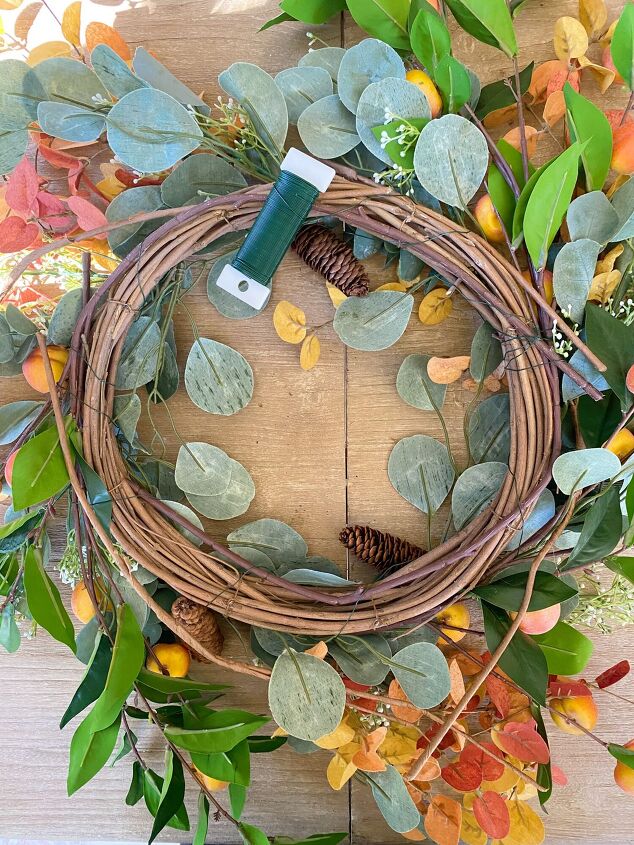
- one – This is the wreath I used for my base.
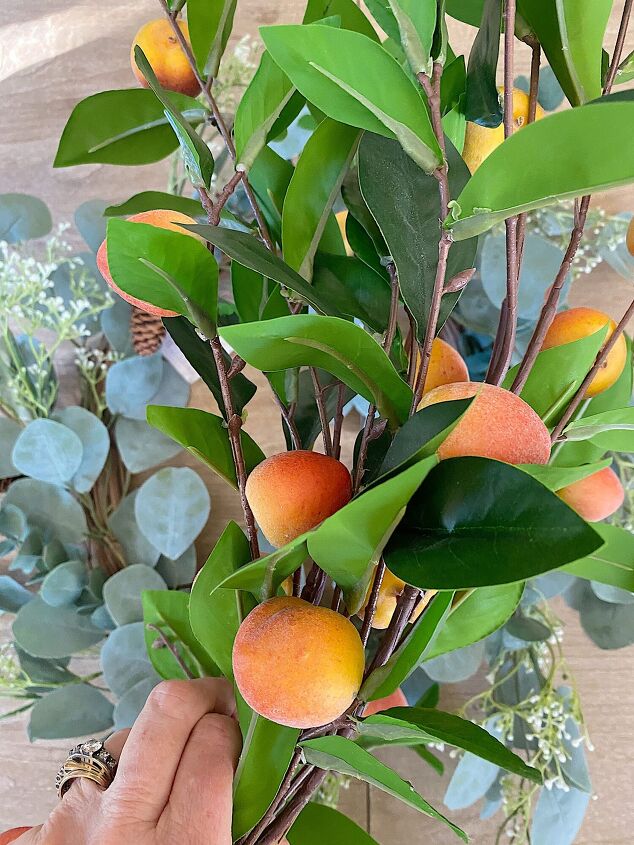
- two – Here are the three fruit branches I used.
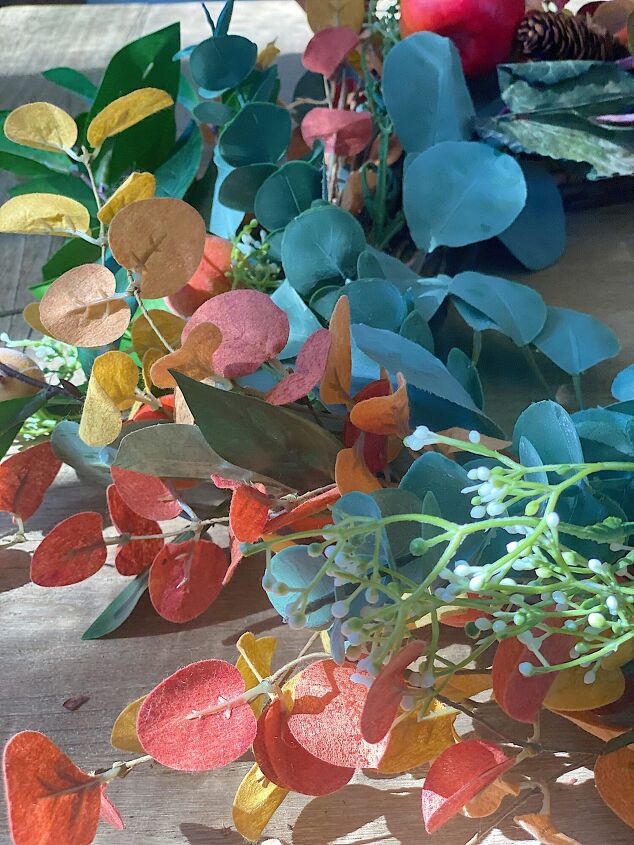
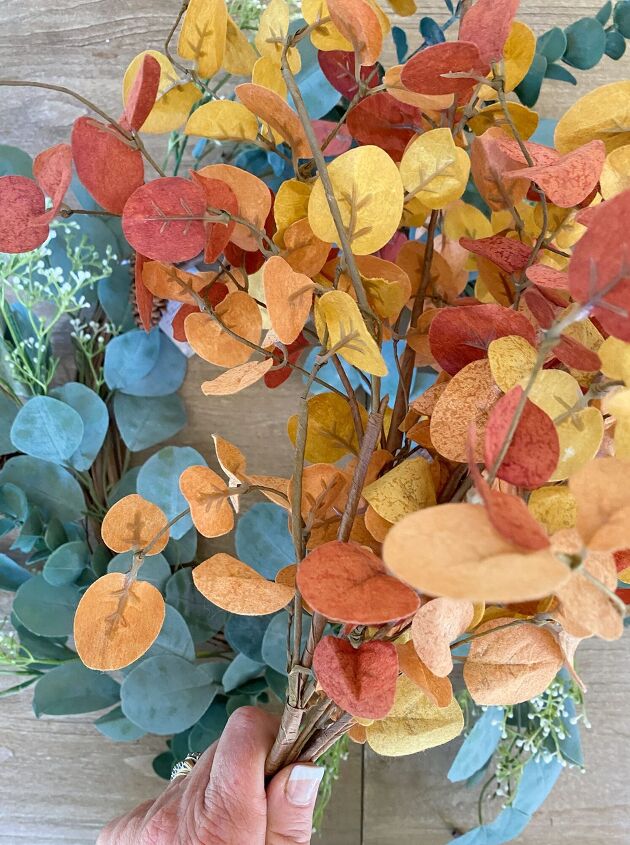
- three – These four fall Eucalyptus faux florals were perfect.
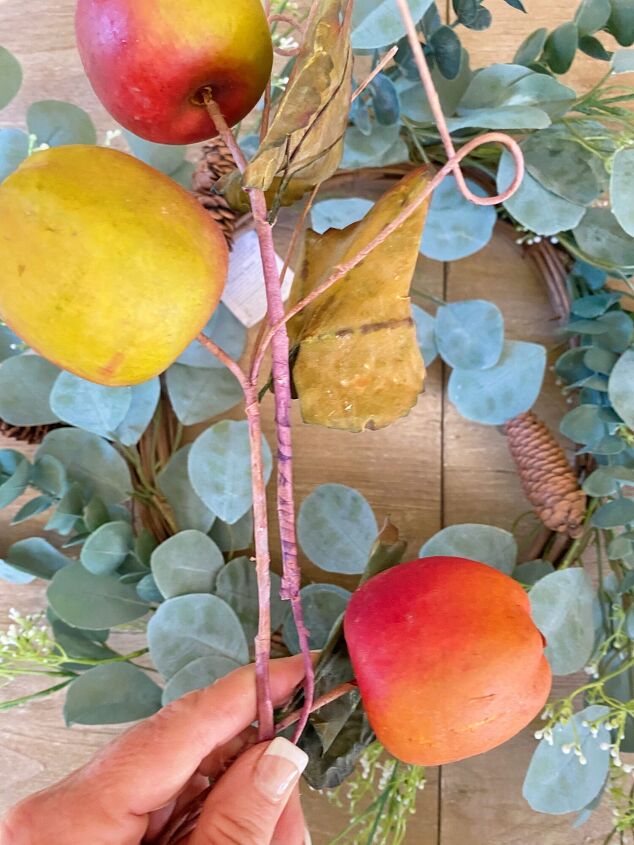
- four – I had three larger apples on small branches that I used as an accent for my wreath.
- five – Lay the wreath flat on a working surface.
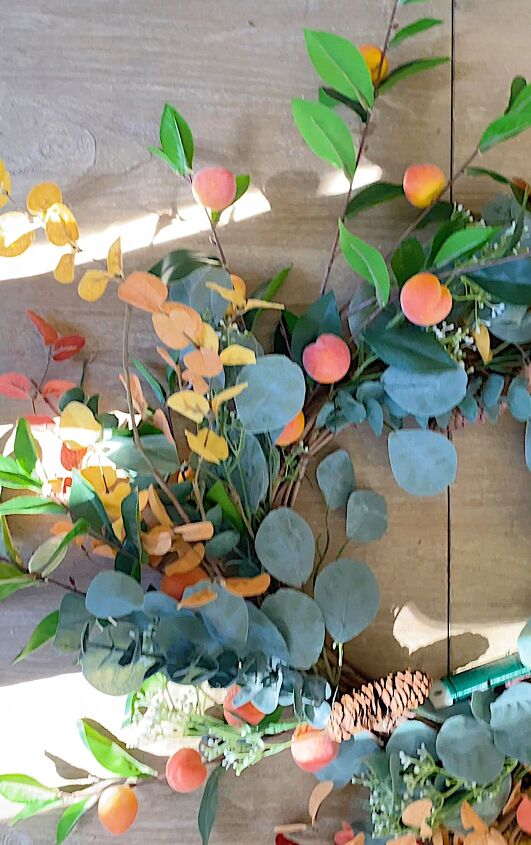
- six – If you don’t want to cut the long stems on the apples, bend the longer stems of the wreath in a circular motion. Gently slide the stems and place the three fruit stems equidistant along the wreath.
- seven – Gently flip the wreath and secure the stems of the fruit branches with green floral wire.
- eight – Turn the wreath back over to the front and place the four eucalyptus branches evenly around the outside.
- nine – Flip the wreath to the back and secure the floral stems to the wreath.
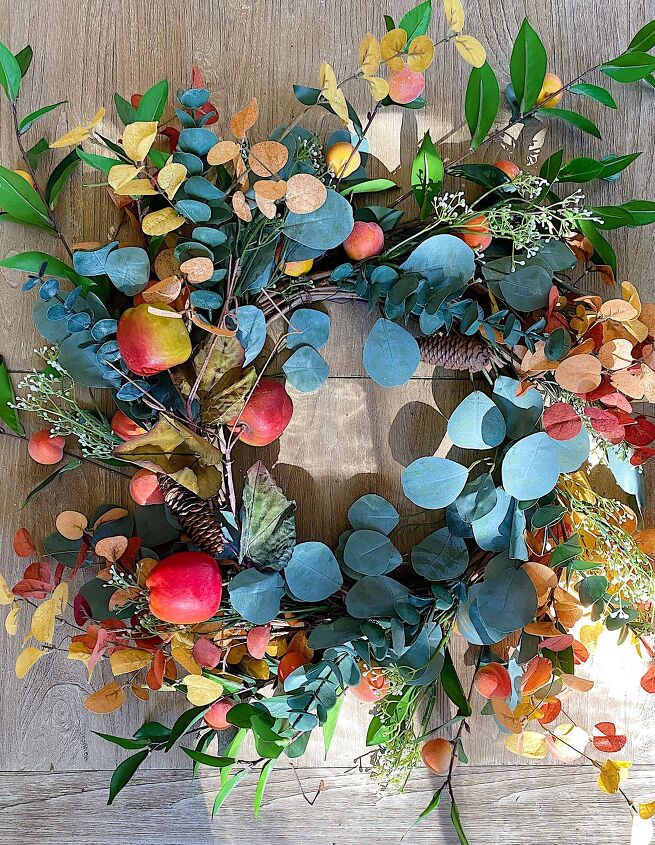
- ten – Flip the wreath a last time to the front and add the apples. Secure with wire.
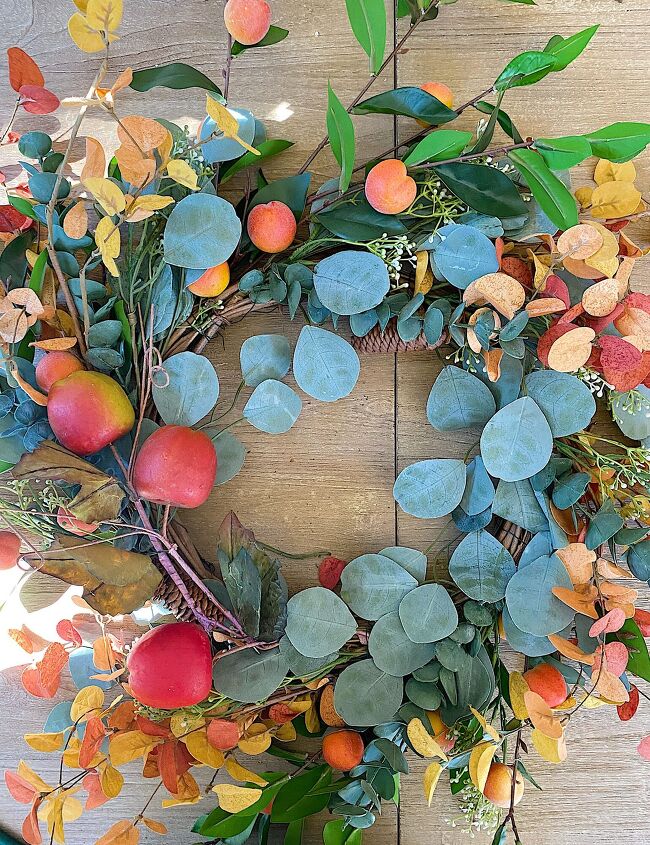
This is how the wreath looked before I shaped the florals. It took about thirty minutes to make and I just love the colors.
If you are enjoying my blog, you can sign up to receive my blog updates here. .
How to Hang Your Wreath on your Front Door (with no holes!)
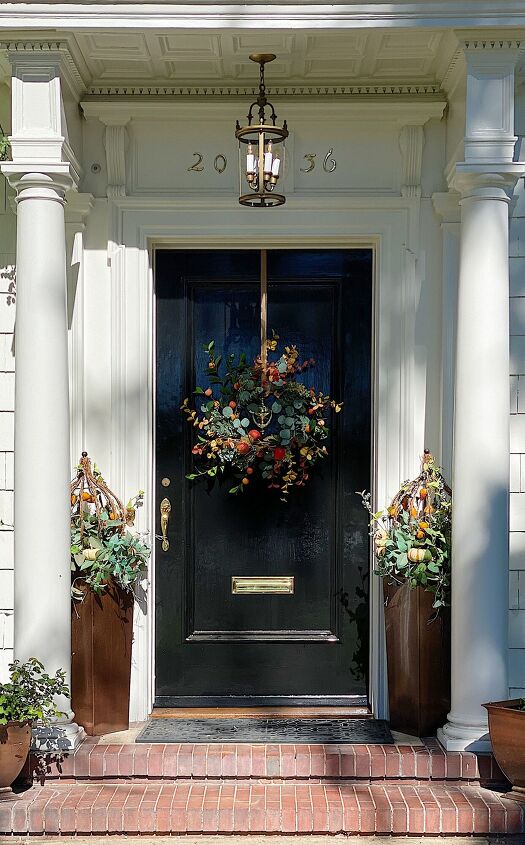
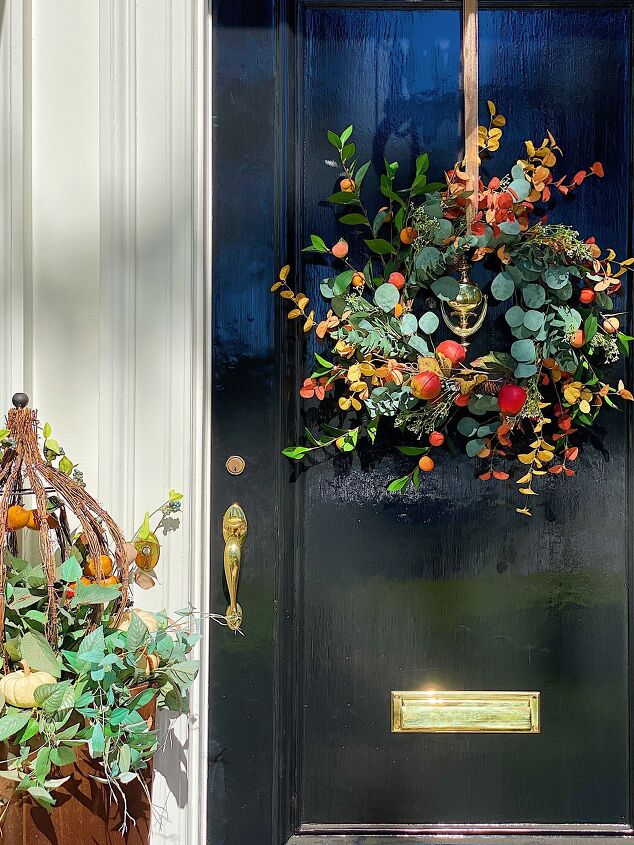
The trick to hanging a wreath is attaching it to the door without having to put nail holes in your front door.
I use a ribbon to hang my wreath and then I attach the ribbon directly on top of the door with two thumbtacks. If you push (or hammer) them in far enough they won’t hinder closing the door. You will end up with a seamless and great-looking finished look!
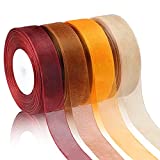
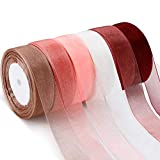
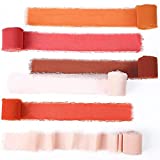
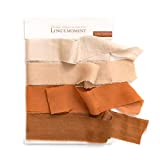
My Favorite Ribbons
I hope you love fall as much as I do – the leaves are falling off the trees, football is on TV all day long, and pumpkin spice lattes are back. Fall has always been my favorite season and it is time to decorate with festive wreaths. This one was actually pretty easy to make, so you should give this DIY a try too if you’re looking for an inexpensive craft project to do in time for your Thanksgiving dinner. Let me know how yours turns out by posting your pictures on social media using
If you want to make this wreath, I got everything on Amazon. Click my affiliate links below to check out all of the supplies.


If you are just looking to buy a wreath, here are some of my favorites.


Pin the image below to your decor boards on Pinterest (just click the Pin button in the top left corner). You can also follow along with me on Pinterest!
For more real-time updates, follow me on Instagram @My100YearOldHome

ABOUT LESLIE
Welcome to My 100 Year Old Home. I started my blog so I could share my passion for entertaining, décor, cooking, and crafts. You will find all this and more right here. Read more…
Resources for this project:
See all materials


Comments
Join the conversation
-
Your wreaths are pretty. Thank you for sharing :)
-
No question, but this tutorial is the best I’ve seen…EVER‼️
Beautiful home😎
Thanks for sharing.


Frequently asked questions
Have a question about this project?