


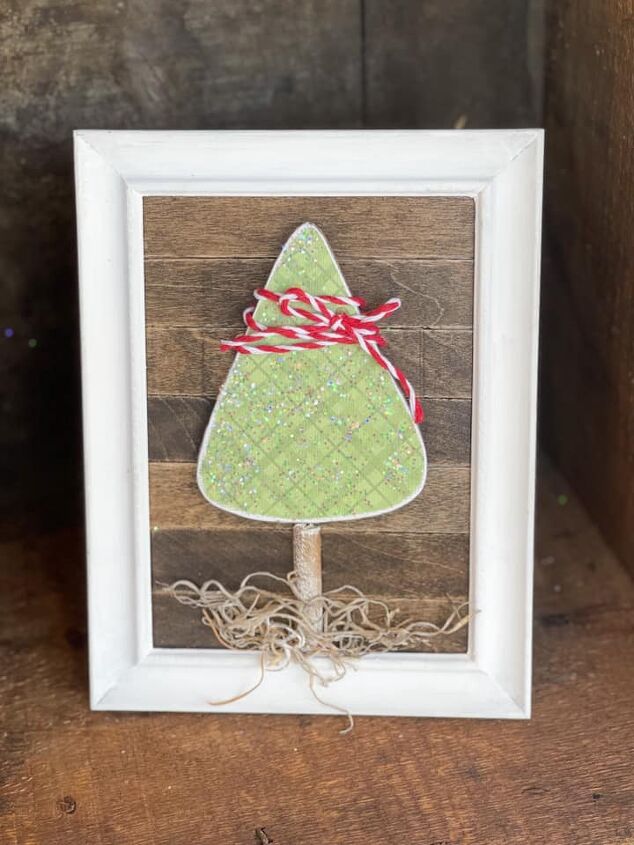
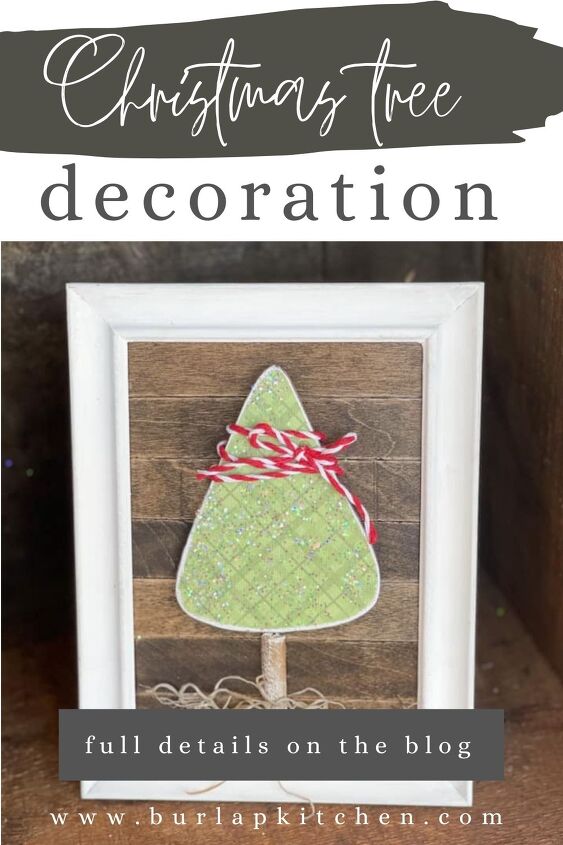
DIY Farmhouse Style Christmas Tree Frame
Hi friends! Today, I am thrilled to be sharing with you all how to make a DIY farmhouse style Christmas tree frame. This farmhouse style DIY Christmas tree frame makes for the cutest Christmas decoration, and it is such a budget-friendly Christmas craft! This Christmas tree décor DIY is made using some of the wood blanks from our shop. These cute wood blanks are so versatile, and could be used for candy corns for fall décor, and Christmas trees for Christmas décor. There are so many fun and beautiful DIY crafts you can make with these fun wood patterns!
- 5×7 picture frame
- Triangle wood blanks
- Popsicle sticks
- white chalk paint
- stain – minwax dark walnut
- stick
- scrap book paper
- Mod Podge
- glitter
- spanish moss
- red and white bakers twine
- hot glue gun and glue sticks
- glitter
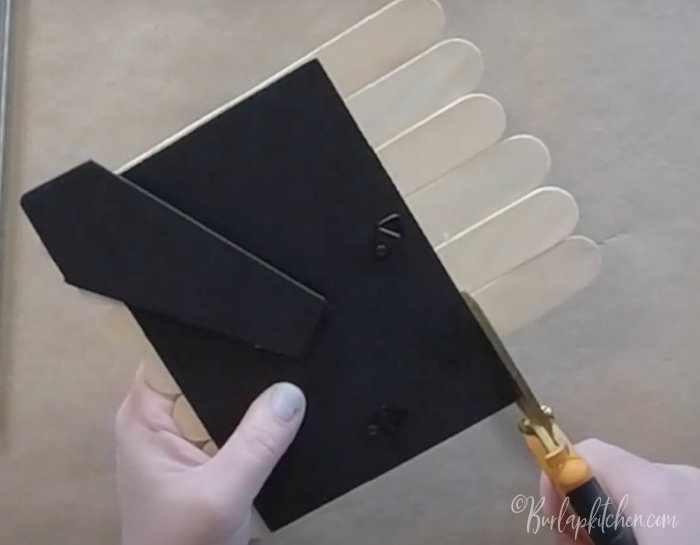
Step 1. Take a small picture frame of your liking and remove the cardboard backing. Then, hot glue popsicle sticks horizontally over top of the cardboard backing. Allow to dry.
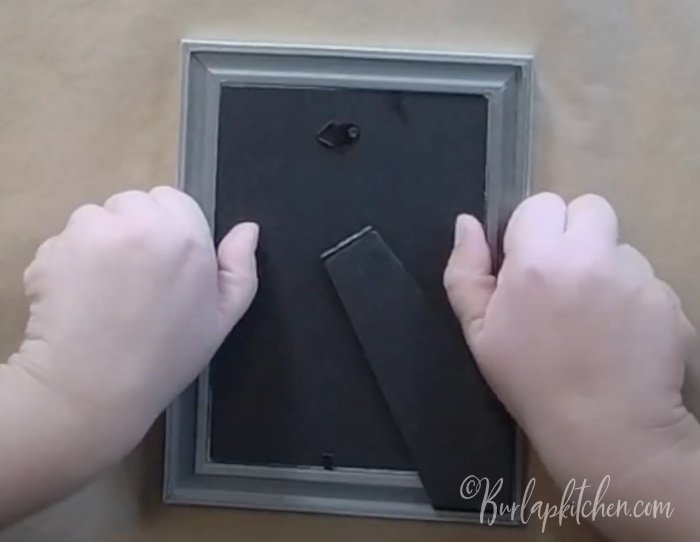
Step 2. Trim away the ends of the popsicle sticks that are hanging over the edges of the cardboard backing of the picture frame. Next, place the popsicle stick covered cardboard backing back into the frame to make sure it fits inside of the frame correctly.
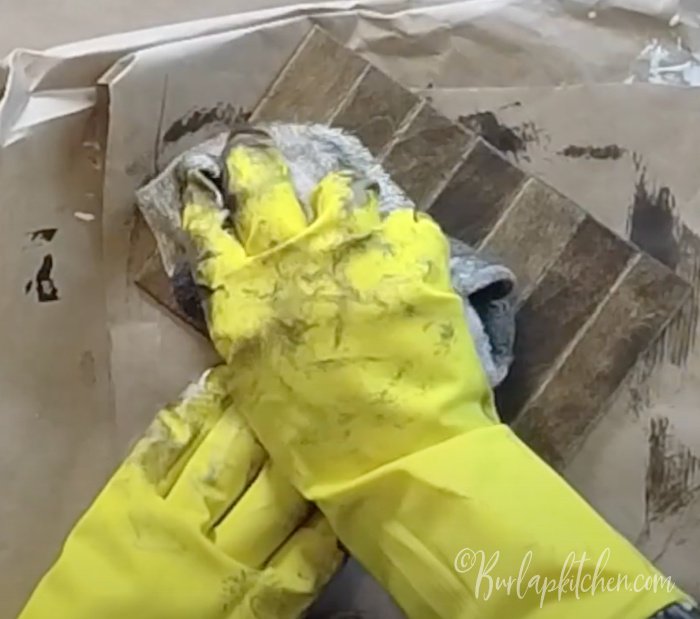
Step 3. Use an old cloth to rub on Minwax stain in the color “dark walnut” over the popsicle stick backing. Allow to dry completely.
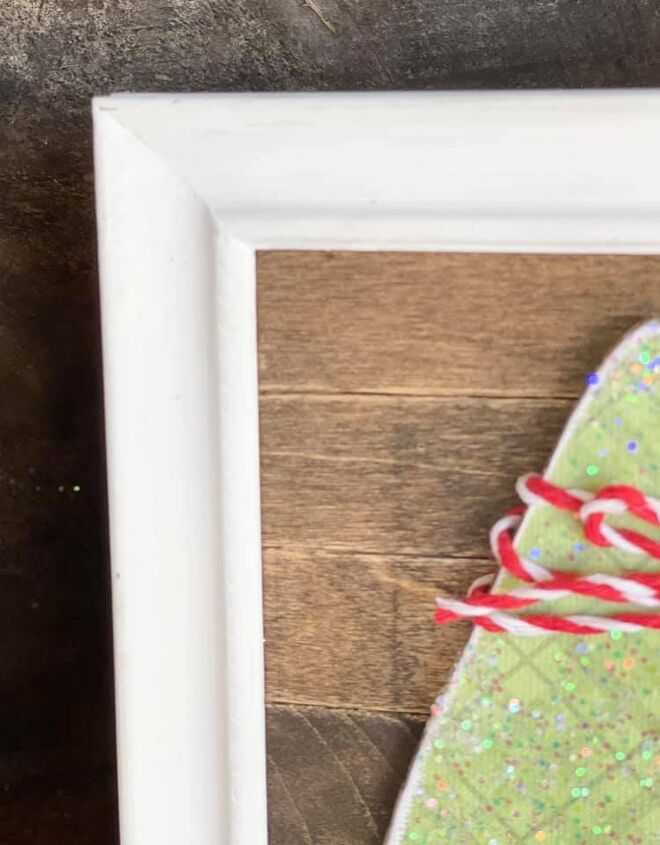
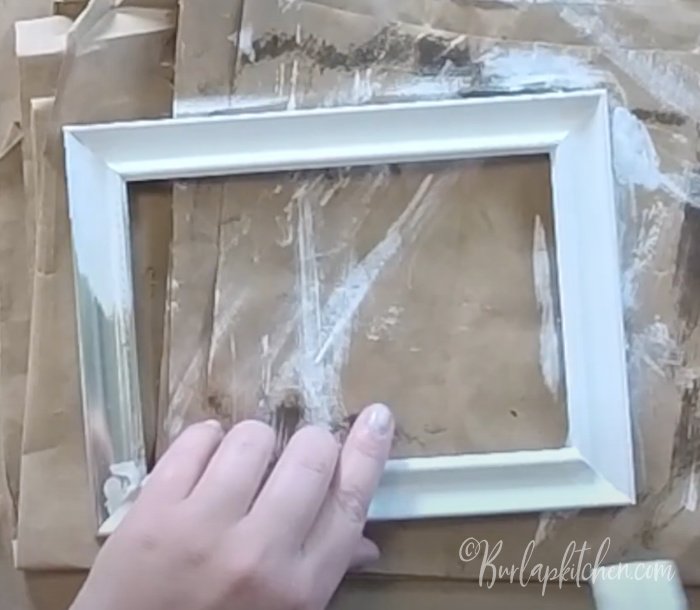
Step 4. Using white chalk paint, paint your picture frame. You may need two coats. Be sure to dry between each coat. Make sure frame is completely dry before moving onto the next step.
Step 5. Place the stained popsicle stick backing back into the white chalk painted frame. Secure the backing, you may need to use a staple gun to do this if your frame does not have the little clips to slide down to secure the backing in place.
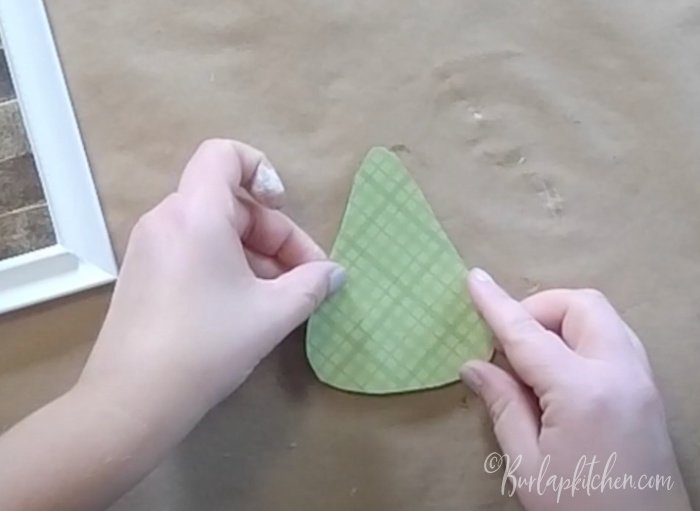
Step 6. Take a green colored piece of cardstock paper, you can use any color or pattern of your liking, and trace around the Christmas tree wood blank pattern onto the green paper. Cut out your Christmas tree shape from the cardstock paper.
Step 7. With an old cloth, rub Minwax stain in the color “dark walnut” over the Christmas tree wood blank. Dry with a heat gun.
Step 8. Once the Christmas tree wood blank is totally dry, apply some Mod Podge over it, then carefully place your green Christmas tree cut out piece of cardstock paper over top of the wood tree blank. This will secure the green colored paper over top of the wood blank Christmas tree. Allow to dry.
Step 9. Gently rub a sanding block over your Christmas tree for a more rustic/farmhouse look.
Step 10. Hot glue the end of some baker’s twine to the back of your Christmas tree and wrap the baker’s twine around the Christmas tree a few times, towards the top of the tree. Hot glue the end to the back of your tree, then trim away any excess baker’s twine.
Step 11. Using the same baker’s twine, make a small bow and hot glue it over the top of the strands of baker’s twine you wrapped around the tree.
Step 12. Grab a stick from outside that will serve as the stem of your tree. Cut it down to proportionate size, if needed. Hot glue the stick in place at the bottom of the tree as the stem.

Step 13. Hot glue the Christmas tree onto the popsicle stick backing inside your picture frame. I use the stick stem to help center the tree into the frame. Allow to dry.
Step 14. Apply some Spanish Moss to the bottom of your tree, around the stem stick. Secure in place using hot glue and trim away any excess.
Step 15. Gently dab some Mod Podge onto random spots on your Christmas tree and then sprinkle on some glitter. Allow to dry and shake off any excess. Enjoy!
Tags: burlapkitchen


Frequently asked questions
Have a question about this project?