


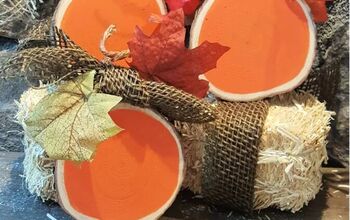
How to Make a Christmas Pumpkin

by
Gabi Ralea
4 Materials
1 Hour
Easy
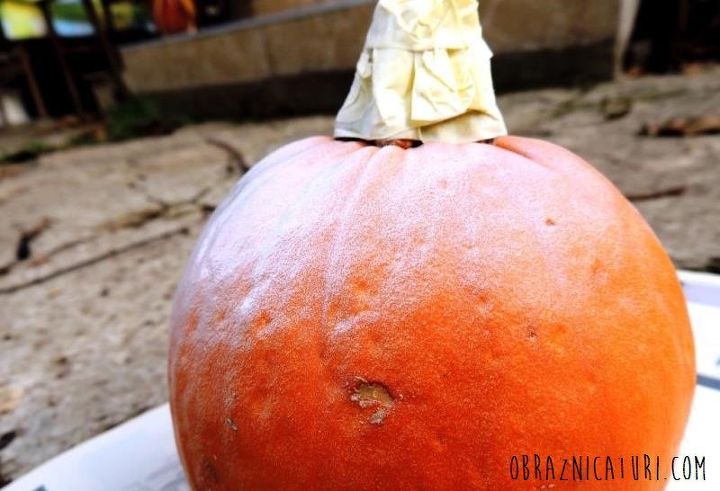
Don’t throw away that Halloween pumpkin, I need it for a Christmas decoration!
And if you are like me, I bet you have more than one pumpkin on your porch to save for this easy upcycling project.
Clean the pumpkin so the paint would easily stick on its surface. Cover the stem with duct tape so you could later paint in differently than the rest of the pumpkin.
And if you are like me, I bet you have more than one pumpkin on your porch to save for this easy upcycling project.
Clean the pumpkin so the paint would easily stick on its surface. Cover the stem with duct tape so you could later paint in differently than the rest of the pumpkin.
Clean the pumpkin so the paint would easily stick on its surface. Cover the stem with duct tape so you could later paint in differently than the rest of the pumpkin.
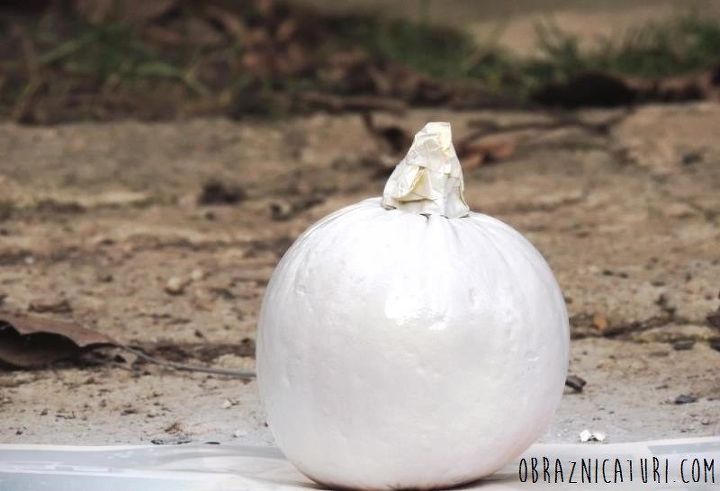
Place the pumpkin on a large piece of paper or other type of cover to protect the soil, and spray paint all over it. Let it dry completely before going further with your design.
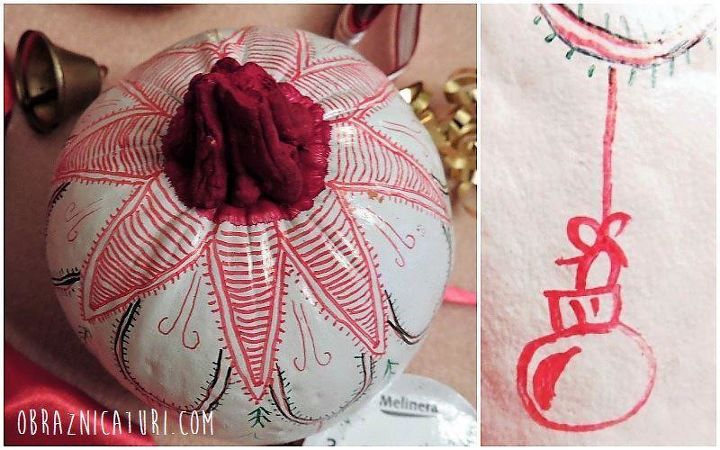
First, cover the stem in a solid color like red or green, using the Sharpie. You can also use an acrylic paint for this task if you think that coloring it with the Sharpie would take too long.

Want more details about this and other DIY projects? Check out my blog post!


Frequently asked questions
Have a question about this project?