


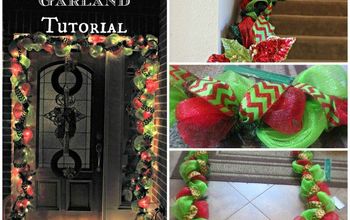
How to Make a Cute DIY Gingerbread Garland Out of Deco Mesh

Gingerbread has been a beautiful theme for holiday decor for a couple of years now. If you want to add a candy theme to your home this holiday season, this DIY gingerbread garland is just perfect!
If you want to see how I made this garland or get inspired to create some gingerbread decor for your home, in this video you'll find it!!

I must warn you: you should be ready for a gingerbread cuteness overload, and the sudden urge to make lots of gingerbread decor. Let's start crafting!

Tools and materials
First, you need your supplies at hand. You can use any type of ribbon, but you should have 2 different rolls of 5 yrds 2.5" ribbon, and one 5 yrd 1" ribbon.

1. Remove old pieces from the garland
If you are reusing a garland, as I did, remove everything from it. It's better to start fresh. If not, gather your white mesh and your sparkly mesh.
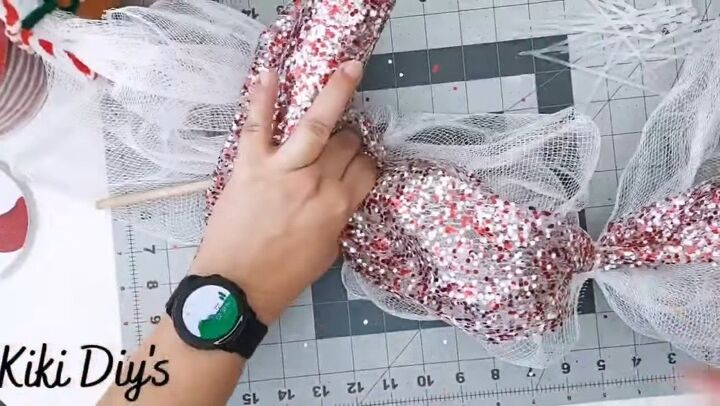
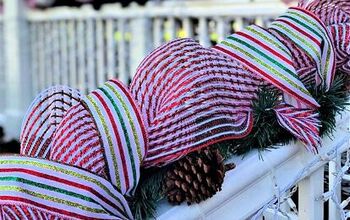
2. Loop the mesh
We are going to start gathering loops with the two styles of mesh together. They are 6" long, and zip-tied on each end.
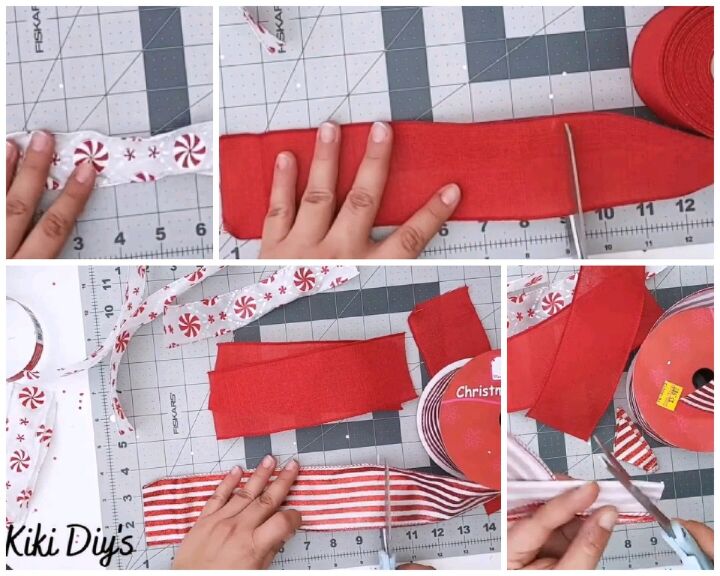
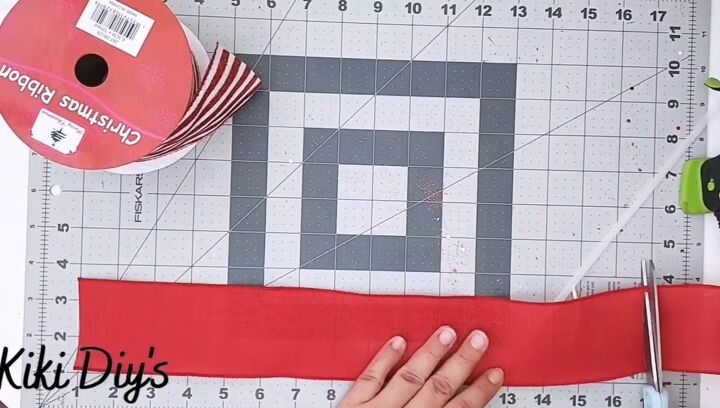
3. Cut the ribbon
After we finished all the loops, it's time to cut our ribbon for the smaller bows. You'll cut 3 pieces of 9" from each style of ribbon. Then dovetail all of them.
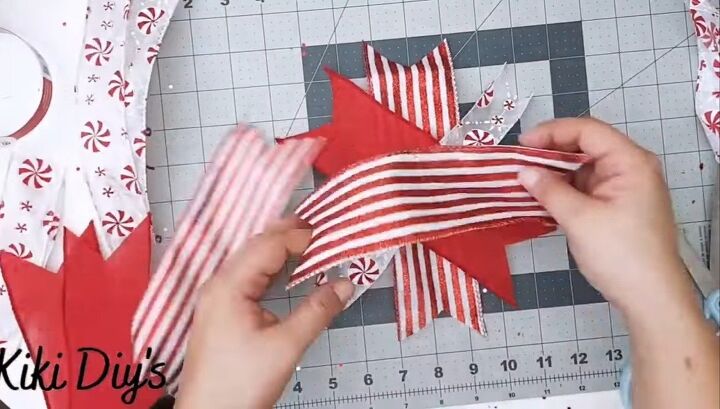
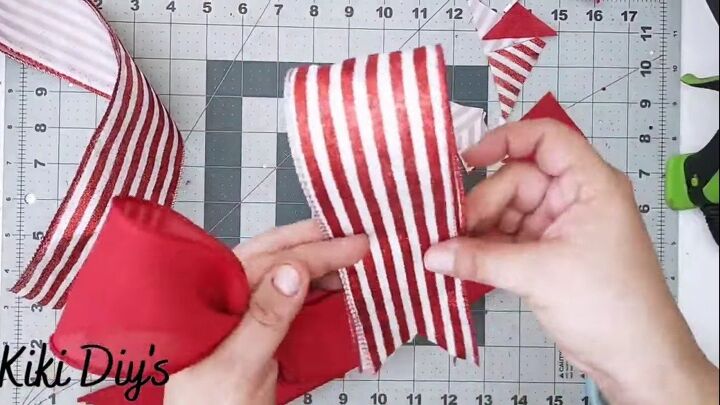
4. Criss-cross the ribbon
We are making a pattern like the one above, crisscrossing the ribbons. Make sure you do not repeat the styles of ribbon when stacking them.

5. Make the bows
After we have the pattern we want, we are going to pinch the bow with our fingers and add the zip tie. After we tie it really tight, we are fluffing the bow.
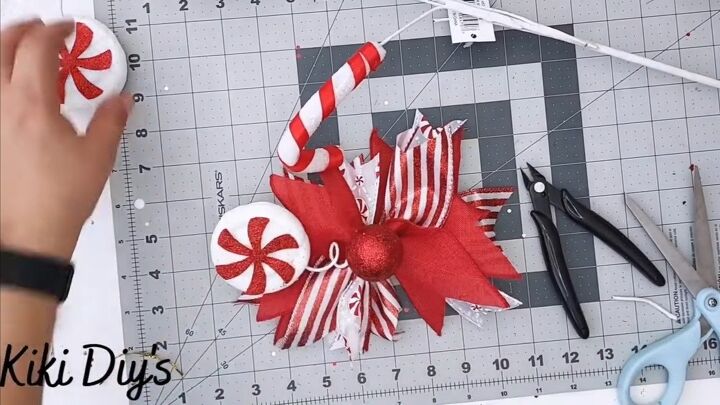
6. Add peppermint picks
Now it's time to decorate! Use your peppermint picks to decorate to your liking. I used two peppermint rounds and a sparkly foam ornament in the middle.
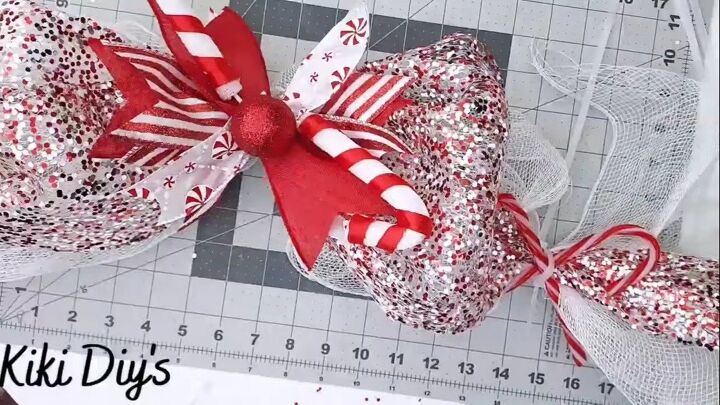
7. Make the central bow
Now we are making the funky bow for the middle of our garland. For this one we are going to use our 2.5" ribbon only. And we are cutting 3 strips of each ribbon, that are 17" long, and dovetailing them.
Then we are making loops with those strips and placing them between our index and thumb fingers. Make sure that you add one with the tails facing up and one with the tails facing down.
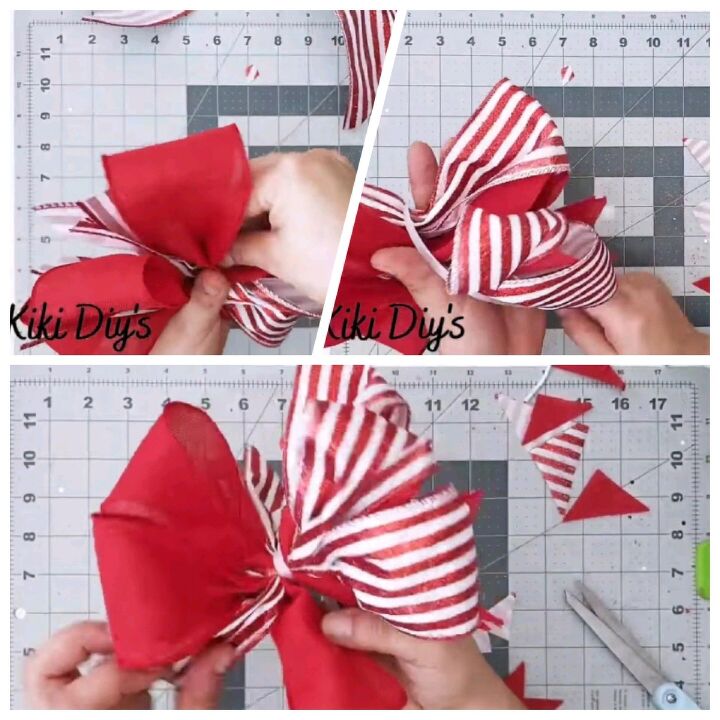
When you have added all your strips, you are going to use your big zip tie, and tie really tight your bow. Then is time for my favorite part, fluffing! Any bow can be a beautiful bow, if you fluff it enough.
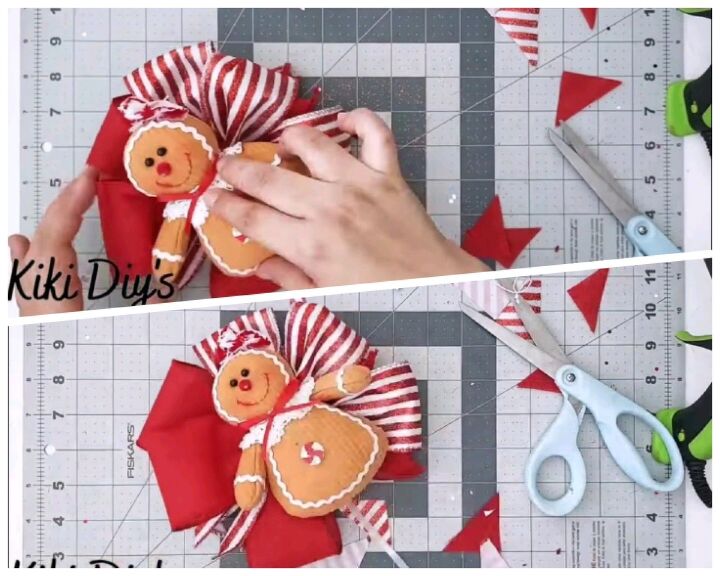
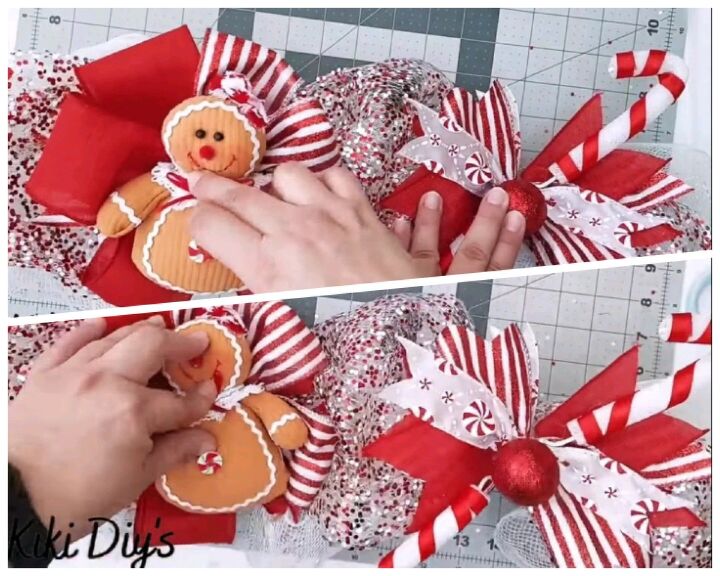
8. Add the gingerbread
Then we are going to use lots of hot glue to add our cute gingerbread lady to the middle of our bow.
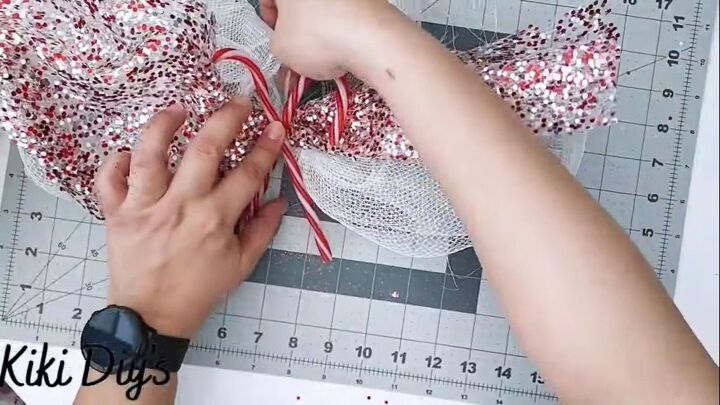
9. Assemble the garland
Now we are going to assemble our garland. We are starting with two candy canes crisscrossed, that we zip tie to the beginning of the loop we made.
Then we are going to glue one of our cute bows, to another loop. We are going to continue that pattern (candy cane, bow) until we reach the center of our garland.
When you reach the middle of your bow, you are going to glue the funky bow. Continue with your pattern, starting with the same you used before the funky bow (bow or candy canes) until you reach the end.
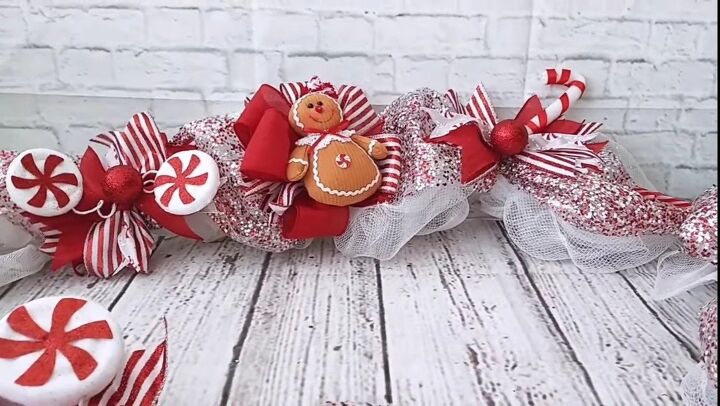
DIY gingerbread garland
This is what you'll get when you finish this beautiful DIY gingerbread garland. You can use it on your mantle, on the top of your kitchen cabinets (as I did), on your window, or anywhere you want.
What do you think of this DIY gingerbread garland? Let me know in the comments below.
DIY Christmas Decorations
Comments
Join the conversation
-
What an adorable garland! Thank you so much for sharing! I am thinking of adding to it and using it around my front door at Christmas!
Thank you again for the inspiration! Hugs


Frequently asked questions
Have a question about this project?