


Vintage Book Page Banner

I decided not to hang garland on my staircase this year and it was feeling empty and out of place. I wanted to create something to fill the space using only what I had on hand. I decided to try to create a vintage inspired book page banner, and I am so pleased with the results. The greatest part about this project is that as long as you have the basics, most of the supplies can be swapped out for items you may already have at home.
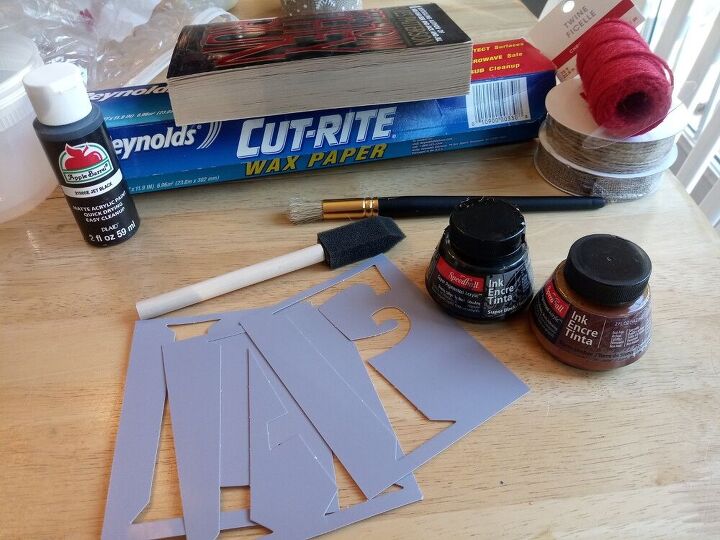
There are a few basic items you'll need for this project. First off, you'll need a book you feel comfortable ripping pages from. I chose a dated, readily available mystery novel. I'm an avid book reader and I'd be lying if I said it didn't sting a bit ripping pages from a book. If you don't have any books you feel comfortable ripping pages from head to your local thrift! You can also print faux book pages from your computer. You will also need twine, string or ribbon and acrylic paint. A stencil comes in handy if you are not talented in calligraphy, and if you use a stencil, you'll also need a stencil brush. I used ink to dye my pages to give the an aged look. If you do not have ink, there are several natural options that will work well such as tea or coffee. A foam brush will be needed to brush the "dye" onto the pages. Cardstock is an optional material used to make the bookTj pages more sturdy.
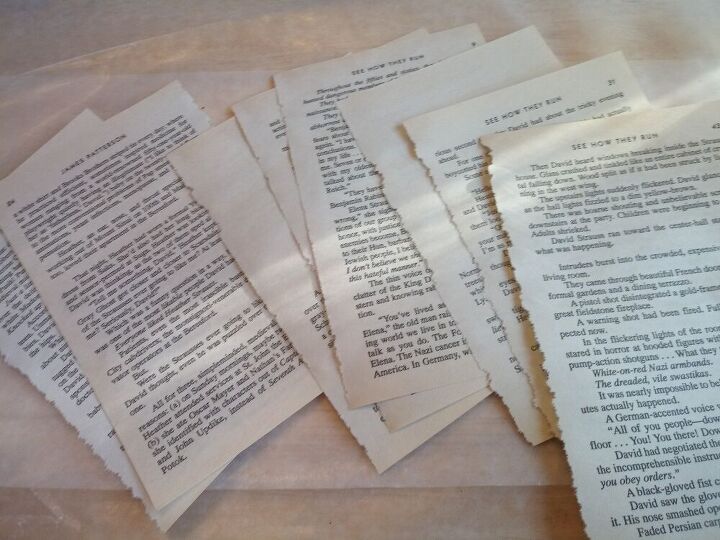
The first thing you'll need to do is decide what your banner will say and rip your pages out.
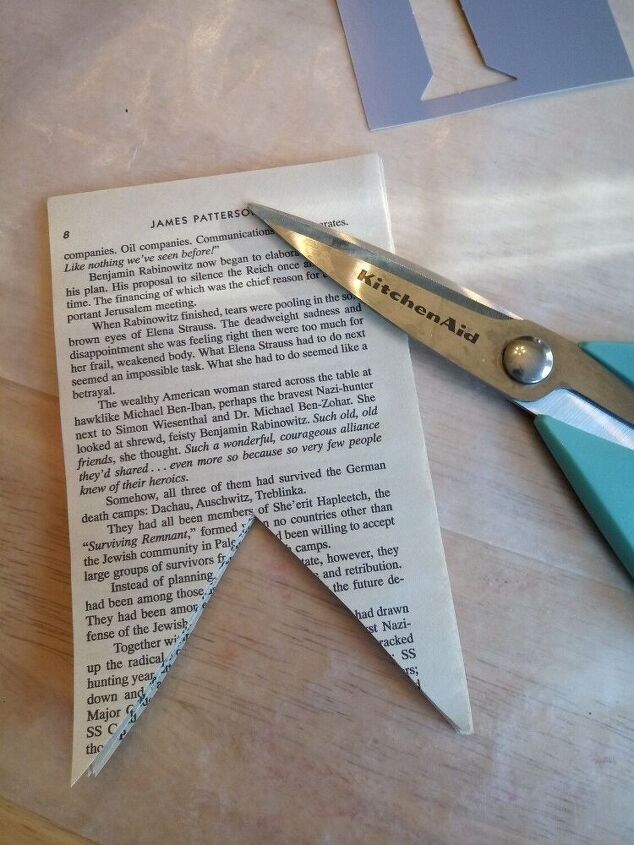
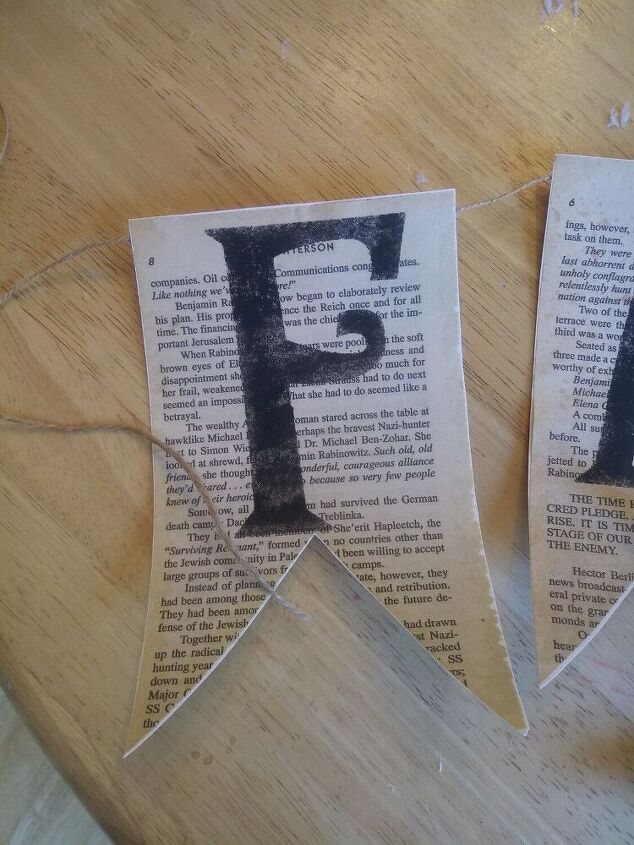
Once you have all the pages you need stack them up and cut a triangle out of the bottom of the pages. Now your pages are ready to be dyed.
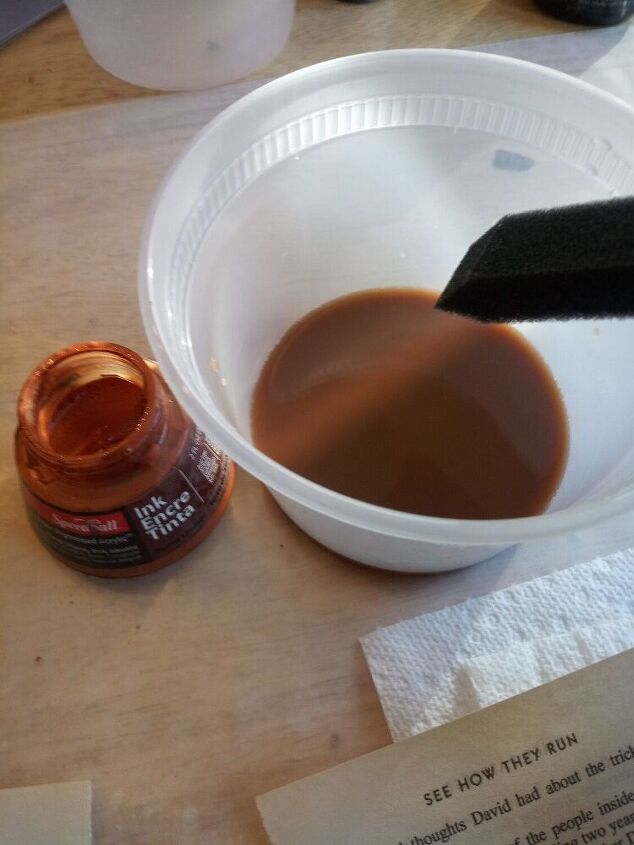
You will need a container and water to dilute the ink.
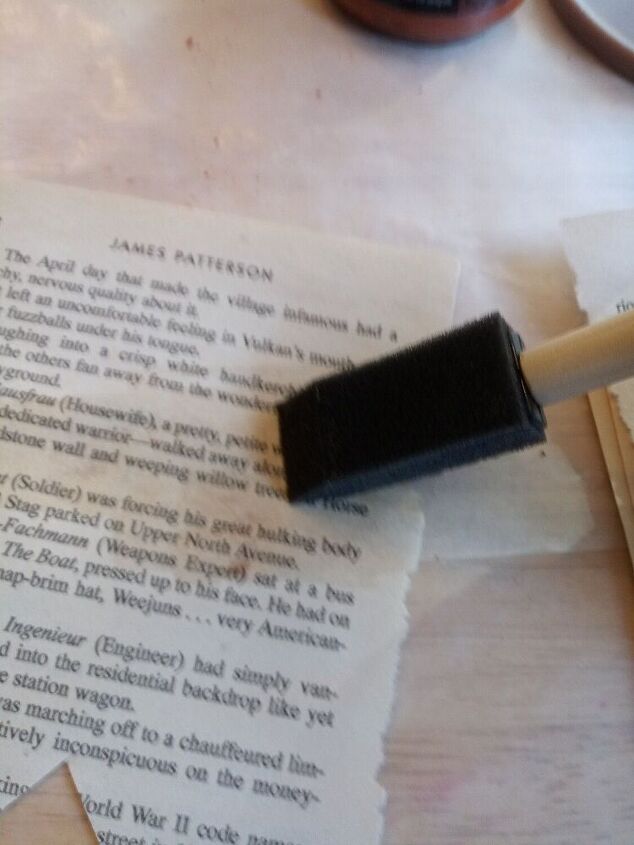
When your ink is diluted use your foam brush to brush it onto the pages one at a time.

You can use your stencil brush to flick undiluted ink onto your pages to create subtle stains.
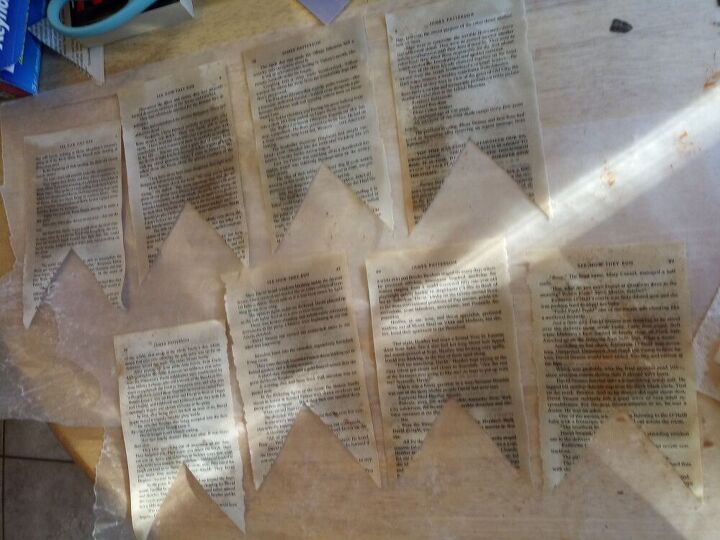
When your pages are all dyed lay them flat to dry. I layed mine on wax paper for easy cleanup.
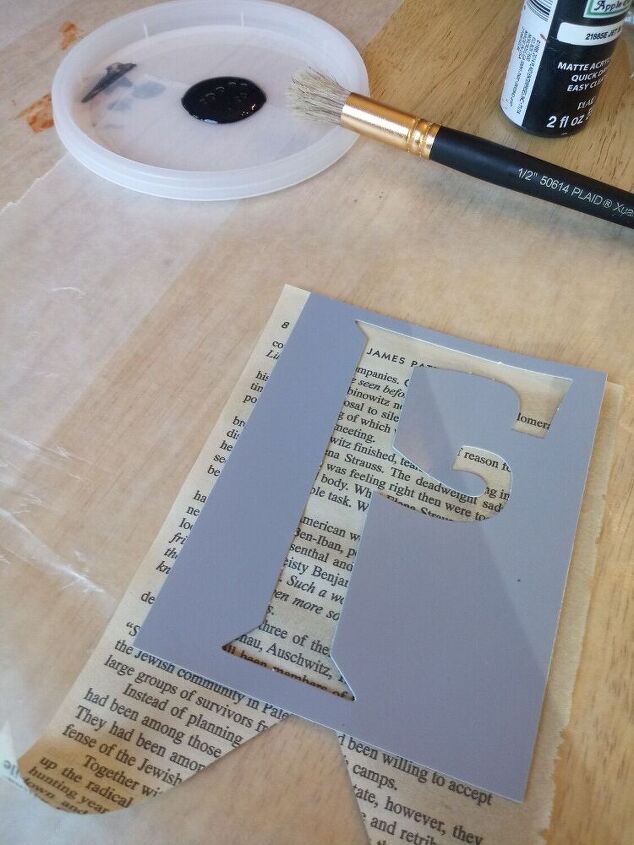
When your pages are dry you're ready to stencil. Be sure to center your stencil for the best outcome.
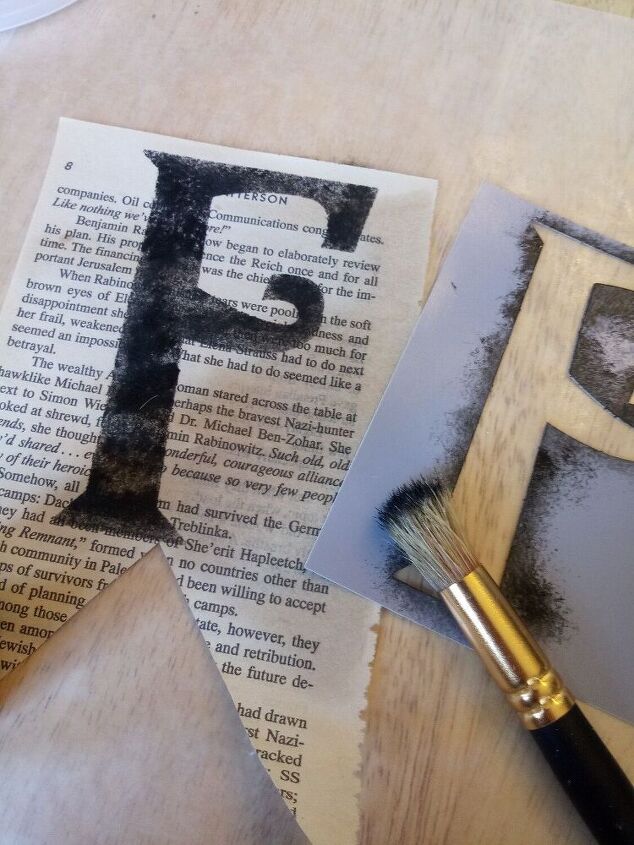
Squeeze a small amount of acrylic paint onto a paper plate or paint tray and dab your stencil brush into the paint. I like to use a dry brush technique when stenciling to prevent bleeds and create a distressed look.
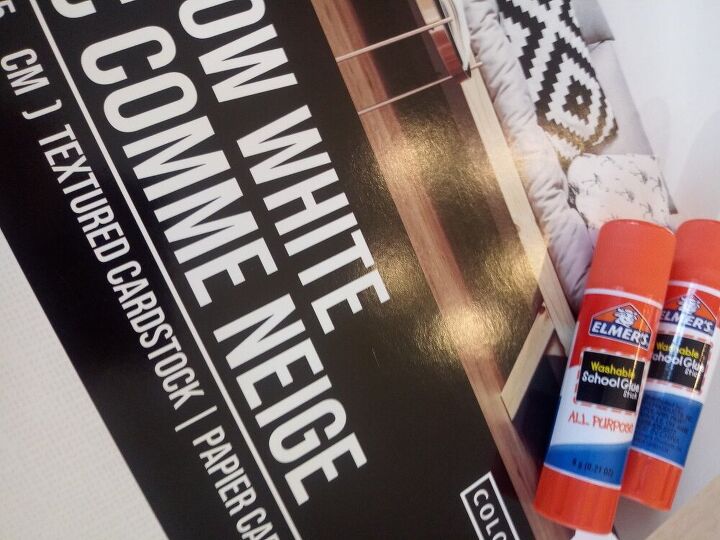
(Optional) When your stenciled pages are fully dry you can add cardstock on the back of them to make them more sturdy. To do this you'll need cardstock and a glue stick.
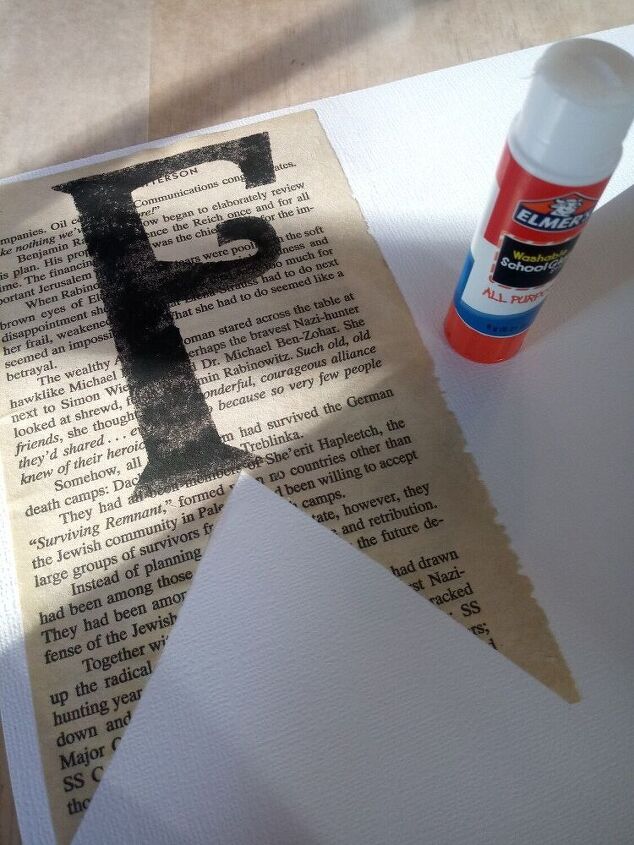
Take your book page and glue it onto the cardstock, press firmly to ensure there are no air bubbles. Try to fit as many book pages onto the cardstock as you can, then cut them out. O

Now you're ready to assemble your banner. To do this cut your string or ribbon to the appropriate length. Use a hot glue gun to attach the pages to the string. Gluing them upside-down and facing away from you should ensure that they'll be facing the right way. Pay attention to the order your gluing the pages in. If you do make a mistake, hot glue is forgiving and you should be able to safely remove the page and try again.
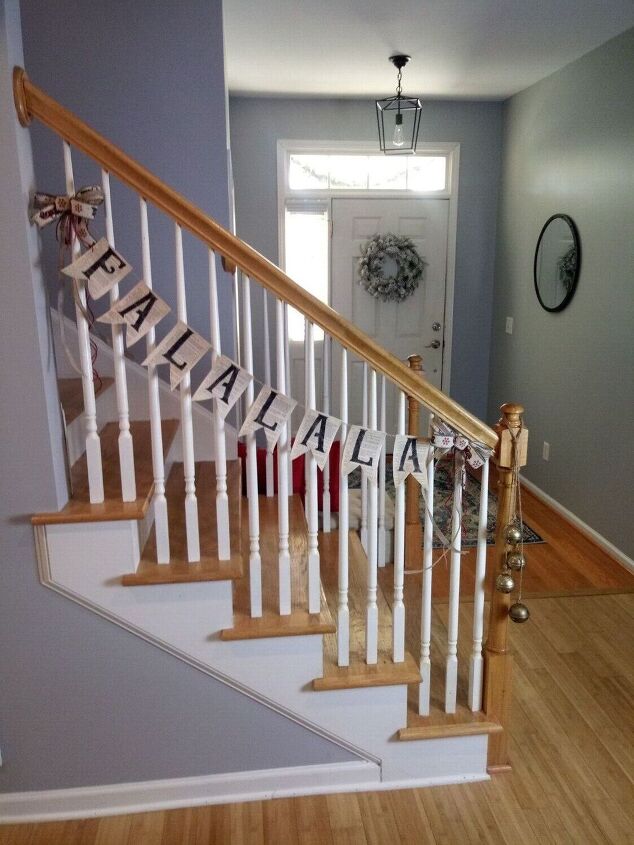
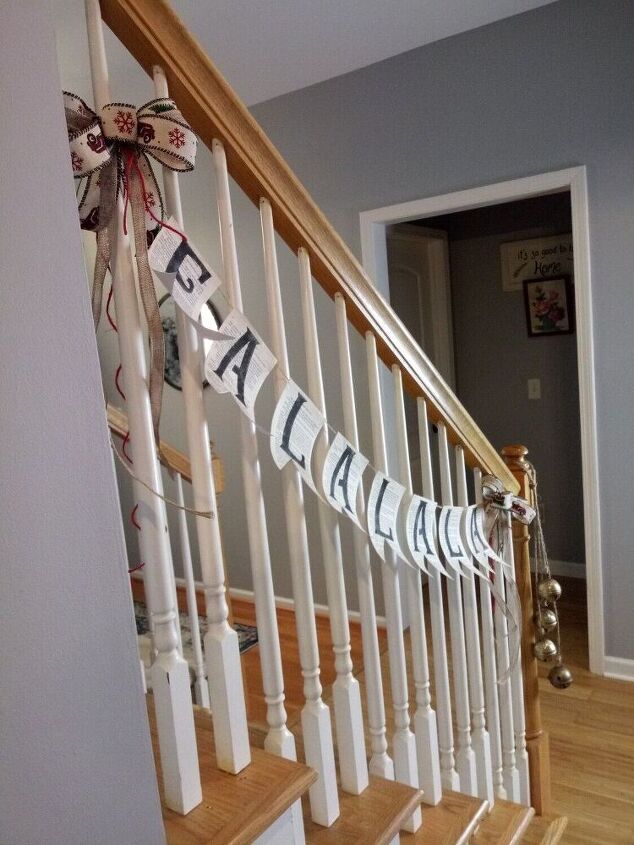
When you're banner is assembled you're ready to hang it as you please. I tied my banner to the railings.
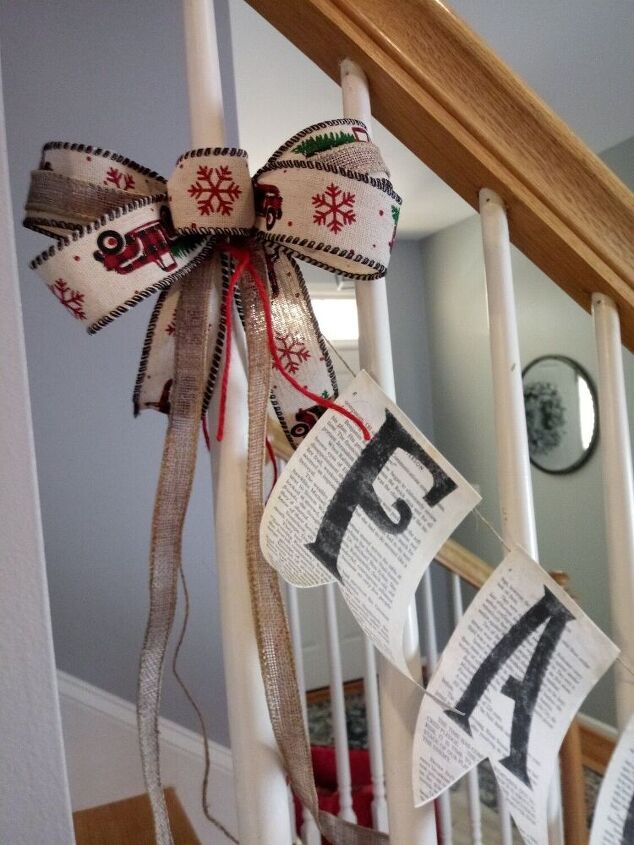
I used ribbon to make bows and add something extra to my banner after it was hung.
I hope you enjoyed this project and feel inspired to create your own book page banners. I'm looking forward to creating more for each season.
Comments
Join the conversation
-
Really nice, looks great and like you put alot of effort into it !
-
I love this idea! It looks gorgeous!


Frequently asked questions
Have a question about this project?