


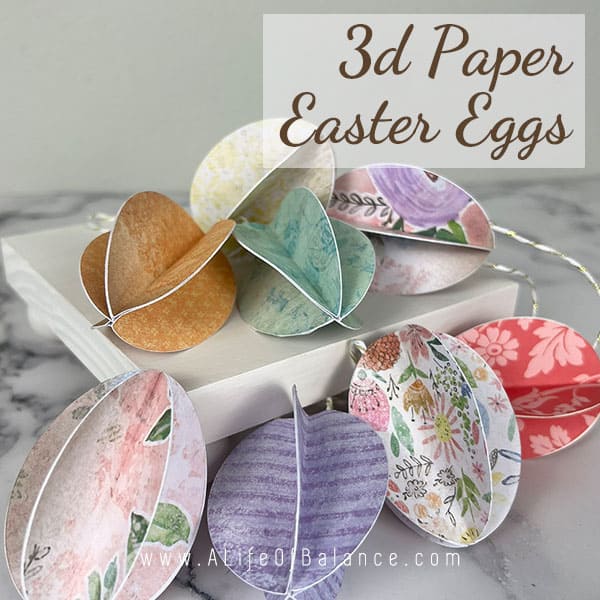
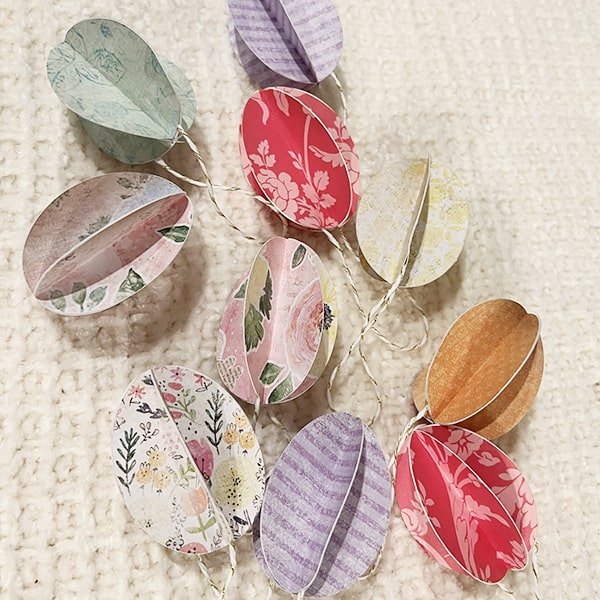
3d Paper Easter Eggs
You can create your own DIY 3d paper Easter eggs and display them on an Easter egg tree made from branches. They make a great Easter egg decoration for an Easter brunch. The 3-D Easter eggs could even be used in Easter wreaths or in baskets or bowls on your Easter table.
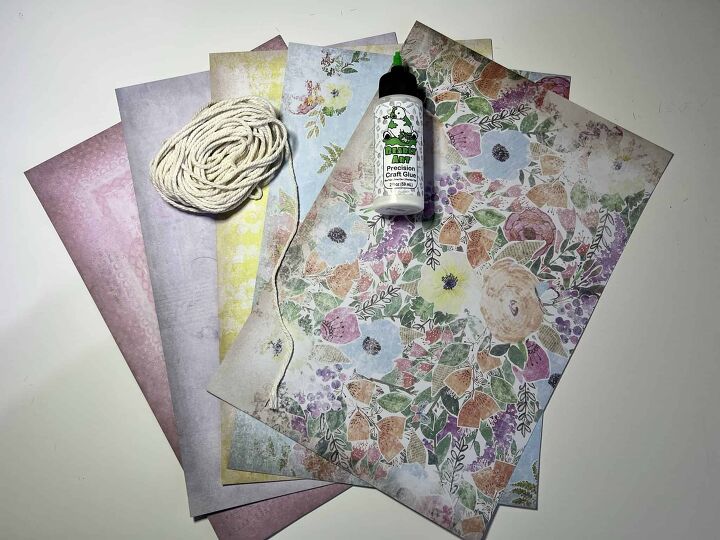
Supplies for the Paper Eggs
Scrapbook paper of your choice – The variety available makes for a huge assortment of colorful Easter eggs.
Glue – I love this Bearly Art Glue
String
Instructions for Making 3d Easter Eggs
Here’s how I made my 3d Easter eggs. You can always just cut them out of scrapbook paper by hand if you don’t have a cutting machine.
For more detailed instructions, check out the blog post here
These instructions are for the Cricut Maker and Design Space. They will need to be adjusted for your design software.
- Open Cricut Design Space or the cutting software for your machine and create a new project by pressing the New Project box.
- Click the images tool and type egg in the search box and press enter.
- Click the + next to “Layers” and click “Single” to get only eggs that are made to be cut out of a single material which is what will work best for this project.
- Select the egg you want to you. Click “Add to Canvas” to put them on your canvas to work with.
- Your egg may not be the size you need. Resize it to what is appropriate for your tree. I decided to go with 2-1/2” tall for my eggs. To change the size, select your egg, click within the size box at the top, and type in the dimension you want in inches (for me 2.500), and press enter.
- Duplicate your egg 4 times so that you have a total of 5 eggs (or 9 times to have a total of 10 eggs so you can make 2 3-D eggs of each color/pattern).
- Click “Make It” (the green button in the upper right corner), and then click “Continue” (the green button in the lower right corner.
- Select the appropriate material from the list. If the material you are using isn’t on your favorites list, you will probably have to click “Browse All Materials” to find the appropriate material. Once you have selected your material you can change your pressure if you’re on a Cricut Maker. I usually find that default works fine but you may have a different experience.
- Load the first scrapbook paper you are using on your mat and click the flashing arrow on your machine to load the mat. Press the flashing “C” on your machine to cut snowflakes out of the vinyl. Unload your mat by pressing the flashing arrow on your machine. Press “Done” in Design Space.
- Remove the eggs from your mat.
- You can now load another piece of scrapbook and repeat steps 7-10 as many times as you want.
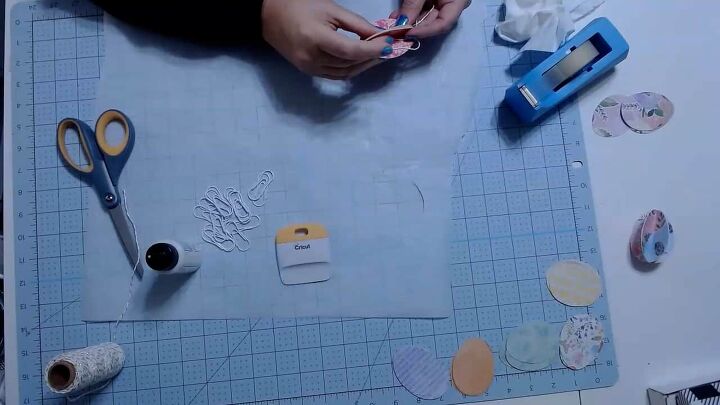
Once all of your eggs are cut out it is time to start assembling them.
- Fold each of your eggs in half lengthwise with the pattern of the paper on the inside. Make this fold as even as possible and use a flat object to crease it.
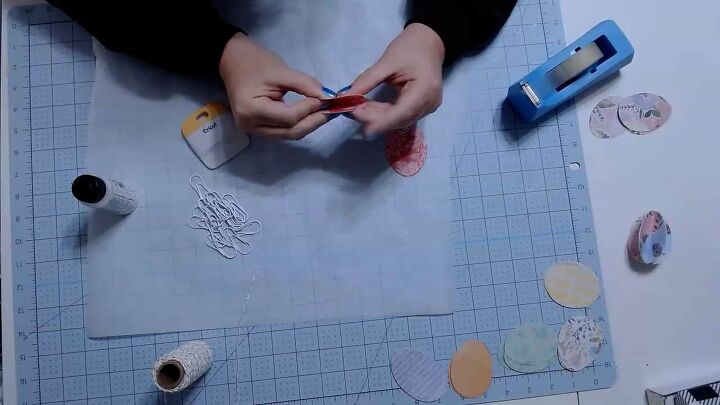
Take one piece of your egg and put glue on the back of one half of it. Take another piece of your egg and line it up with the first piece. Hold them together for a few seconds to let the glue set.
Repeat with the next piece of your egg.
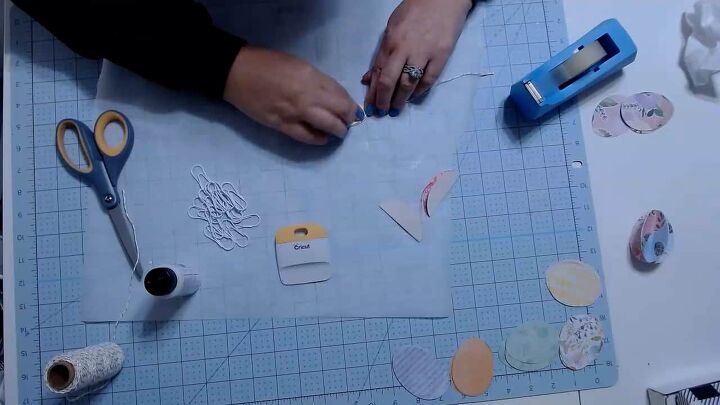
Add a loop to your egg by cutting a piece of string about 6” long and attaching each end to one of the insides of your egg. I attached the string with a piece of tape to make sure that it would hold.
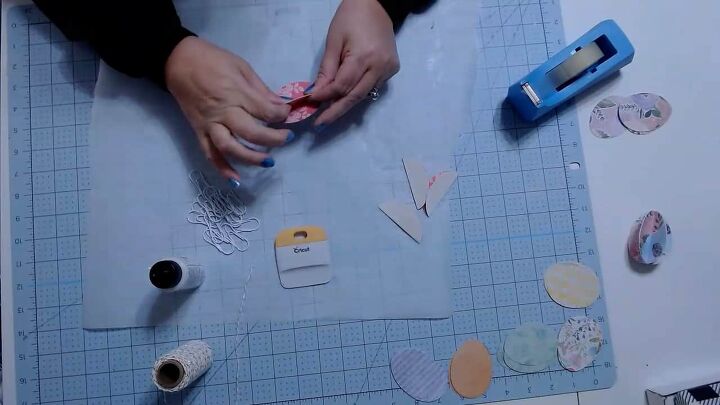
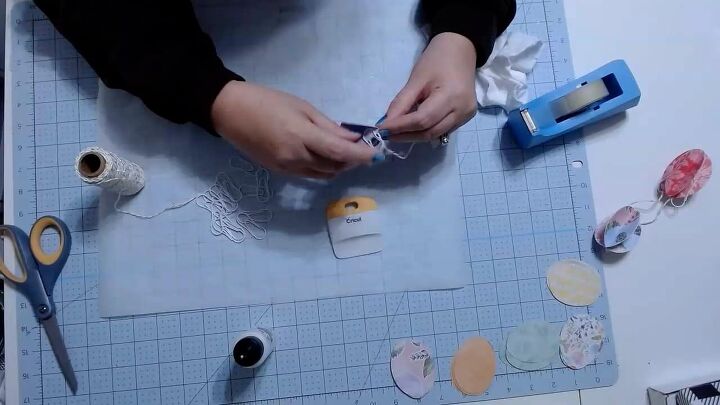
Glue the last 2 pieces of your egg onto your shape, one on top of each string. I used a paper clip to hold these together until the glue was completely set since I found that the string made them want to separate.
Finally, add plenty of glue down in the center of your shape and then on the two backs that are left showing. Put these backs together and hold for a few seconds until the glue sets.
Repeat these steps for each of the eggs you want to make.
Read this guide for more non-candy Easter egg ideas!

Comments
Join the conversation
-
Love this!
-
Very cute


Frequently asked questions
Have a question about this project?