


3D Printing Pen Candy Filled Easter Eggs
2 Materials
$6
30 Minutes
Medium
Use a 3D pen to make these colorful Easter eggs that you can fill with candy pieces. Take it a step further and transform your eggs into a bunny, carrot and chick using the free project template. 3D printing pens combine cutting edge tech and screen-free creativity, providing a whole new crafting medium.
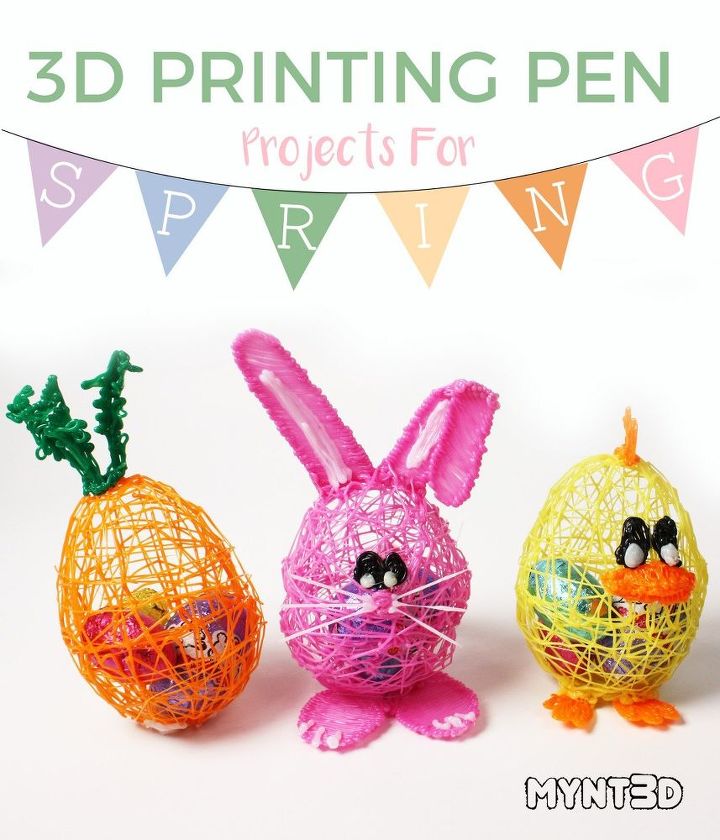
1. Start by drawing the filament around the widest part of the plastic egg.Then draw up and around the top of one end of the egg.
2. Criss-cross up and over and around forming a "wire frame" of half the egg.
3. Repeat with the other half of the egg shape.
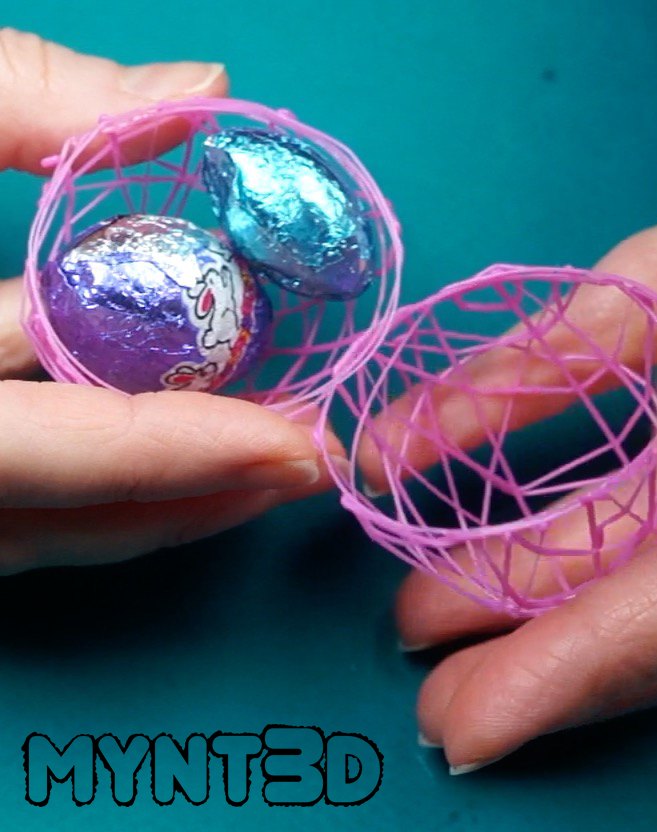
4. Fill one half of the egg structure with Easter candy and hold the egg halves together with the candy inside.
5. Use the MYNT3D pen to attach the egg pieces together by winding the filament up and around.
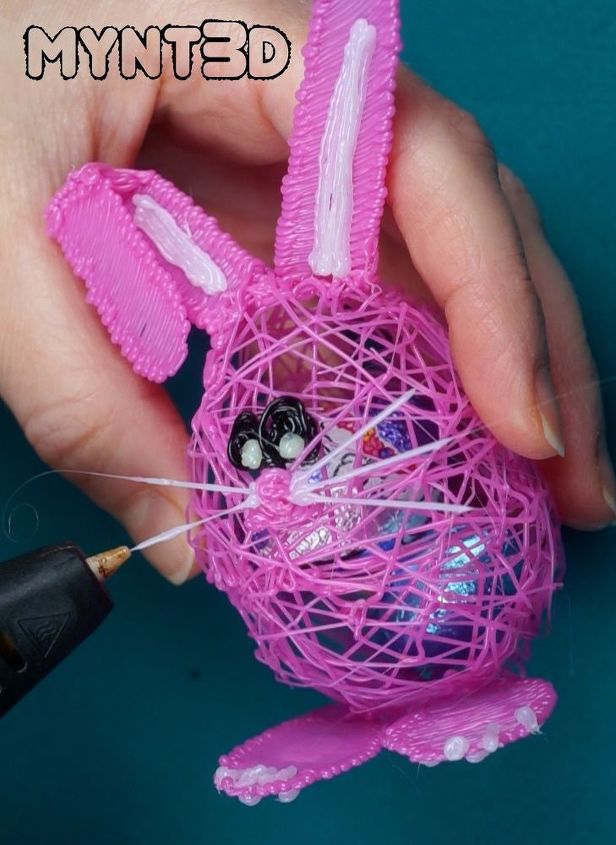
1. Begin tracing the bunny ears. Draw the flopped ear pieces separately and join, leaving a small gap between them. TIP: It's helpful to hold the 2 pieces on either side of a pencil and draw over the pencil curve.
2. Trace the feet.
3. Attach the feet and ears to one of your chocolate filled eggs. Draw on the bunny nose.

Activity Ideas: These eggs are cute to use for an Easter egg hunt. You can assign each kid a color to find, or draw their name on the egg. They are also fun to toss back and forth because the chocolate inside moves around, making them more of a challenge to catch!

Want more details about this and other DIY projects? Check out my blog post!


Frequently asked questions
Have a question about this project?
WHERE CAN I PURCHASE THE PENS?