


Beautiful Decoupage Easter Egg DIY
Do you love Easter eggs as much as I do? Then you need to check out my beautiful decoupage Easter egg DIY! It’s a simple and fun project!
For more DIY ideas from An Organized Season, click HERE!
When I think about Easter eggs, it brings back so many wonderful memories!
Memories of filling brightly colored plastic eggs with candy and an occasional coin!
The joy of watching the boys run around the yard, filling their baskets with eggs, and opening them to find their treasures!
Seeing the boys all grown-up and hiding the eggs for the younger kids in the family!
Unfortunately, we won’t be hiding any eggs at our house this year!
So to make up for it, I’m going to create some beautiful decoupage Easter eggs for my spring decor!
You might think my choice of colors is unusual, no pastels this year!
I’m going for a nature-inspired Easter tablescape and want my eggs to coordinate with moss and twigs!
Let’s get this DIY started, and make some beautiful Easter eggs!
GATHER
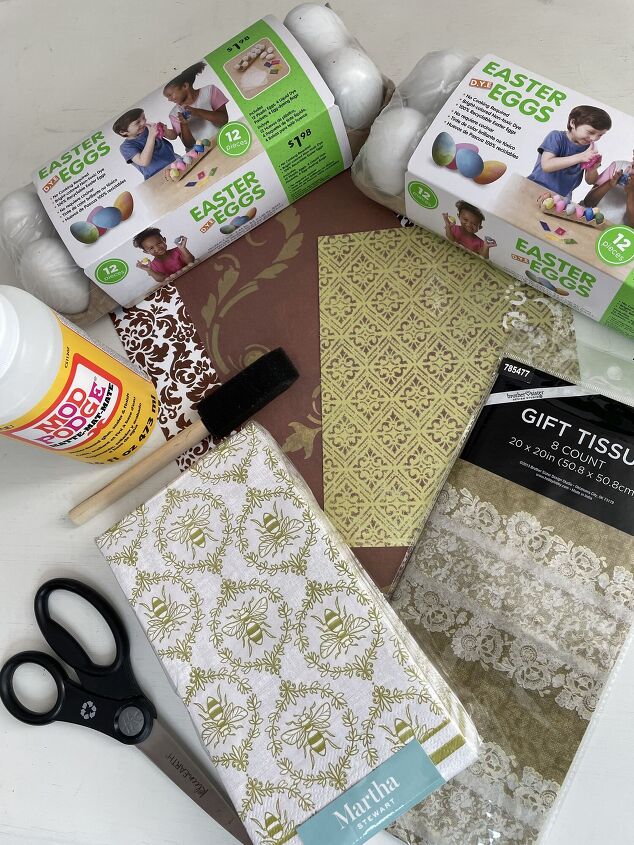
Gather or purchase the following items to make this project:
- Easter eggs-purchased from Walmart for $1.98 a dozen
- Mod Podge
- Foam brush
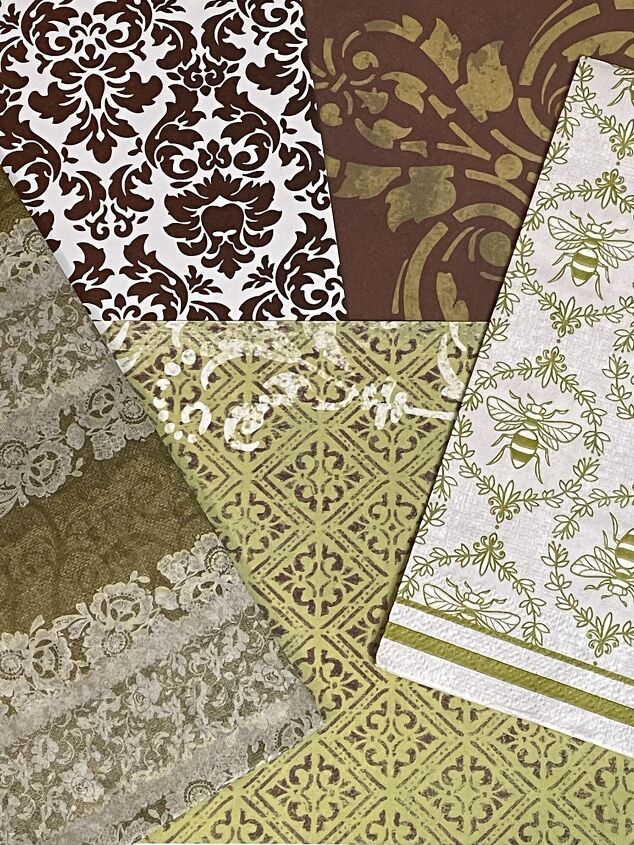
- Scrapbook paper
- Napkins-purchased from Home Goods
- Tissue paper-purchased from Hobby Lobby
- Wax paper
- Empty egg carton
PREP
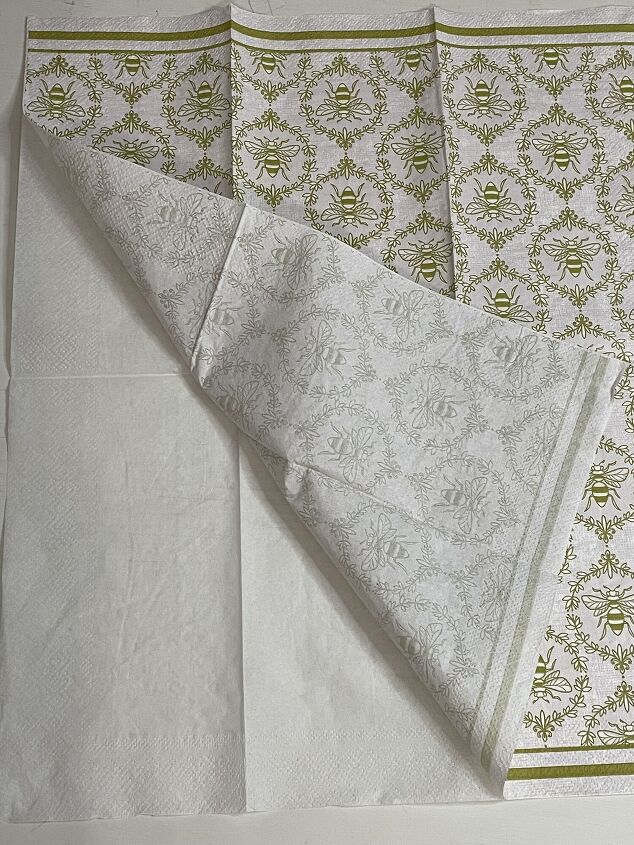
We’re going to start with the napkin. Most napkins are 2-ply, so you will need to separate the sheets.
Discard the plain backside.
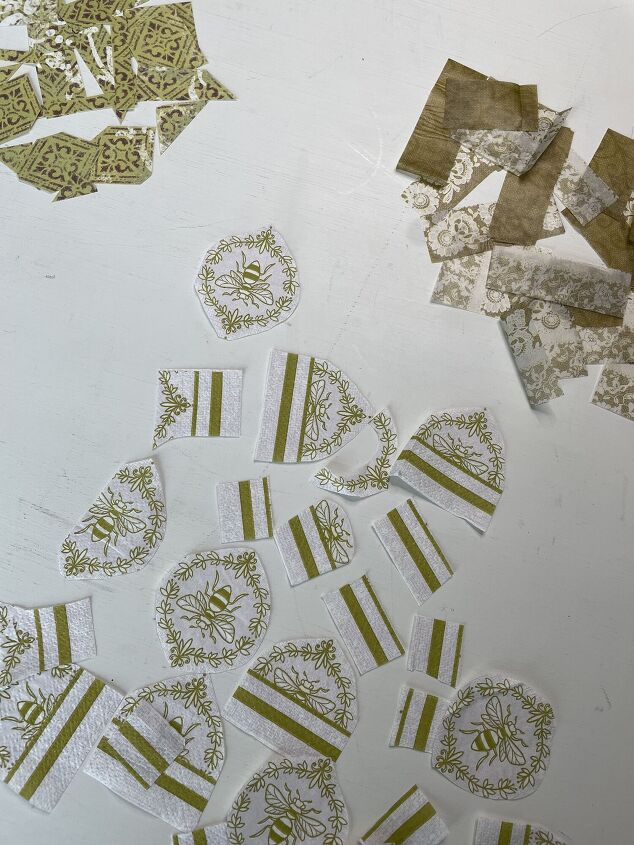
Cut or tear the napkin into small pieces.
Next, cut or tear the tissue paper.
Do the same with the scrapbook paper.
Cover your work surface in wax paper, so the eggs won’t stick to it.
STEPS TO MAKE DECOUPAGE EASTER EGGS
Dip the foam brush into the mod podge.
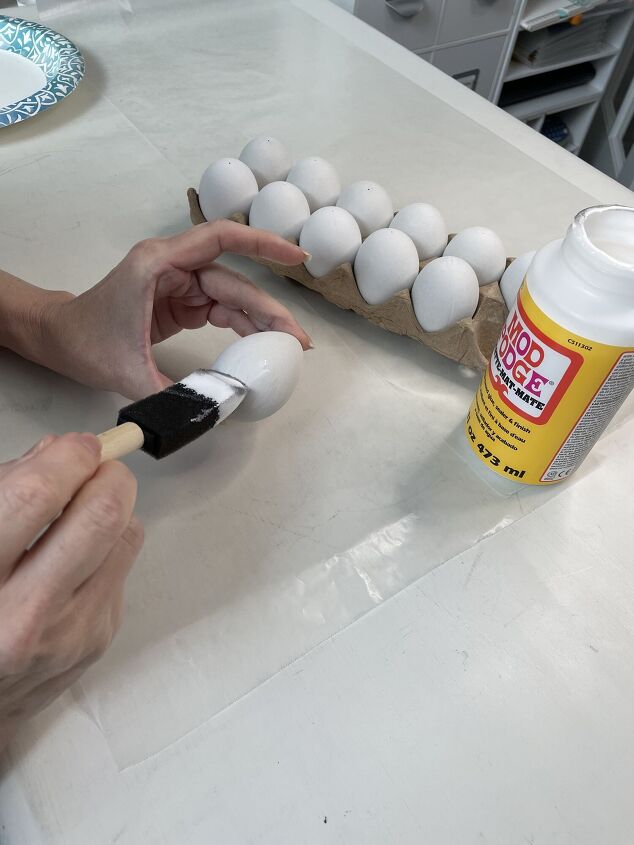
Paint it onto a small area of the egg.
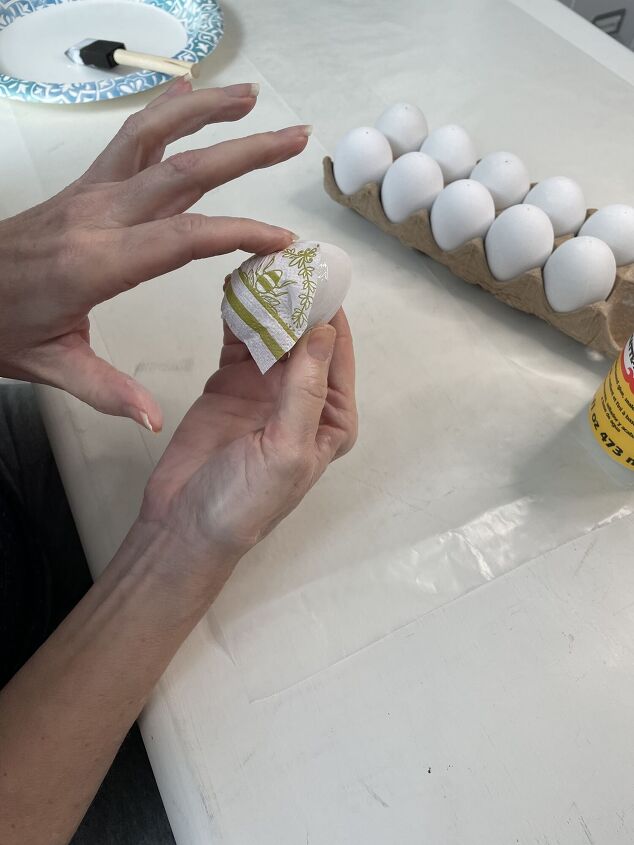
Attach the piece of napkin to the mod podge and smooth with your finger.

Repeat until half of the egg is covered.
Paint over the pieces of the napkin with more mod podge.
Set on the egg carton and let it dry.
Turn the egg over and repeat the steps until the egg is covered.
TIPS I LEARNED
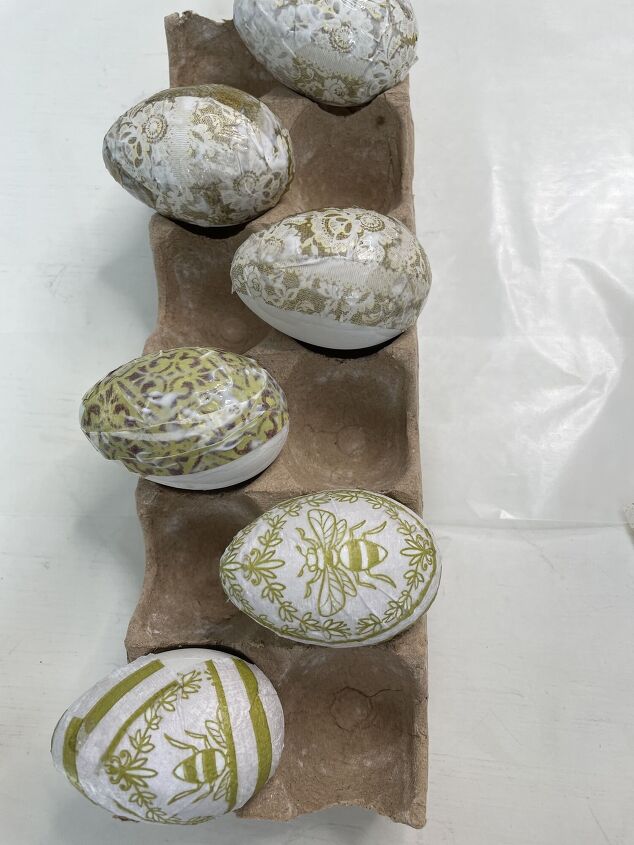
- I was planning to lay the eggs on the wax paper to dry but since I did one side of the egg at a time, they would roll over. So instead, I placed them on an egg carton which worked great!
- The napkin and tissue paper were very easy to apply to the egg and I could make them quickly. However, the scrapbook paper was a different story. I had to hold each piece onto the egg until it adhered. It was not hard, it just took a lot longer than I expected.
- I cut the scrapbook paper into strips and squares. I liked how the squares looked much better than the strips!
- Your fingers will get messy, so have a wet cloth or wipe to remove the glue!
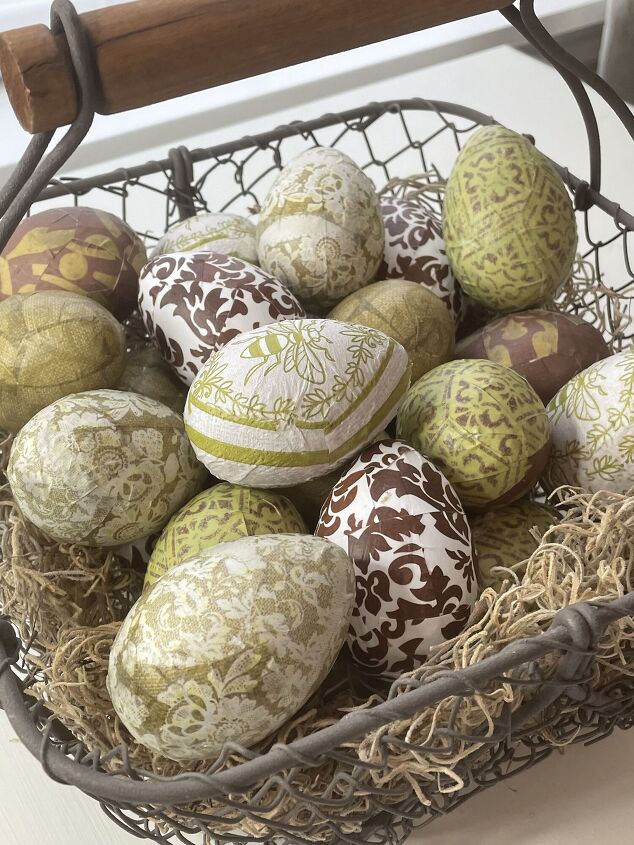
MY BEAUTIFUL DECOUPAGE EASTER EGGS
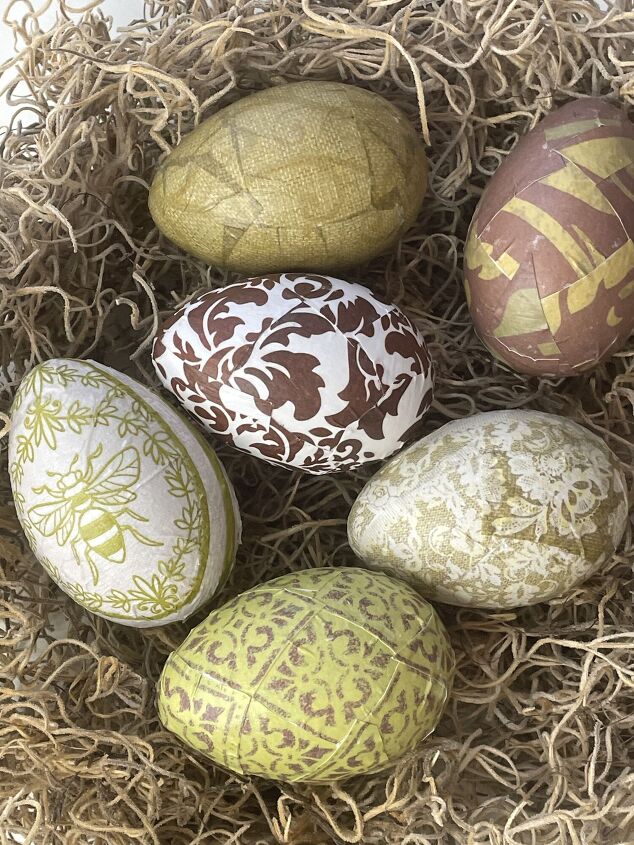
SNUGGLED IN A NEST
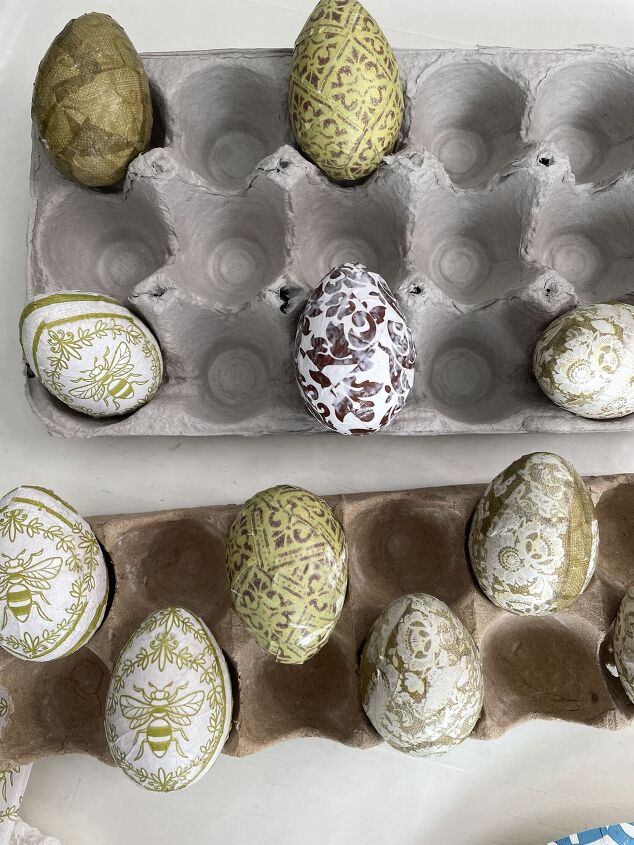
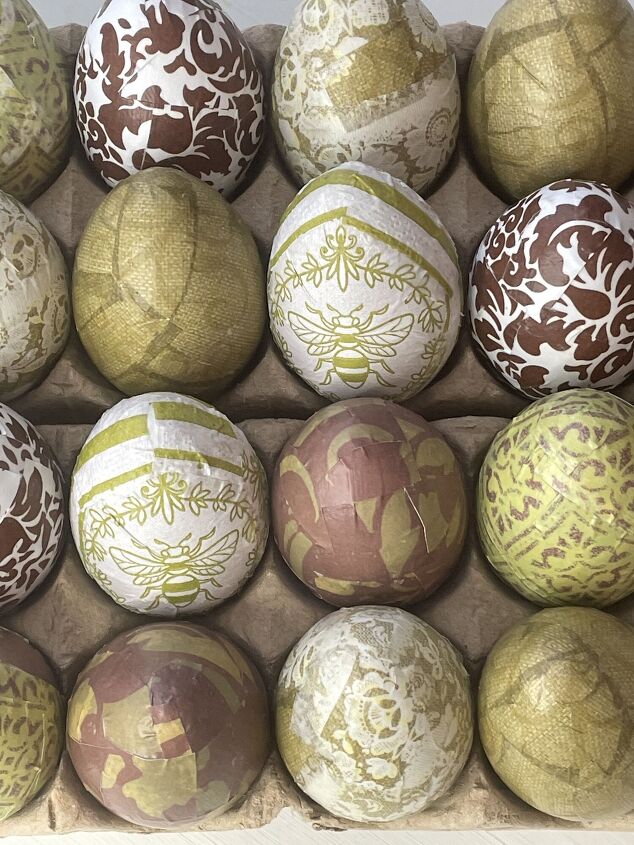
RESTING IN AN EGG CARTON
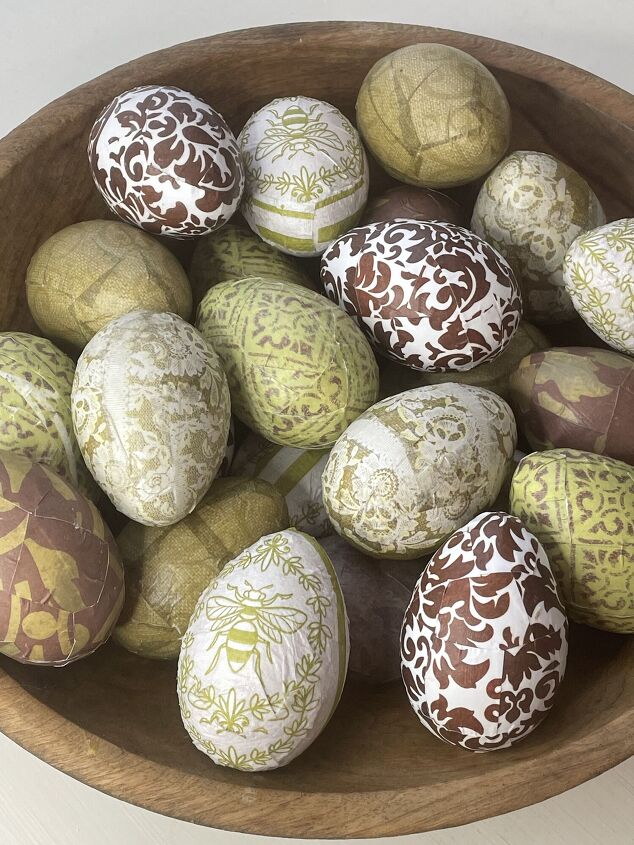
DISPLAYED IN A WOODEN BOWL
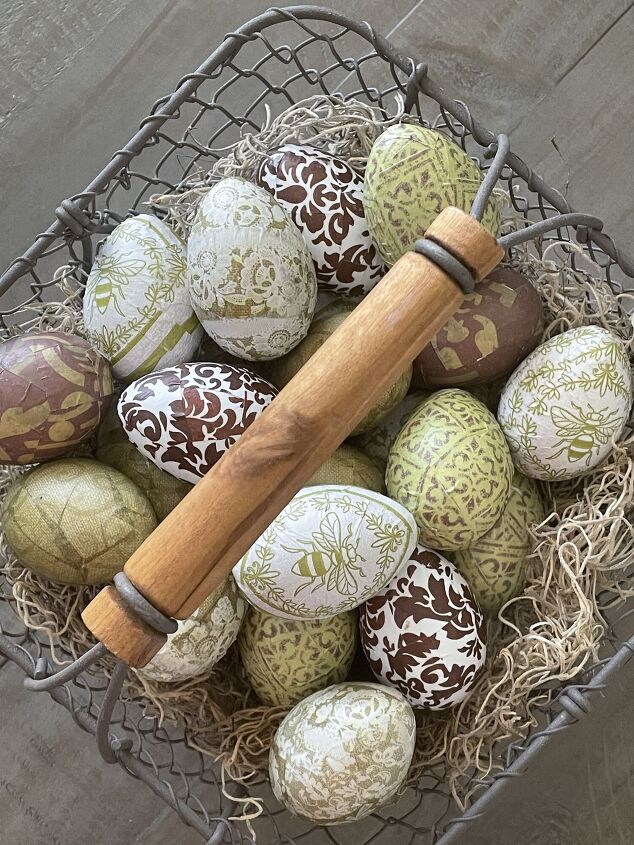
COLLECTED IN A BASKET
Are you ready to give this decoupage Easter egg DIY a try? I think you should! It’s such an easy and inexpensive way to add spring decor touches to your home!
If you are interested in learning more about home organization, seasonal decor, and more diy projects, from simple crafts to full room makeovers visit our blog AnOrganizedSeason.com
Blessings, Donna and Rich


Comments
Join the conversation
-
These are cute but I bet really hard to peel and eat. I’d throw them away before going thru all that trouble to peel for the little ones,
-
I just LOVE these!! I missed the post before Easter, but I will be doing this next year.🐇🥚🥚🥚🥚🥚🤍🤍


Frequently asked questions
Have a question about this project?
Are these plastic eggs or real eggs that have been boiled?
When does the tissue paper go on and what size is it cut to Thanks