


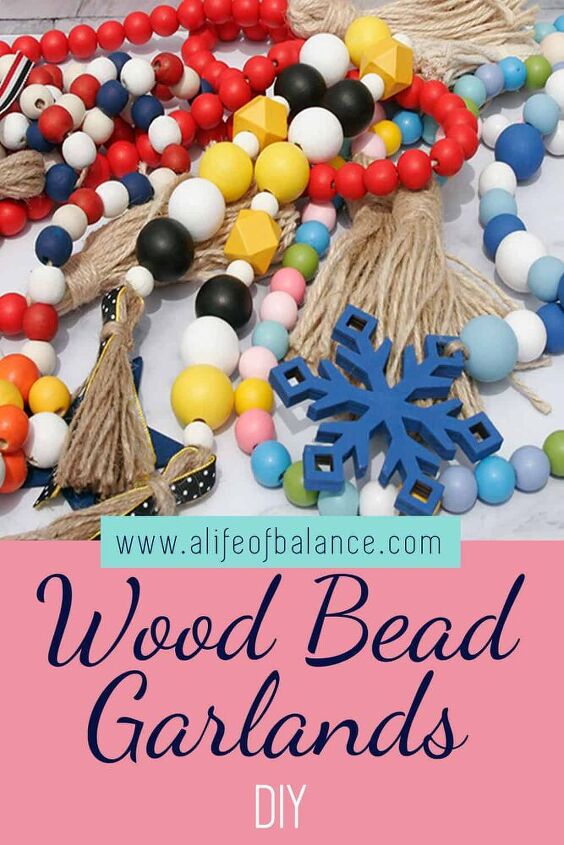
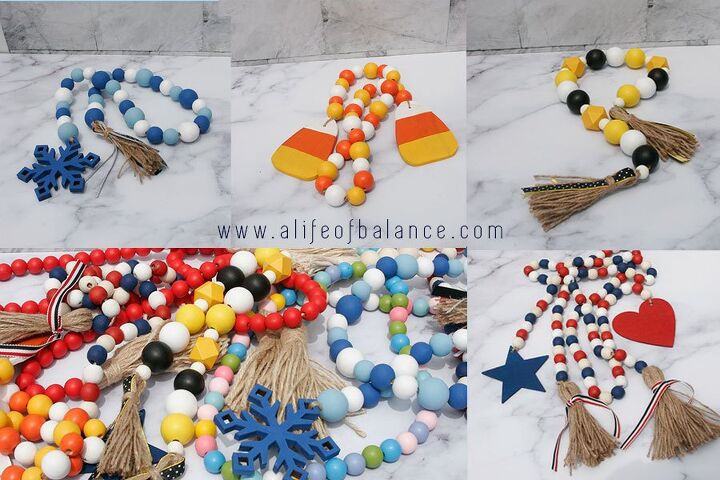
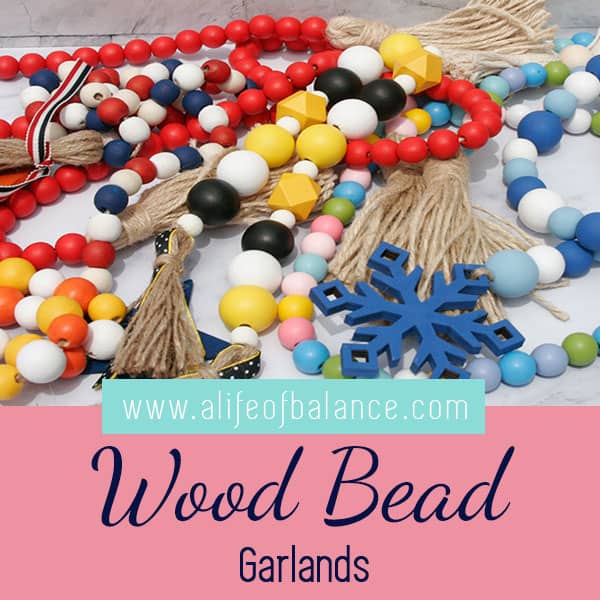
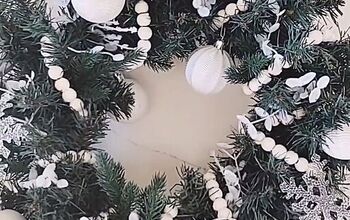
How to Make Your Own Wood Bead Garland
A wood bead garland makes great decorative accessories. They work as great fillers on tier trays and add color to many other types of decorative vignettes. But at about $15 each, they can get expensive if you want to have a variety of colors available. And, you can never seem to find the exact color combinations you want. Making your own is a great solution and is pretty simple. For the cost of 1-2 ready-made garlands, I was able to buy the supplies for 5+ garlands. Here’s how to make you own and the supplies you’ll need.
Step 1 – Make decisions about your wood bead garland.
The first step in making a wood bead garland is to make some decisions about what you actually want. Ask yourself these questions before you get started.
- How long do you want your finished garland to be?
- What colors do you want your garland to be?
- What type of beads do you want in your garland? Will they be all the same size or varying sizes? Will they all be round or will some be other shapes?
- Will your garland have an icon on the ends or tassels, or one of each?
Step 2 – Gather your materials.
Once you’ve made your decisions, it’s time to gather your materials together. Make sure you have enough of each type of bead you plan on using as well as your icons (if any), twine, paint and any ribbon trim you want.
So for $10 I've gotten 5 garlands so far with enough supplies for at least 4 more, it all depends on the size and layout of the beads you use.. The only other cost I had was for the icons which my husband cut most of out of scrap wood and ribbon which I used ones I had left over from other projects so there wasn't any real cost on them. I also ordered a few hexagon beads because I just thought they looked fun.
Step 3 – Lay out your wood bead garland.
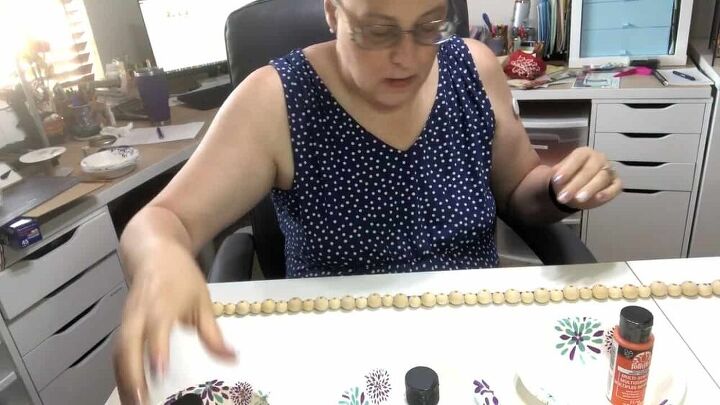
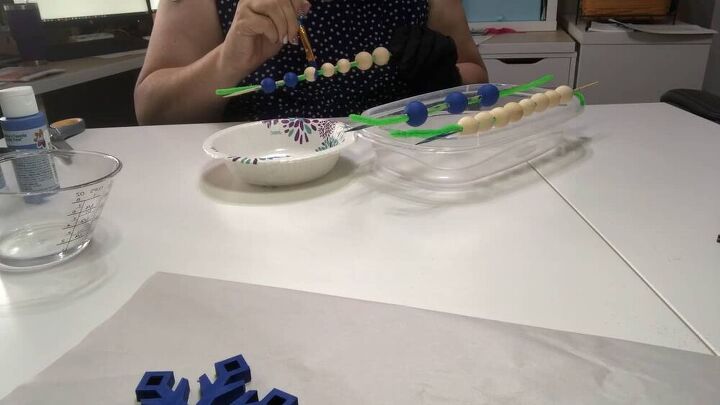
The easiest way I’ve found to layout a garland is to tape my tape measure to my worktable and then literally lay the beads along it until I reach the desired length. This is the time to adjust what beads you’re going to use. Now that your garland is laid out, you need to sort the beads into groups by what color they will be painted. One of the easiest ways I’ve found to do this is to use a paper bowl for each color I will be painting. There are lots of patterns you can create with the variety of the beads and the colors so this is your chance to be creative.
Step 4 – Paint your beads.
Now it’s time to paint everything. I’ve seen 3 different ways to paint beads.
Spray paint the beads.
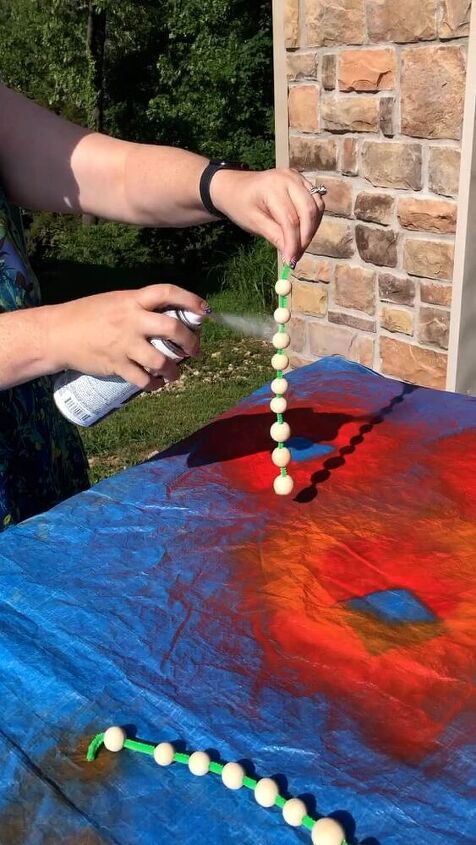
For this method, you will want to string the beads on a pipe cleaner. Be sure to leave some space between the beads so you can paint the top and bottom. Leave enough of an end to hold on to and then to curl around a hanger for drying. Hold the pipe cleaner in one hand while spraying the paint with the other. It is very important to use short bursts of paint to keep from getting globs of paint on your beads. Make sure to get all sides of the beads as well as the tops and bottoms. Once you’re finished applying the paint, curl the end of the pipe cleaner around a hanger and let dry for at least an hour.
If your wood bead garland is going to be one solid color you can skip the pipe cleaner and string them directly on the twine before painting them. With this method the tops/bottoms will not be painted but shouldn’t show.
I personally don’t like this method of painting as it seems to take longer and requires more set-up than the other methods. It also didn't give as good a finish as the other methods.
Mass paint the beads.
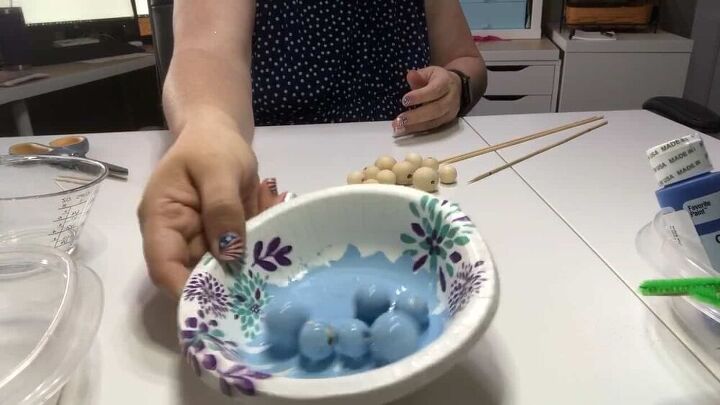
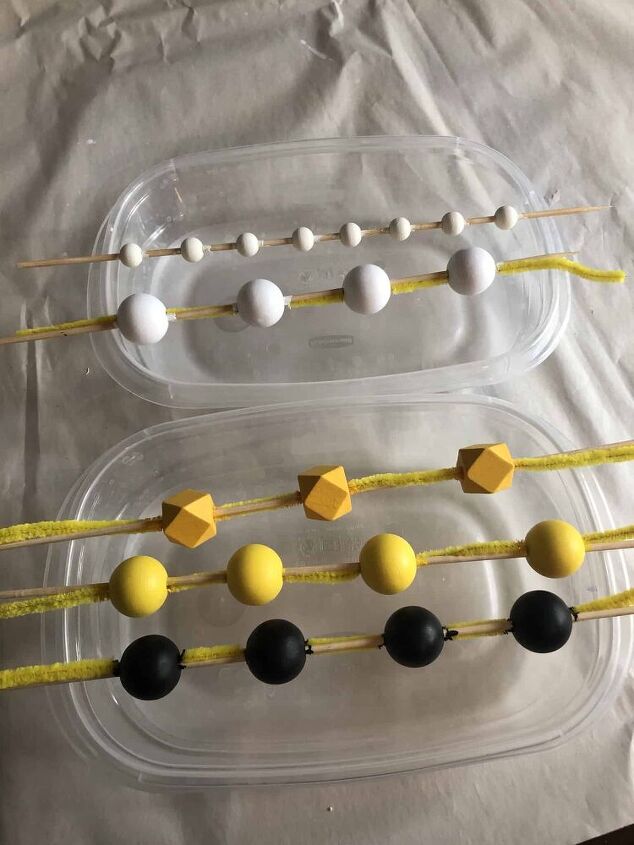
In addition to your beads and paint, you will want to have some toothpicks and bamboo sticks available for this method. Put a small dollop of paint in a bowl (I use paper ones) and add some water. Stir with a toothpick until you have a consistent thinned version of your paint. Now just drop your beads in the bowl and roll around. When the beads are coated to your liking, use a toothpick to remove them and place them on bamboo skewers to dry. I lay the skewers across the top of a bowl or other container to dry.
I’ve seen people who say to take them out of the bowl and lay them on waxed paper but I’ve found that they tend to stick to the paper. That then leads to spots where the paint is pulled off so I don’t recommend this method.
This method works good if you have a lot of beads to paint in one color but it doesn’t give as good of coverage as hand painting does. As long as you’re wanting a “distressed” look rather than an even finish it works well.
Brush paint the beads.
For this method, string the beads on a pipe cleaner and then thread a bamboo skewer through them for stability. Some people just use a pipe cleaner but I find that makes it hard to get them to “stand” for drying. Some other people just use the bamboo skewer but I’ve found that they move around on those too much so the combination seems to work perfect for me.
Using a small brush, paint your beads. Make sure to get the area around the hole on each end as well as the middles.
This is my preferred method for painting my beads. It provides a beautiful finish and really doesn’t take much longer than any of the other methods. This also seems to be the best way to paint any icons you are using on the ends.
Dry your beads.
No matter what method you use for painting the beads, make sure they are completely dry before attempting to assemble the beads.
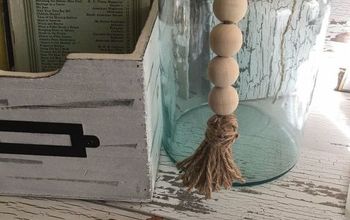
Step 5 – Make tassels.
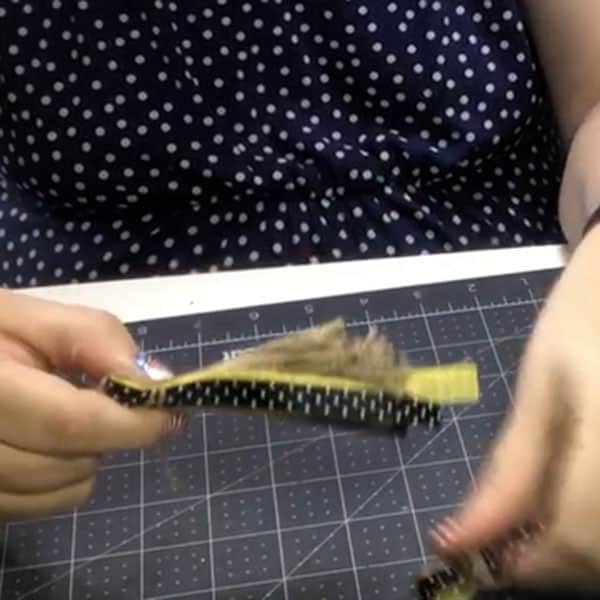
While your beads are drying is a good time to make your tassel. Follow these steps for each tassel you need to make, one, two, or zero.
Before starting you will need to cut one piece of twine that is approximately 6” long and one piece that is approximately 10” long.
Using the ball of twine, wrap twine around the fingers of one hand about 20 times. It is important to be consistent with the amount of tension you use in these rounds in order for your tassels to be a uniform length. You also want to make sure that you start and end on the same end of your hand (pinkie or index finger).
If you will be putting ribbon in your tassel, lay the pieces of ribbon over the outside of the loops. Ribbons should be cut approximately 9” long for this method of tassel making.
Slip the 6” piece of twine between the twine and your fingers and tie it around the end of the loops away from the ends of the twine. Slip the loops off your fingers and double knot the short piece and trim the ends.
Pull the loops taut and cut the end away from the knot where the ends are to create the base of your tassel.
About 1/2” down from the tied off end of the tassel, hold a small tail of the 10” piece of twine and wrap it around the tassel about 3 times. Double knot and trim the ends.
Set your tassels aside to attach to the end of your wood bead garland during assembly.
Step 6 – Assemble your wood bead garland.
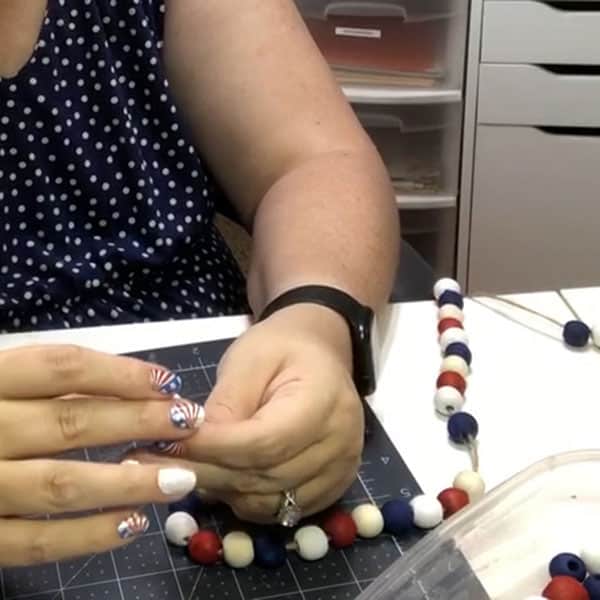
Once all your beads are all painted and dried, it’s time to start assembling. Lay your beads out on the table in the order you want them to be strung.
Cut a piece of twine that is about 10” longer than you want your finished garland to be. Put scotch tape on one end to prevent fraying and make it easier to thread.
Tie the non-taped end of the twine around your icon or tassel for that end. Double knot. You don’t need to trim end here as you will be able to thread it up through the first few beads to hide it.
Start threading your beads on the twine from the other end. Remember to slip the end of your knot piece into the first few beads. Continue threading beads until all are in place.
Slip the twine through the center of your tassel and use a loop knot to secure. You want to make your garland pretty tight to make it look best in decorating. Trim off the end of your main twine and your garland is finished.
Finished.
I’ve been making my own garlands as I wanted them now for about a year. I hope this helps you get started in making some for yourself. Let me know how your garland making endeavors go in the comments below.
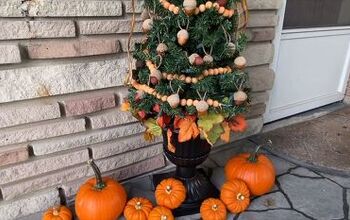
Check out these other great DIY home decor ideas:

Comments
Join the conversation
-
So glad you enjoyed the post Linda. You are so correct that the possibilities are endless. I just bought some beads that have patterns painted on them for Halloween and Christmas. I can’t wait till they get here so I can make garlands with them.
-
I like that you gave a few methods for painting the beads as well as the pluses and drawbacks you have found in each method. I would probably hand paint them but having options is always a good thing, in this case, it will be especially helpful for someone who wants the distressed look. Very nice tutorial, fun, pretty garlands. Thanks for sharing.


Frequently asked questions
Have a question about this project?
So where did you get the 5 garlands for $10 to start with?