


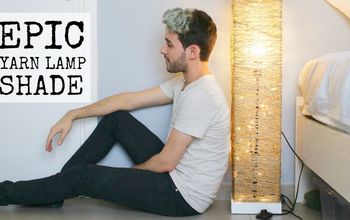
How to Finger Knit With Loop Yarn + DIY Blanket
Create an easy throw blanket with finger loop yarn, no knitting needles or crochet hooks required. This is a fun winter project that you can complete in a weekend to keep you warm and cozy.
How about a fun craft project to keep you warm and cozy this winter?
This is an easy craft project and pattern that doesn't require any counting beyond your first row of stitches. It’s best to start on a table or desk where you can lay out your yarn and count off your loops to get started. After you have completed 3 or 4 rows, you can move over to the sofa to work and watch TV.
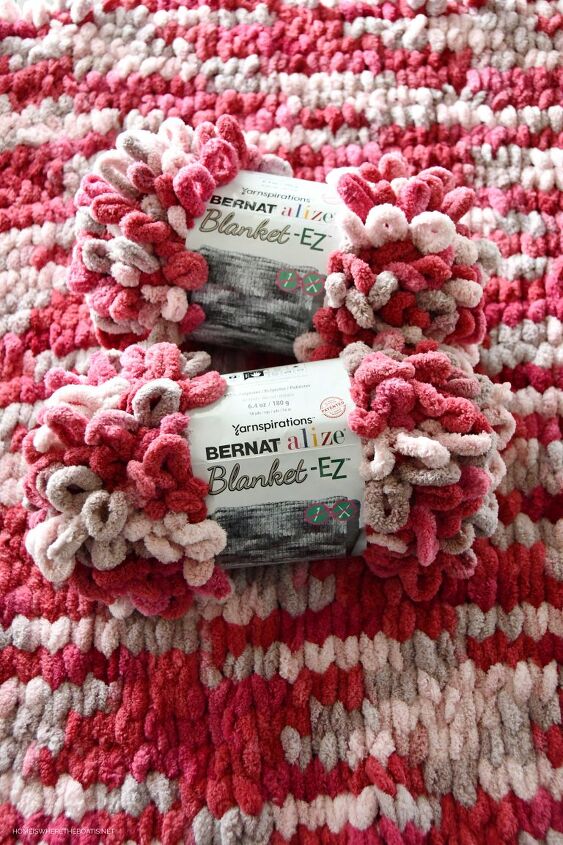
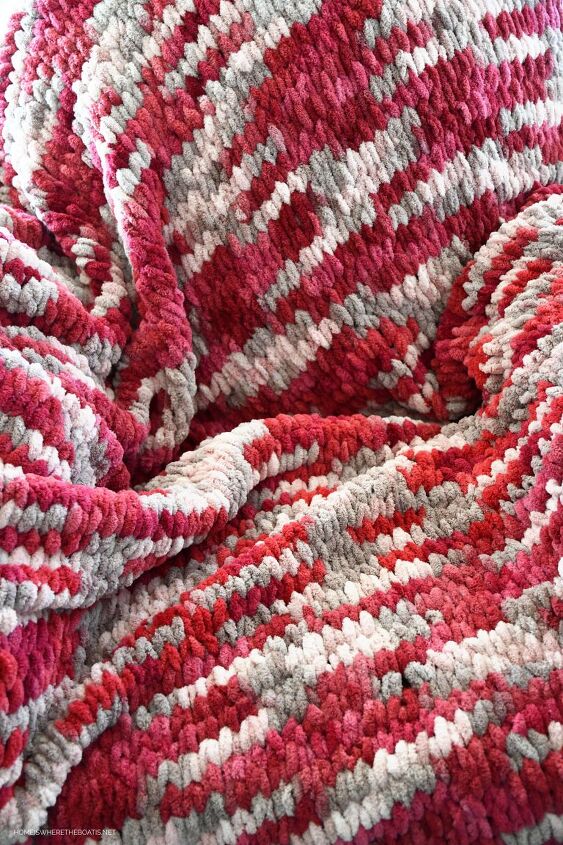
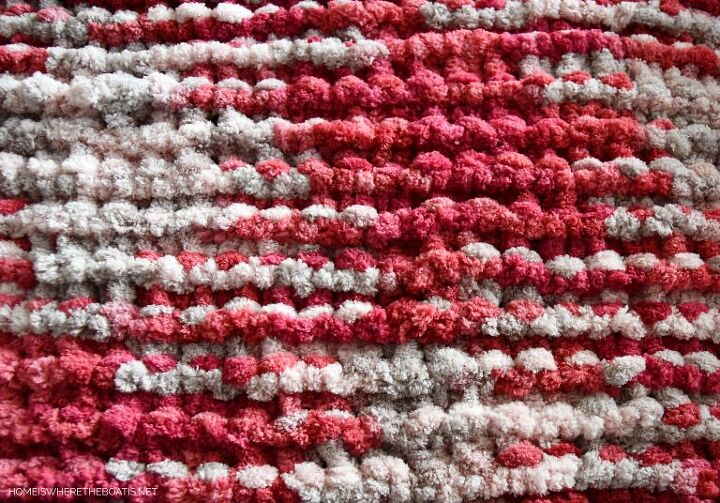
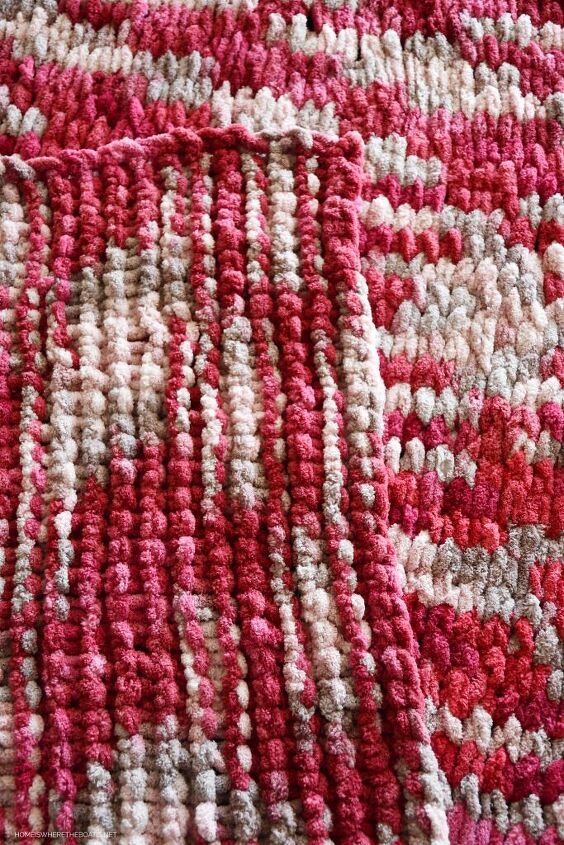
I’ve fallen in love with loop yarn, specifically, Bernat Alize Blanket-EZ yarn! I discovered this yarn last year at JOANN fabric and craft store. It’s so incredibly soft and fluffy and comes in a variety of variegated and solid colors. The loops in the yarn allow you to knit with your fingers, rather than needles! I’m not a knitter or crocheter, so the loop yarn is ideal for someone like me. The Bernat Alize Blanket EZ yarn comes in 18 yard skeins and is considered a jumbo size #7 gauge yarn. You’ll need (6) 18-yard skeins (108 yards total) to make a throw approximately 51 x 60 inches.
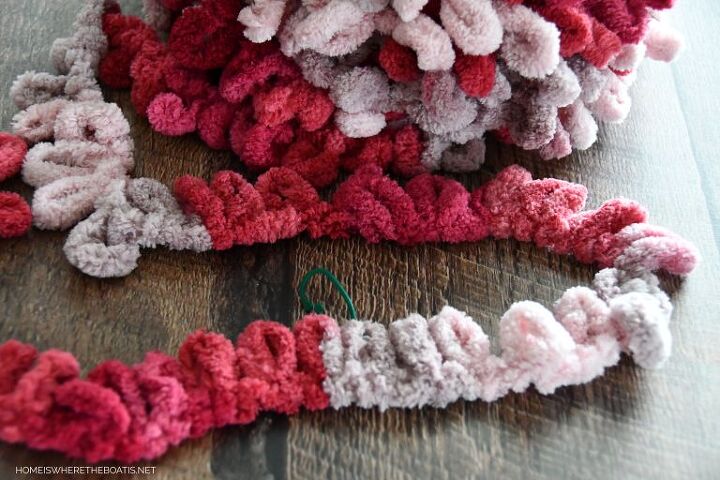
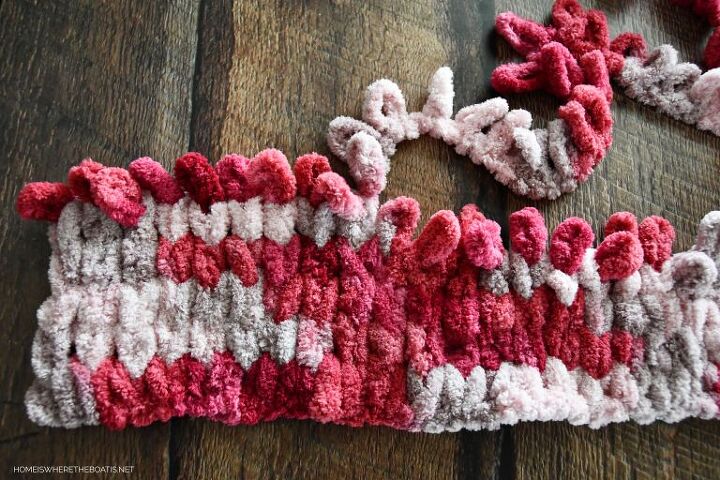
To start, count out 65 loops for your foundation row. Mark your 65th loop with a safety pin or clip of some sort. (I used a plastic Christmas ornament hanger.)
Place your working yarn with the loops facing up in a row behind your foundation row of 65 loops.
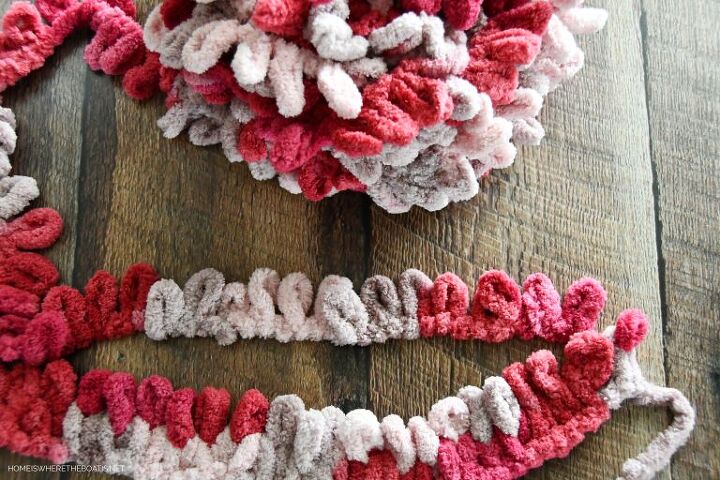
Working from left to right, pull the 66th loop from your ‘working yarn’ up through the 65th loop (last loop of foundation row) to create a knit stitch. Pull your next loop from your working yarn up through next loop on your foundation row. Continue until your first row has been connected to a loop from the second row.
Second row: Working from right to left, pull the next loop from working yarn up from behind through last stitch worked on previous row. Repeat across to the end of the row. Continue with your rows until you need to add a new skein.
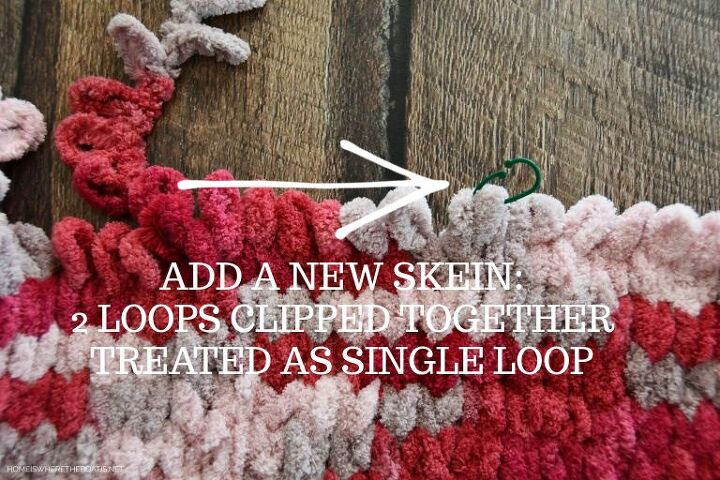
There are a couple of ways to join a new skein of yarn. My preferred method is to hold the last loop of your previous skein and first loop of your new skein together and work as if they are a single loop. Treat them as a single loop again when you come back to them on the next row. I like to mark the double loops with a clip so I made sure to pick up both loops together until I work them into a row.
Another method to join your skeins is to snip the threads of the last two loops and your first two loops on your new skein and tie the tails together. You’ll weave the loose tails back through your knitted stitches when finished.
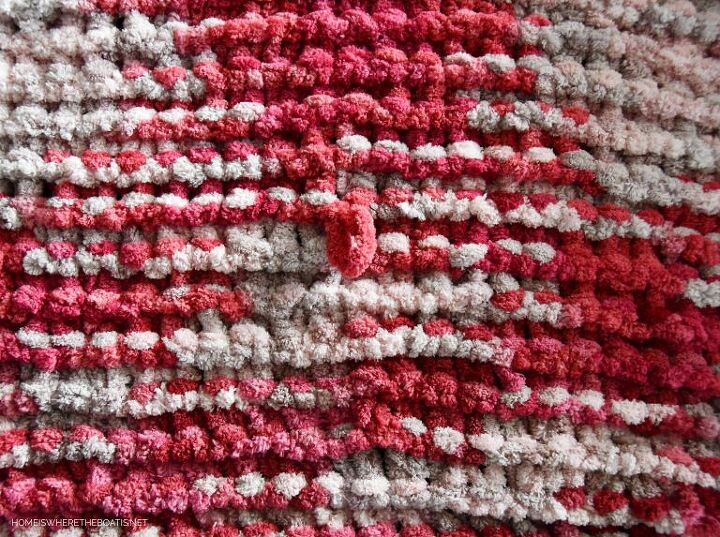
Aargh...I discovered I dropped a loop when I was already 10 rows ahead! I could have pulled my rows out back to my skipped loop, but I didn't want to take out all those rows.
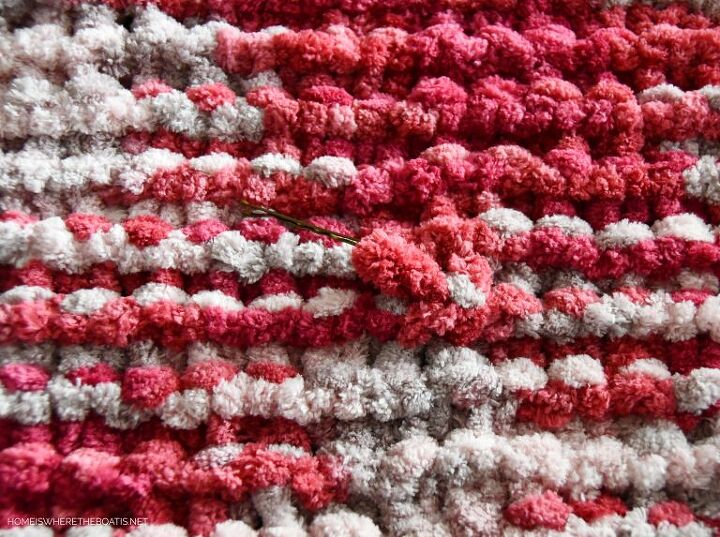
I used a bobby pin to weave the loop back through back of the throw to secure it.
The yarn is very fluffy so an extra loop can be camouflaged, tucking it through the loops on the back to secure it without it being too obvious.
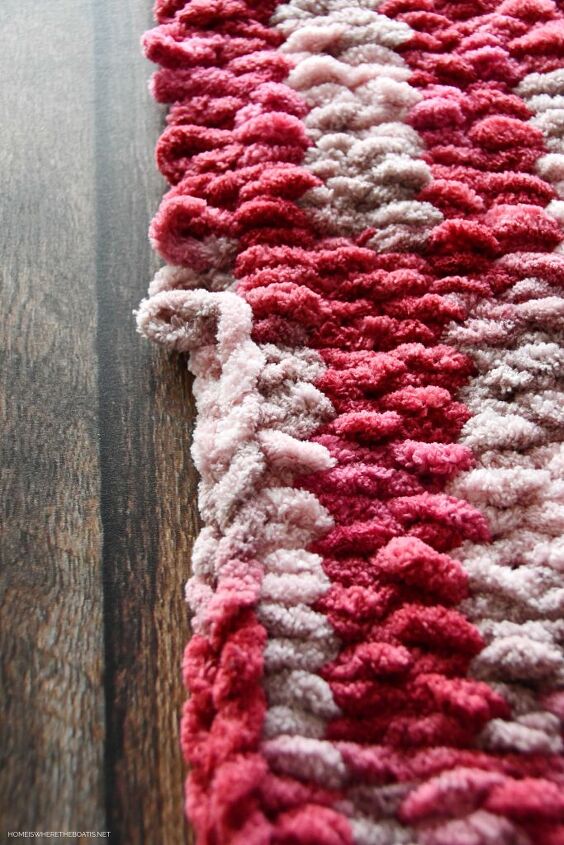
When you get to end of your final skein, you’ll bind off your stitches to complete your blanket. Bind off working in same direction as your last row, pulling the 2nd stitch up through first stitch. Pull the 3rd stitch up through the 2nd stitch and so on. Continue to the end of the row. The binding off directions sound more complicated than they are and I found it helpful to watch a couple of YouTube videos. Just search for 'how to bind off loop yarn blanket'.
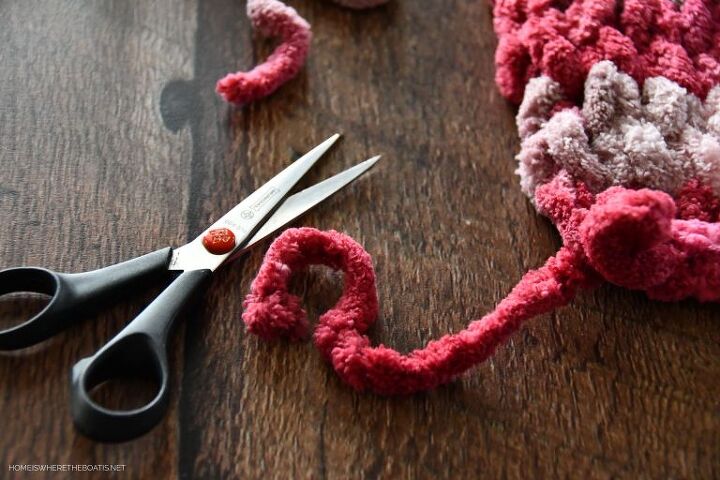
Cut the last two loops, snipping them apart by the thread that creates the loop to create a yarn ‘tail’. Pull the tail through your last loop to secure it, then weave the tail through the back of your stitches to secure and conceal it.
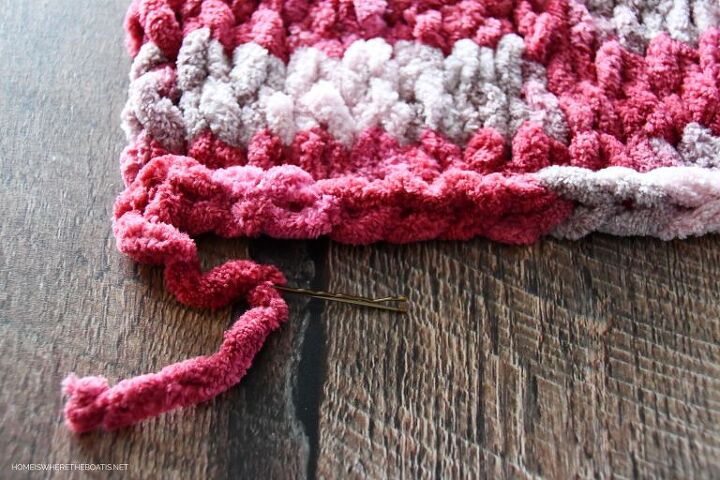
When you’re finished you’ll want to secure any other loose tails in your blanket, weaving them through the back of the throw.
Several videos I watched recommended using a tapestry or darning needle to secure any loose yarn tails. I just used a bobby pin.
This is a fun project that will keep you warm while you work it in your lap! It took me about 1 1/2 hours to complete a skein so I completed a throw in about 9 hours over a weekend.
Helpful tips:
- Keep your working yarn with the loops facing up behind your current row of loops. The loops from your working yarn are always pulled through the previous row of loops from the back to the front.
- Check your work every 10 stitches or so to make sure you don't drop a loop like I did. Straighten your working yarn and untwist the “squiggly” loops to prevent dropping loops in your rows.
- If I stopped, I clipped my next set of loops together to make it easier to find and pick up where I left off.
- Look for coupons available from JOANN to buy online and pick up at your local store or order with free shipping. I purchase my yarn online as my local store didn’t have enough skeins.
Click over via the blue "go" button below to visit the original blog post for more photos and details.


Frequently asked questions
Have a question about this project?