


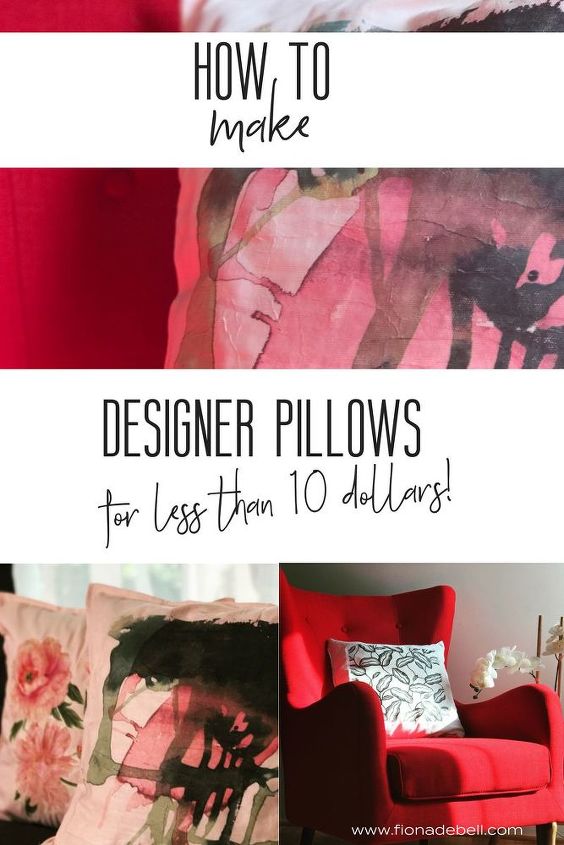
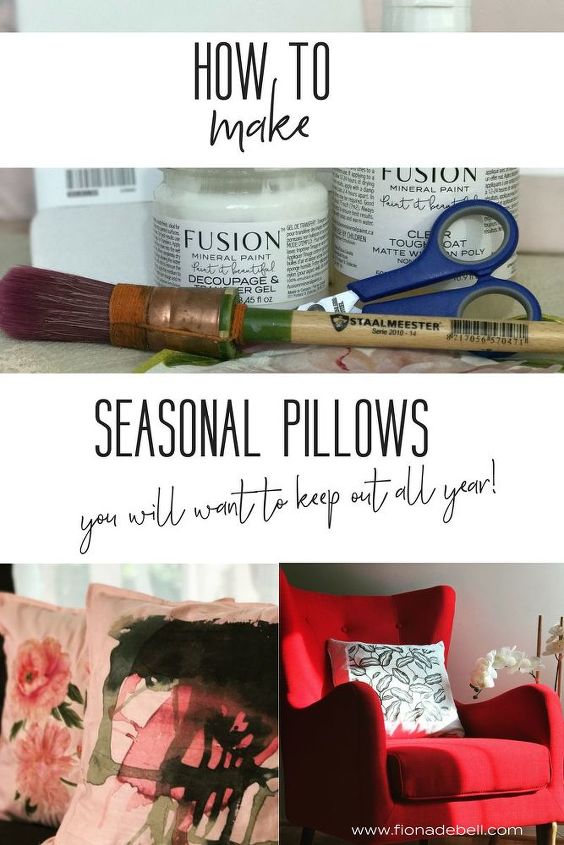
Designer Pillows For Under $10? Oh Yes I Did!

by
Fiona Debell
9 Materials
$8
30 Minutes
Easy
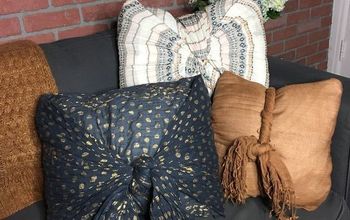
The change in the seasons always makes me want to up the stakes on my decor.
One of the most simple and effective ways to inject a pop of colour is by adding some throw pillows.
I really love them, but if I want 6 or 8 cushions at around $40+ each, that is quite a chunk of change!
So follow my quick, clean and simple DIY to get yourself some designer pillows you will want to keep out all year!
Let me show you how!
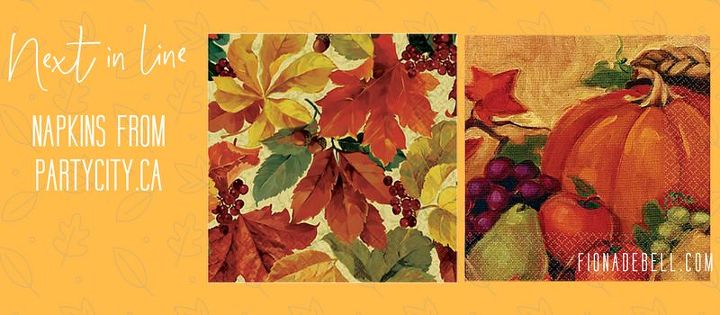
These are my SUMMER pillows...but pop back as I will be adding my Fall ones in the next few days!
I have THE MOST GORGEOUS napkins to use...
YOU WILL NEED:
Pillow Slips or Covers. I use GURLI covers from IKEA at $4.99 each
Napkin (pretty, seasonal, funny...up to you!)
A piece of cardboard that fits inside your pillow
Fusion Mineral Paint Decoupage & Transfer Gel
2 Paintbrushes
Fusion Mineral Paint Clear Tough Coat or Clear Wax
Plastic Kitchen Wrap
An Iron (Optional - I find it a good idea to iron the cover before i start)
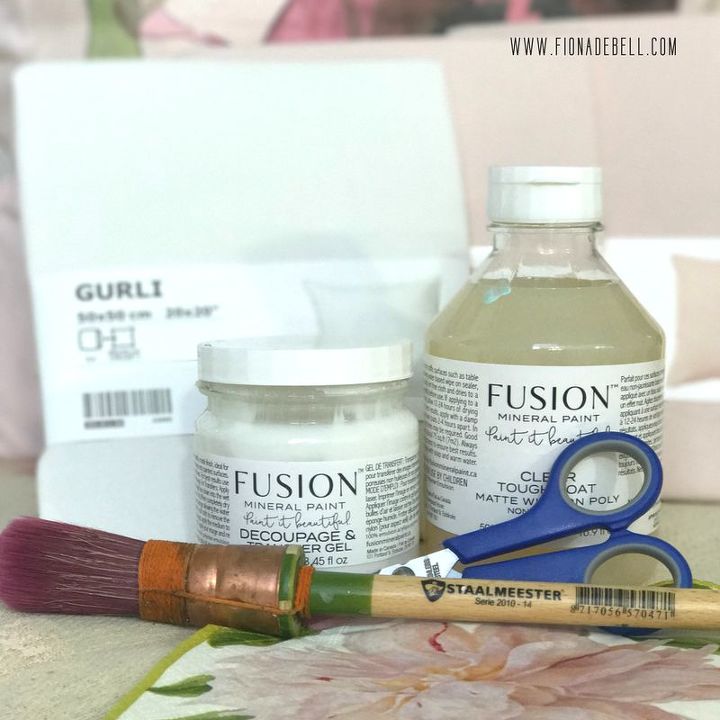
Gather your supplies
STEP 1.
Once your pillow is flat (or even ironed), and you have gathered your supplies, lay it out and insert the cardboard inside. Like putting the cheese in your sandwich!
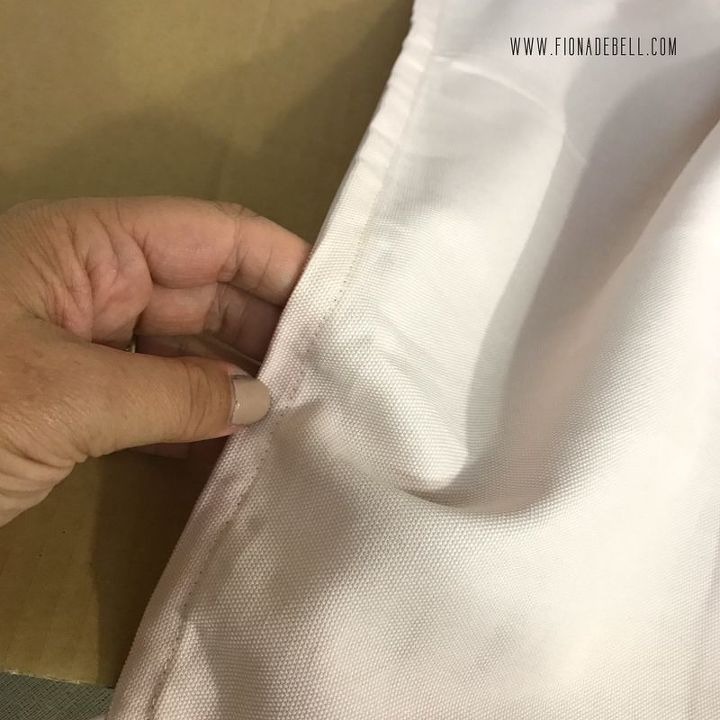
Insert cardboard inside the pillow cover
STEP 2.
Choose your napkin. You may decide to use the whole design, or you may choose to only use elements of the design.
Either way now is the time to cut or tear the image you want out and arrange them on the cover.
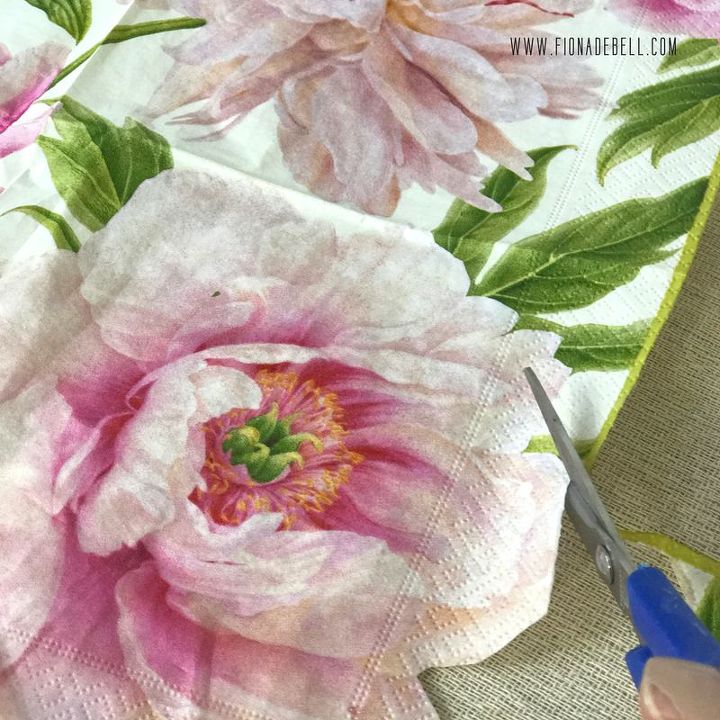
Cut out your design
STEP 3.
Take your Decoupage & Transfer Gel and apply it directly to the Pillow fabric. Apply it only where you want the napkin to adhere.
Once the Gel is on the fabric, 'drop' your napkin directly on top. DO NOT TOUCH IT!
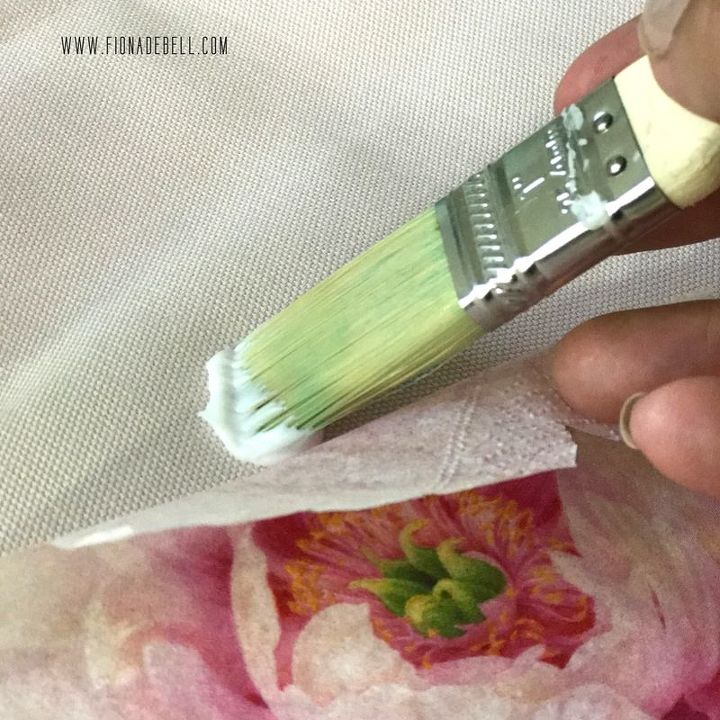
Paint the gel directly on the pillow
STEP 4.
Take your Kitchen Wrap and tear off a piece large enough to cover your napkin. Daub some gel onto the wrap and drop it, gel side down, on top of the napkin.
Take a second piece of Clear Wrap and screw it into a ball.
Daube some gel onto the smoothest part and begin to run it over the Wrap/Napkin.
Work from the centre to the edge, smoothing out bubbles and wrinkles.

The wrinkles will smooth as the Gel dries
STEP 5.
Carefully remove the Kitchen Wrap. Allow to dry.
You can leave overnight, or use a hairdryer if you are impatient!
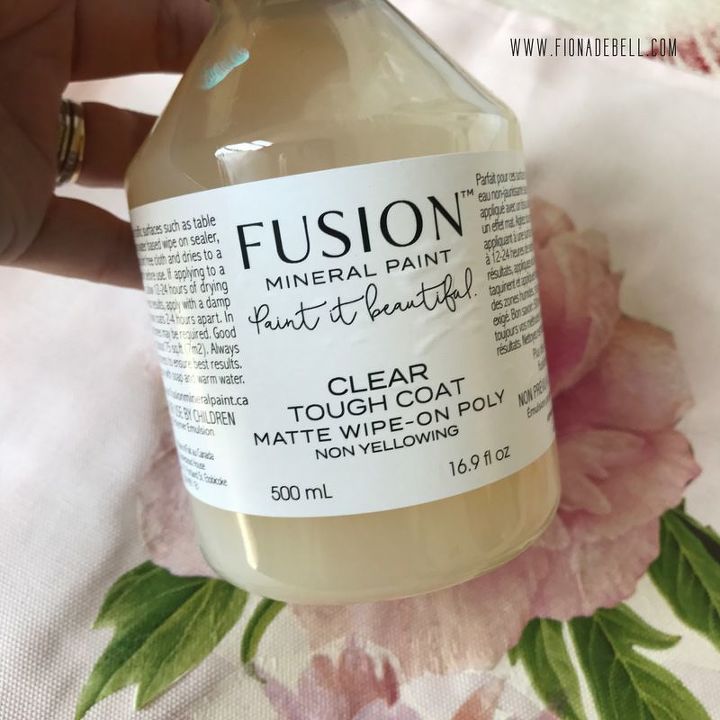
Final Step is to apply Tough Coat
STEP 6.
Once dry apply a coat of Fusion Tough Coat using a brush or a sponge.
Allow to dry.
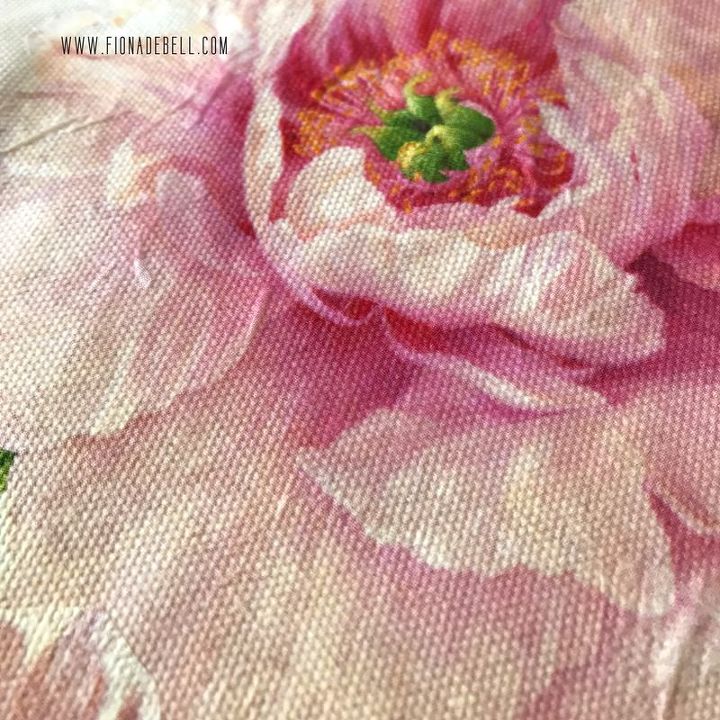
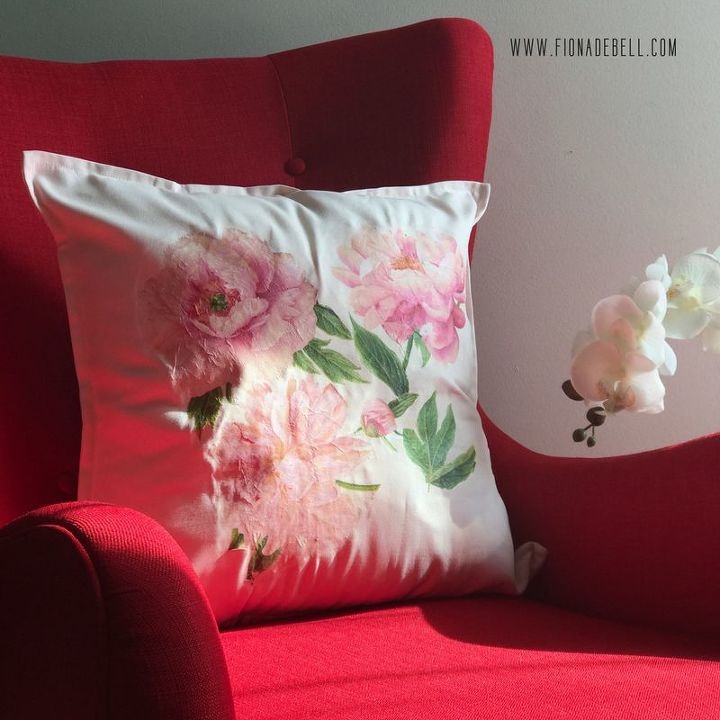
See how lovely the napkin looks on the fabric
It really is as simple as that!
Seriously there really is no limit to what you can do with this.
There are so many amazing napkin designs available to buy. Spring, Summer, Fall, Winter - and because they are wipeable they resist spills!
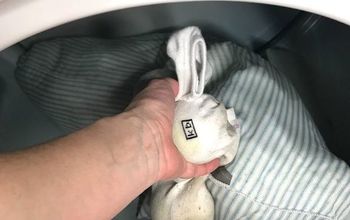
One thing, however - I don't think they would survive the washing machine !
Find full details on my blog www.fionadebell.com.
You can also see me LIVE on @Hometalk on Facebook demonstrating just how easy it is to complete this simple DIY!
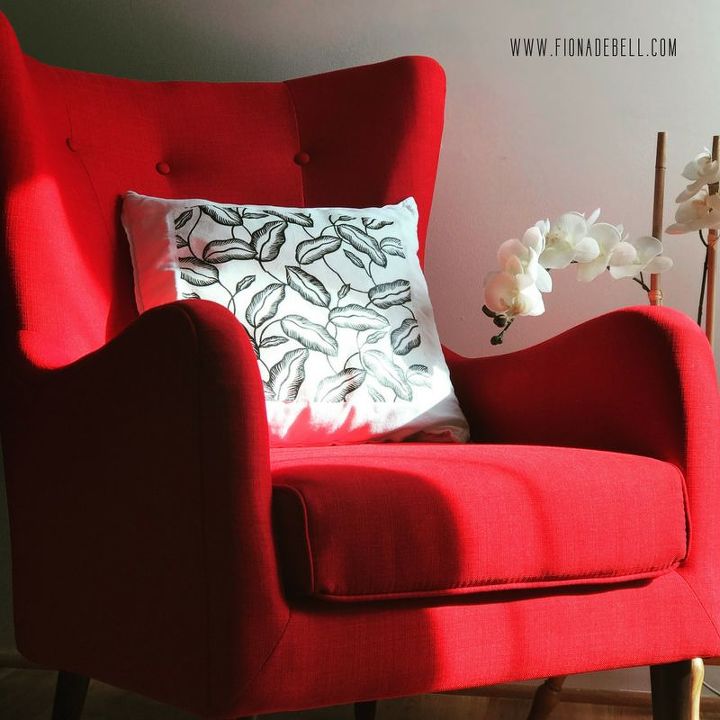
Simple with a cut out napkin.
Just so pretty!
Use a whole napkin!
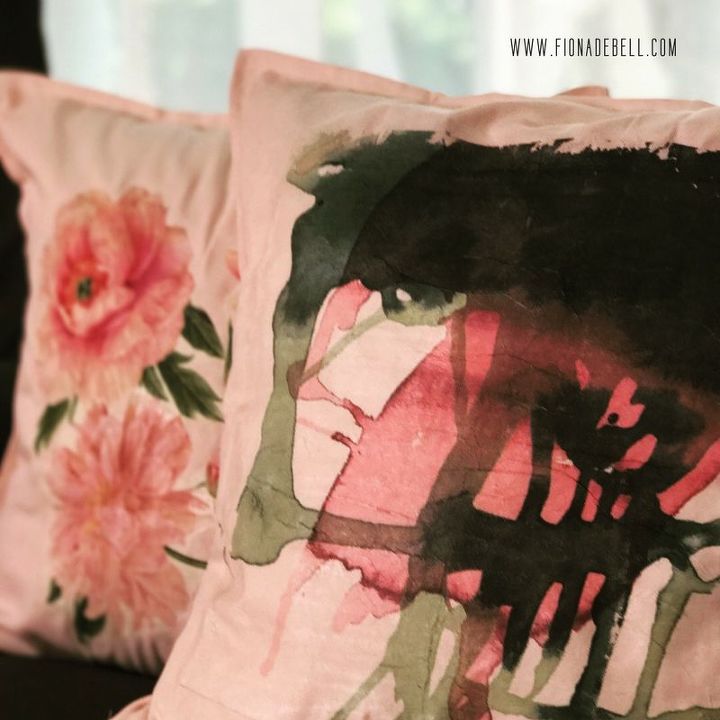
This looks like it is painted!
Designer decor on a dime!
We want to help you DIY, so some of the materials in this post are linked to sellers. Just so you know, Hometalk may collect a small share of sales from the links on this page.
Resources for this project:
See all materials


Any price and availability information displayed on [relevant Amazon Site(s), as applicable] at the time of purchase will apply to the purchase of this product.
Hometalk may collect a small share of sales from the links on this page.More info
Want more details about this and other DIY projects? Check out my blog post!
Comments
Join the conversation
2 of 28 comments
-
Beautiful!
-
I had no idea you could decoupage on fabric like this, thank you so much for sharing this. Your pillows are gorgeous.


Frequently asked questions
Have a question about this project?
I can't seem to find the video for these napkin/ pillows. Can you post a link?
Can you wash these?
So pretty! Are you transferring the napkin to the fabric or do you leave the napkin on? It looks like a transfer?