


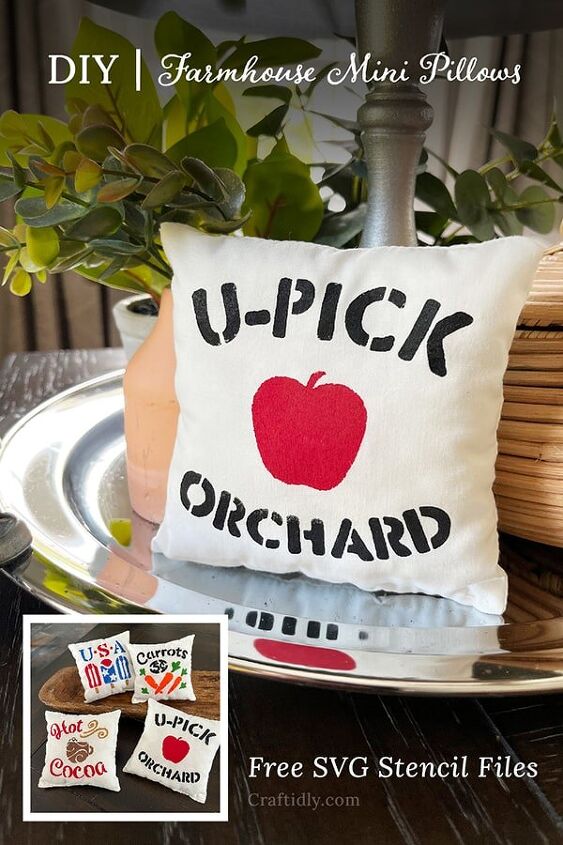
Farmhouse Mini Pillows - Free SVG Stencil Files

Make these adorable DIY Farmhouse Mini Pillows to use as a bowl filler, to decorate your tiered tray, or to give as gifts!
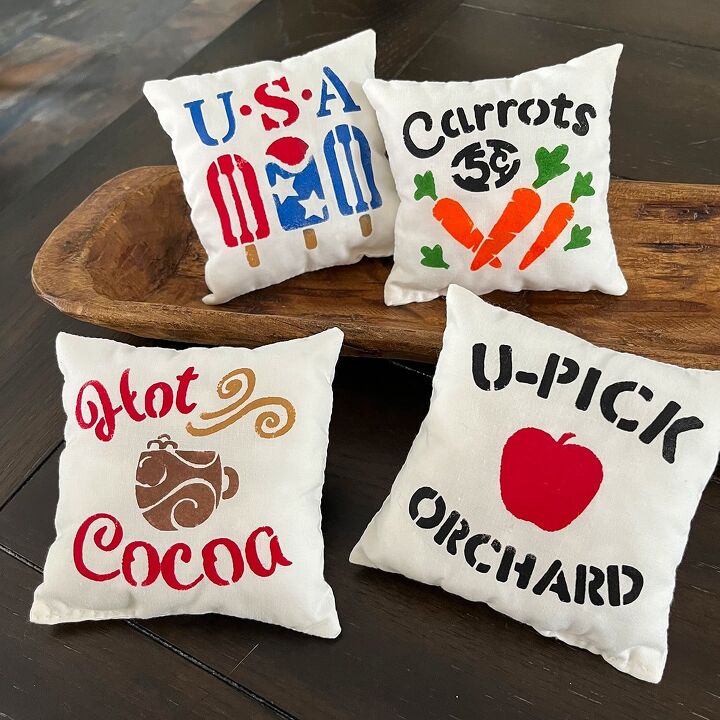
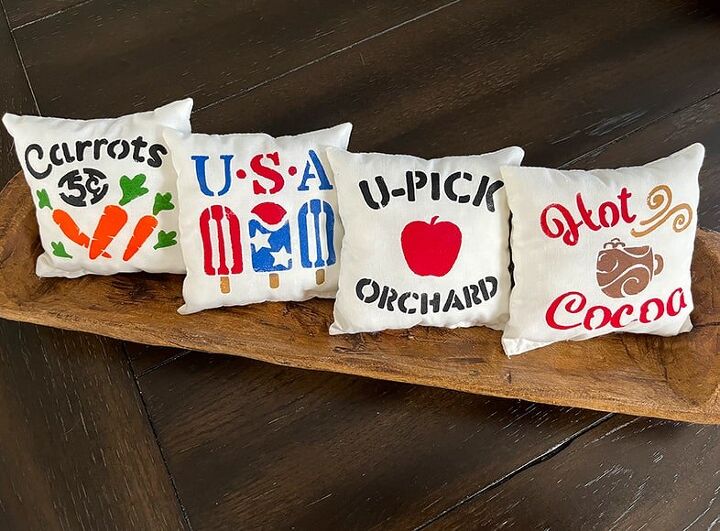
These cute pillows measure about 4-inches (finished size) and they're perfect to add to your seasonal decor or tiered tray.
They have a rustic, perfectly-imperfect farmhouse feel and they were so much fun to stencil!
If you'd like to make them get out your cutting machine and you can download the free stencil files here on my website: https://www.craftidly.com/diy-farmhouse-mini-pillows/
There are just a few short steps to make them. Follow along with the steps below and check out the video for more detail.
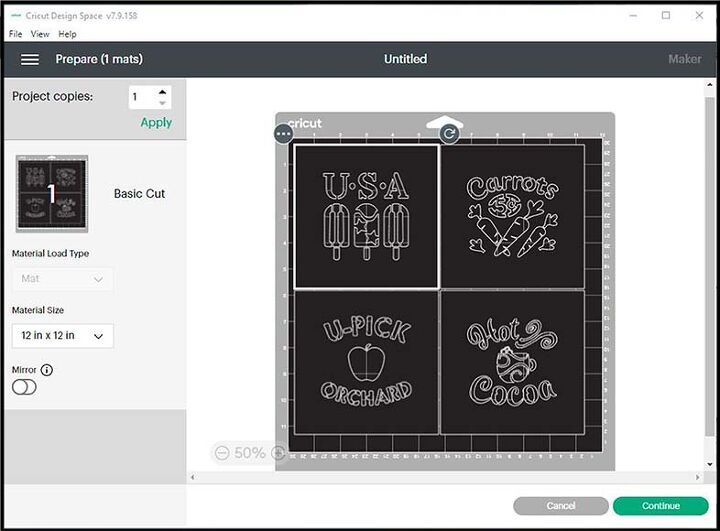
To start you'll need to upload the Free SVG file(s) to your cutting machine. Along with the SVG files are PDF files for color reference (more about that later).
I’m using a Cricut Maker but any cutting machine will work.
Cut one mini pillow stencil at a time or as a group onto stencil vinyl or any vinyl you have on hand.
I cut all four designs onto a 12" x 12" sheet of stencil vinyl (shown above). See the video for more detail.
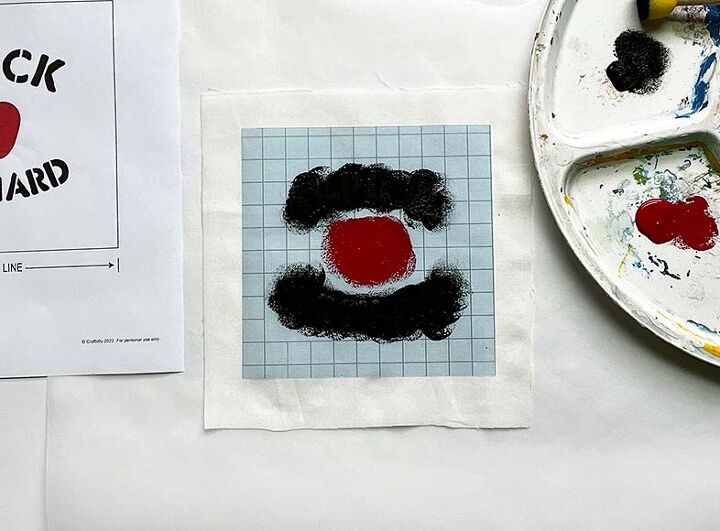
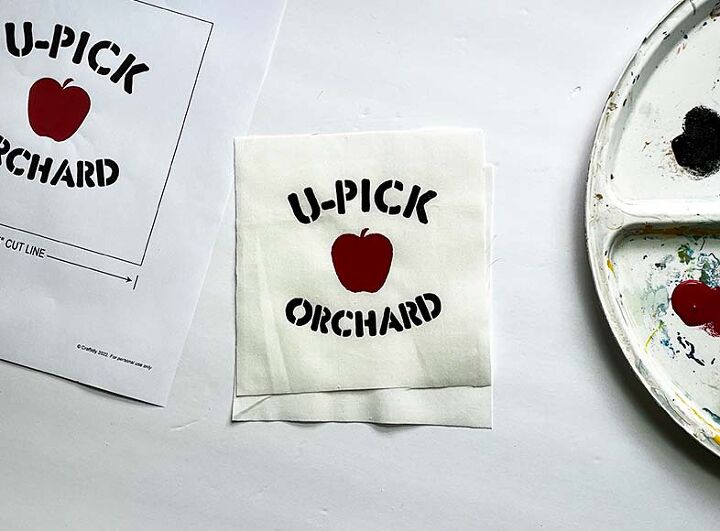
Next, place your stencil in the center of a square of fabric that's about 7-inches square.
Note: You'll need two 7-inch squares of fabric, one for the front of your pillow and one for the back.
Then use a stencil brush or foam applicator to apply acrylic paint to the stencil. Use any colors you like or use the PDF file provided for color reference.
Important!! Don't remove the stencil from your fabric just yet!
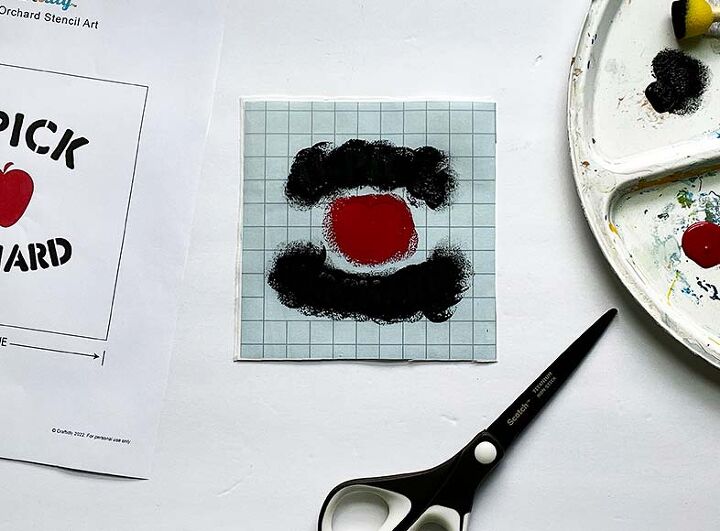
Once your paint has had time to set up, add the back sheet of pillow fabric and cut your stencil out around the square edge of the stencil.
This will give you a perfect square with your image in the center!
Here's a photo of both layers of fabric cut to size (before sewing) to make my pillow.
DIY Farmhouse Mini Pillows - Video from Craftidly.com
With your fabric wrong facing - sew your pillows by hand, with a sewing machine or try peel and stick fabric fuse tape.
Sew about 1/4-inch seam allowance and feel free to sew in a ribbon at the top if you plan to hang your pillow.
Leave a small part of the bottom open so you can turn your pillow right sides out. Use a pointed pair of scissors to point the corners. Then stuff and sew up the bottom to finish.
Visit my blog Craftidly.com for more craft ideas or link to the full tutorial here: https://www.craftidly.com/diy-farmhouse-mini-pillows/


Frequently asked questions
Have a question about this project?