


How to Make No Sew Pillows
I wish I could tell you I was a master sewer and that I had made clothes, and curtains, and created button holes, and knew how to follow a pattern... but the truth is, I cannot sew to save my life. I can sew a button back on pants, or a shirt, hemming... I have tried it, after all, I am a short gal, but am I good or even decent at it? Nope, and nope. So today's post is about making a pillow out of curtains, but I can assure you there are no sewing skills necessary.
Do you recall the custom curtains in every room when we purchased this home? I have been wanting to do something with the curtains, but I was not sure what project to pick. I hate seeing something go to waste so I decided on pillows.
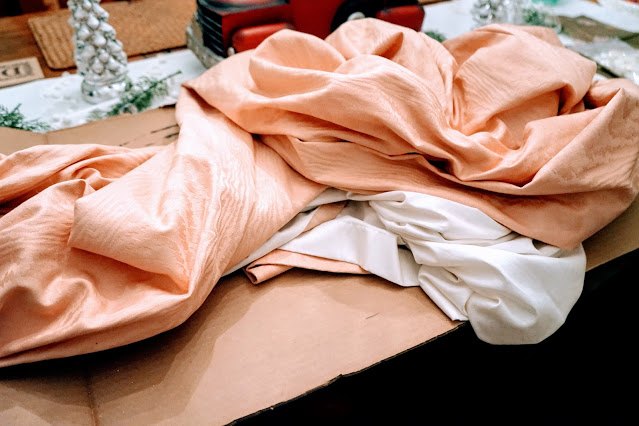
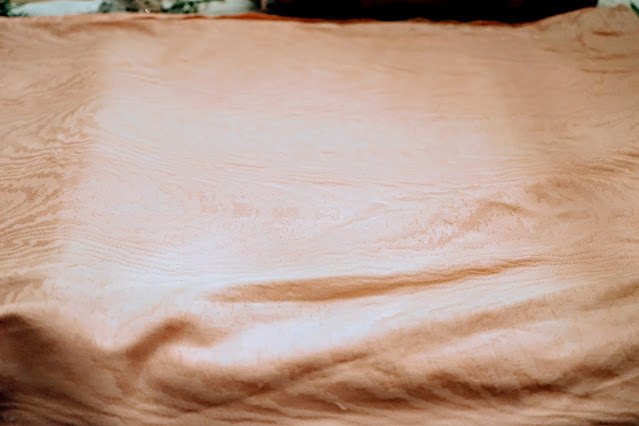
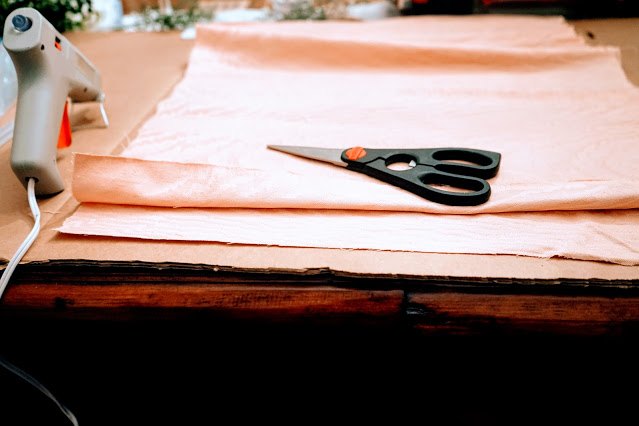
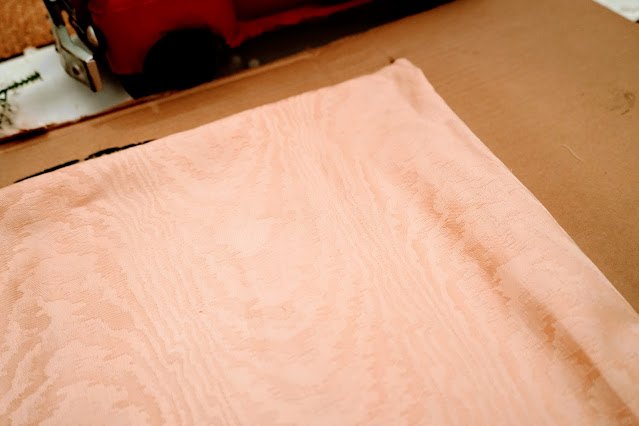
I started with one panel, this panel is a salmon like color. They had this color in a bedroom, bath, and the living room so I have a lot of this material/curtains in my possession... I am not quite sure what I will do with all of it... if you have suggestions, I am all ears!
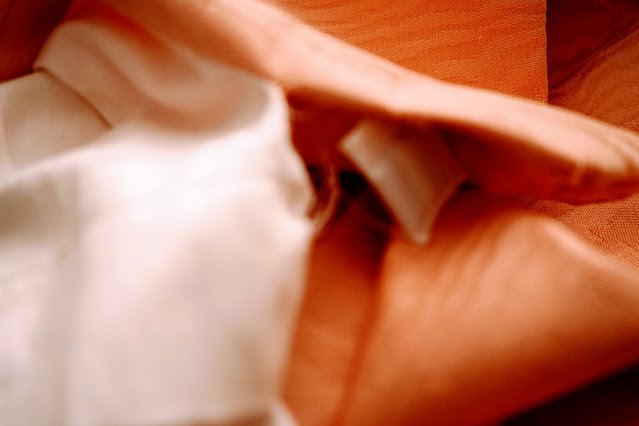
I started ripping out the seam along one side of the curtain from the lined side. I can use a seam ripper like a champ...
I continued to rip the seams on both sides of the curtain panel until I got to the top where the French pleat was connected.
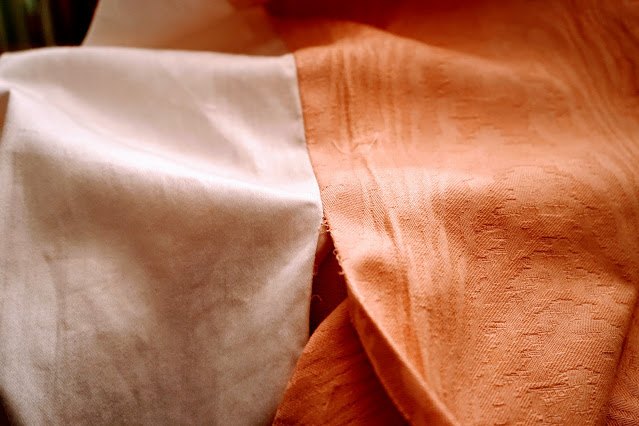
Here I have ripped the curtain out up to the pleats. I thought I may be able to rip out the seams on the pleats too, but then I decided I would just cut at the pleat across.
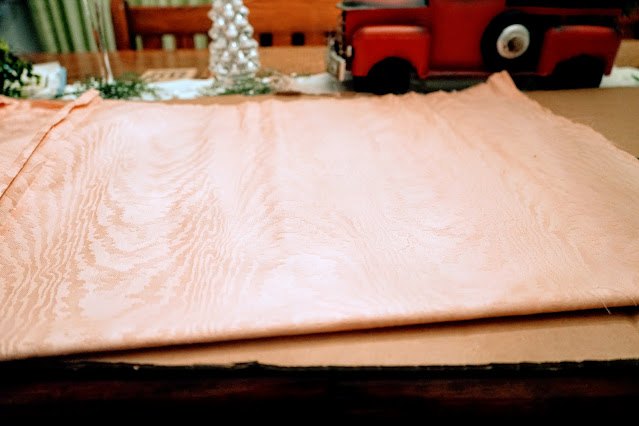
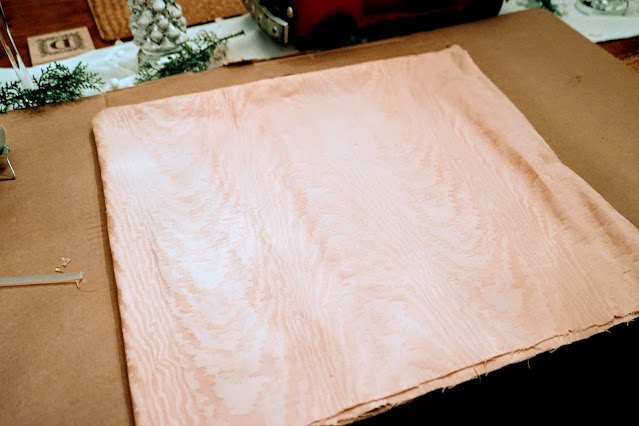
I cut the top of the curtain off (the pleat) and laid out my material.

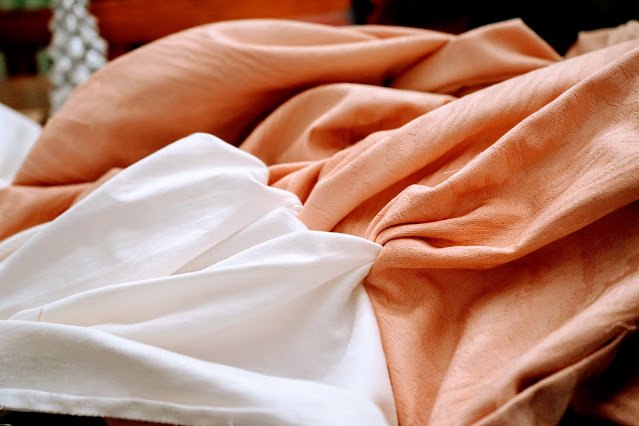
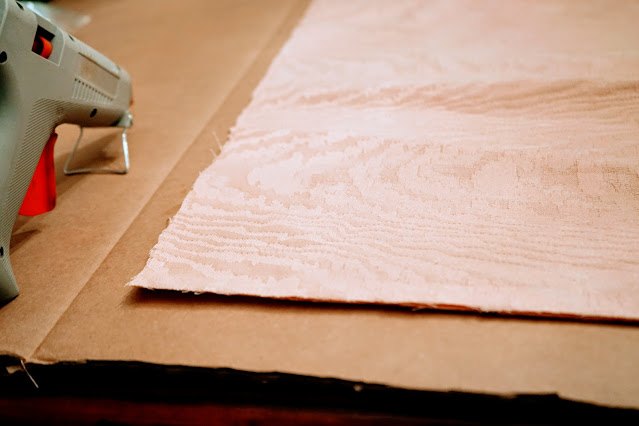
There was a smaller panel of material on the end and I ripped out this seam as well so I was working with a smaller panel of material. Trust me, I am making it up as I go at this point. Trial and error is how we learn what works and what does not.
I folded the material in half, then cut at the half on the fold.
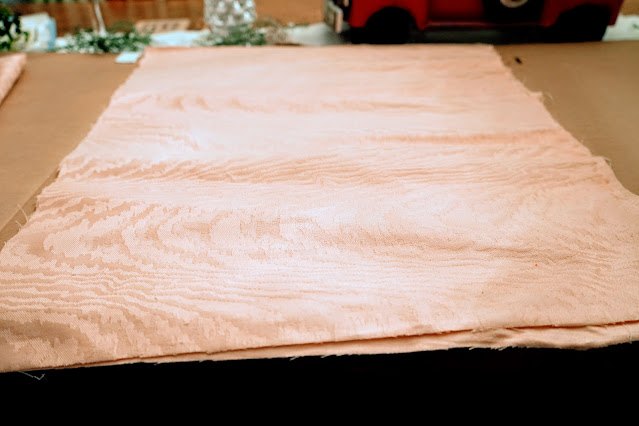
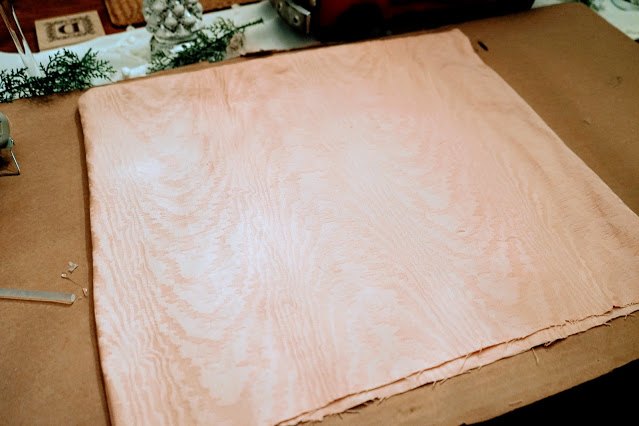
I folded the material in half again and cut on the fold once again.
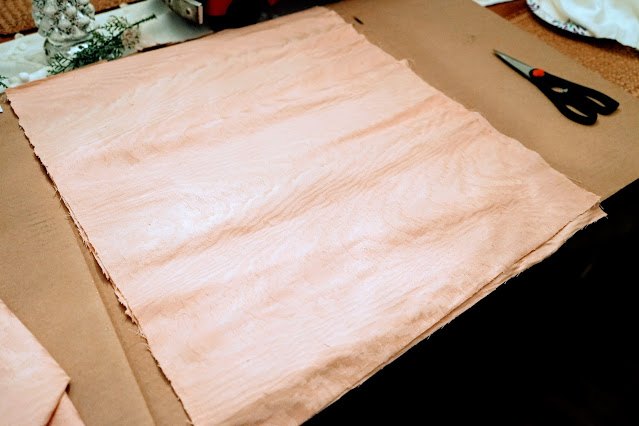
I cut down two sides so they matched up. (I was a little off.)
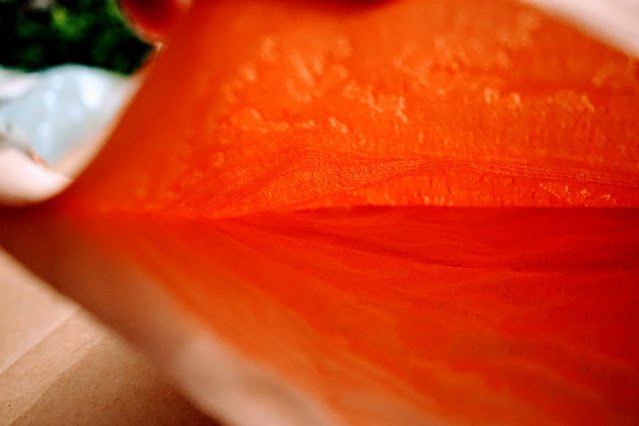
I put the nicer side of the material facing each other. Then I started gluing down the material and pressing the material together.
Then I started gluing down the next side and then the third side.
You can kind of see here when I was gluing down the third side where it had created a "pocket."
I then began to turn the material inside out.

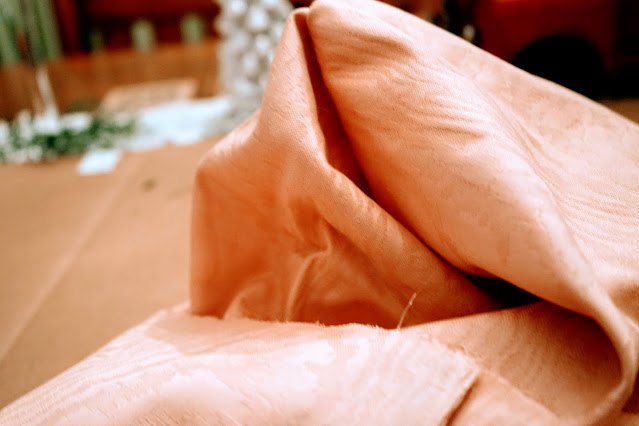
As you can see it created a rounded corner where the material was glued together.
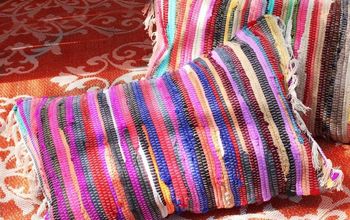
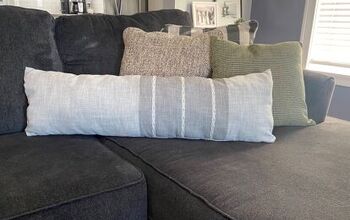
Here is the pillow laid out.
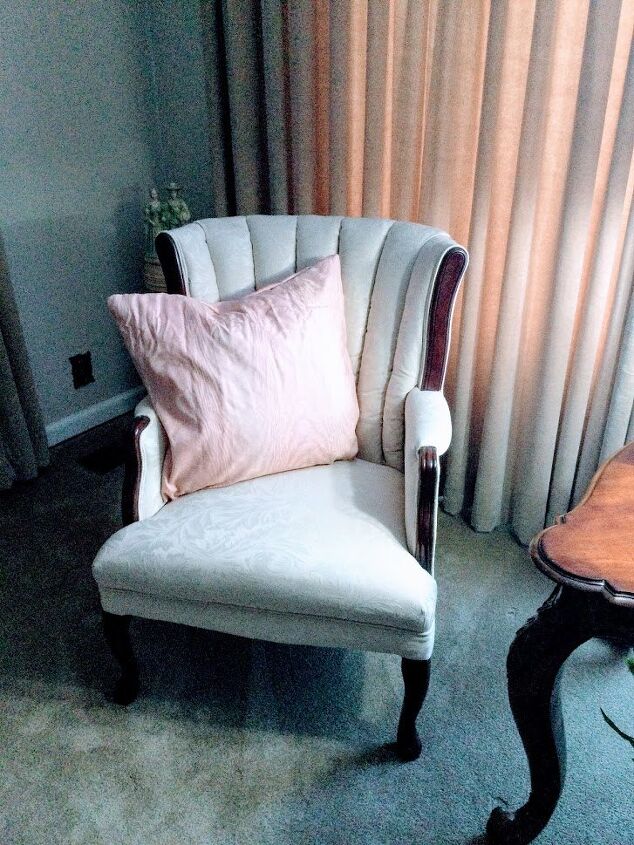
You do not need mad sewing skills to put together a pillow. If you have them, then maybe you can provide sewing classes to me. I will prove to be your most challenging student yet... not on purpose mind you, I am just lost. I definitely did not get the sewing gene that runs through my family. Most of them can sew, make clothing, curtains... the list goes on. When I figure out what my super power is, I will let you know.
So, what we learned today is that I have zero sewing skills, and you do not need to know how to sew in order to make a pillow. I am convinced you can pretty much hot glue your way through anything provided you have enough glue on hand. I work with what I have and use the skills I have in life to figure out what I want to do. I do not let much hold me back.
So.. no sewing skills, no problem, you can glue it! 😉
Since I had the material on hand, this was a zero cost project for me. If you would like to see other low cost projects, you can visit my blog at www.vintagestylegal.com. If you would like to receive posts, you can subscribe to my blog, verify your email, and begin receiving project updates. We would love to have you.

Comments
Join the conversation
-
I enjoyed seeing your "non-wew" project with step by step instructions. There's more than one way to skin a cat, as they say! You asked for ideas for the remainder of the fabric. You could make additional pillow covers.....but first paint the fabric with acrylic paint making any kind of color blocking or designs that plese you. Also, how about a non-sew table runner or table cloth or add the fabric to one side of a duvet or comforter (after painting) since you don't care for the salmon color. I'm heading to your blog now to see what else you've been up to. Thanks for posting.


Frequently asked questions
Have a question about this project?