


Make It Or Break It Crafts – DIY Pillow
I have a new series called Make it or Break It Crafts. Today I am sharing an Anthropologie DIY Pillow hack.
For this DIY Pillow, I am going to show you how to make something for a lot less than if you bought it. This pillow was very fun to make and so much cheaper as a DIY.

A Fun DIY Pillow
You all know how much I love to share how to make decorative pillows.
I have a new and exciting way to decide what kind of DIY Pillow I want to make. I find a really expensive pillow online and then make a better version for a fraction of the retail cost.
How awesome is that?
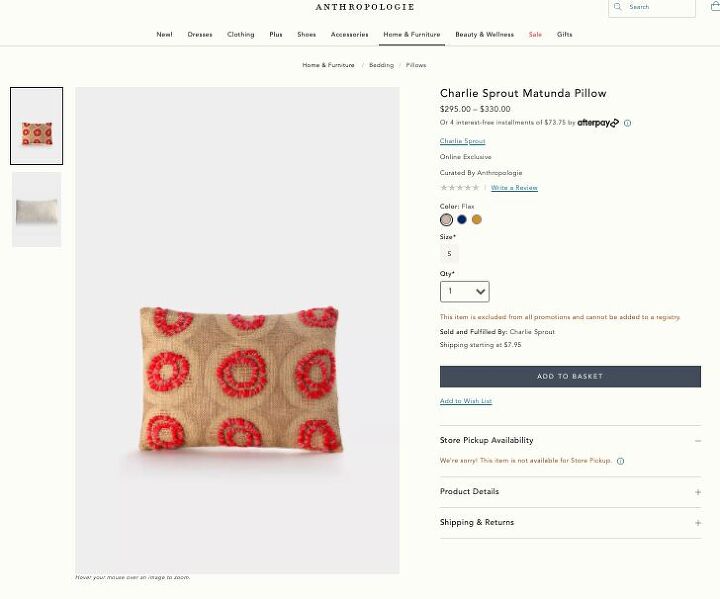
For this pillow, I decided to make my own because it cost $330 to buy. I spent under $15 to make mine.
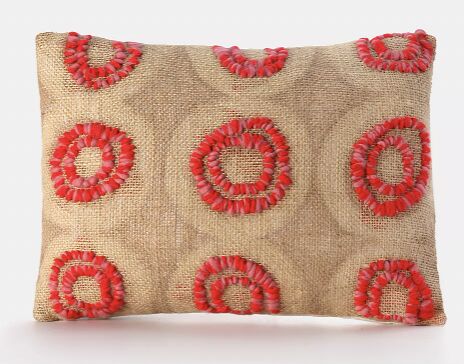
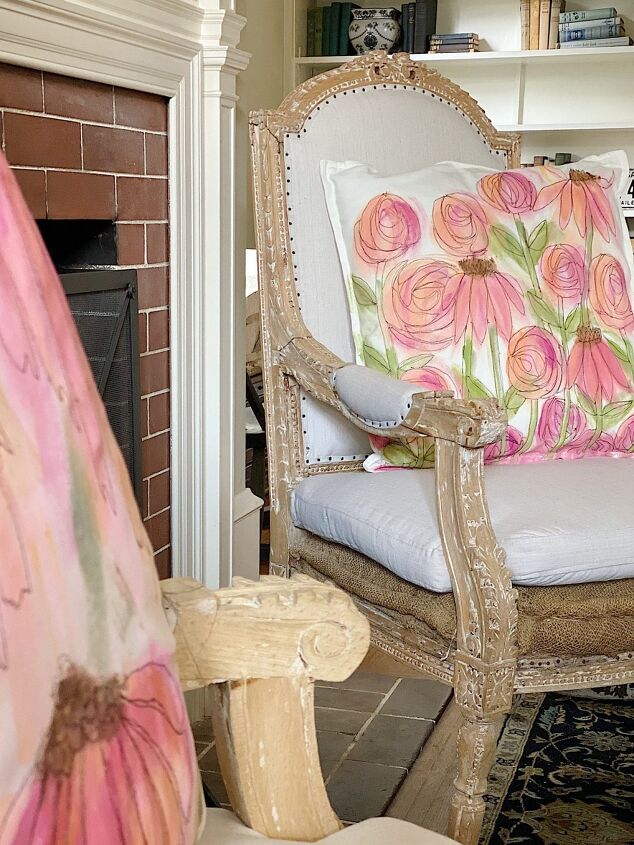
This pillow is from Anthropologie. I like that it was painted and I love the french knot embroidery. I wasn’t crazy about the colors but I knew I wanted to make something similar.
Here is the pillow online:
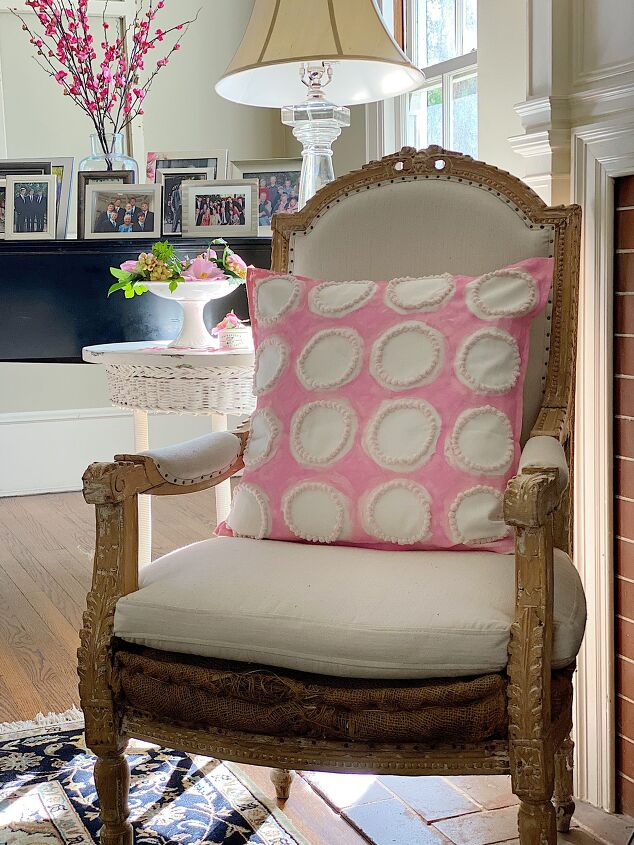
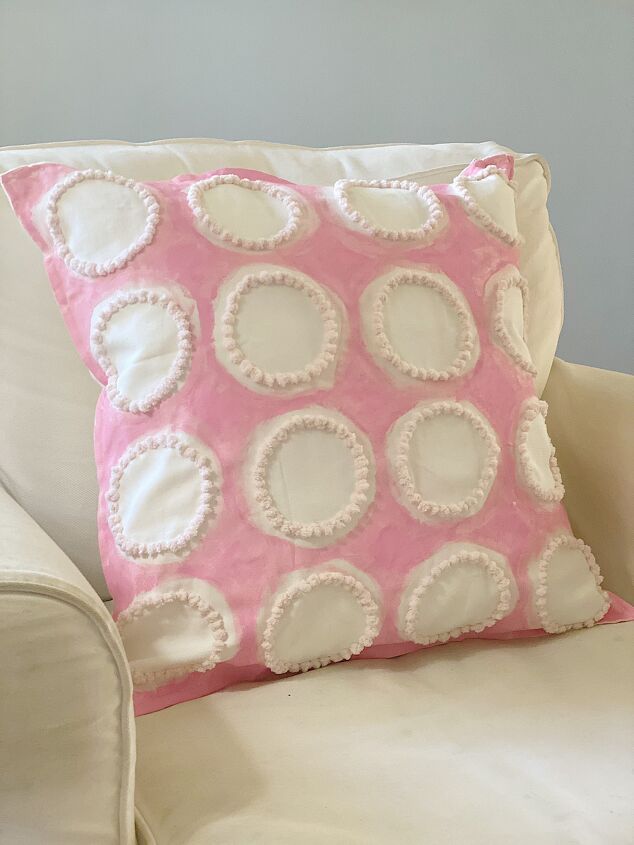
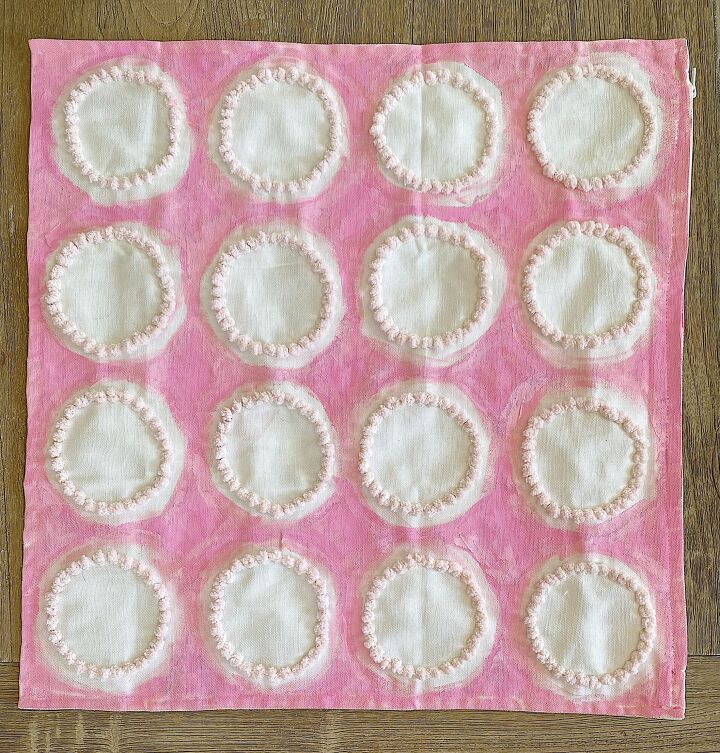
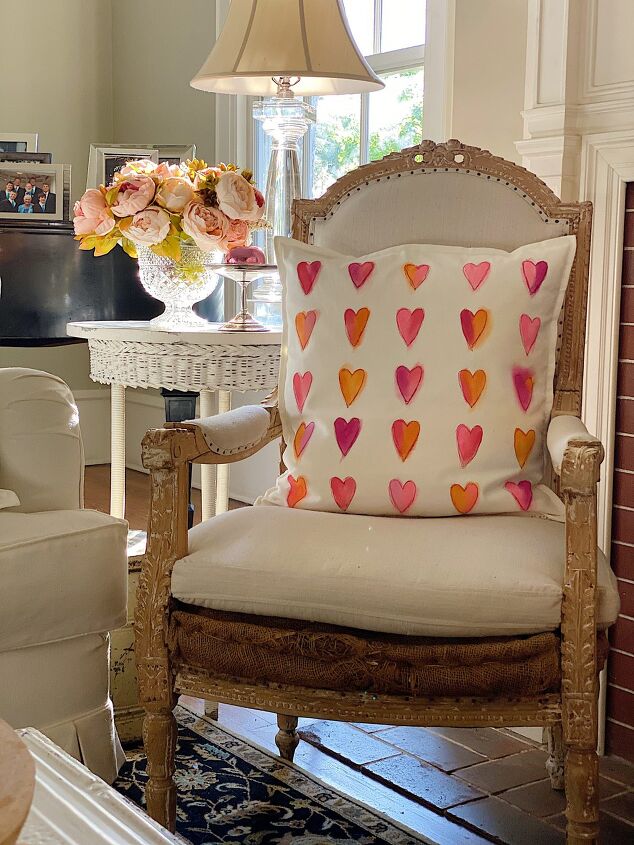
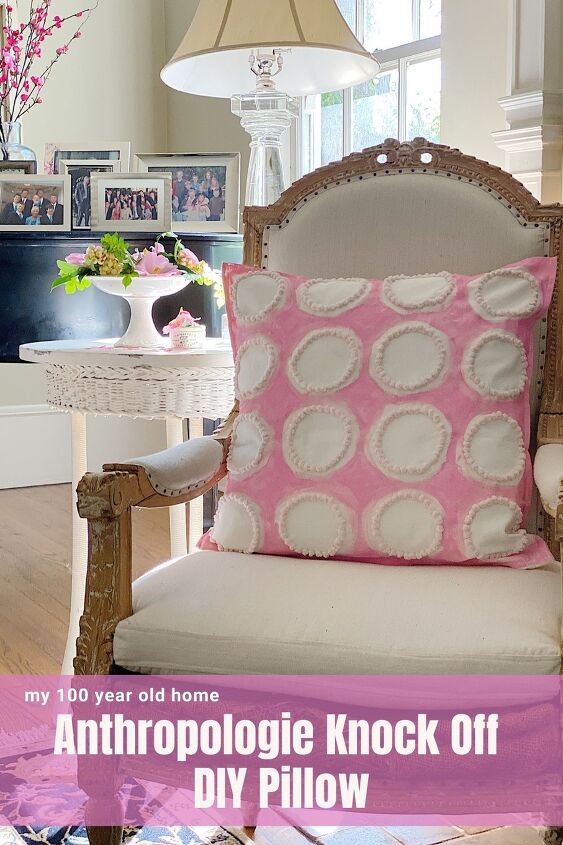
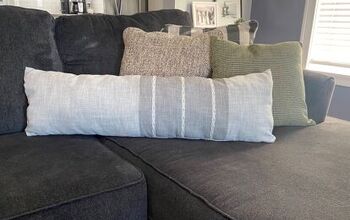
My decorative DIY pillow looks like this.
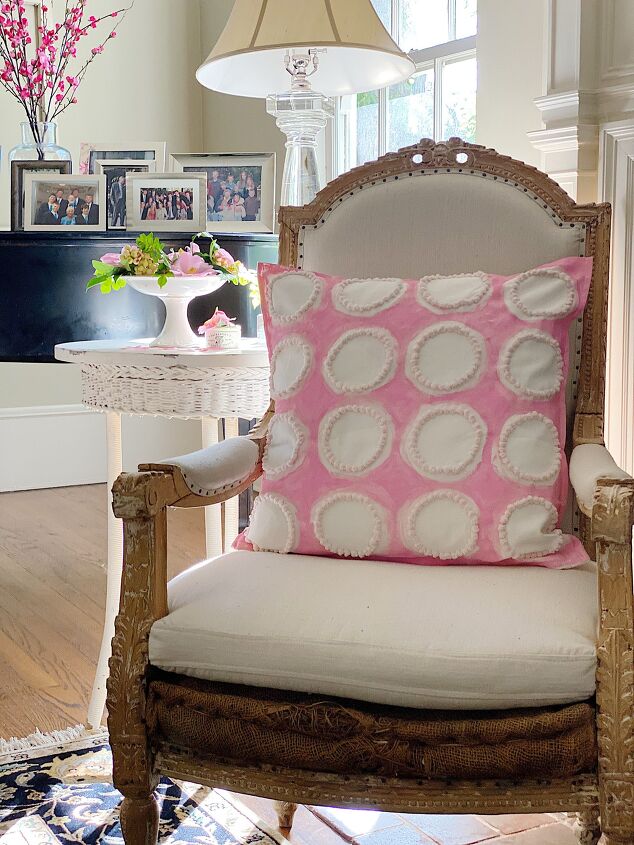
I know it looks a bit different. But I honestly think mine is cuter. Ok, I think it is way more cuter.
DIY Pillow
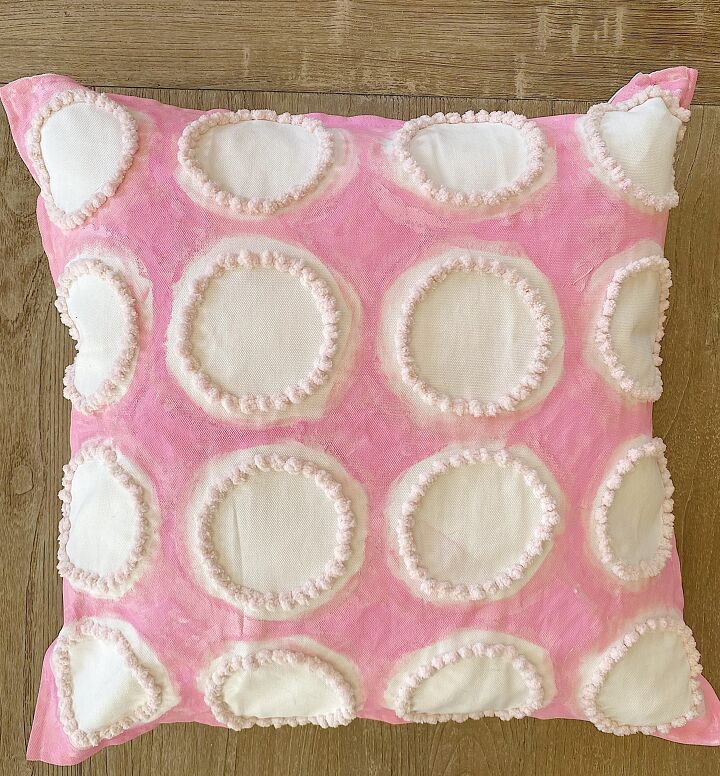
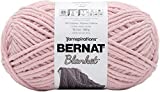
If you look closely you can see that I painted a white pillow pink, but left white circles. Then I used Bernat Blanket yarn and made french knots just inside the outside of the white circles.
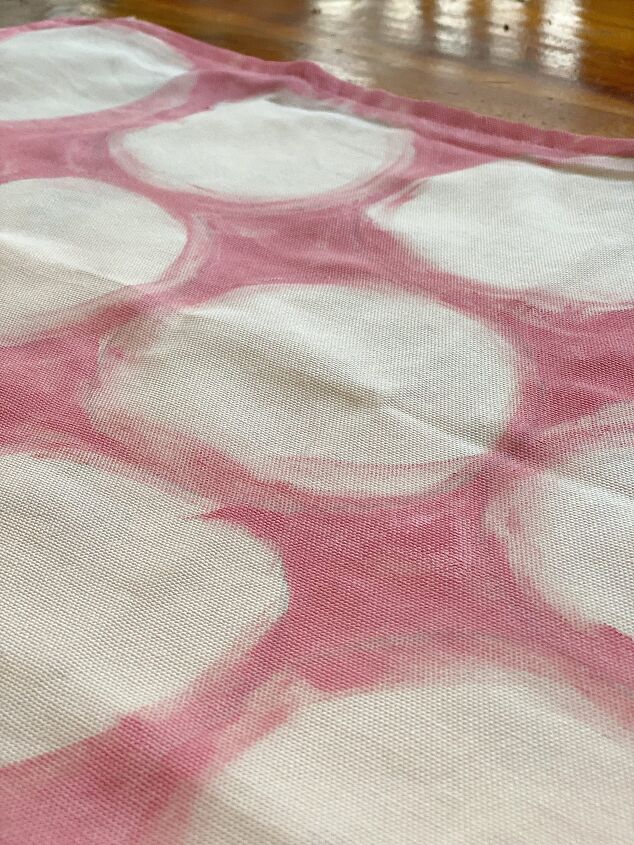
I painted the pink paint very loosely because I didn’t want you to think it is hard. It’s actually painted quite sloppy. If you follow me, then you know I love things that are not perfect.
What You Need to Make This Craft
- One Pillow Cover
- Bernat Blanket Yarn
- Acrylic Paint
- Large Eye Embroidery Needle
How to Make a Painted and Embroidered DIY Pillow
Here are photos of the steps you will need to do this pillow. I used a round jar top for the circle design and a white pillow cover from Amazon (see below).
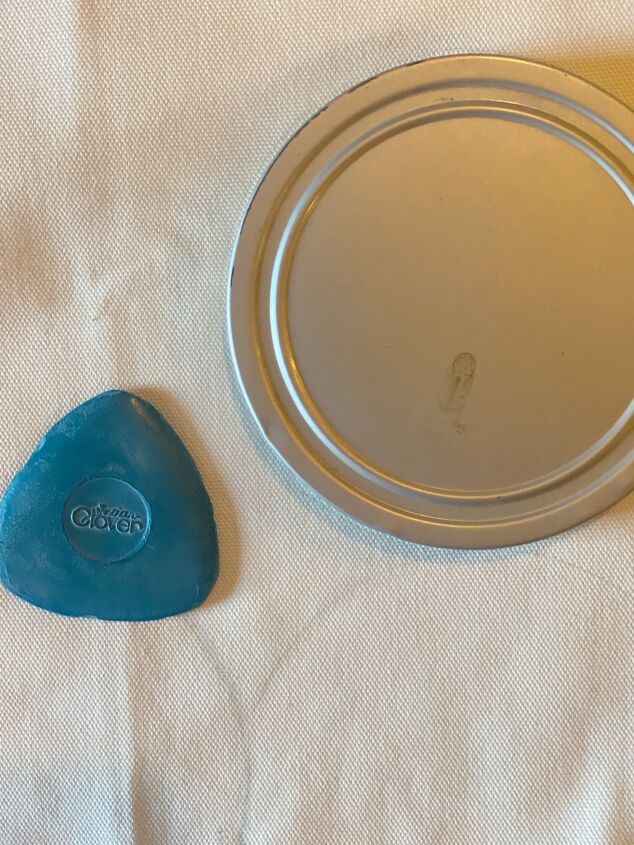
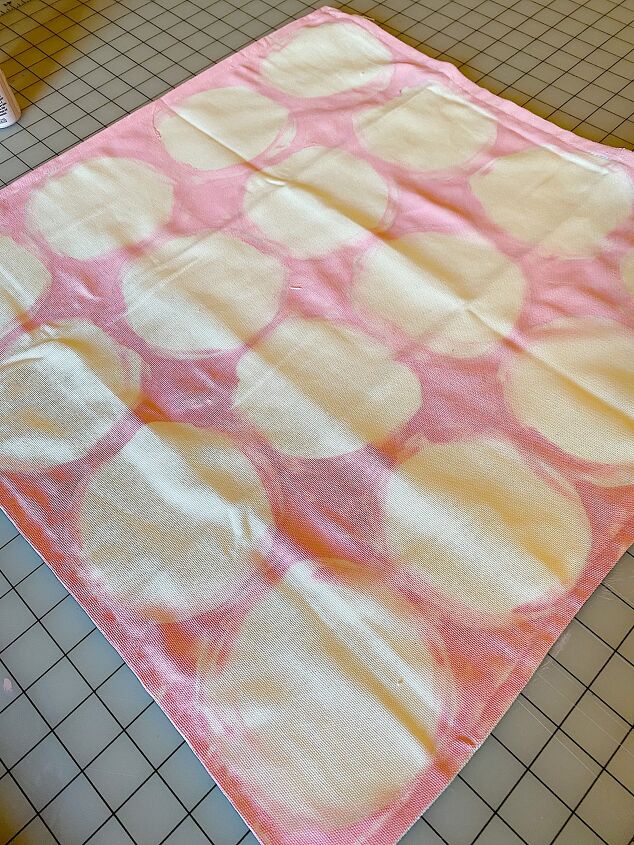
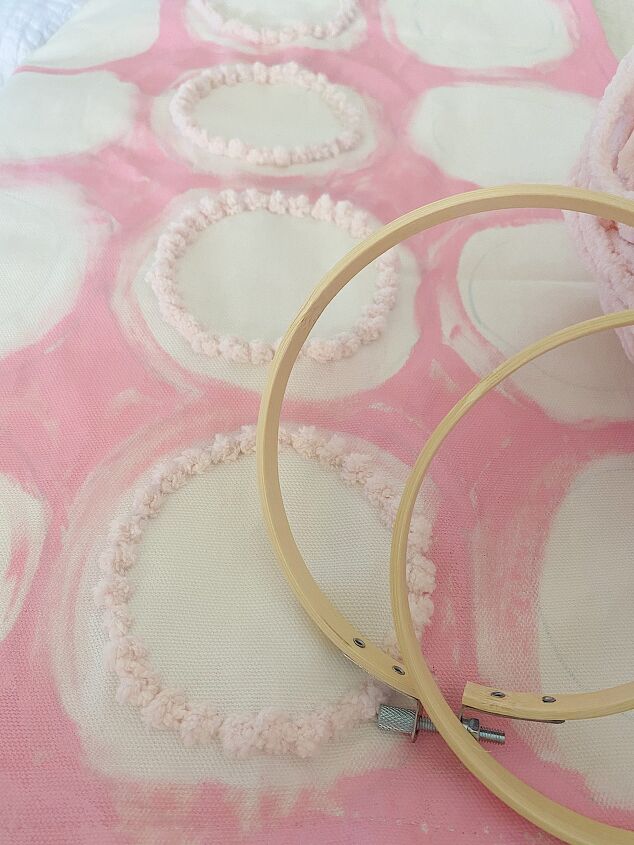
- It seemed that four circles fit the best in both directions so I found a jar lid that would fit four circles on my pillow. I used erasable chalk and outlined the circles.
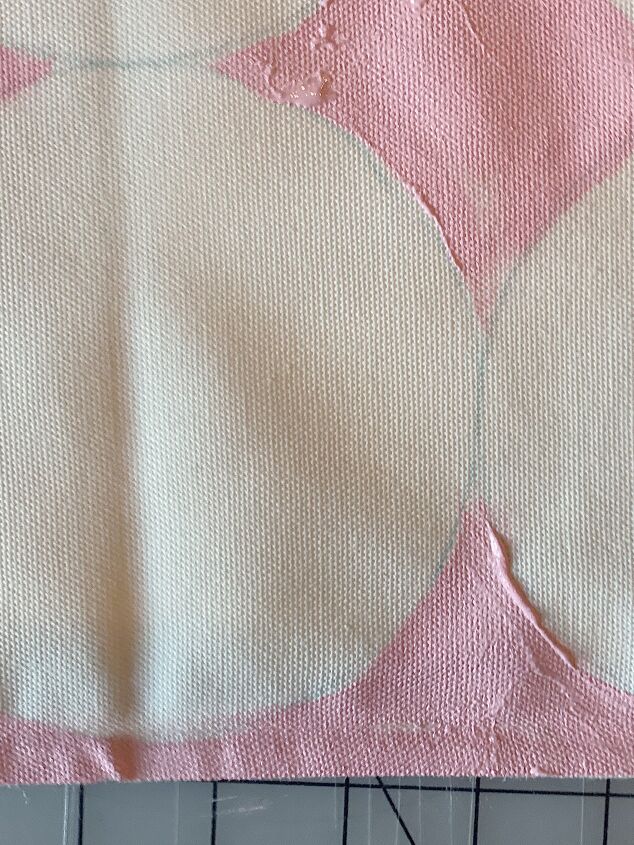
- Next, I painted with pink acrylic paint in the areas that weren’t the circles.
- At first I painted the circles perfectly but I didn’t like it. So I went back and messed up all of the edges. I think it looks so much better painted loosely.
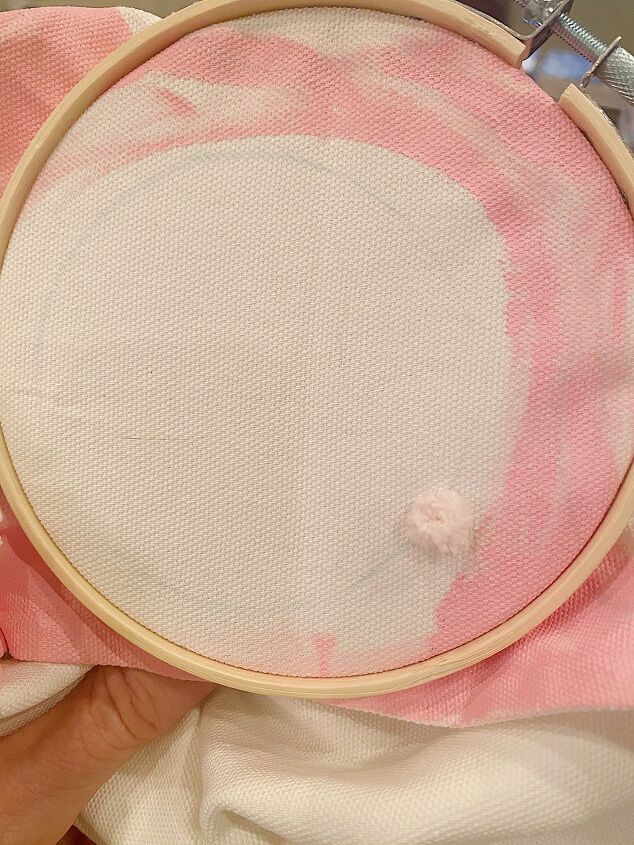
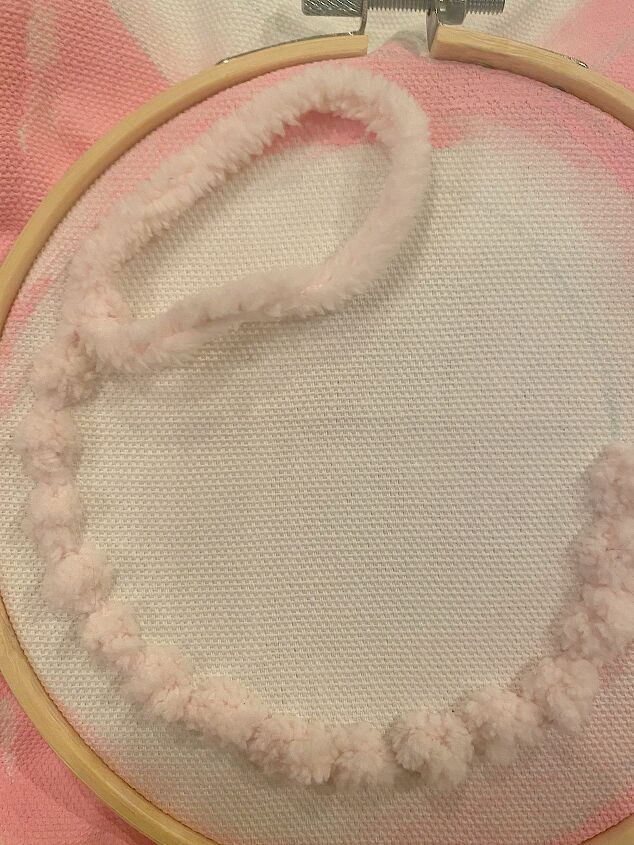
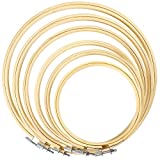
- I found a slightly smaller jar, made another outline of a circle and I used an embroidery hoop and tied french knots all along the smaller circle outline.
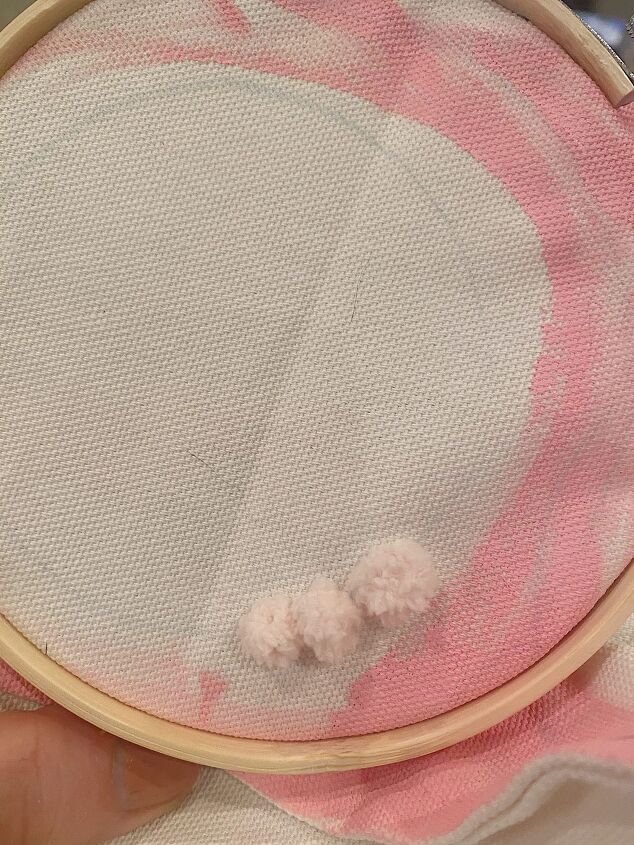
- The knots are so easy to make. Because I used a very thick chenille yarn, I only wrapped my thread over the needle once, not twice.
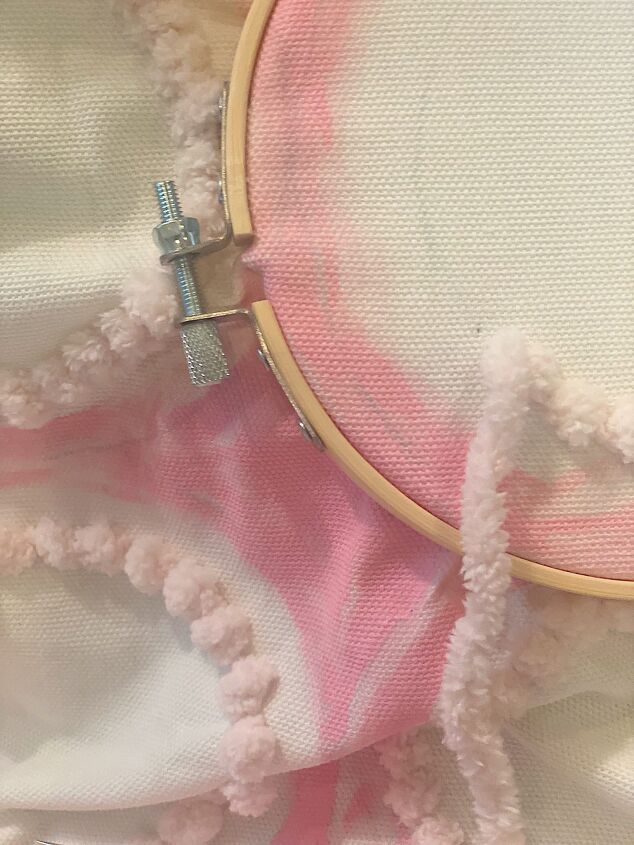
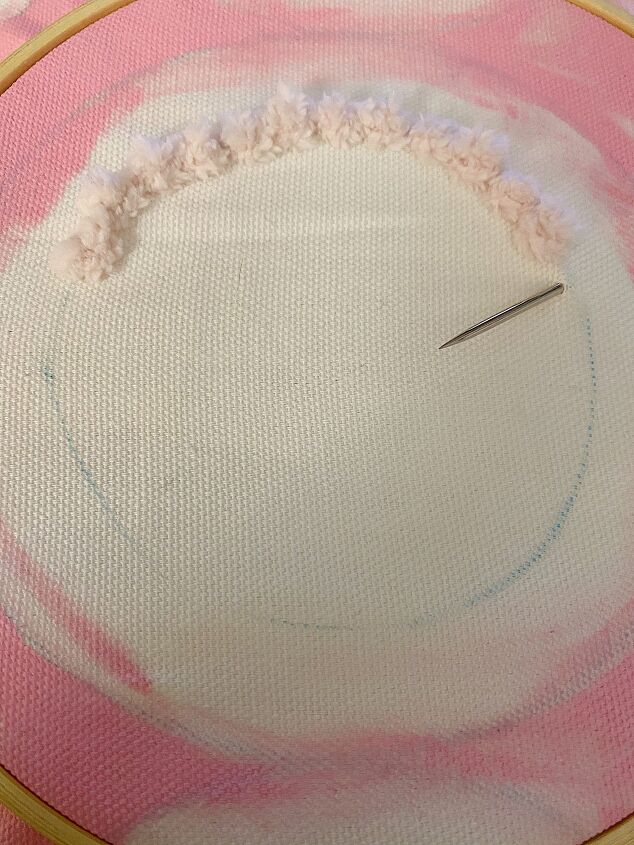
- Just move your embroidery hoop around the pillow to make the knots. I like the embroidery hoop because it holds the fabric tight. It is so much easier to tie a french knot when the fabric is in a hoop.
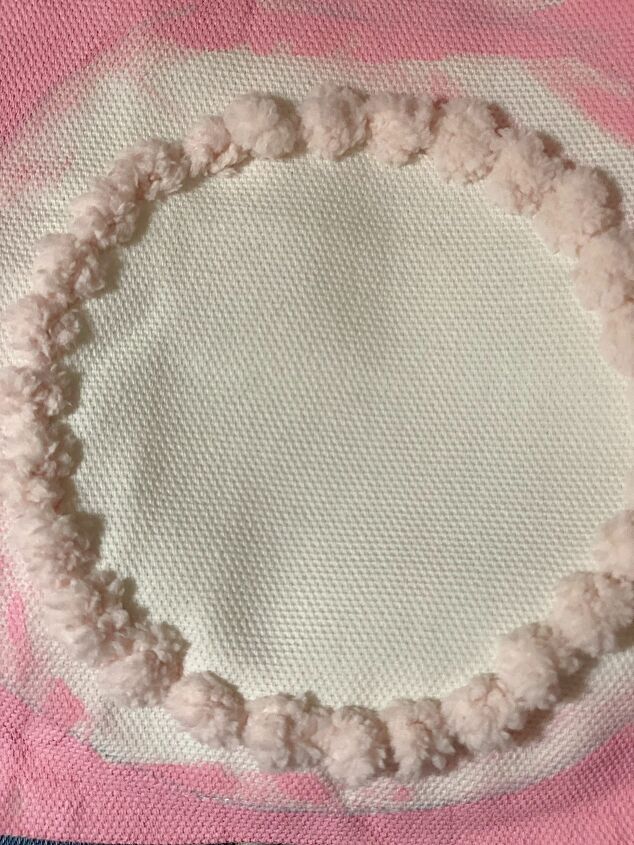
Don’t worry if your circles are all exactly the same. What makes this pillow look so great is that it isn’t perfect. It’s loose and fun.
You can even see that my knots aren’t exactly the same. But it doesn’t matter either.
If you are enjoying my blog, you can sign up to receive my blog updates here. .
Here is an overview of the completed pillow. As you can see, it is far from perfect. And I love it that way!
Which Pillow Do you Like Better?
It’s fine with me if you like the $330 one better than the $15 one. Hehe.
Frequently Asked Questions
What is a French knot?A French Knot is a very easy embroidery stitch. You make it by winding the thread one (or more) times around the needle and drawing the needle back through the material near or at the point where it came out.
How do you do a French knot step by step?You make a french knot by winding the thread one (or more) times around the needle and drawing the needle back through the material near or at the point where it came out.
Ready to make this super cute DIY pillow? Below is everything I used to make mine! In case you don’t want to make your own, I’ve also included some really cute pillow covers.
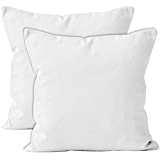
White 20×20 Canvas Pillow Covers, Set of 2

20×20 Pillow Inserts, Set of 2
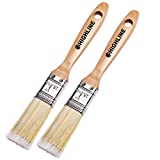
1″ Paint/Craft Brush 2 Pack

Water Soluble Marking Pen, Blue
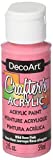
DecoArt 2 oz Wild Rose Acrylic Paint
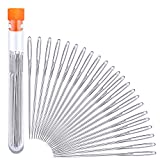
Large Eye Sewing Needles, 23 Pieces
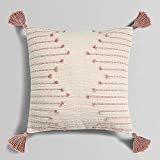
Farmhouse Pink Throw Pillow Cover, 18 x 18
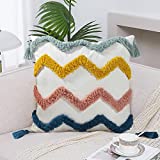
Boho Throw Pillow Covers 18×18
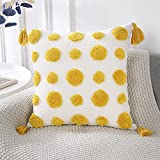
Yellow Pom Pom Tufted Pillow Covers 18×18
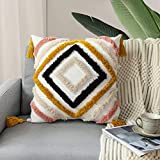
Boho Tufted Throw Pillow Cover 18×18
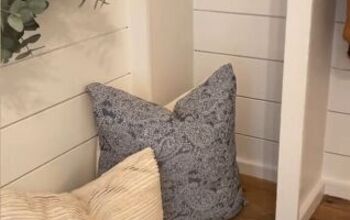
Similar Posts
Here are some of my favorite pink decorative pillows that you can make too.
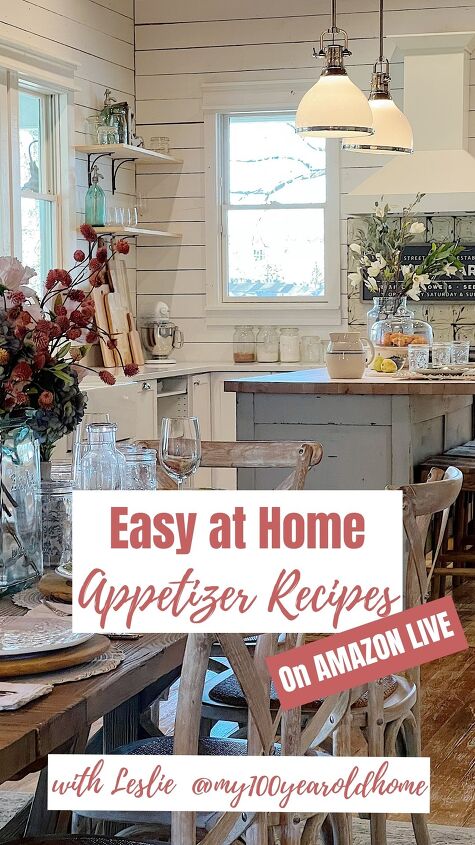
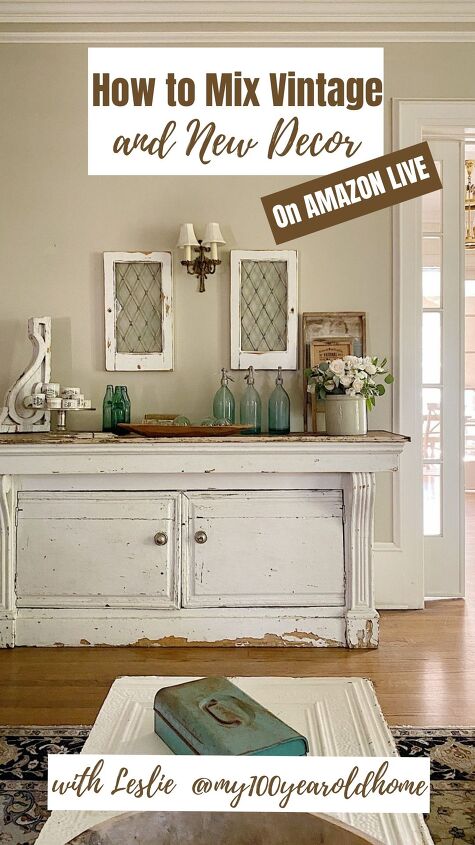
Watch My Amazon Live
Join me for my Amazon Live Show as I share all of my favorites! The shows are live but they are recorded so you can watch them any time.
Just click on any of the shows below.
Pin the image below to your decor boards on Pinterest (just click the Pin button in the top left corner). You can also follow along with me on Pinterest!
For more real-time updates, follow me on Instagram @My100YearOldHome

ABOUT LESLIE
Welcome to My 100 Year Old Home. I started my blog so I could share my passion for entertaining, décor, cooking, and crafts. You will find all this and more right here. Read more…
Resources for this project:
See all materials


Comments
Join the conversation
-
I love your pillow ideas. I just started following you, so I’m sure I’ll like other things as well.
-
Hands down, your pillow is much, much nicer.


Frequently asked questions
Have a question about this project?
This is so pretty!! I am assuming it can't go through the wash, though?
Did you remove the stitching on 3 sides of the pillowcase before starting the project so the paint wouldn’t bleed through and it would be easier to French knot?