


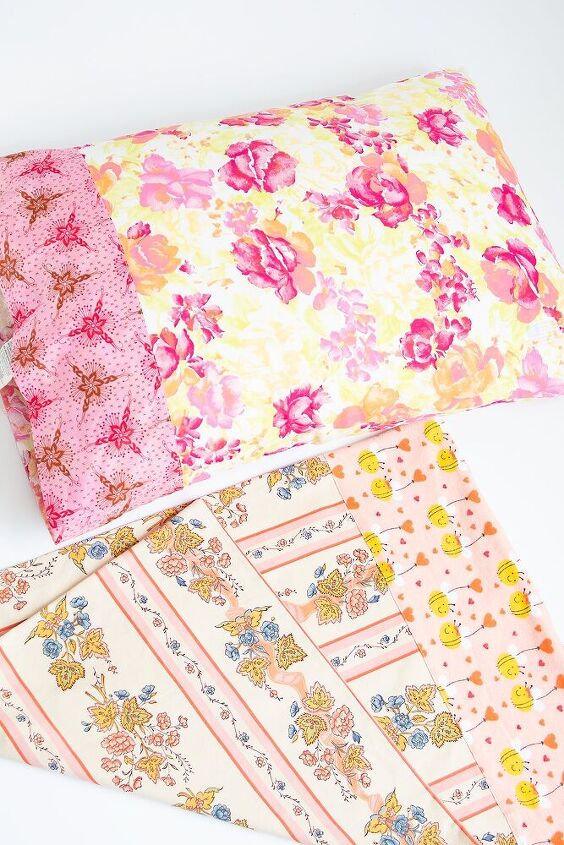
Need a Bedroom Refresh? Sew up a Quick Pillowcase
DIY pillowcases are such an easy way to add a little personality to a bedroom without a lot of work.With some simple straight line stitching, a yard of fabric, and a few minutes, you can have a fun pillowcase that's way more interesting than anything you could buy.So grab some scissors and let's do this.This page contains affiliate links. As an Amazon affiliate, I earn on qualifying purchases. If you purchase a product through one of them, I will receive a commission (at no additional cost to you). I only ever promote products that I use and love and I think you will love too. Thanks for supporting me!

What kinds of fabric should I look for?Go for feel here. I mean sleeping on it for multiple hours, so if it feels bad, you’re going to hate it. Here’s some ideas.
- Cotton percale: it’s literal sheet fabric! You can’t go wrong here.
- Cotton pima: super soft, silky cotton!
- Cotton quilting fabrics: widely available about everywhere in super fun prints you'll love.
- Cotton flannel: great choice for winter, plus the brushed surface feels nice.
- Cotton voile: extra soft and silky. This is a lighter weight cotton.
- Satin: nice and smooth. This can be a great option for curly haired people. It’ll help prevent bed head and breakage on your curls.
- Silk charmeuse: look at your fancy self! This is luxury upon luxury, but if you want an ultra smooth DIY pillowcase you can’t beat silk charmeuse.
- Linen: you can’t beat linen for it’s breathable nature. In hot weather, the idea of a linen pillowcase is pretty awesome. You may or may not like the feel of linen in a pillowcase. Look for handkerchief linen or linen/rayon blends. Both tend to be very soft and more finely woven than heavier linens.
Cutting the piecesFrom your main fabric first fold your fabric selvage to selvage. The selvage is the finished edge of the fabric that doesn't fray. Cut 1 piece 29″X21″ with the 29″ side on the fold.Next fold your contrast fabric selvage to selvage. Cut 1 piece 7″x21″ with the 7″ side on the fold. This is your contrast band piece.
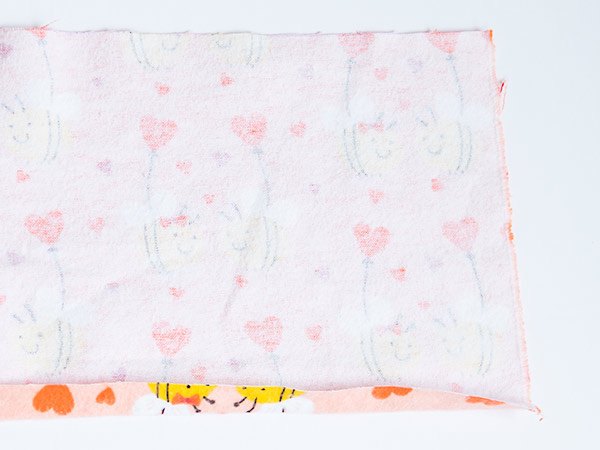
First we need to prep the band. Fold back 1/2″ on one long edge of the contrast band piece. Press this hem in place.If you’re working with a child, this might be a step for his adult helper. It's too easy to burn your fingers on small hems!
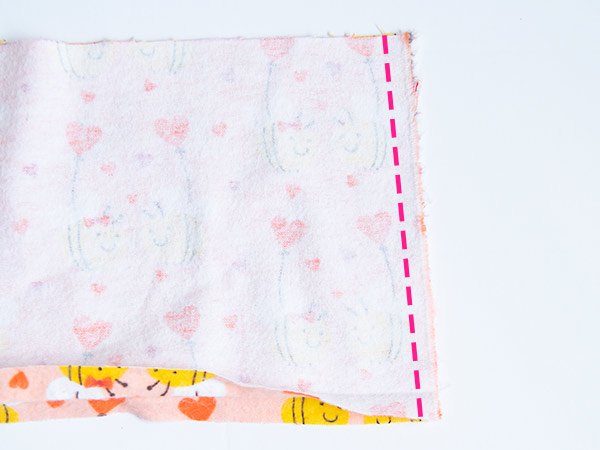
Next, match the band right sides together. Sew the short edges together with a 1/2″ seam allowance.
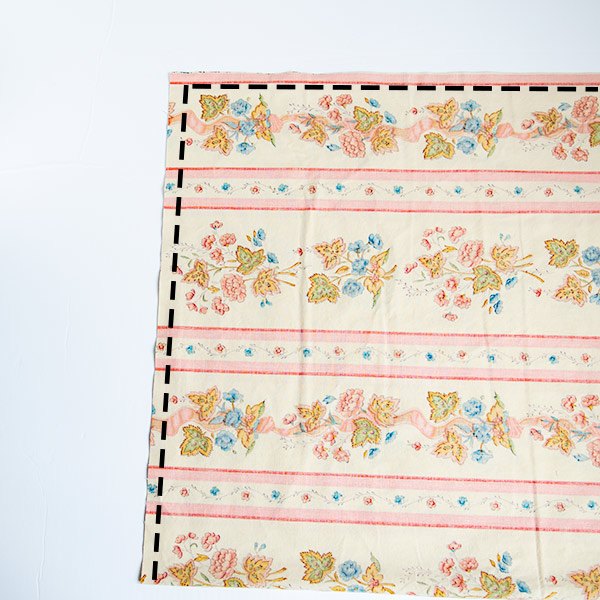
After that, match the pillowcase body right sides together. Sew down the long side and one of the shorter sides with a 1/2″ seam allowance.Make sure to pivot the needle at the corner before you sew across the bottom of the pillowcase.Finish the seams on the pillowcase with a zigzag stitch along the edge. If you have a serger, you can serge this for a fast, clean finish. There’s no need to finish the seam on the band.After this, press the seams of the side of the pillowcase and the band to one side.
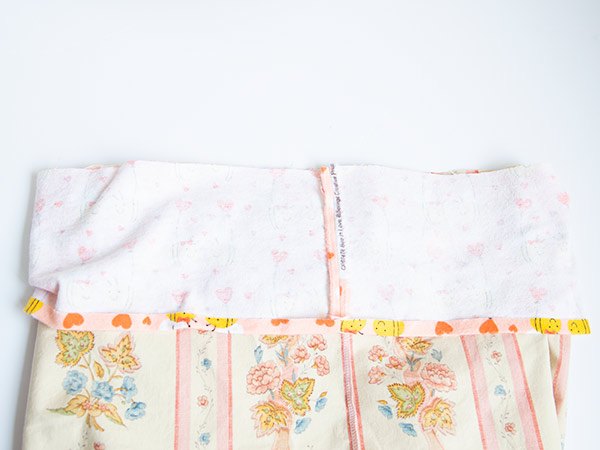
Now it’s time to sew the band to the pillowcase.First match the right side of the band to the wrong side of the pillowcase. Be sure to line up the seam of the band to the pillowcase’s side seam.Stitch the band to the pillowcase all around the top with a 1/2″ seam allowance.Next, press the seam allowance towards the band. Fold the band towards the right side. Press the top edge. The band now should be sitting entirely on the right side of the pillowcase.
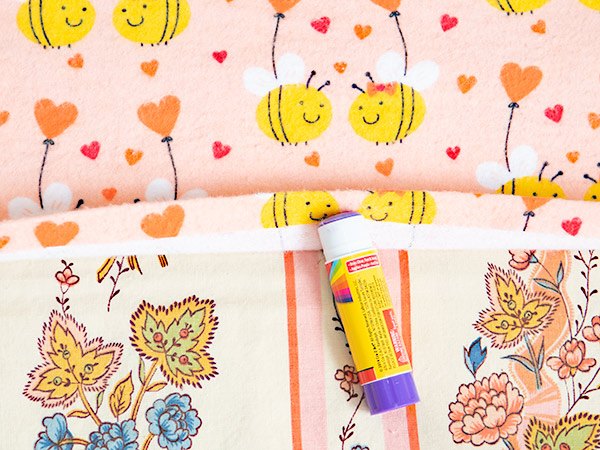
Flip the pillowcase to the right side. Glue stick the wrong side of the band’s hem where you pressed it earlier.Lightly press the band with your hands on the pillowcase.
Flip the pillowcase back inside out.
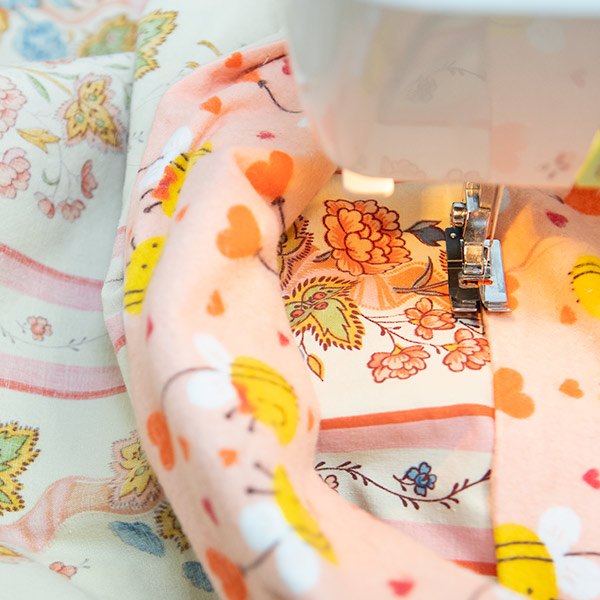
Stitch the band to the pillowcase close to the pressed edge you just tacked down. Try and get as close to the edge as you can for the best look.
For the best look, you can use a ditch quilting foot. This foot has a cool little blade that rides along the edge of a seam, making sure you get stitches that are perfectly spaced from the edge.
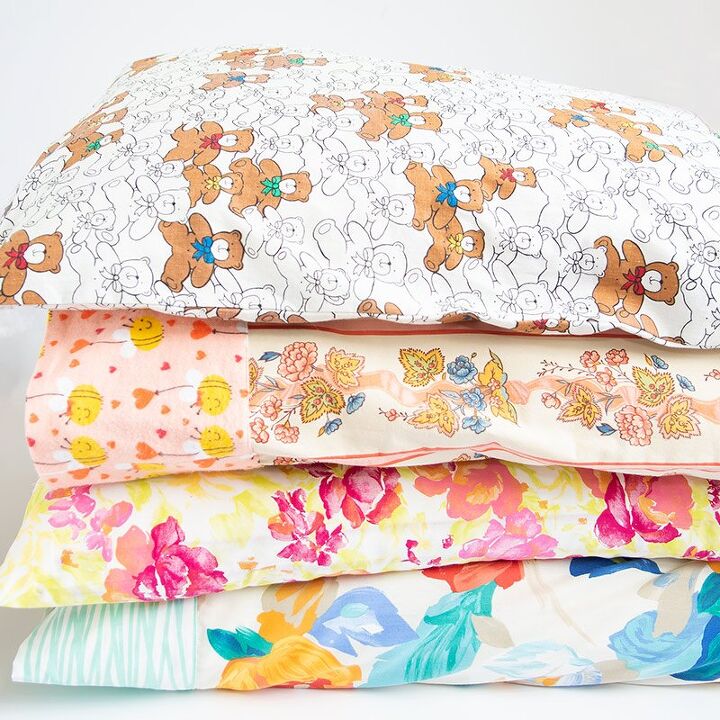
Flip your pillowcase to the right side, and you’re done.


Frequently asked questions
Have a question about this project?