


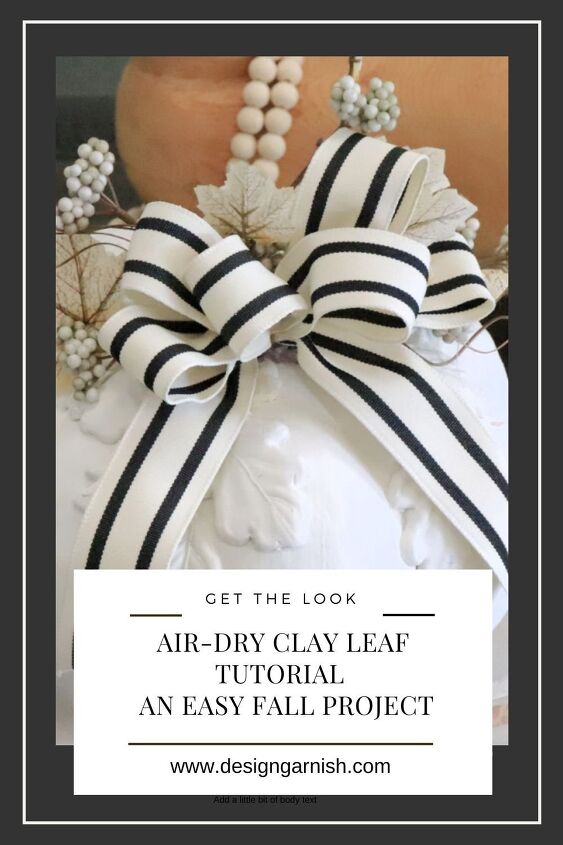
Air Dry Clay Project- Easy Fall Tutorial
Have you ever been curious about how to use air-dry clay? Well, wonder no more; here is an easy air dry clay project perfect for fall.
If you have never worked with clay, this is an easy project to get acquainted with using air-dry clay and moulds.
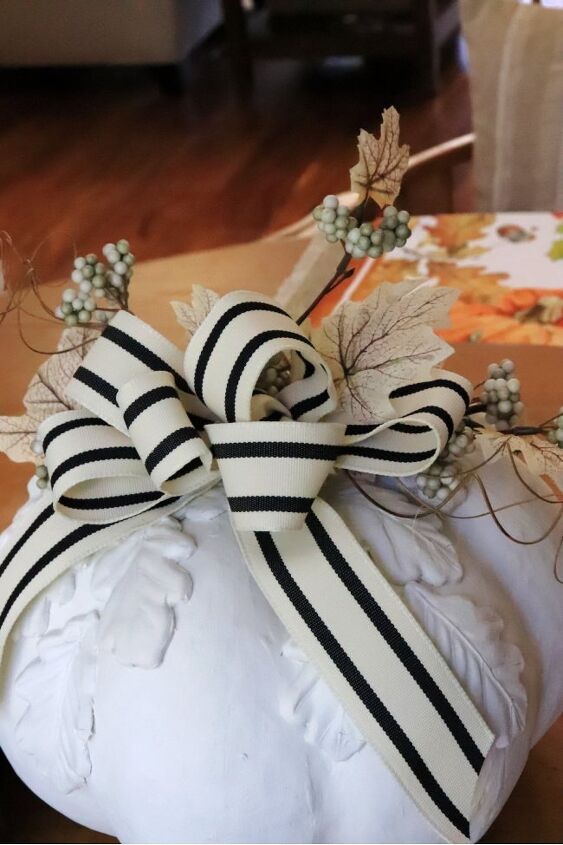
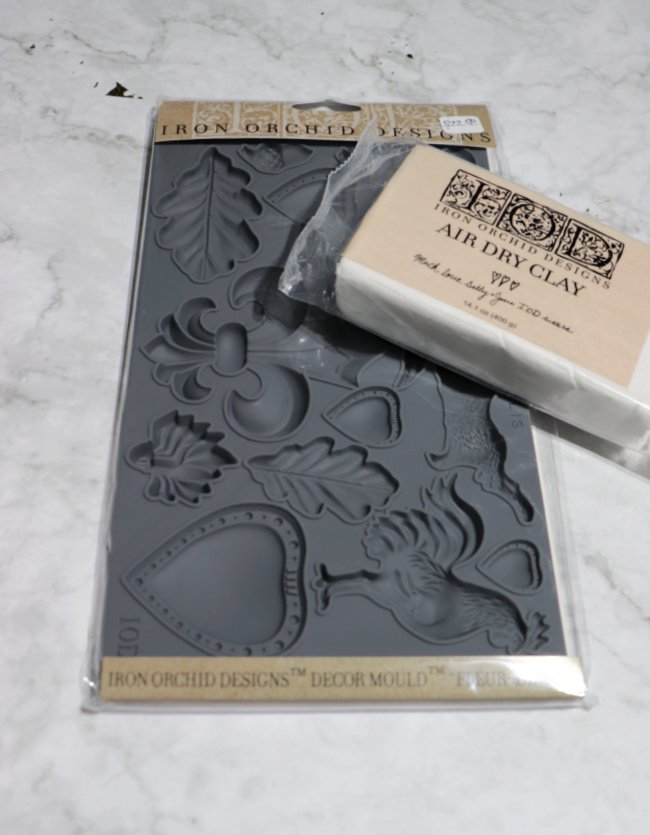
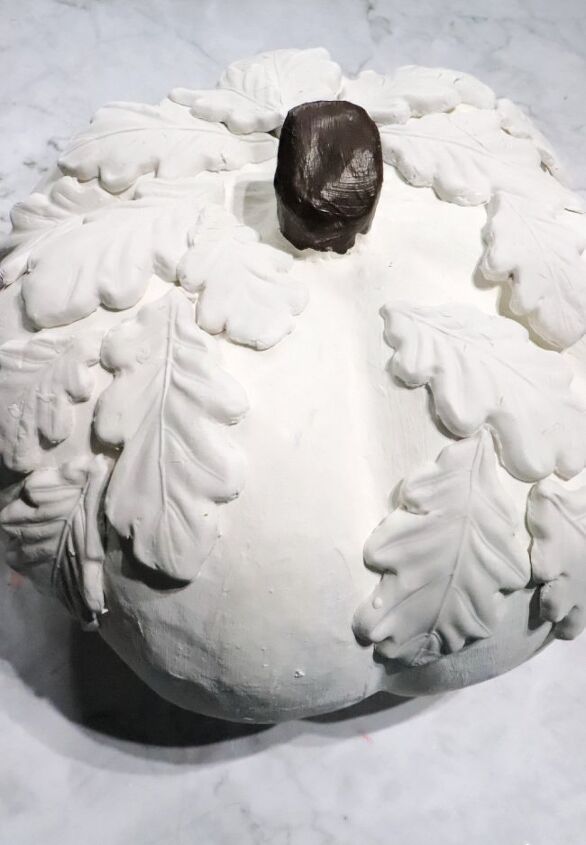
I made the dimensional leaves on the pumpkin from IOD clay, an artisan-grade clay, and I pressed the clay into an IOD mould.
The IOD mould is what gave the leaf its dimension and detail.
IOD stands for Iron Orchid Designs, owned by two very creative sisters.
They offer moulds, clay, stamps, transfers, and all the tools needed to complete the desired look. You will have to check them out at www.designorchiddesigns.com, especially if you love crafting.
The Pumpkin Design
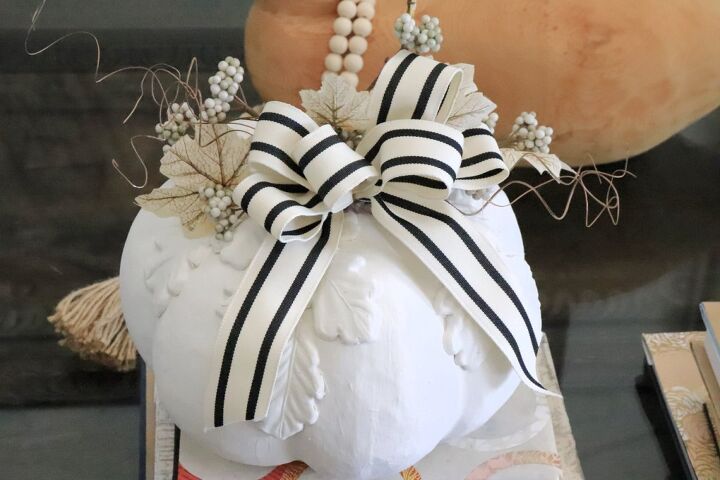
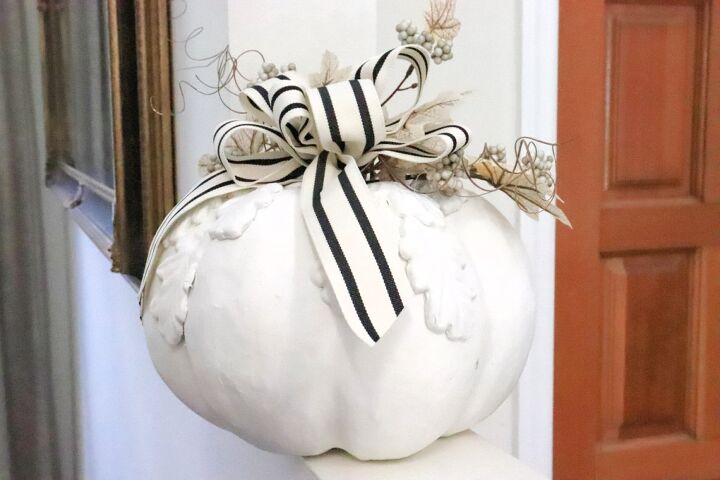
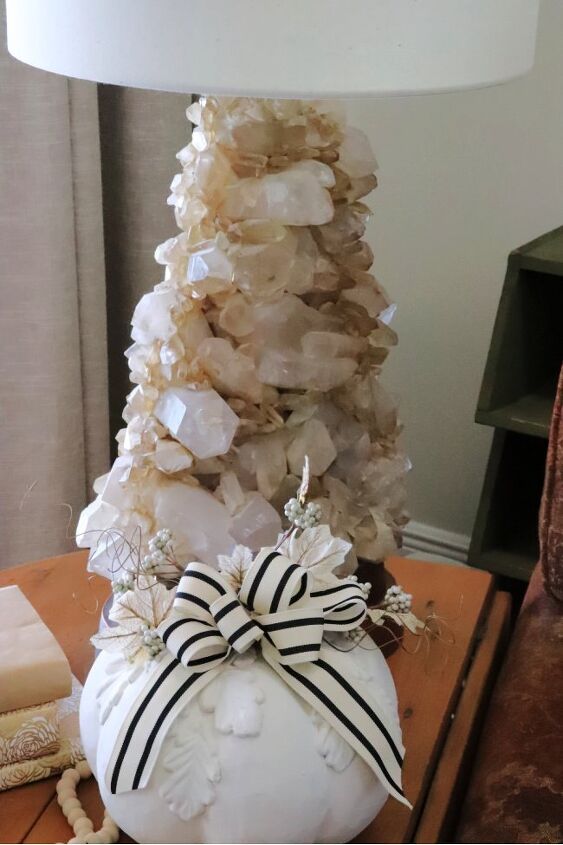
I wanted an all-white pumpkin representing fall’s soft color palette.
With this in mind, I chose creams, whites, and browns when choosing my supplies.
But… the pumpkin can be any style just by changing the paint color, ribbon, and florals to get the look you are after.
SUPPLIES NEEDED FOR THIS PROJECT
Some of the links below are affiliate links. This means that, at zero cost to you, I will earn an affiliate commission if you click through the link and finalize a purchase.
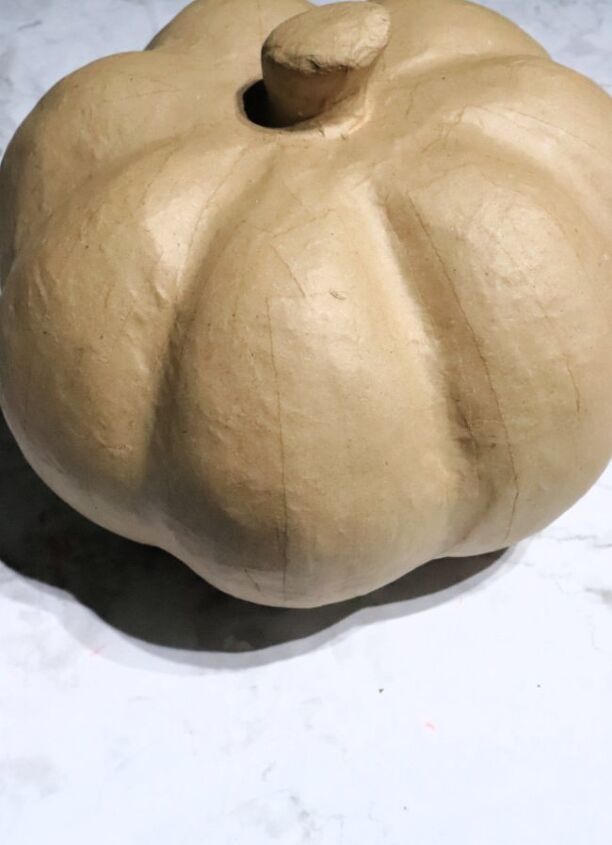
- Paper Mache Pumpkin
- IOD Air Dry Clay
- IOD Mould
- Tight Bond – Quick and Thick
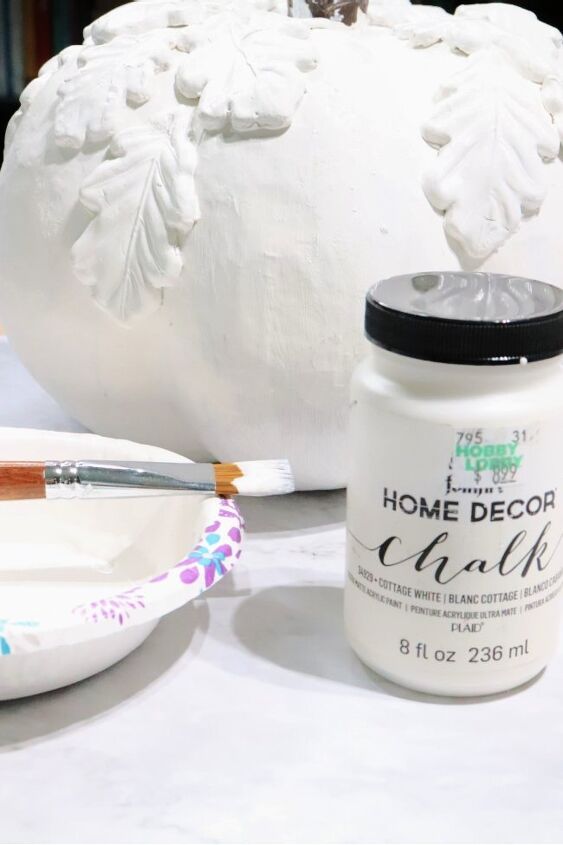
- White Chalk Paint
- Ribbon
- Fall Florals
- Corn Starch – Optional
MAKING A FALL PUMPKIN USING AIR-DRY CLAY LEAVES
STEP ONE
Paint the pumpkin the desired color using a paintbrush.
I started with a paper mache pumpkin and painted it with two coats of white chalk paint.

STEP TWO
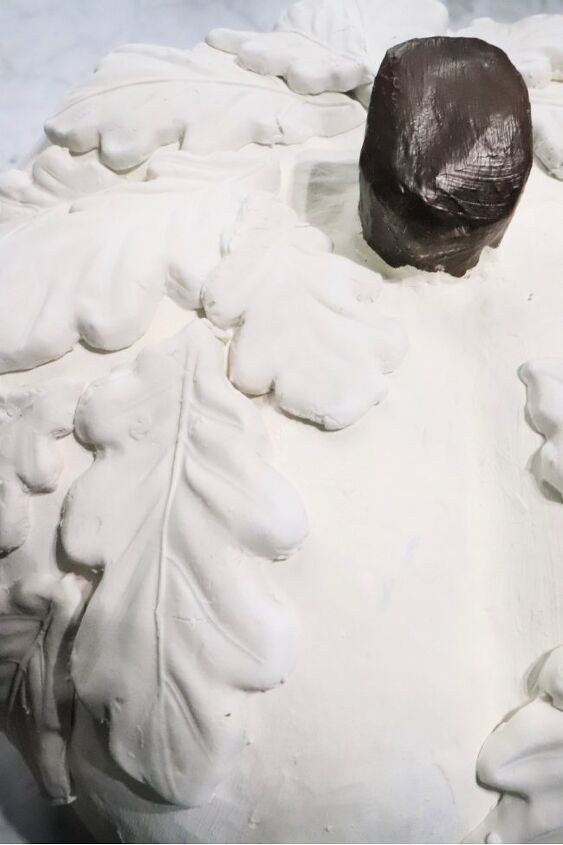
Make the clay leaves using the IOD mold.
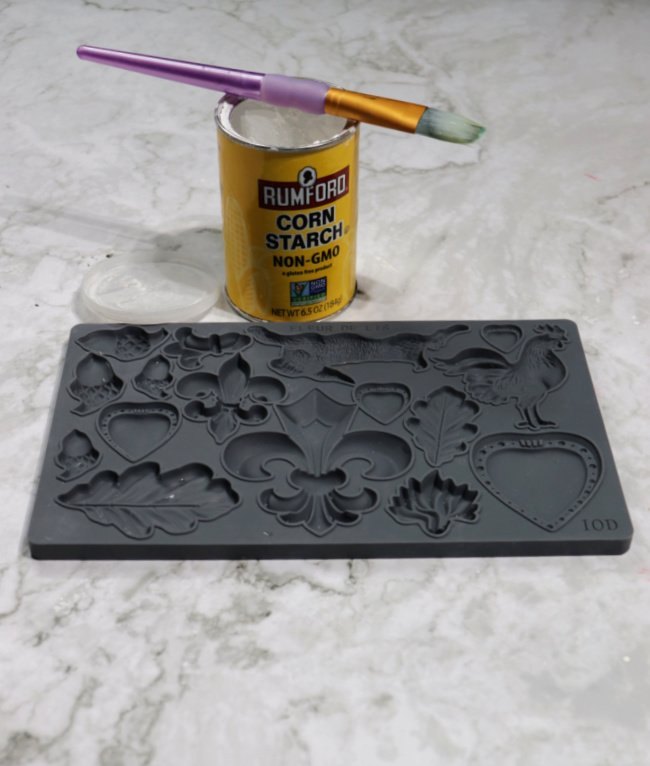
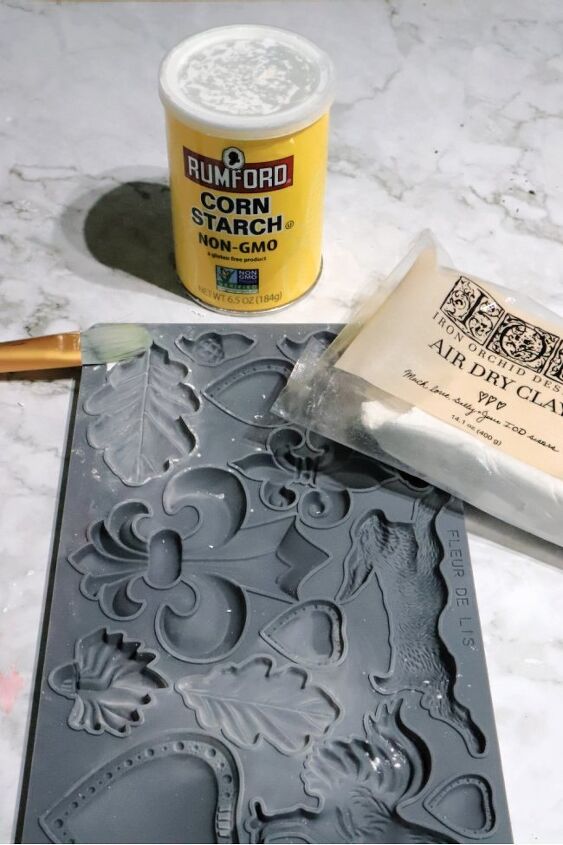
Applying a thin coat of cornstarch to the leaf mould will help release the clay from the mould.
STEP THREE
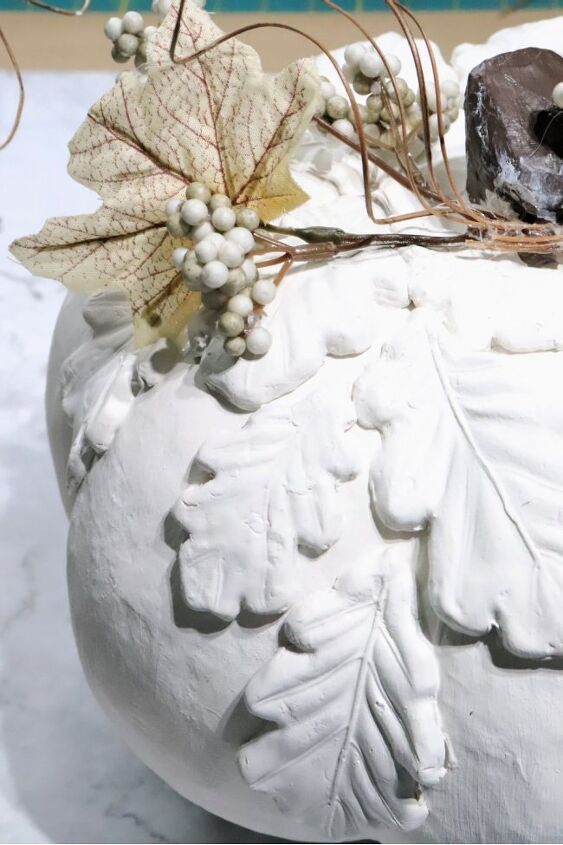
Glue the leaves onto the pumpkin using Tight Bond – Quick and Thick. I glued the leaves while they were still wet.
Also, even though the clay was just about the same color as the pumpkin, I painted the leaves with white chalk paint and the surrounding area to gave it a unified look.
STEP FOUR
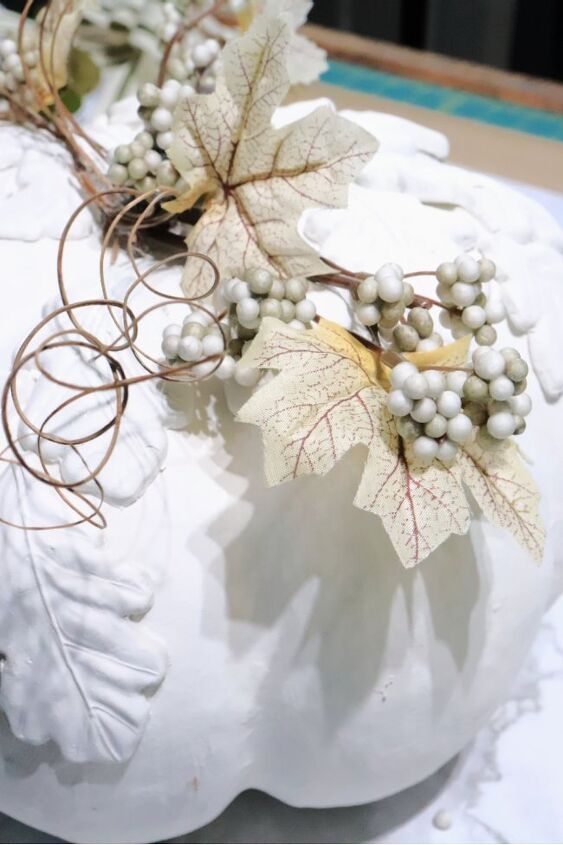
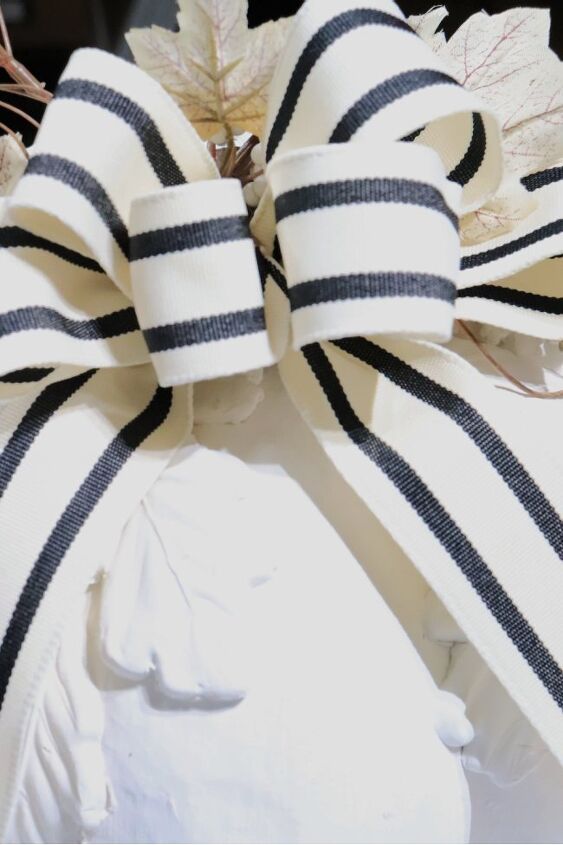
Decorate with florals and ribbon.
I used hot glue to adhere the florals and bow to the pumpkin.
The bow will hide the mechanics of the florals, but make sure to decorate the pumpkin, so it looks good from all angles.
THE FINISHED PROJECT
Questions and Answers
What Makes IOD Clay Special?
IOD clay is considered an artisan quality clay, not a craft clay; therefore, there is minimal shrinkage and cracking.
It is also softer than most clays, making it easier on the hands to mold.What Happens If The Clay Cracks?
If there is cracking, there are two ways of fixing it. The first is to do nothing and embrace the irregularity. It can add character and dimension to the piece. The second would be to gently back-fill, adding a small dab of clay on top of the crack and gently smooth, taking care not to distort the details of the mould.What Should I Use to Glue The Clay Onto My Projects?
Tight Bond – Quick and Thick is the recommended glue choice.
If you enjoy craft projects, here are a few you may like from my blog.
Gold Leaf, How to Apply to Make Elegant Place Cards
Two Fall And Winter Wreaths to Make at Home
Black and White DIY Art
Sweet Christmas Topiary
DIY Home Decor Using Shells
PIN FOR LATER!
Here Are Suggested Supplies That Can Be Used For This Project
Some of the links below are affiliate links. This means that, at zero cost to you, I will earn an affiliate commission if you click through the link and finalize a purchase.
The IOD products are sold exclusively at your local IOD retailer or online. To see where the closest retail store is to you, visit their website at www.ironorchiddesigns.com .
I have added a few alternatives, which can be found from Amazon or from your local craft store.
If you have any questions, please let me know in the comments.


Frequently asked questions
Have a question about this project?