


Faux Fall Sweater Pumpkins

by
Judy
$.50
15 Minutes
Easy
I've seen some fabulous pumpkins lately made out of a variety of materials so I decided to try making some out of a sweater. I found an orange sweater at a local thrift store marked $5.00 but due to a 50% off sale I got it for $2.50.....such a deal. I found some sweaters made of really beautiful materials but none of them were on sale and they were priced quite high, especially for a thrift store. I figured if the pumpkins turned out nice I'd go back and get some of the really beautiful sweaters. Maybe by then they'd be on sale......even better. I made two large pumpkins and three small ones with this one sweater but still have enough sweater material left to make another five to ten pumpkins depending on the size. The silk leaves came as a garland and were purchased at the dollar store. The stems and curly pieces came from my yard. I figured the cost was approximately fifty cents each but it's probably even less than that.
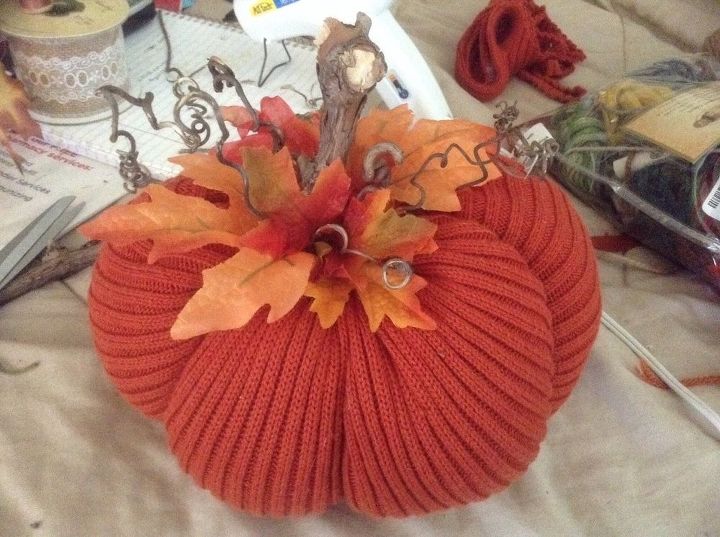
1st one.....
The experimental first pumpkin. This was the biggest one I made measuring about 7" in diameter.
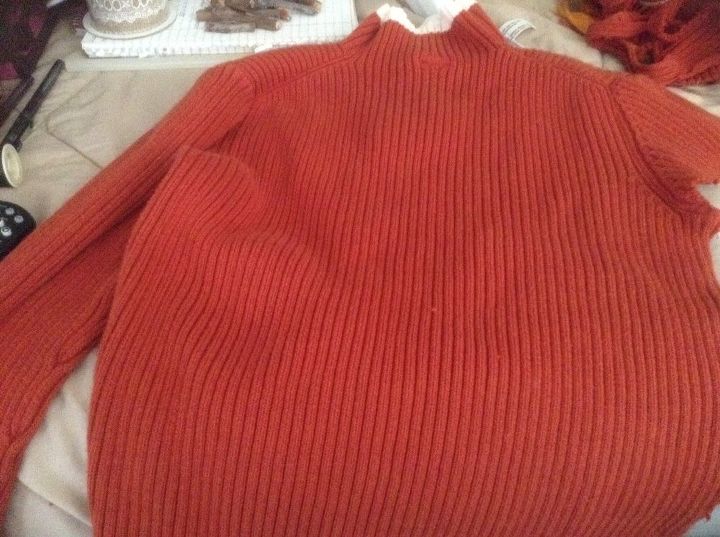
Thrift store sweater deal.....
I cut a square from the front of the sweater and rounded the edges.
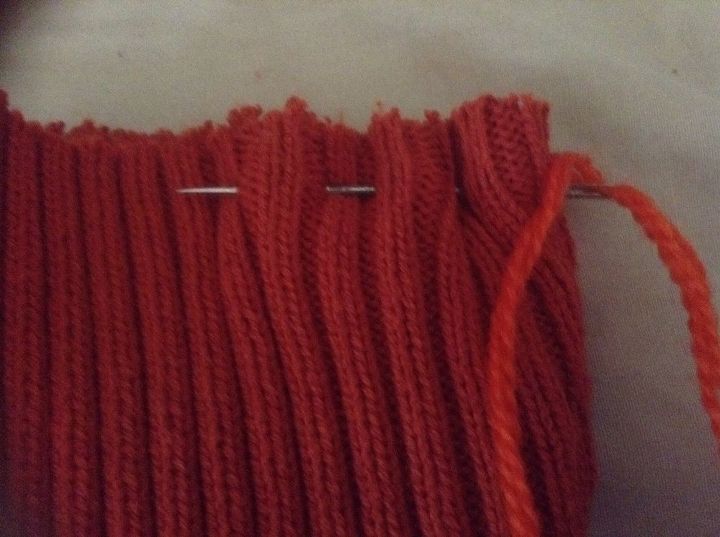
Running stitch.....
I took a needle and piece of thin yarn, instead of thread and did a running stitch, (which is really just a straight line of larger than normal stitches) around the edges. TIP: before I started the stitches I tied off a few inches of the yarn, placed the stitches, then left several more inches of yarn at the end so as to make it easier when all the stuffing was added to gather tightly and tie off the two ends.
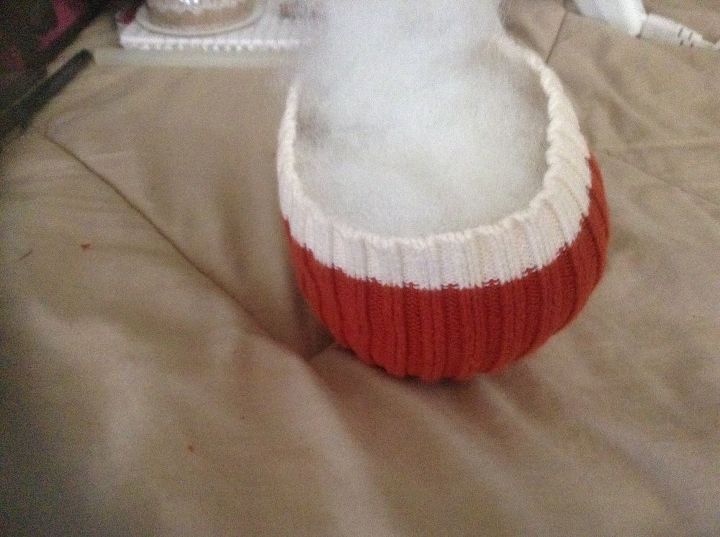
Stuffed with polyfil.....
This was another, smaller pumpkin I made from cutting a rectangular piece from one of the sleeves. You need to stitch both ends doing it this way but it was actually faster and easier. I added some polyfil fiber stuffing that I had left over from another project.

Two different styles.....
I stuffed it quite full then tucked the edges into the center, placed some hot glue, and stuck a piece of twig in the center. I added a few silk leaves, some curly stems from grapevines in my yard and on a few I added a bit of Spanish moss. I made 3 small pumpkins and 2 large ones from one sweater and still had the entire back, a small portion of the front, and part of both sleeves left over for more. Some I left perfectly round and others I created sections by wrapping a piece of yarn around the pumpkin, tying it off at the top, and tucking it inside the center before adding the hot glue. I think those are my favorites as they give the pumpkin more depth and a more accentuated shape.
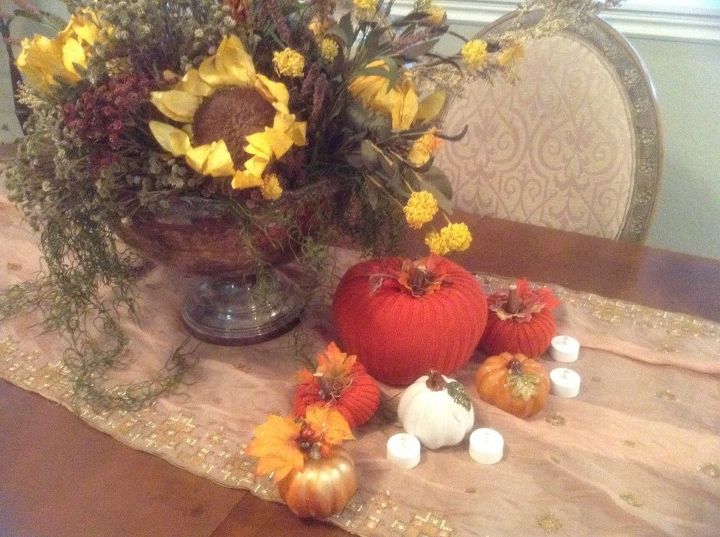
A few finished pumps......
Here's a few mixed in with some ceramic pumpkins on my table.
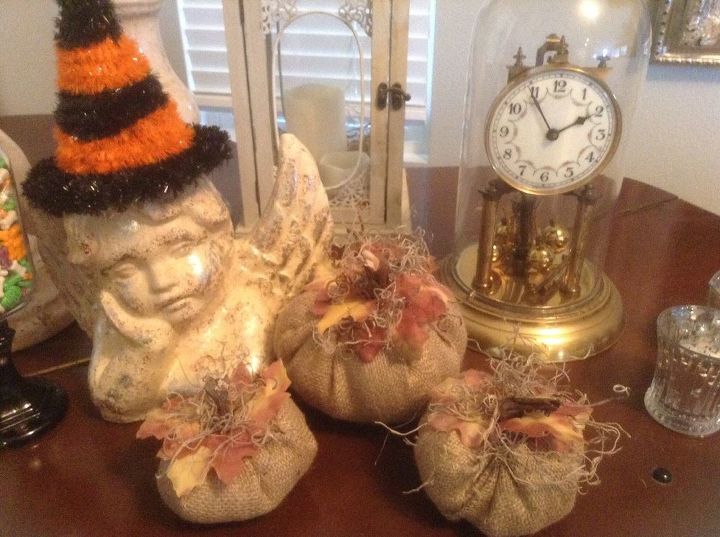
Burlap pumpkins......
I liked them so much I made some using burlap. I made them using just one square of burlap as in my first sweater pumpkin. I like how they turned out and although the burlap is a bit more difficult to work with it was still quite an easy project.
Comments
Join the conversation
4 comments
-
@Judy Those are fantastic, I wish I'd thought about all the sweater crafts when our local thrift shop was going out of business, & had everything priced at 50 cents! Ughhhh.... :/
-
These are great!


Frequently asked questions
Have a question about this project?