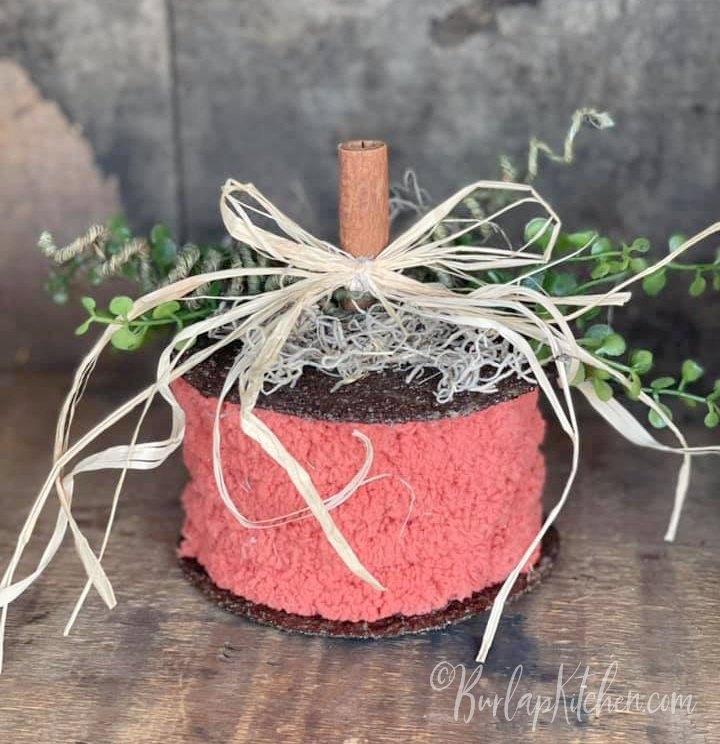
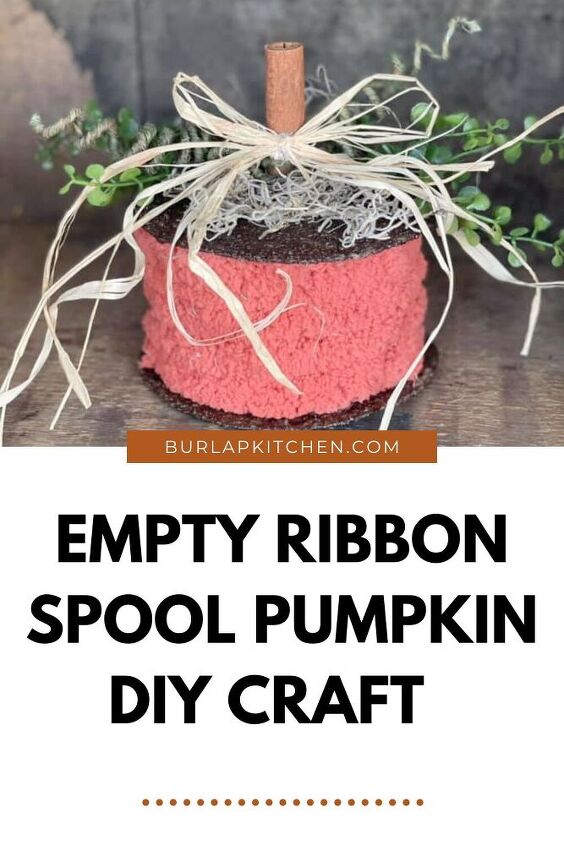
How to Create a DIY Pumpkin W/ Empty Ribbon Spool

$5
20 Minutes
Easy

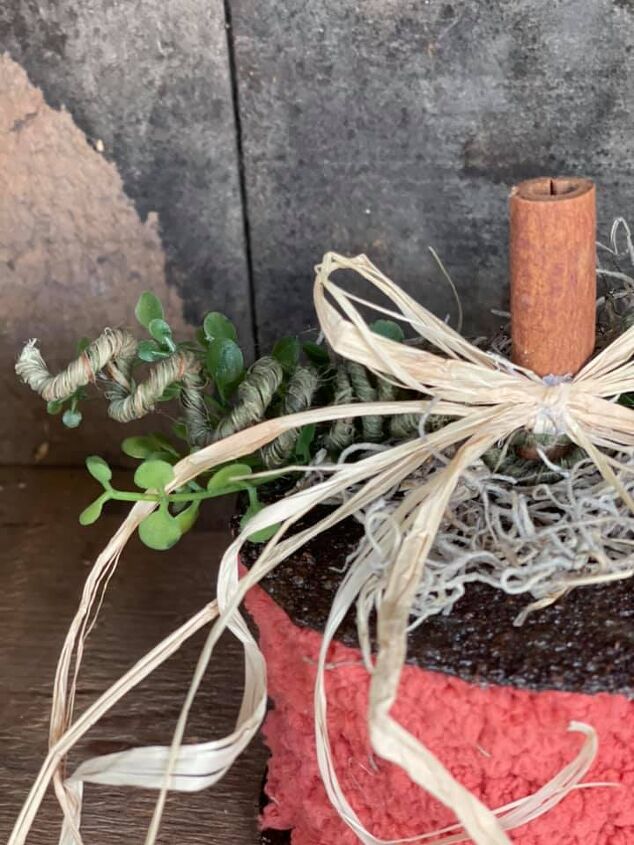
Today, I am so excited to share with you how to create a DIY pumpkin for fall décor using an empty ribbon spool. This DIY pumpkin will definitely elevate any fall décor look. When I think of budget friendly, fall décor DIYs, this cute pumpkin never disappoints. It is such a beautiful fall accent and works well with farmhouse style décor, or primitive décor. Did I mention I make this simple budget friendly fall DIY using an empty ribbon spool?!


Materials needed to create a DIY pumpkin for fall decor:
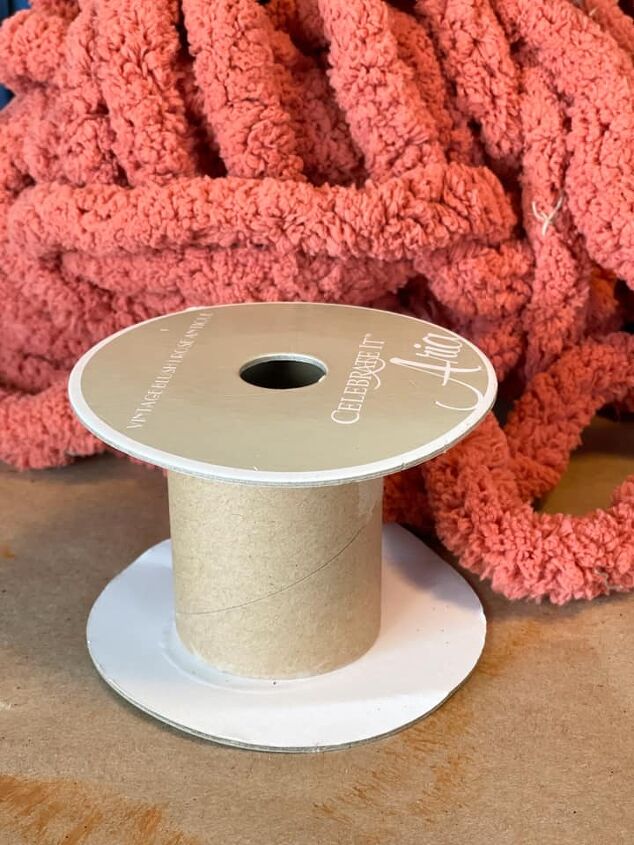

  • empty ribbon spool
  • black paint – Crazy crow from @ A Frayed Knot
  • coffee grounds
  • Mod Podge
  • paint brushes
  • Orange chunky yarn
  • greenery
  • Spanish moss
  • raffia
  • cinnamon stick
  • hot glue gun and glue sticks
  • green twine/floral wire from hobby lobby – found in the wedding section

How to create a DIY pumpkin for fall decor using an empty ribbon spool:


Step 1: Using a paint brush, take an empty ribbon spool and paint the top and bottom of the spool black using A Frayed Knot’s “Crazy Crow.” Allow the top and bottom of the spool to dry, using a heat gun.


Step 2: Using a chip brush, put Mod Podge all over the top section of the spool you just painted, sprinkle with coffee grounds. Mod Podge the bottom of the spool as well, and sprinkle with coffee grounds. Then, Mod Podge the top and bottom of the spool again. Allow this to dry.


Step 3: Take some orange chunky yarn and twist it around the inside center of the ribbon spool, where the ribbon would typically be. Use a hot glue gun to glue down the chunky yarn around the spool. Then, cut off the excess chunky yarn after you’ve gone around the entire spool and hot glue it down so the cut end of the yarn blends in.


Step 4: Stuff some Spanish Moss inside of the hole at the top of the ribbon spool. Be sure to use enough so it is almost hanging out over the top edges all around the spool. Use scissors to trim away any excess Spanish Moss.


Step 5: Put some more Spanish Moss down the hole of the ribbon spool to stuff it. Cut a cinnamon stick into about half (this will be the stem of your pumpkin) and hot glue it over the center of the ribbon spool on top of the Spanish Moss.


Step 6: Using green floral wire, (I purchased mine at Hobby Lobby and it was in the wedding sections) make some curls for your pumpkin by curling the green wire around a pencil. Twist your curled green wire securely around the cinnamon stick stem of your pumpkin and trim off any excess wire if it is too long.


Step 7: Take some greenery accents like eucalyptus stems and hot glue around the top of your pumpkin, on each side of the stem.


Step 8: Tie some raffia around the cinnamon stick stem of your pumpkin, trimming away any excess that hangs down too low. Then, make a bow out of more raffia, and hot glue the bow onto the center of your cinnamon stick stem. Trim away any excess raffia and enjoy this cute little ribbon spool pumpkin!

Watch me! – YouTube


Pin me! – Pinterest

More on how to create a DIY pumpkin for fall:


How to create a simple budget friendly DIY farmhouse style pumpkin for fall decor


How to create a DIY drop cloth fabric pumpkin for fall


How to create a lifelike faux pumpkin garden stake


If you decide to make this DIY I’d love to hear from ya! You can drop a comment below or message me on any of my social media pages. Hope you have a blessed weekend and as always remember to keep it simple. Catch ya next week my friends! Facebook, Twitter, Pinterest, Instagram, youtube

<br /><br /><br />


.

<br /><br /><br />


.

<br /><br /><br />


.

<br /><br /><br />


Tags: cinnamon crafts, cinnamonstick, coffeecrafts, DIY, DIYpumpkin, fallaccent, pumpkinforfall, raffia, ribbonspoolcrafts
Emily @ Burlapkitchen
Want more details about this and other DIY projects? Check out my blog post!
Go
Frequently asked questions
Have a question about this project?
Comments
Join the conversation
 1 comment
Next