


Unique DIY Pumpkin Place Card Holders
Are you planning a Fall-inspired dinner party and are looking for unique pumpkin place card holders?
Well, look no further.
Boy, do I have a super cute and easy DIY idea for your Fall table.
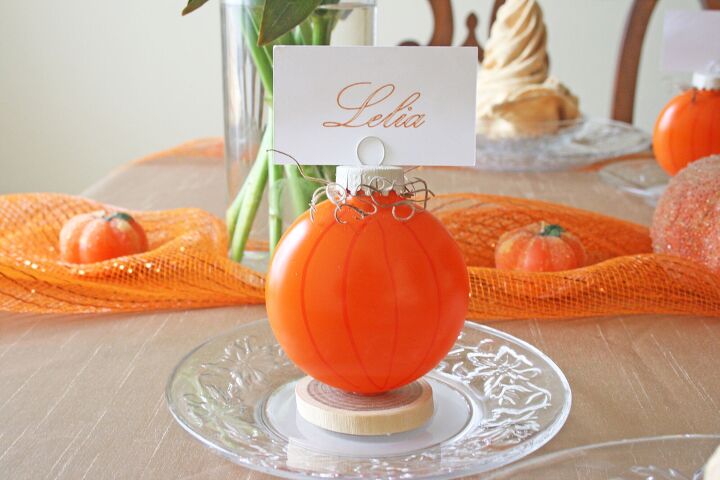
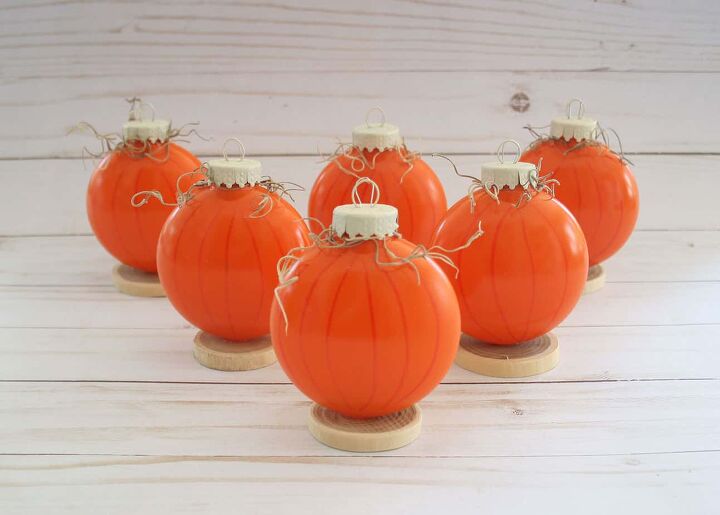
Pumpkin place card holders made from Christmas ornaments. Yep, that’s right – I said Christmas ornaments. Who would’ve guessed? Well, you probably did when you saw them, huh?
I got a bunch of clear disc ornaments in a grab bag. I honestly didn’t intend to buy them, and really didn’t have any plans for them. But I knew I didn’t want to use them as Christmas ornaments. That’s too obvious.
So when I was going through my craft supplies and working on ideas for a Fall tablescape I was planning, I looked at their shape and immediately thought of pumpkins. Then the diy pumpkin place holder idea took shape.
And you know what? I love how they turned out!
Check out how easy they are to make…
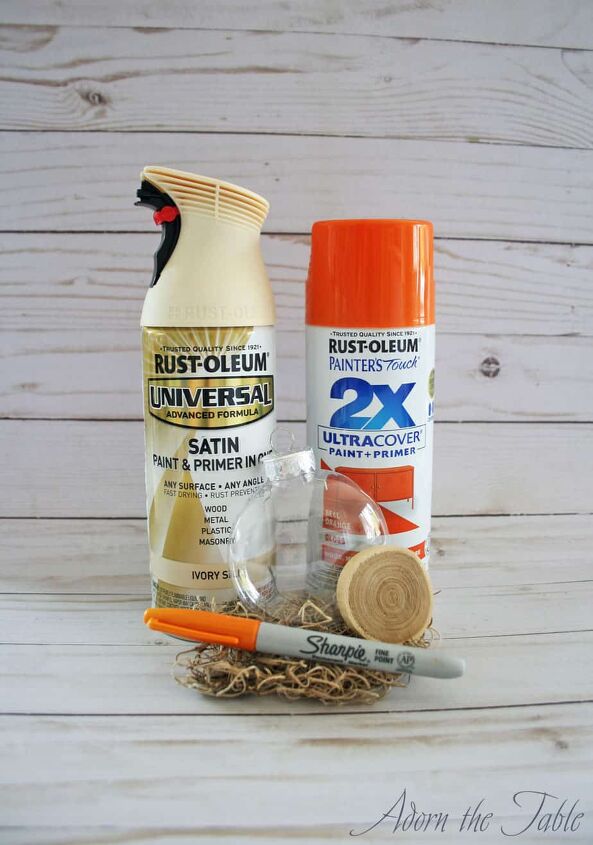
Pumpkin Place Card Holder Supplies
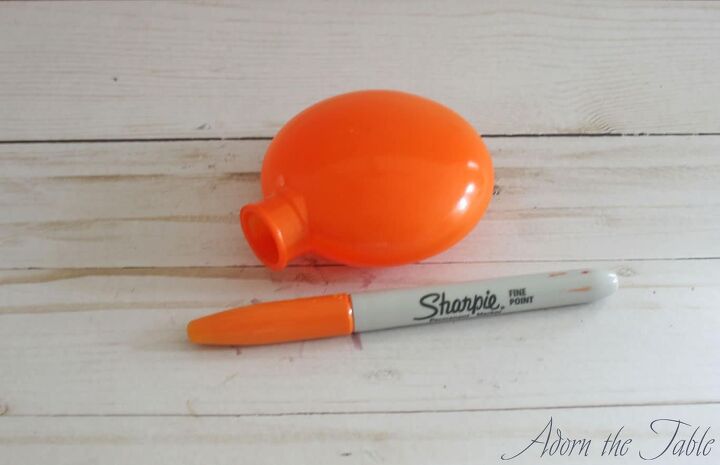
- Clear disc ornaments
- Spray paint: orange and ivory
- Small wood discs
- Spanish moss
- Orange sharpie and glue
How to make your unique diy pumpkin place card holders
Step 1: Prep the materials
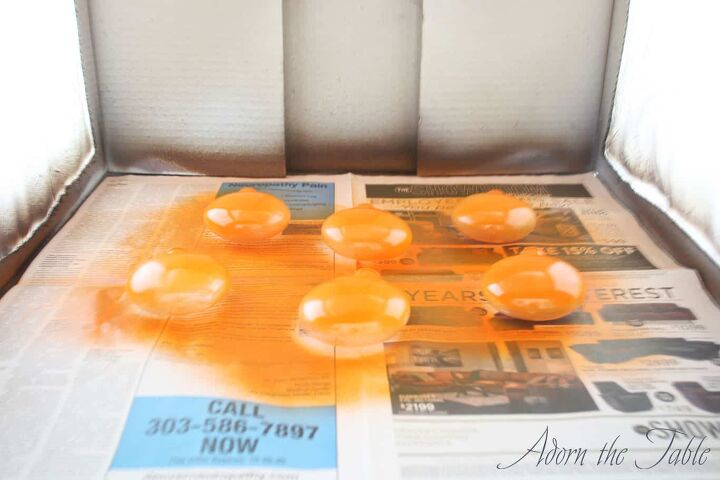
Separate the disc from the ornament top. You will be spray painting them different colors.
Clean the surface of the ornament disc of any dust or particles. You don’t want them trapped under the spray paint.
Then prep an area for spray painting. Lay out lots of newspaper, or lay down a drop cloth, in a well-ventilated area. An empty garage, or outside, are great places to spray paint.
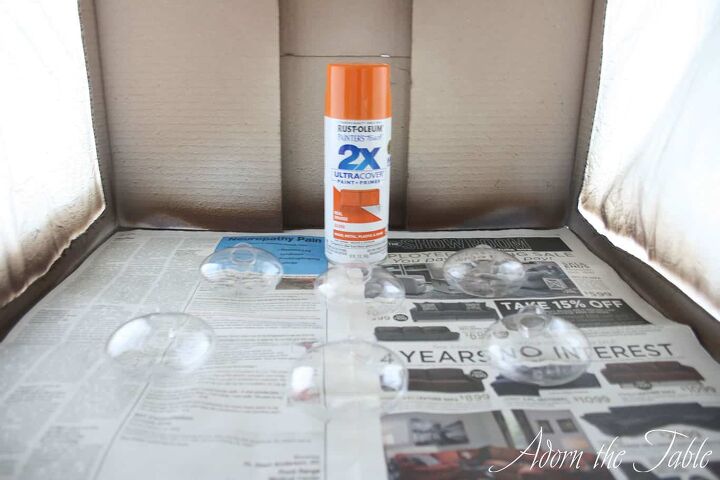
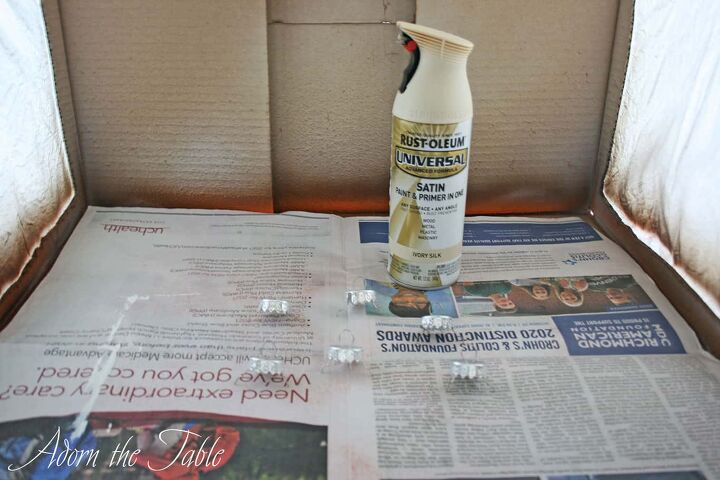
I have a box that I transformed into a spray paint enclosure that you see in my pictures. It helps me contain the spray paint particles when I can’t spray paint outside.
Step 2: Paint the Pumpkin Place Card Holders
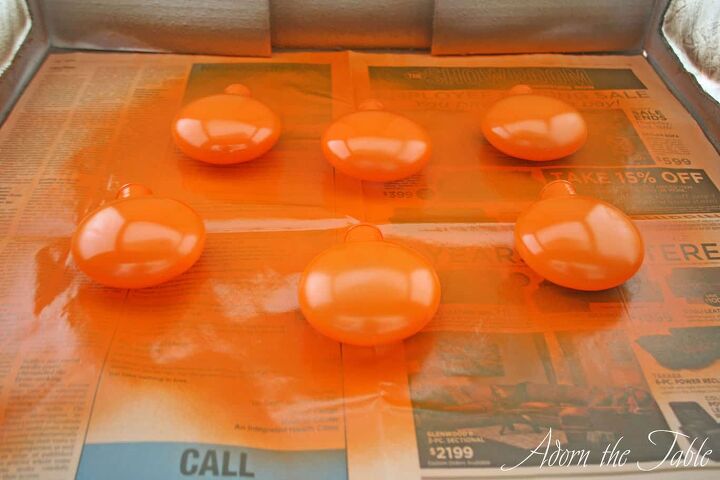
Spray paint the outside of the ornament disc orange. Apply multiple light coats of paint, so you avoid the paint dripping. Be sure and wait for the paint to dry completely, before painting the other side.
Either later, or in a different area than where you are painting the discs, spray paint the ornament top using an ivory-colored paint. Also, take as many small paper clips as ornament tops you are making and spray paint them ivory too.
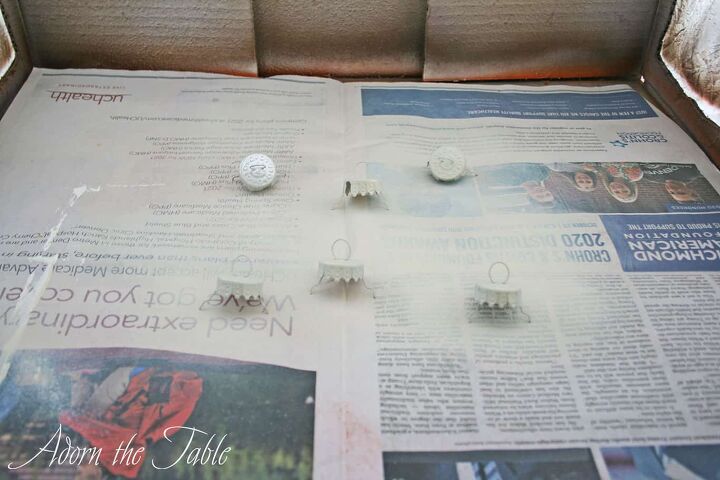
*You will want to do these projects far enough away from each other, so the spray paint particles don’t spray over onto each other. Spray paint particles can travel pretty far.
Step 3: Create the Pumpkin Lines
Once the orange spray paint is completely dry, it is time to create the lines that create the pumpkin look.
Take an orange Sharpie (I used a fine point marker) and starting toward the top, on one side, draw a line in a slight arc, down towards the bottom of the disc. *Tip: practice on a piece of paper first, to get the motion of drawing an arc.
Don’t stress if your lines are perfect or waver a little. Pumpkins aren’t perfect. They are natural and organic.
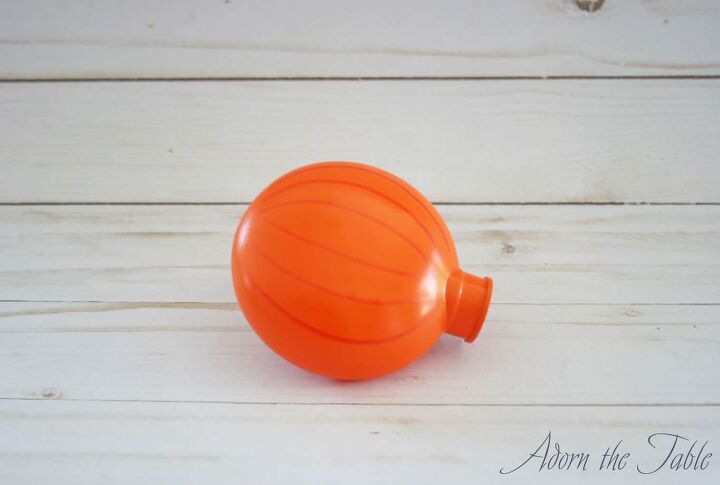
Continue to draw your arcs on both sides of the ornament disc.
Step 4: Putting the Pumpkin Place Card Holder Pieces Together
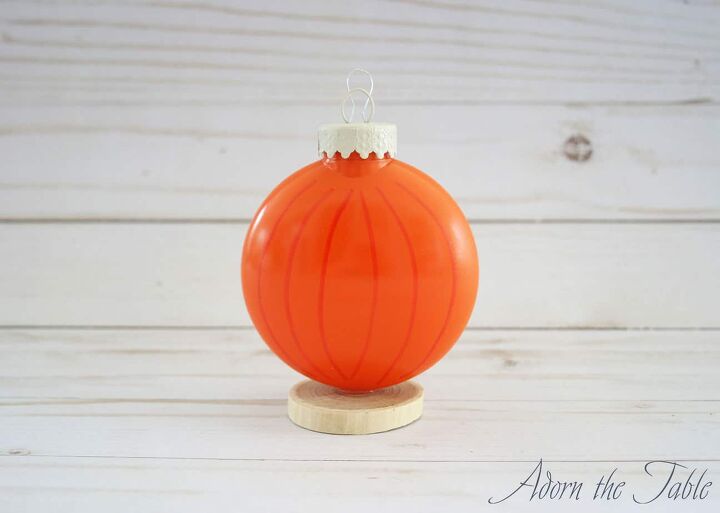
After you have drawn your lines on your pumpkin ornament, add the now ivory top.
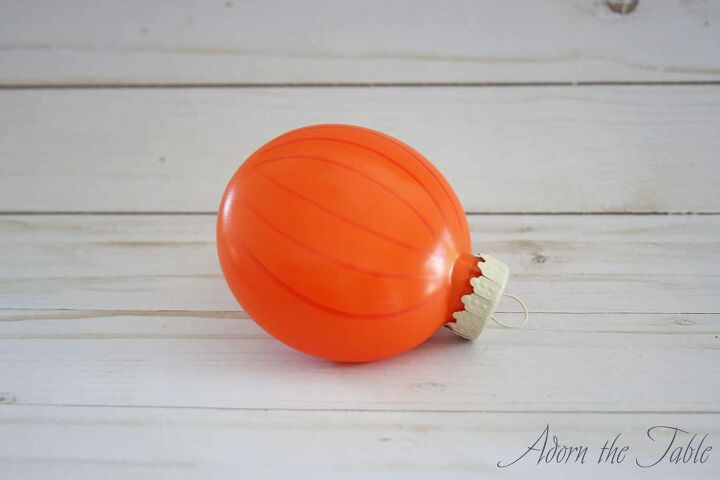
Next is to add the spray-painted paperclip. Unfold the paperclip and snap off the lower half. Then take the ends and slide them through the holes where the ornament hanger is. You will now have two round pieces sticking out. These will hold your name card in place.

Take a small wood disc and hot glue the bottom of the ornament to the wood.
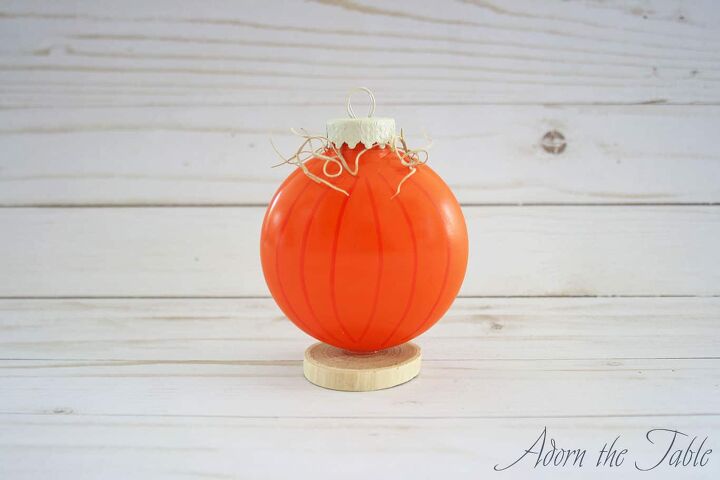
The final step is to take a little dried Spanish Moss and place it around and slightly under the ivory ornament top. This is what gives the pumpkin its look of coming off the vine.
Enjoy using your unique DIY pumpkin place card holders at your next dinner party. Your friends and family will get a kick out of them.
And think how great they would look on your Thanksgiving Day table. Too cute!
Take a look at a Simple Fall Table Setting using other diy projects.
- Felt napkin ring
- Fleece placemats
- Tall candle holder
Check out other easy DIY projects

Comments
Join the conversation
-
A beautiful pop of colour gorgeous 😍
-
Love this idea!


Frequently asked questions
Have a question about this project?