


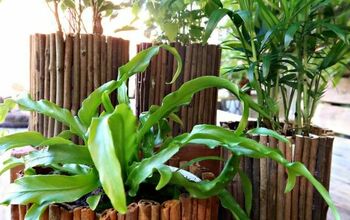
Birch Bark Covered Flowerpots
I will be honest with you, when I first tried to do this project I could not get it to work the way I wanted. I spent a couple of very frustrating hours trying to stick wet springy bark to pots, using a variety of glues to no avail.
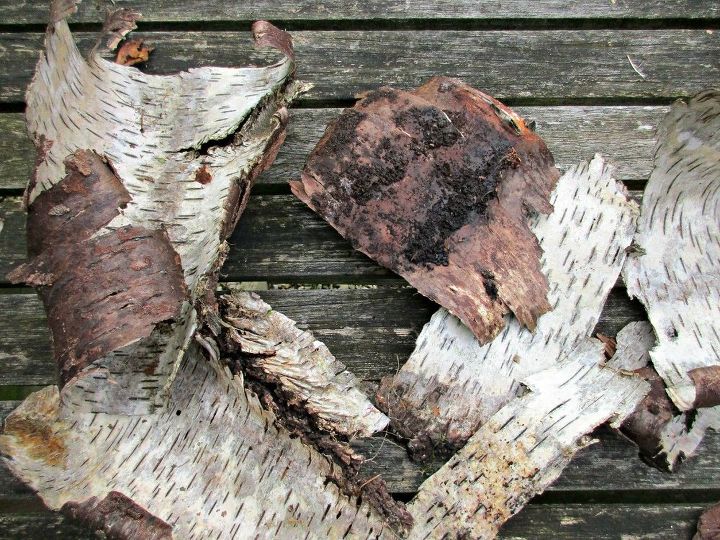
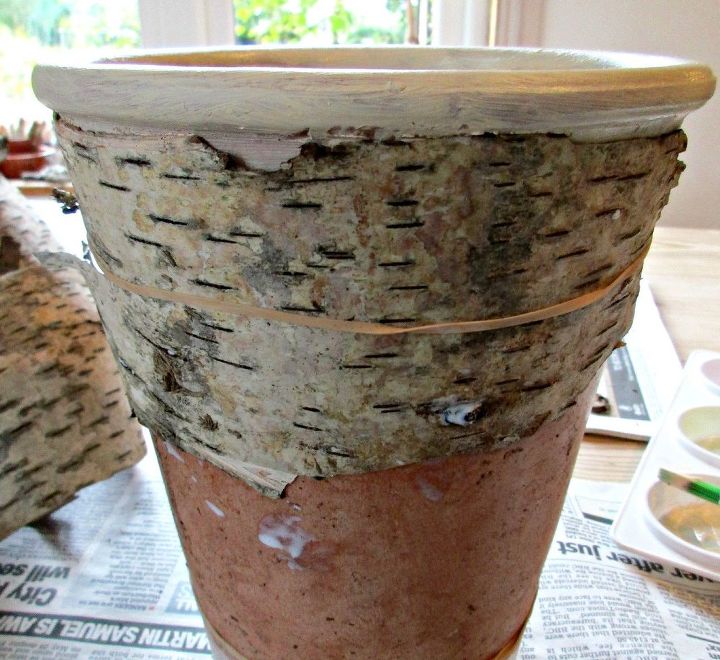
To make a Birch Bark covered pot like ours you will need some pieces of bark, a terracotta pot, elastic bands and PVA glue. We also painted the rim of our pot with a cream acrylic paint.
Then hubby walked passed and said 'why don't you just mold the bark around the pot, tie it on, and leave it to dry in that shape before you try and stick it'. I think I probably looked like a goldfish for a moment while I digested his comment; it is in fact really obvious once someone points it out, and it works like a dream.
There are a few fallen Birch in one of the woods where we walk our dog, so I had been thinking about trying this for a while. Note: Please don't remove bark from living trees. Removing even relatively small pieces of bark can result in the death of the tree.
With my new found knowledge of working with Birch Bark I would suggest if you do pick some up, that you immediately roll it with the outer face of the bark on the outside and secure it, as it will naturally curl the other way if left to its own devices as it dries, making it much harder to work with.
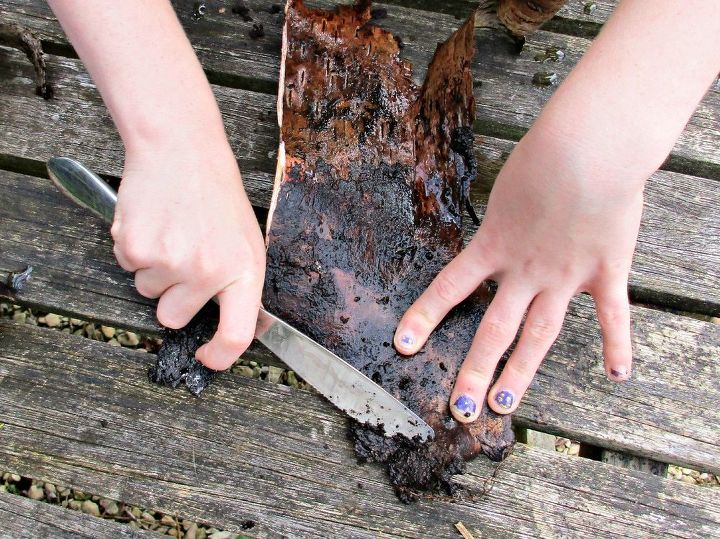
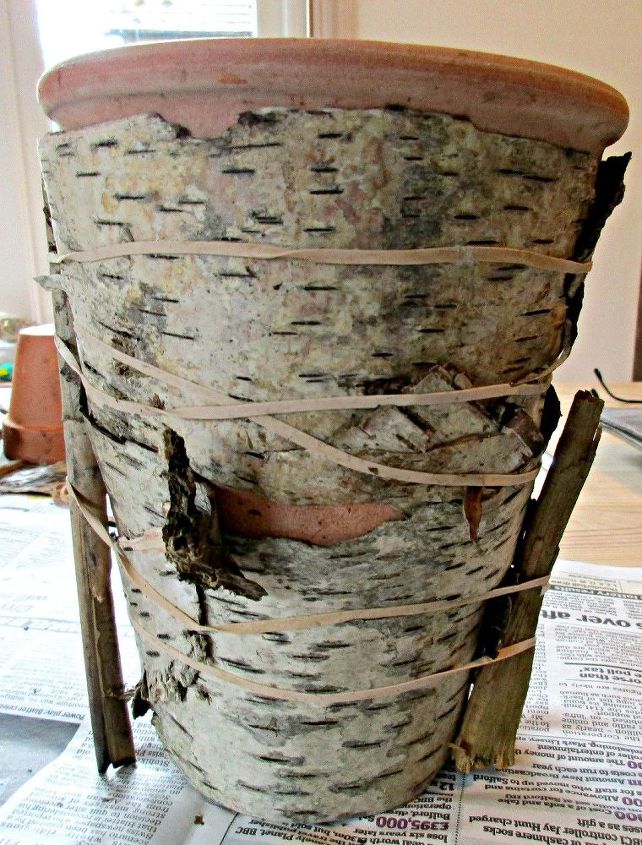
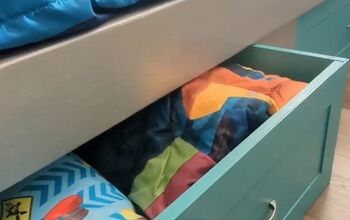
Our bark had dried out by the time we came to use it so we soaked it in water for half an hour, before scrapping off any lumps on the inside of the bark. We then simply wrapped the bark around the pot, roughly trimming away the excess and left it to dry for 24hrs. We used the sticks you can see in the photo below to stop the elastic bands from damaging the edges of the bark as it has a tendency to split along them.
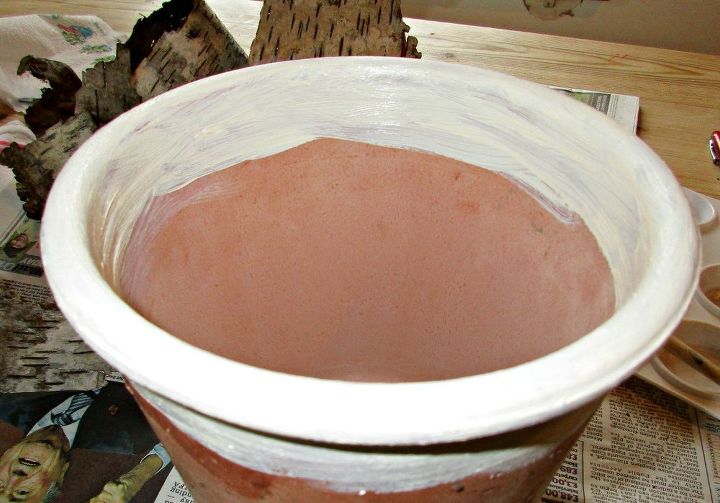
Once the bark pieces had dried into the shape of our pot, we removed them, and primed the pot with a watered down coat of PVA and let that dry. We then painted the rim and the base of the pot in cream, to help disguise any uneven edges of bark once the pot was finished. I would advise allowing this to dry properly as well; I didn't, and ended up with finger prints on ours!
You then simply apply a generous coat of PVA glue to the inside of your bark, and wrap it around your pot, using the elastic bands to keep it in place as you go. We left our pot for a full 24hrs to dry once the bark was glued into place, and it is held really securely.
I am absolutely delighted with how our pot turned out - now I've found a method that works (thanks hubby!) I have all sorts of objects ear-marked for the bark treatment!

If anyone else has come up with other methods of working with bark I'd love to hear about them, please do leave any tips in the comments below.
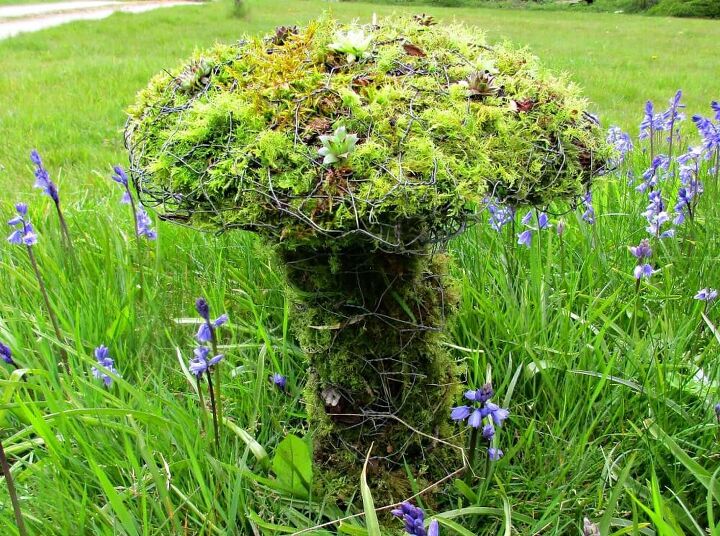
For more rustic nature crafts, why not check out our Chicken Wire and Moss Toadstool Living Garden Sculpture
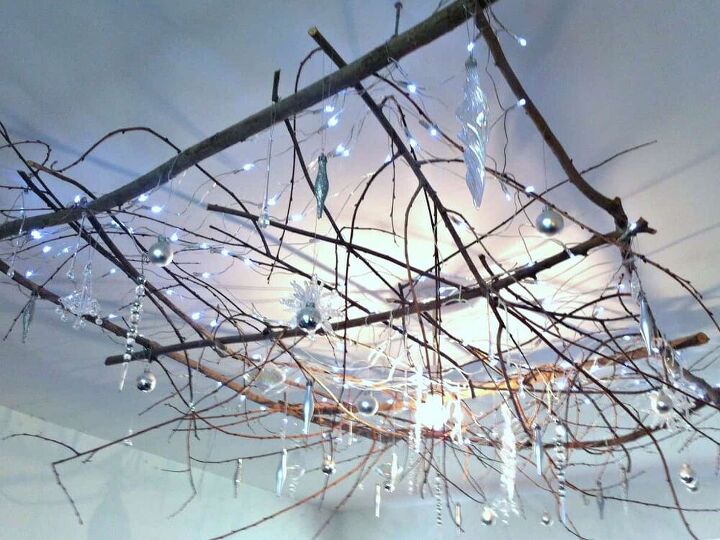
and our Twig Chandelier.
Resources for this project:
See all materials


Comments
Join the conversation
-
Wish birch trees grew around here! Lovely and so on trend.
-
If you do have problems with the bark drying, I can give you a tip...I work with natural materials of all sorts: bark, corn husk, wheat/grain straw, etc..
If your usage requires flexibility of the material...put your material(s) in a vessel large and just deep enough to contain the material and enough water to cover it by 2-3" when submerged. (Rectangular plastic planting containers (i.e. for deck railings) work well if your materials are long, as they aren't too deep-make sure they've got no holes in the bottom!)
Add your materials, spread out a bit so that all of them can soak properly. In a separate vessel, mix vegetable or standard glycerin with two - three quarts of very warm water (app. 100° - 110°: the woodier the material, the nearer to 110° it should be) and pour gently and slowly over your materials from just above your vessel to cut down on splashing. (The ratio of glycerin to water should be about 1 cup glycerin to 1 quart of warm water.)
Let the materials soak until the water begins to cool. If the materials don't flex somewhat easily (not like rubber, but more easily than originally) add some more warm water/glycerin mixture, and give it a bit more time.
If your use involves molding the material (such as bark or corn husk), you should take out just enough to work with and leave the rest in its bath. Keep a couple of old bath towels around your vessel, and as you take material out, lay it on the towels to drain well. You don't want it too wet...the point of the exercise is to fill the cellular structures of your materials with the glycerin, which will help it stay flexible after it dries.
You will need to use some kind of retention material to help your molded material hold its shape as it dries. This can be clamps, rubber bands, tongue depressors/popsicle sticks, anything that won't stick to the material. Even old fabric/webbing belts can work, depending on your material and the shape you need to hold.
(Popsicle sticks can be wrapped in plastic wrap: just twist the ends like a piece of candy or use rubber bands to hold the plastic on).
Depending on the season (since it's WAY cleaner to do this outside!) your materials may require that you top up your glycerin soak as it evaporates. If you have some left, you can strain it through cheesecloth, re-warm it and use it again, as long as you use it up or dispose of it within the next day or two.
Just remember that some dark materials (and especially some bark) will dye the soaking water...so if you plan on soaking both light and dark materials, soak the light stuff FIRST to keep your light items from getting dyed by the soaking liquid.
After your piece is finished, it can really help to give the piece a couple of coats of a good acrylic sealer to ward off shattering and fading. Dried flowers and grains will benefit from 3 light coats of the same, or 3 coats of a florists' preservative acrylic spray, made especially so that blooms won't reabsorb moisture from the air, which can mold/rot your natural materials. Find at craft/florist supply houses, always use as directed.
Hope this helps! Thanks so much for sharing your process on the birch bark pots...great job!
May you find lots of luck as well as the joy of discovery in all your artistic endeavors & future crafting! 💜


Frequently asked questions
Have a question about this project?
This is a very creative idea does it last or will water make it rot?
what I mean is it is a lot of work if it will not last for years
In regards to "L's" question, I had the same thought. Terracotta pots absorb water, wouldn't this affect the birch from staying on the pot? Or does the pva glue block water? It's a beautiful idea, I'm just wondering if it would be better suited for "fake" floral arrangements. I love it though, very creative!