


DIY Appliance “Garage”

I love my new mixer, but was, quite frankly, looking for a way to have it “blend in” a bit better with the rest of the things on my countertop. Additionally, although this is the best, most accessible place for this appliance in my kitchen, it is located in a busy area between my sink and stove, and keeping it clean and not subjecting it to all types of food prep splatter and crumbs was important as well. Furthermore, the mixer is quite heavy, so storing it deep inside a cabinet was not the ideal solution for me.
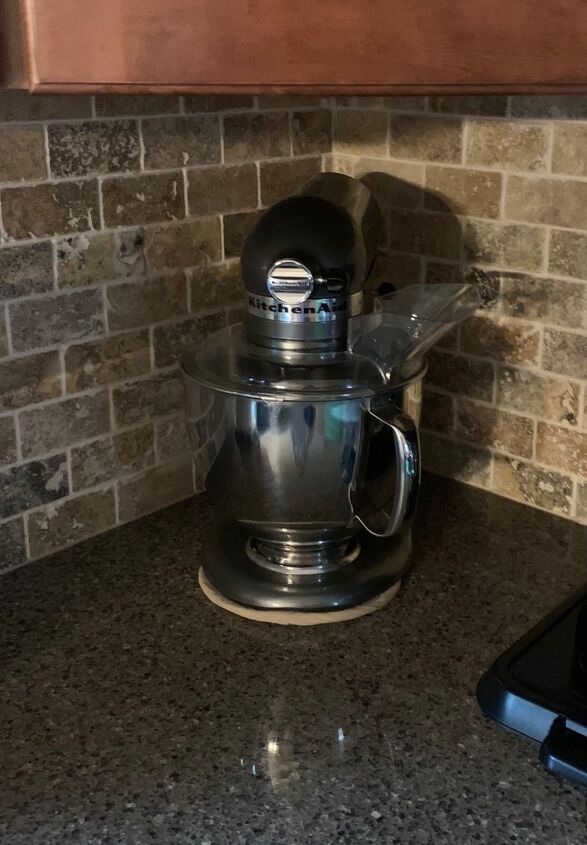
I researched many types of appliance “garages” that are designed, of course, to do exactly what I was looking to do here - keep an occasionally used appliance handy but out of sight. I did not find much that I liked, and I realized (2) things: (1) I did not want to permanently install anything to my cabinets or countertop and (2) I did not want to drop that much cash on this. So, I thought I might try to solve this little “problem “ on my own.
The beautiful handmade cutting board that I have displayed on my countertop caught my eye. It so nicely blends the colors of my cabinets, countertop, and backsplash. If I could only find something similar to assemble a small “screen” to decoratively and subtly camouflage & protect that mixer! I took measurements of the height and width of my mixer and set out to find just the right pieces.
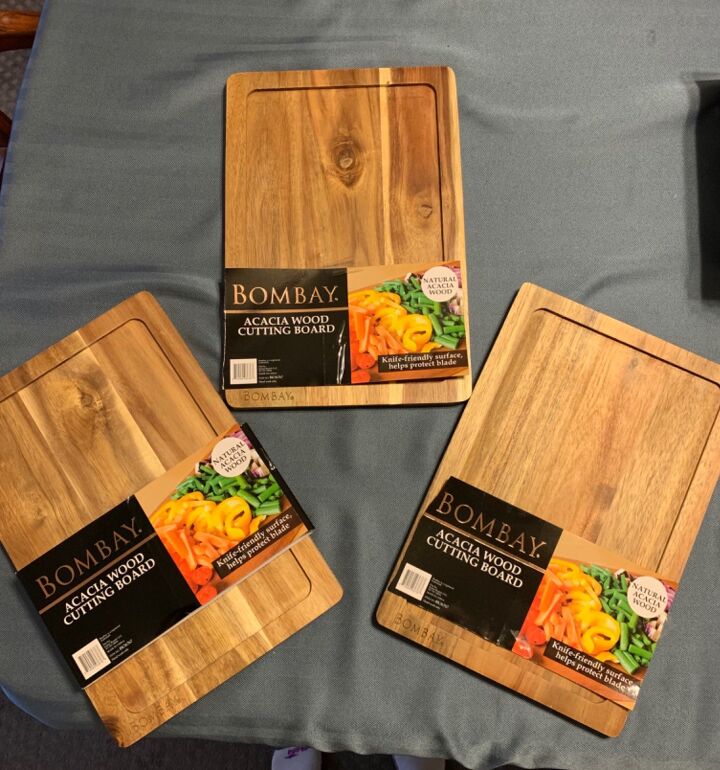
Luckily, I found these 3 beautiful rectangular Acacia wood cutting boards for around $8.00 each at The Christmas Tree Shops. They were tall enough vertically to hide the mixer and fit under the cabinet above, and the colors worked great in my kitchen. They were also decently thick, so they would balance well on their edges.
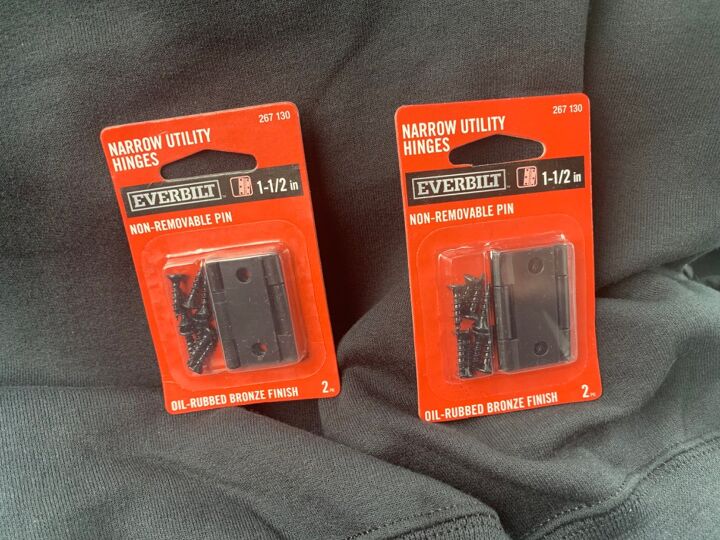
Then, I purchased (4) 1 1/2” utility hinges from Home Depot for about $5.00.

Back at home, I arranged them side by side the way I wanted them, flipped them over to the back, and installed 2 hinges on each side of the middle board, approximately 1 1/2”- 2” from the top and bottom edges. (I drilled small pilot holes first to avoid any wood splintering).
That’s it…Project complete!
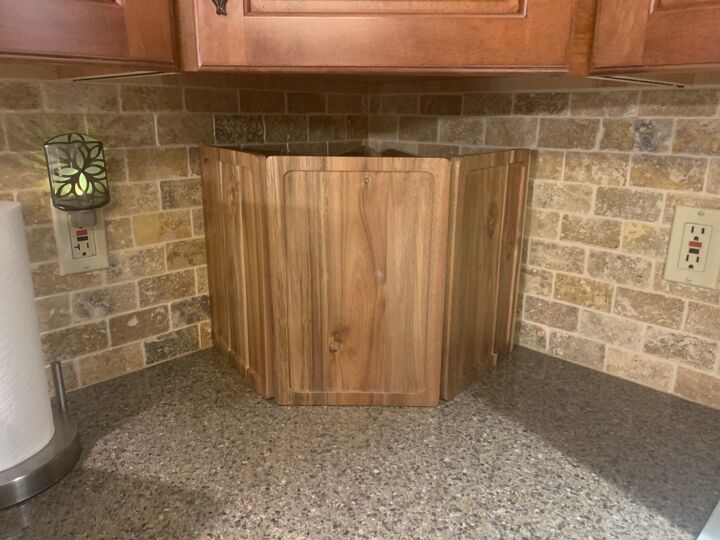
I love the result! Using the wooden cutting boards gives me surfaces that are very easy to clean, as this is not an out-of-the-way corner, as mentioned previously. This handy little screen is also adjustable to accommodate something wider if necessary and portable so it can be used for other purposes in other areas of the house as well.
Once I found the cutting boards I wanted, this project took no time at all. At one point, I was considering buying unfinished wood and cutting, sanding, staining, etc… for this project. Although I would have ended up with basically the same solution, using the cutting boards was a more time efficient solution and gave me a more durable, more aesthetically pleasing result.


Comments
Join the conversation
-
Happy to share😊😊
-
Very nice!


Frequently asked questions
Have a question about this project?
Are the hinges rust-proof?
Great idea that turned out well,but what are the hinges for?
Great idea!! Would be cute with mini shutters, too!!