


How To Give Your Boring Brass Chandelier A Glamorous Makeover

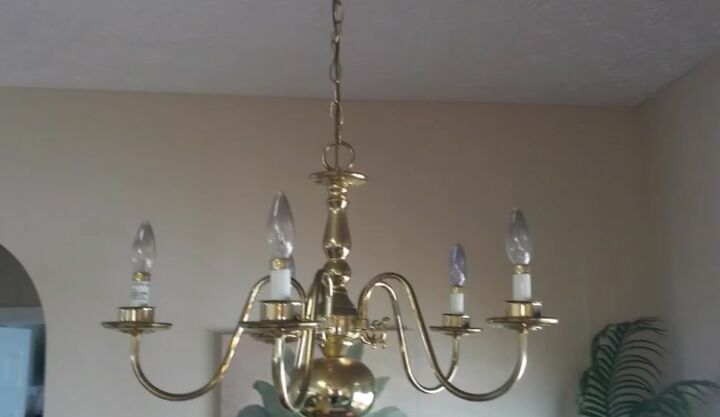
Do you have an old dining room light fixture in need of an update? Why not check out my elegant and sparkly before and after DIY? New crystal chandeliers can be hundreds, if not thousands, of dollars and that was definitely not in the budget. However, with a little bit of creativity, my old, boring brass chandelier got a dramatic and glamorous makeover for a fraction of the cost. It’s hard to believe it’s the same light fixture.
Supplies:
- Two Large Embroidery Hoops
- Fabric
- Adhesive Styrene Roll
- Double Stick Tape
- Ribbon
- Sandpaper
- Paper Towels
- Paint
- Spray Paint
- Crystals
- White Plastic Hangers
- Silver Jewelry Wire
- Crystal Garland
- Small Beaded Chain Rope
- Small Eye Hooks
- Scissors
- Drop Cloth
- Mask
- Gloves
More DIY Embroidery Hoop Ideas
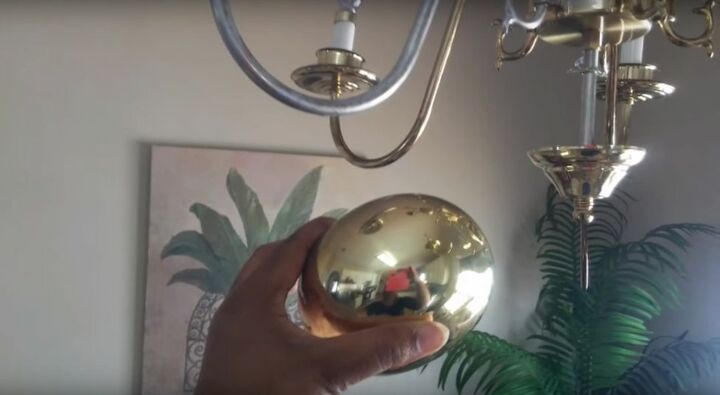
Step 1: Remove the Brass Ball
The first thing I did was remove the large brass ball that hung in the center of my chandelier. It was not a feature I wanted to keep in my new design, so I simply unscrewed the finial that kept it attached, removed the ball and returned the finial to its place.
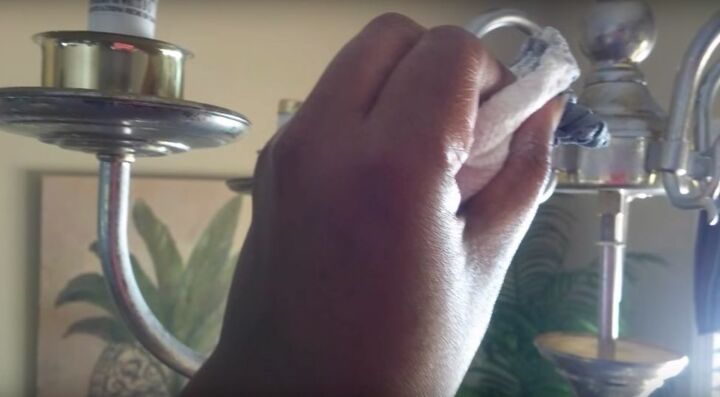
Step 2: Sand the Brass
I was planning on changing the color of the chandelier with paint, so I needed to sand it. Brass is shiny and the paint wouldn't stick unless I did. Since I didn’t want to deal with anything electrical, I decided to work on the light fixture in its current location. I had to be a little more careful this way, but it worked out fine. I started by placing a drop cloth on the floor. Then I grabbed my mask and a piece of sandpaper to lightly scuff up the brass.
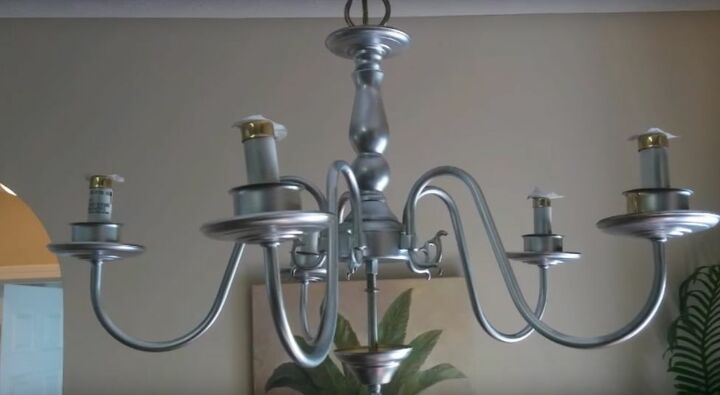
Step 3: Paint the Brass Chandelier
I wasn’t going to use spray paint in my house, so instead I applied silver paint with a paper towel. I just went slow and dabbed the paint onto the chandelier until the brass was completely covered. It was a tedious job and would’ve been much faster had I used spray paint, but it turned out great.
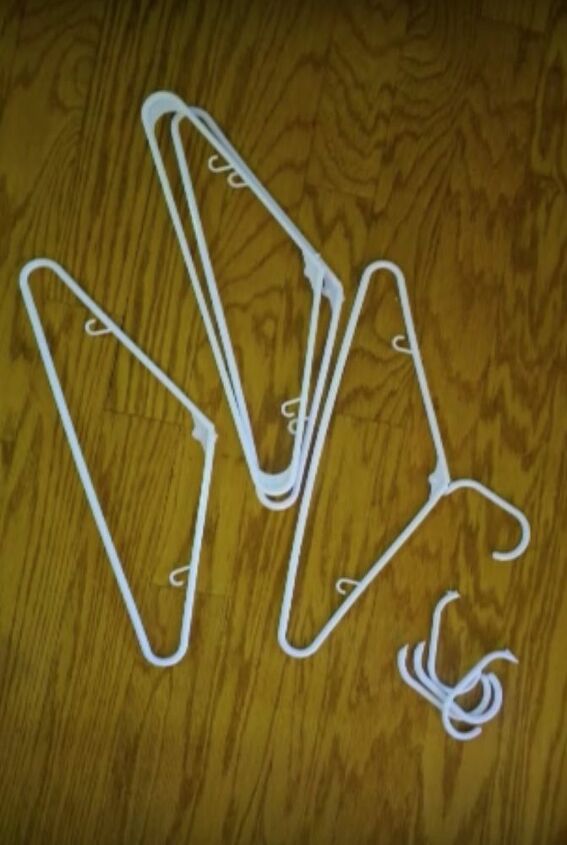
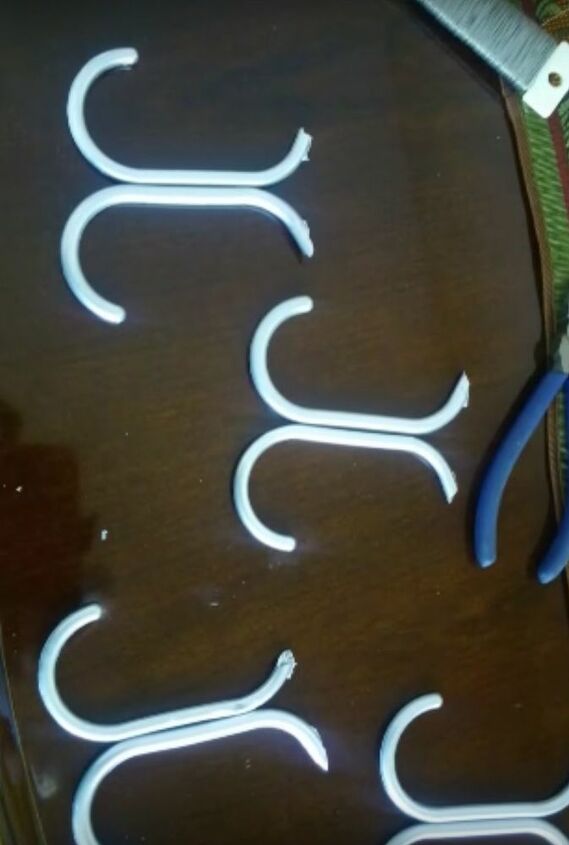
Step 4: Paint New Center Hooks
While the paint dried, I began working on a little ornament to fill the space where the brass ball had been. I started by snapping the hooked heads off of a few white plastic hangers. Then I took them outside and spray painted them silver. Remember to wear your mask and work in a well-ventilated area when dealing with spray paint.
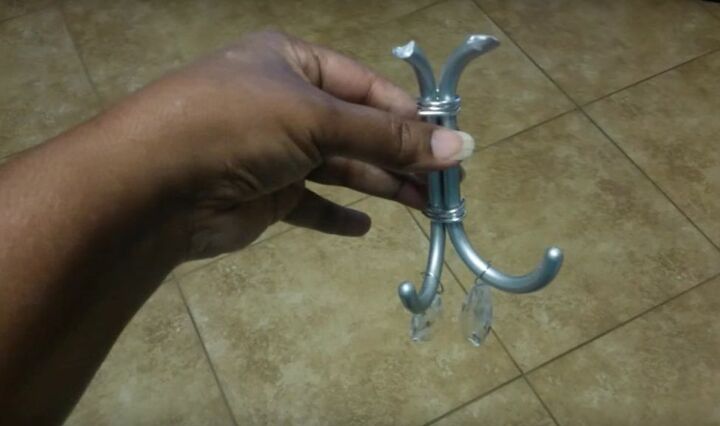
Step 5: Add Bling to Center Detail
Once dry, I tied the painted hanger heads together with jewelry wire to create pairs of hooks that would wrap around the center post and fill the gap where the ball had been. Then, I used more silver jewelry wire to hang a few crystals from the bottom of the hooks and to secure the new ornaments to the chandelier itself.
Step 6: Add Fabric to Styrene
To create the lampshade, I started by covering the styrene with fabric. Since the lampshade will be in close contact with the hot bulbs, I would only recommend using a product designed to make lampshades. The styrene was adhesive, so I just stretched the material on the shade, carefully smoothing out any wrinkles as I went. It was a quick and easy step.

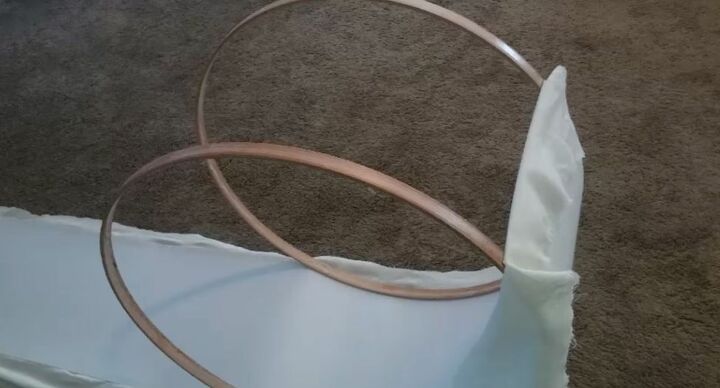
Step 7: Create A Lampshade
To give the shade a shape and support, I needed to attach it to the wooden embroidery hoops. The hoop size will depend on your particular fixture. I started by laying out my liner and adding double stick tape to it on the top and the bottom, where the hoops would be. I also added the tape to the hoops themselves. Then I lined up my tape and rolled the hoops on the liner, until it was completely covered.
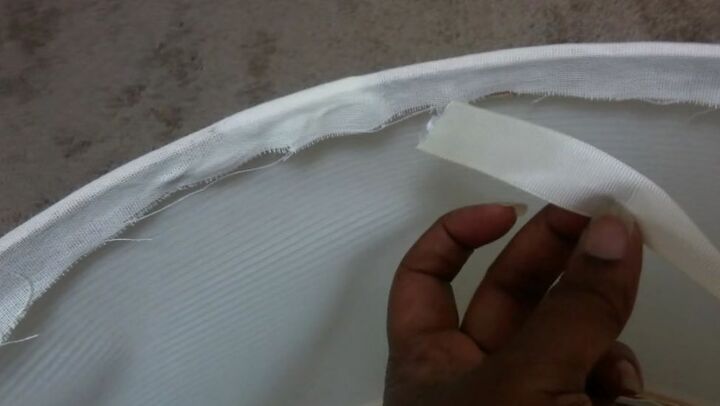
Step 8: Trim the Excess Fabric
I trimmed the excess fabric so there was just enough of it so that I could fold it over and stick it to the inside of the new drum shade. Then I covered the frayed edges with a little ribbon and more double stick tape, since the inside of the lampshade would be visible when you sat at the table underneath it. This gave it a finished appearance.
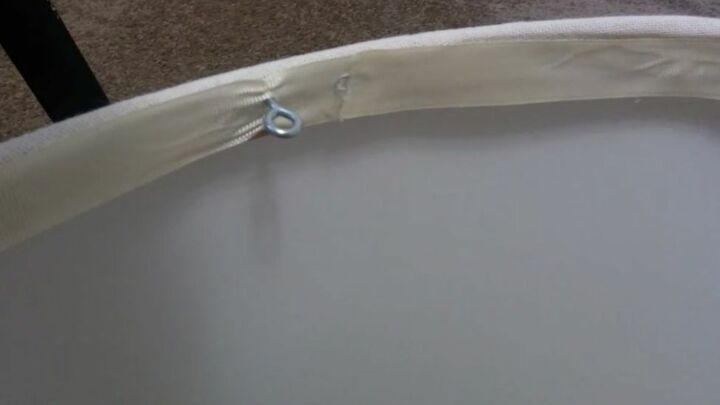
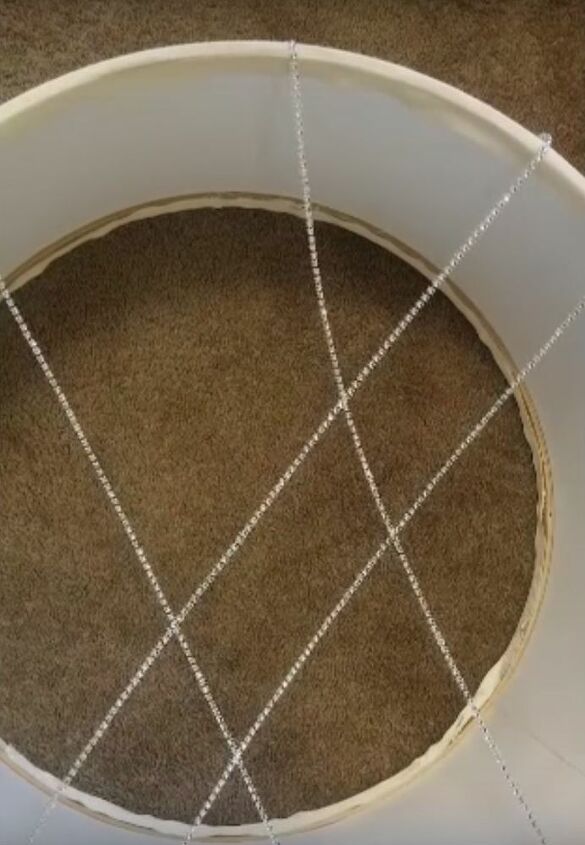
Step 8: Add a Hanger
This chandelier was not designed to be used with a lampshade. Clearly, I needed to create a way to hang it. So, I grabbed a few small eye hooks and screwed them into the top wooden hoop in several spots. I was careful to choose hooks that were not too long, as I didn’t want them to poke through the other side of the wood. Then I used rhinestone chains and attached one end of them to the hook and the other to the chandelier chain with jewelry wire.
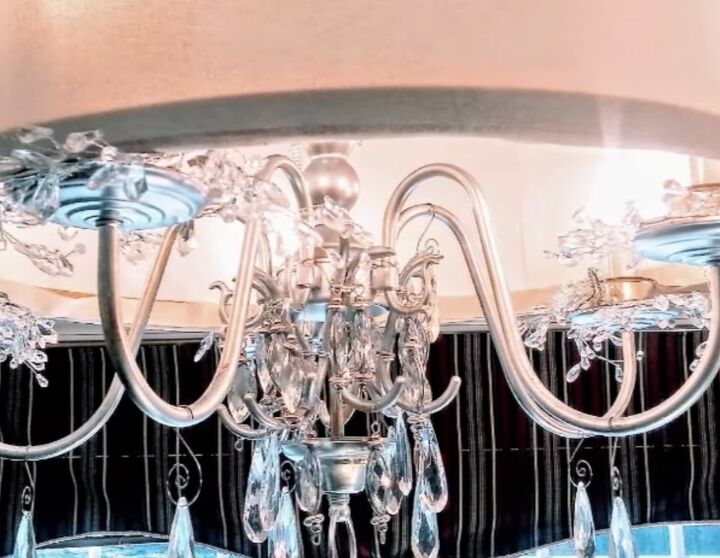
Step 9: Add More Crystals
Of course, when it comes to crystal chandeliers there’s no such thing as too much sparkle. So my final step was to cut up a crystal garland and place some of it in the cups at the base of each bulb. I also used more of the jewelry wire to create decorative “S” hooks to hang one dangling crystal on each support bar.
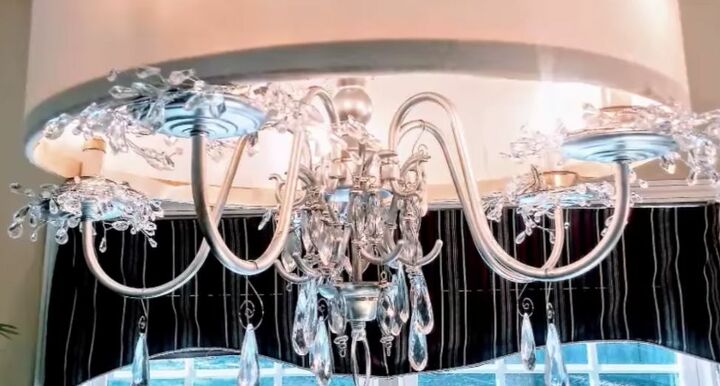
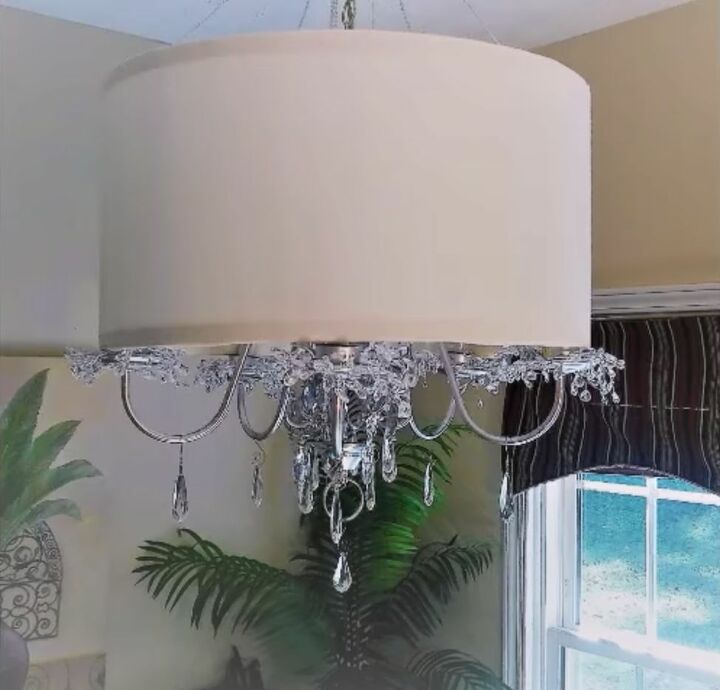
When I was done with my makeover, it was hard to recognize my old brass light fixture. It had been completely transformed into a high end, expensive looking crystal chandelier. No one would ever guess that it was a budget DIY and I didn’t even have to take it down to do it. Who says dramatic change has to be difficult?
Why not leave us a comment and let us know if this glamorous chandelier makeover is in your future!
Resources for this project:
See all materials

Comments
Join the conversation
-
Very creative!
-
Absolutely stunning!


Frequently asked questions
Have a question about this project?
This is the greatest project ever! I have similar chandelier. Definitely doing this. Also, your voice is wonderfully hypnotic. Clear instructions.
I want to paint our chandelier that is identical to yours, but my husband says he doesn't think it can be painted. I see from yours that he is wrong. What paint did you use...brand, type, etc.....so I can prove him wrong and paint ours.
Missed the link for the styrene. Amazing job on your project and kudos for your creativity and ingenuity!