


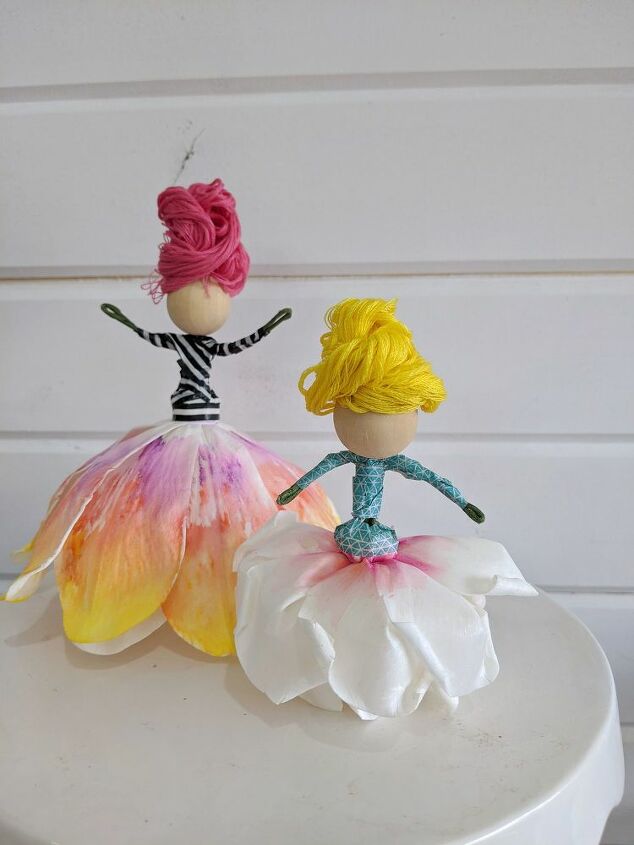
Family Craft - Flower Fairies!
My oldest daughter and I always have a blast crafting together. We giggle over missteps, praise each other's successes and just have some amazing conversations. Here's our latest project 
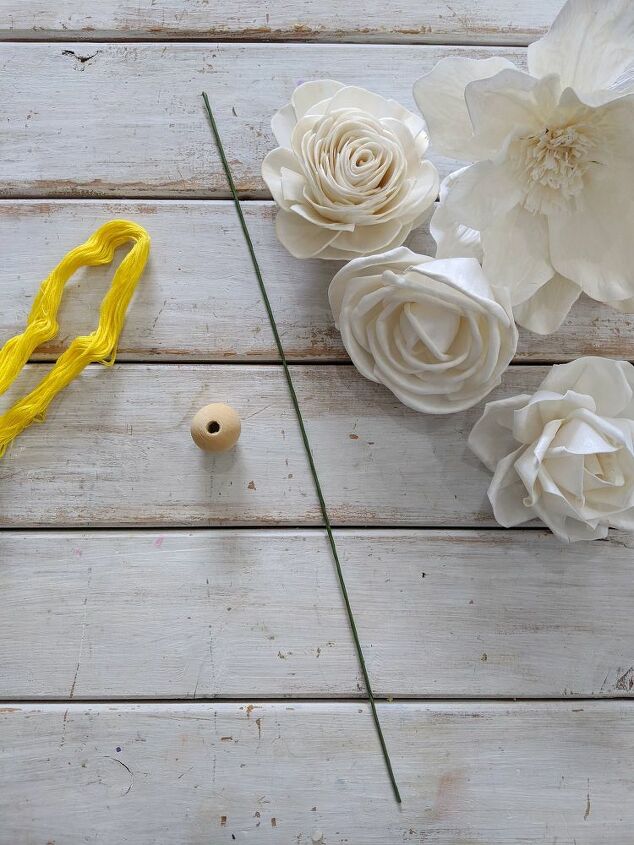
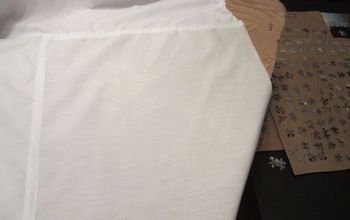
Here are the items you need:
- Wood bead (with a hole all the way through the center)
- Embroidery floss or yarn
- Wire stem (18 or 20 gauge)
- Sola wood flower
- Not Pictured - Washi tape
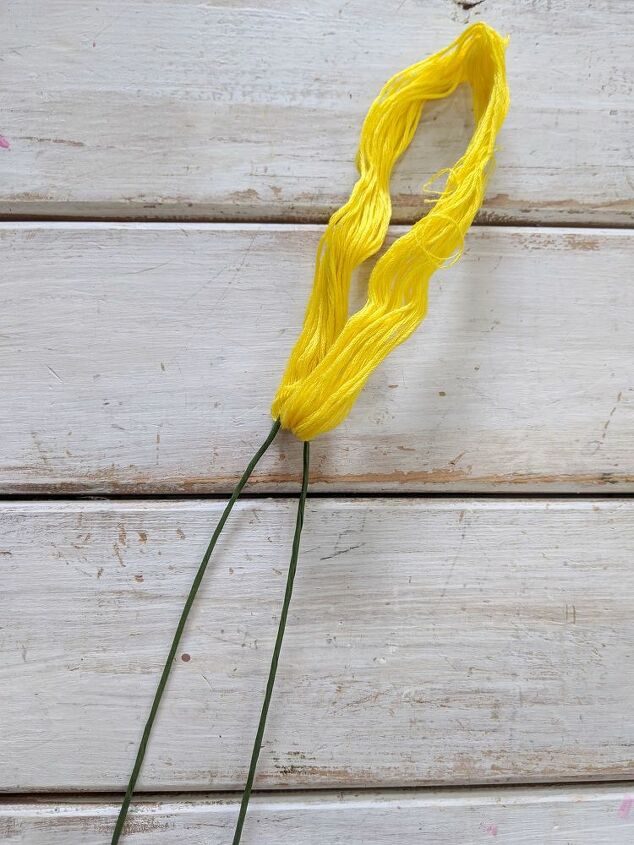
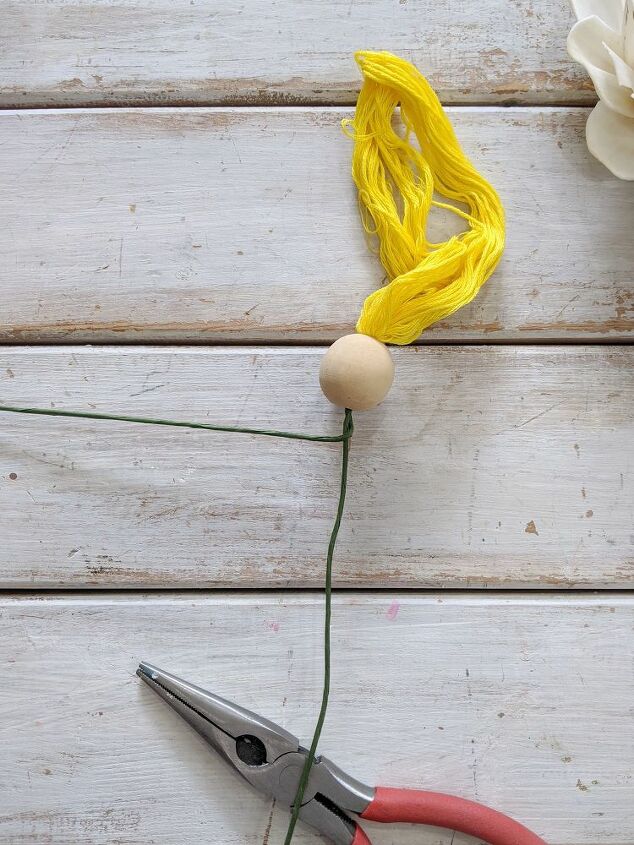
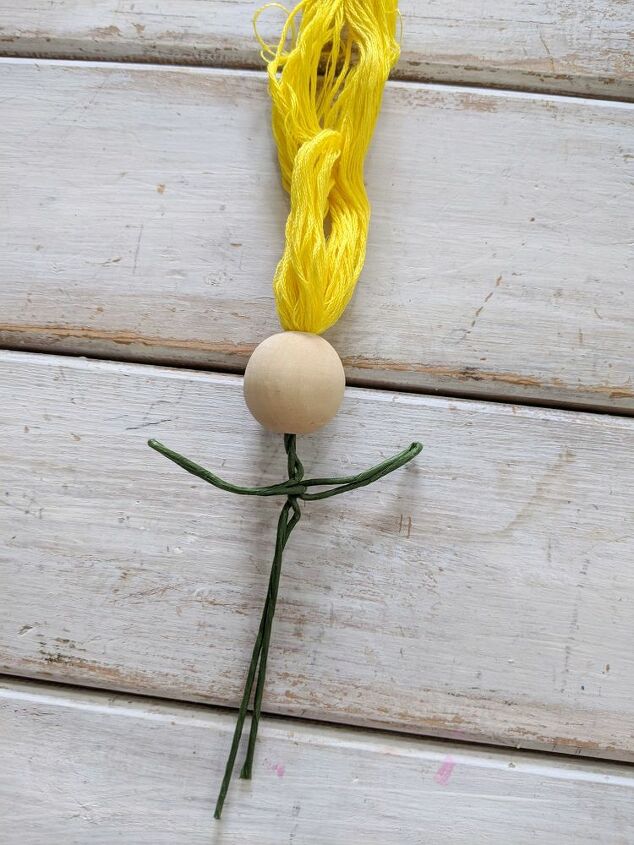
Using one skein of embroidery floss, bend the floral wire stem around one end of the loop. If you are using yarn or ribbon or thin fabric, you'll want to first create a loop of that material so the wire stem has something to hook onto!
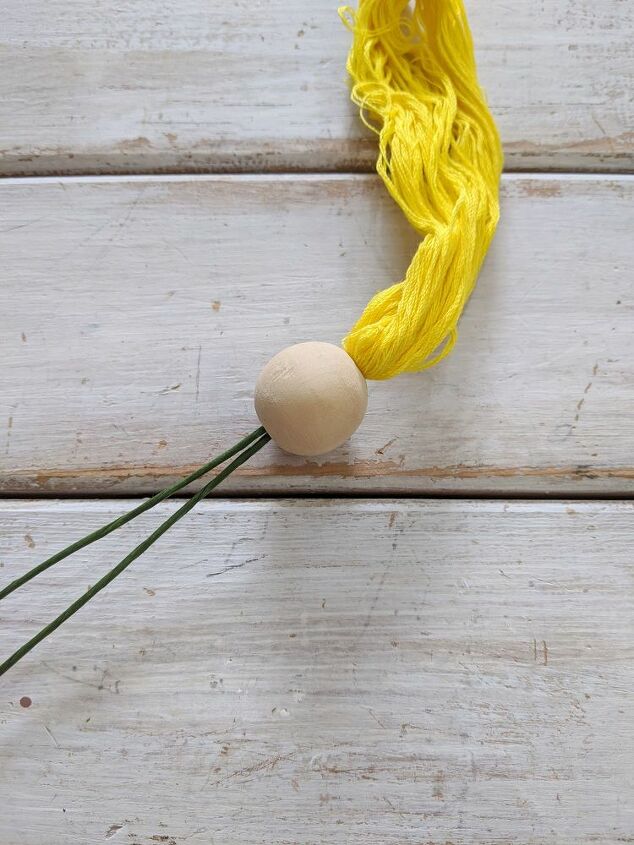
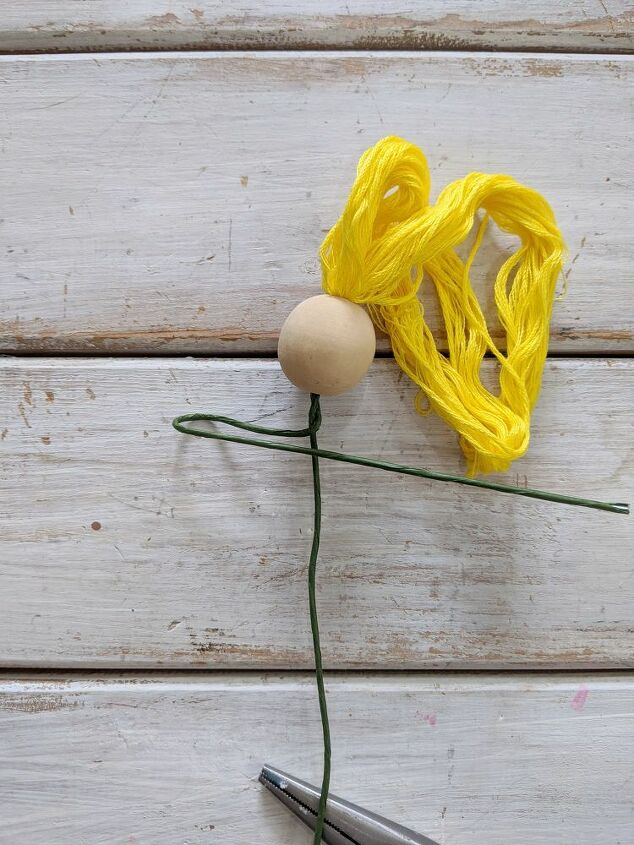
Hold the wire ends together and pull them through the wooden bead. The "hair" should act as a stopper so you don't end up pulling the wire all the way through.
Here's where explaining in words can get somewhat tricky so we have lots of pictures to help!
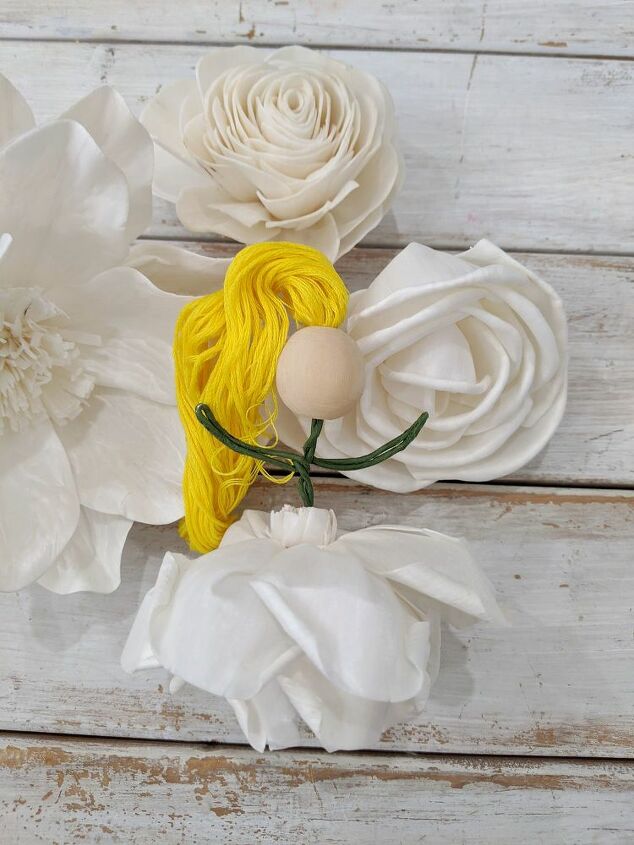
Twist the wire 1-2 times after pulling through the bead. This creates the neck! Then pull one of the wire ends straight out to the side.
Hold the part of the wire that is closest to the body and bend the end, pulling it across the body. We are creating arms so the length of that bended portion is up to you!
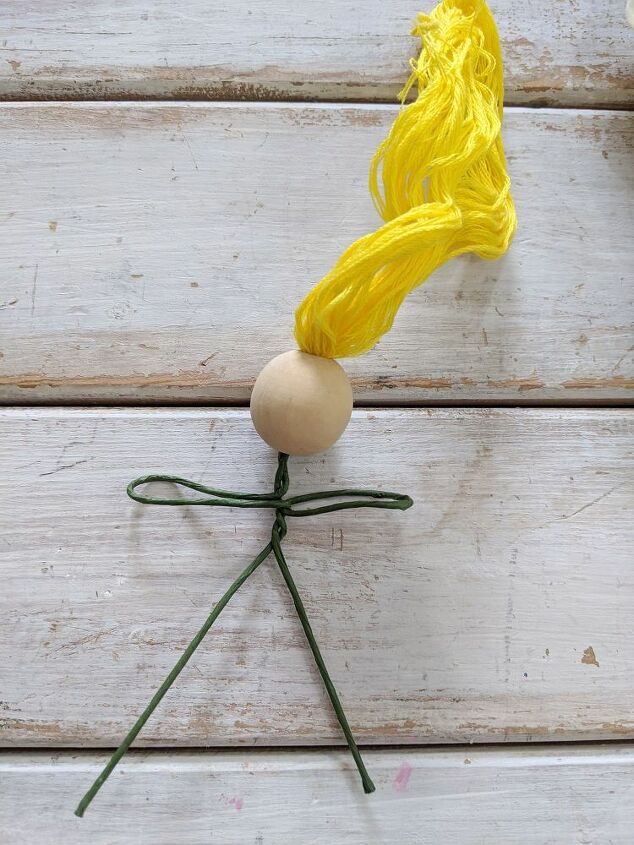
Use the same wire end that created the first arm and pull it back across the body. Twist around the body section once until the wire is sticking straight out on the side that does not yet have an arm. Repeat Step 4 on this side.
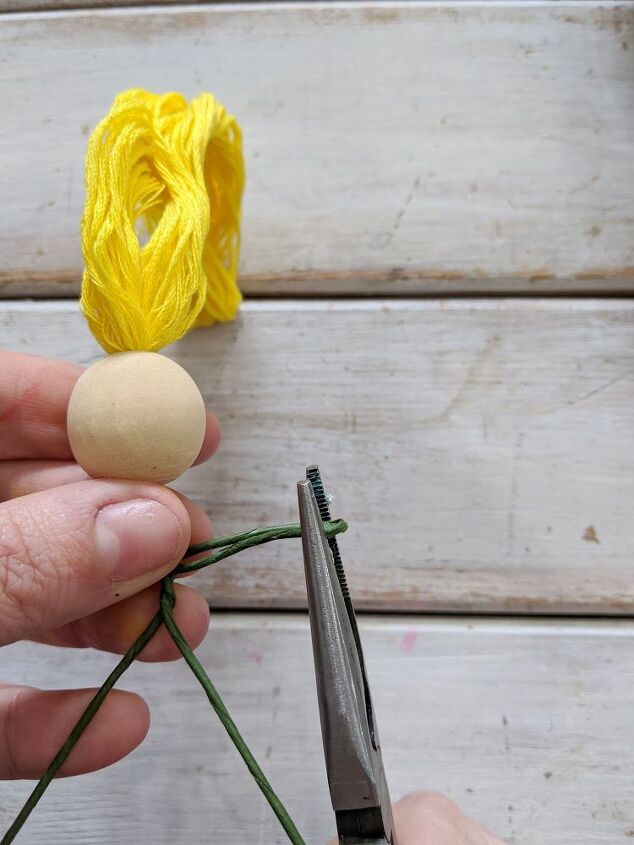
To get the arm wires to hold tightly, I used needle-nosed pliers from the hand area to the body.
Pull the legs together and cut the wire end to your preferred body length (leaving a little extra length so it can be placed into the flower)
Turn the flower upside down! There is a piece on the back of sola wood flowers that makes it easy to stem for bouquets, arrangements and most importantly...flower fairies! Add a dab of hot glue before pushing the stem into the flower to ensure it holds in place.
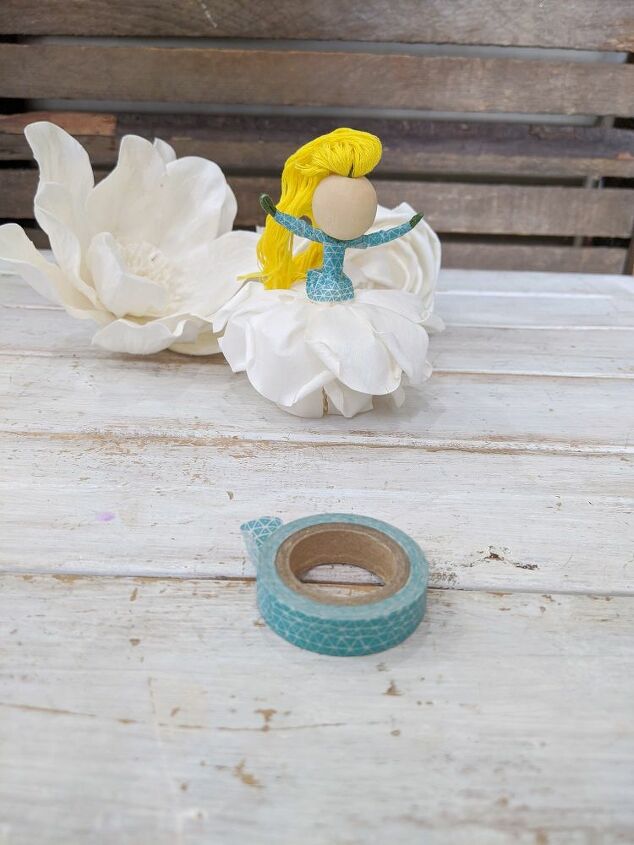
I used washi tape but any decorative self-adhesive tape will work for this part!
Start at the end of one arm (you can leave a little wire uncovered for the fairy hands) and begin looping the tape around the wire. Move to the second arm next and then down the body, covering the wire and flower end.
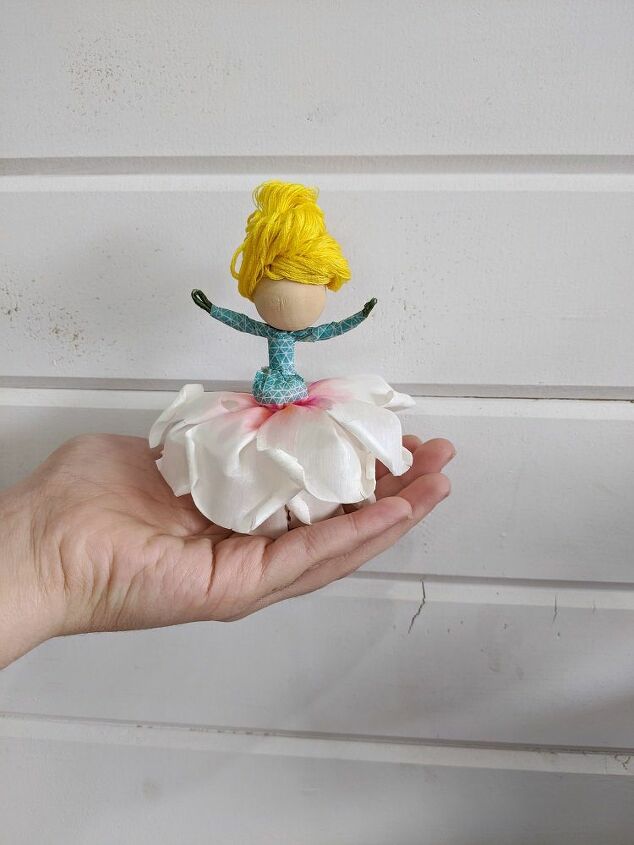
Want some added color on the flower skirt? Grab a paintbrush, some acrylic paint and be as creative as you'd like!
Does your fairy need a fancy updo? Give it a few twists, pop on a small rubberband and she is ready to go!
Resources for this project:
See all materials


Comments
Join the conversation
-
Very cute
-
Looks like a cute project for my 5 & 6 yr old granddaughters when they visit in March 2021. Thanks!


Frequently asked questions
Have a question about this project?