


Great Gift Idea

by
Lisa L Hall
5 Materials
3 Hours
Easy
I was looking through a home decor magazine and saw a picture that I just loved...then saw the price tag. There was no way I was going to pay $30-$40 for this picture. There had to be a way to do it myself. So I found an old frame that I no longer had a use for (I have an entire box of them), grabbed a Sharpie, some of my left over stain from my door and printed out a silhouette of an image I liked. I am so happy with the way it turned out that I am now going to work on more. This project took less than 30 minutes to do, but the dry time on my stain took about 2 hours to dry completely.
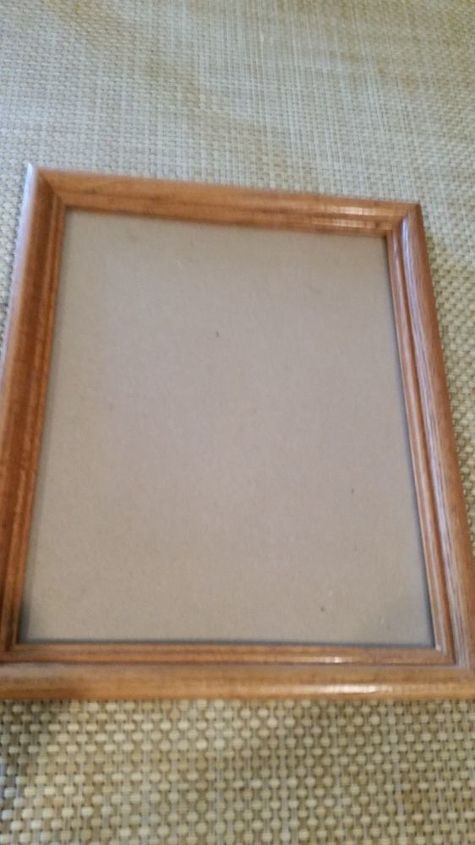
This is the old frame I found in the box. The color doesn't match my house so I had to stain or paint it. I opted for stain since I had some left over from doing my front door. You can paint the frame or leave it as is. So I took apart the frame, cleaned the wood prior to staining and cleaned both sides of the glass. The cardboard backing and the glass were set aside until I needed to put everything back together.
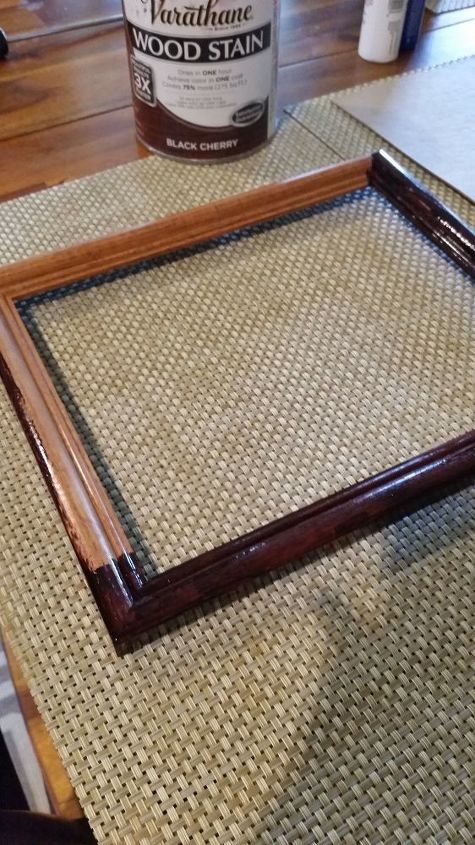
The new stain went on very nicely and it was about 5 minutes worth of staining and then outside to dry. If the weather was better I would have stained it outside as there is always that risk that the project will fall on the way outside.
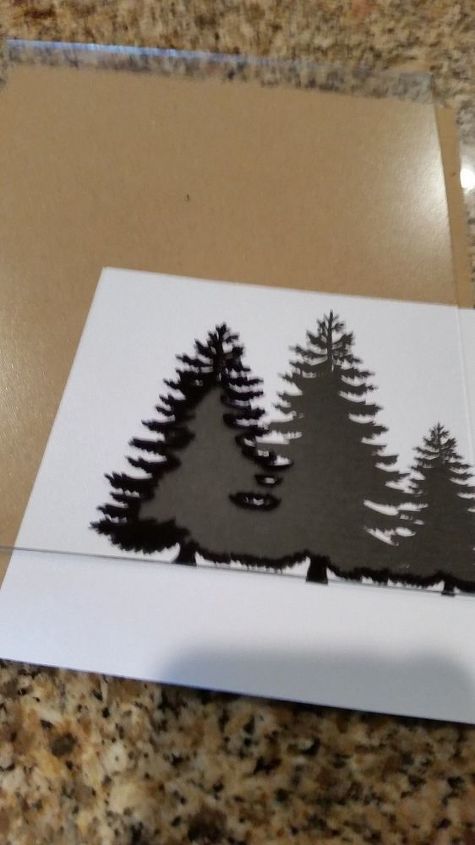
Now for the fun part. I found a picture of some pine trees that I thought would be nice. Since it's trees I didn't have to worry about flipping the glass over when I was done drawing. If you are doing anything with letters, or images that need to be a certain direction, triple check your layout before starting with the Sharpie. You will need to print the image in reverse to make sure the letters or image is correct when you put it back together.
I put the image along one side of the glass and began to trace and fill in the design. You can put the design anywhere on the glass. I chose the lower corner due to the affect I was looking for.
You can use paint or permanent markers. I chose a Sharpie since I had one handy. If you are doing a color image, paints would be a better option.
For the background, you don't want that cardboard piece so I just grabbed a piece of printer paper, cut it size and there you have it.
Remember to flip the glass so that the side you were drawing or painting on, is toward the paper backing. You don't want the pen or paints on the outside as it will scratch off.
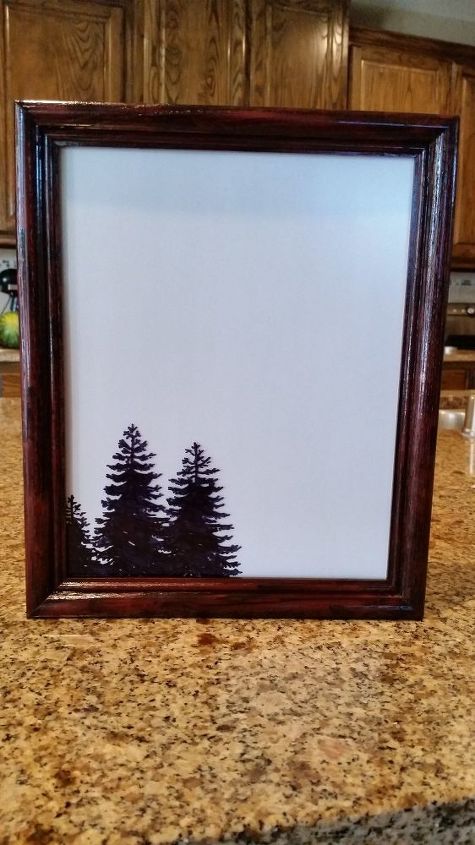
Here is my finished project. I love the way it turned out. You can start to see endless ideas for this...since it's glass you can make it a dry erase board, calendar, pantry or fridge restocking list...See the ideas just keep coming.
This was so simple, it would be a great idea for kids too.
I love this idea for a new home gift, or in my case, Christmas gifts.
Comments
Join the conversation
2 of 22 comments
-
Interesting! I love it! Perfect for gifting! I actually collect picture frames and probably have 300 or more. I've been collecting them for many years but now it's time to get moving on some of this stuff so here I go! Thank you so much for the inspiration!
-
Thank you for sharing! This is a fantastic gift idea for so many occasions!


Frequently asked questions
Have a question about this project?