


How To Bleach Pine Cones
Did you know you can bleach pine cones??
Who knew, right??

If you’ve been around here for more than a hot minute, then you know that I’m all about white
White walls…
White furniture…
White bedding…
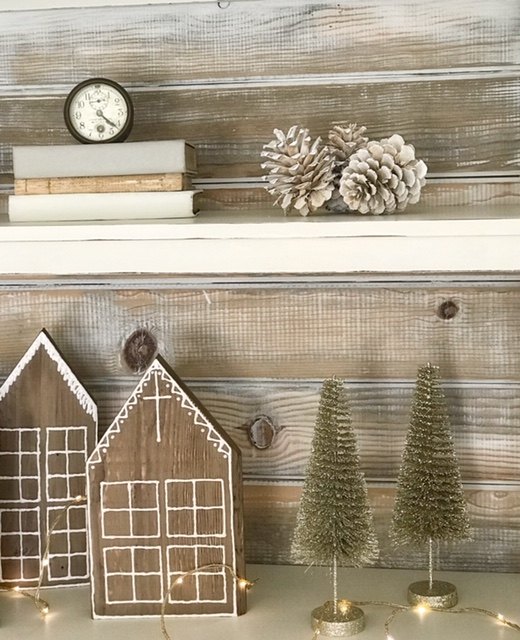
And I love to decorate with pine cones
BUT
They’re so…
Not white!
So when I saw that there’s a way to bleach them
I was totally on board!
The process takes a few days to do but it’s super-easy:
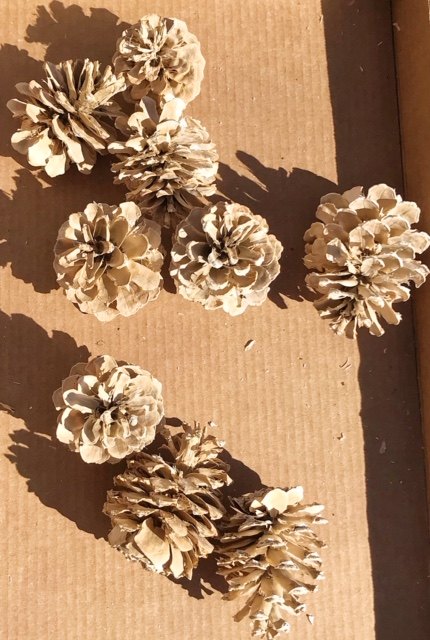
START WITH OPEN, DRY PINE CONES
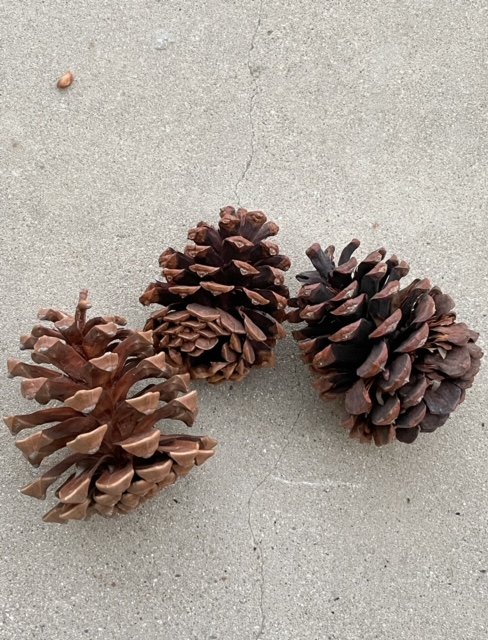
The best pine cones for bleaching are fully open and very dry
SUBMERGE THEM IN SLIGHTLY DILUTED BLEACH
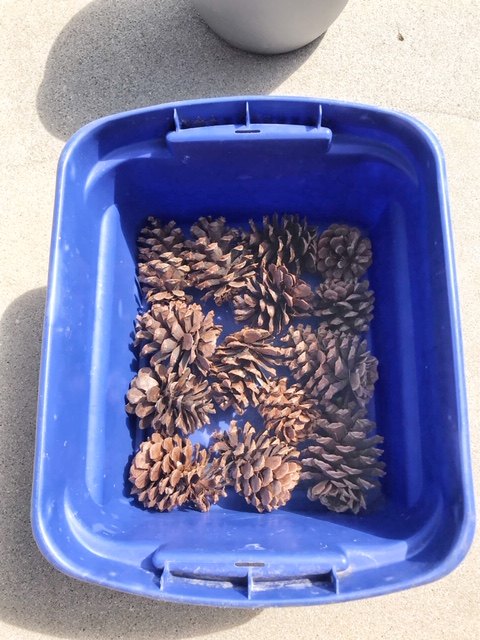
Do this outside or in a very well-ventilated area and avoid breathing the bleach fumes.
Put about 15 to 20 pine cones in a bucket.
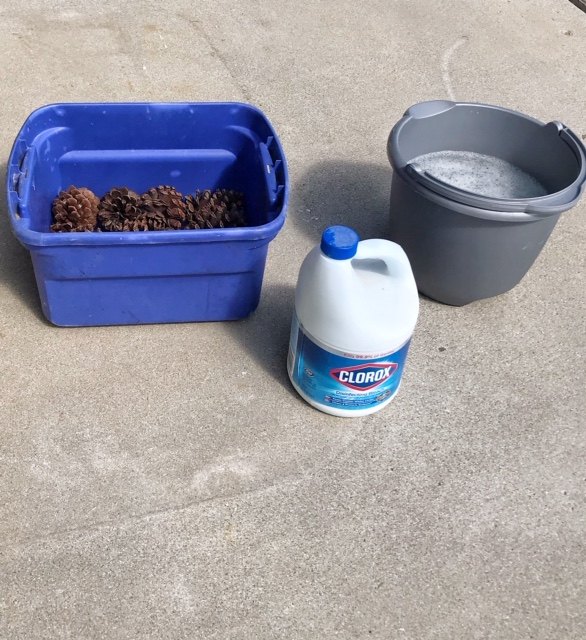
Mix up about 80% regular household bleach (not the non-splash kind) with 20% water.
Pour the mixture over the pine cones. Make sure they’re all submerged in the bleach.

Put bricks, or another bucket filled with rocks on top of them to keep them from floating up.
Leave them in the bleach water for about 2 days.
REMOVE THEM FROM THE BLEACH
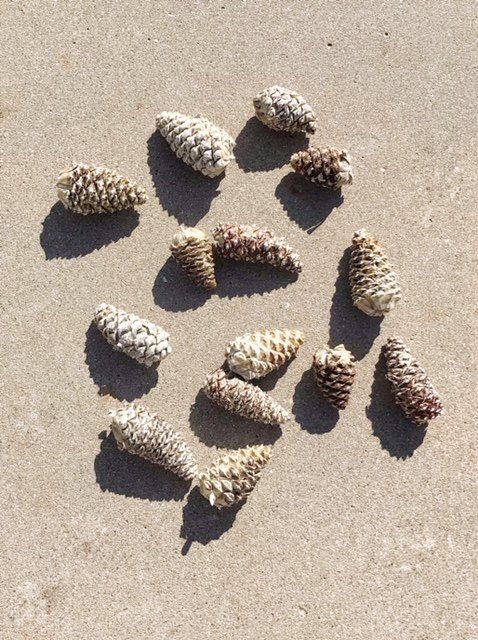
When the pine cones look all bleached out and kind of yellow, take them out of the bleach water and lay them in the sun to dry. They’ll be closed up when they’re wet but they’ll open back up once they’re dry.
Leave them in the hot sun for a few days to open up and continue to bleach out. Be sure to turn them every once in a while.
OPTIONAL: LIGHTLY SPRAY THEM WITH PAINT
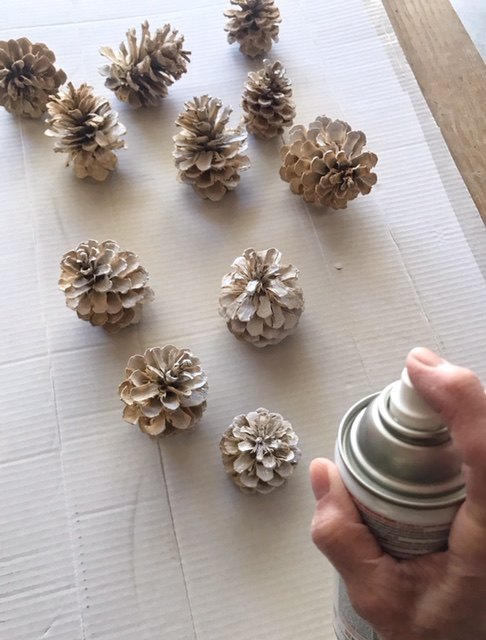
Once they’re all dry and opened up, if you don’t love the natural yellow bleached look you can lightly spray them with a soft white paint in a flat finish
Be sure to put on just a very light mist — you still want to see the color and texture of the bleached pine cone
You might be thinking ‘why go through all the trouble to bleach them if you’re just going to paint them — why not just paint pine cones?’
Well here’s why:

The one on the left is a bleached pine cone misted with white paint and the one on the right is a regular pine cone painted with white paint. See how the bleached one is softer and looks more natural? I think it looks a lot better.
Now you’re ready to decorate!
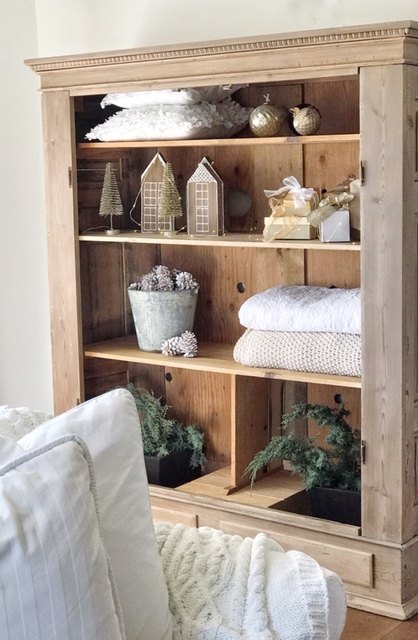
I put mine in a vintage bucket in my armoire.
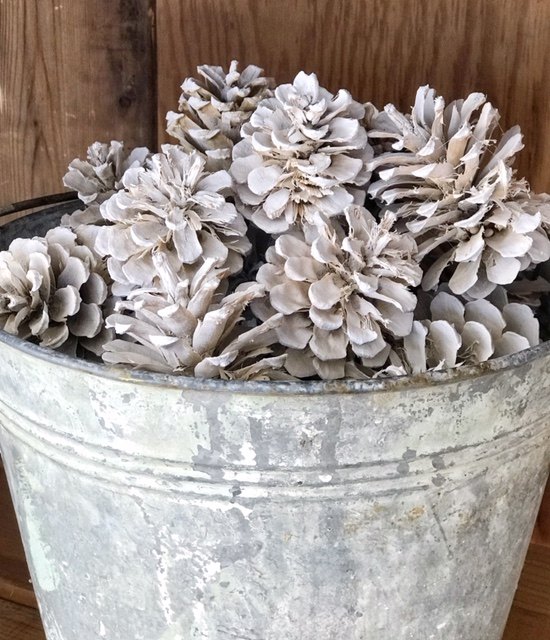
Quick tip: you don’t need to fill the whole bucket with them. Fill the bucket about three-fourths of the way with chicken wire and just put the pine cones on top


Comments
Join the conversation
-
My thought exactly - no more baking the bugs.
-
Why is it pine cones, in all sizes scream cozy. I have some pine cones about 1-1/2” long, up to almost 12”. All found. Just their presence give a glow of warmth on chilly/cold grey winter days


Frequently asked questions
Have a question about this project?