Farmhouse Balance Scales

Finally, a set of scales that I enjoy looking at. (Unlike the ones in my bathroom.)
**Important**
Please note that the photos in this tutorial are NOT chronological. I didn’t have high hopes for this project, therefore I didn’t take pics as I was going. If you find anything confusing, just ask and I will do my best to make sense out of it.
I’ve had my eyes on the farmhouse-style scales for some time now. (I guess you could say they’ve been weighing on my mind.) 
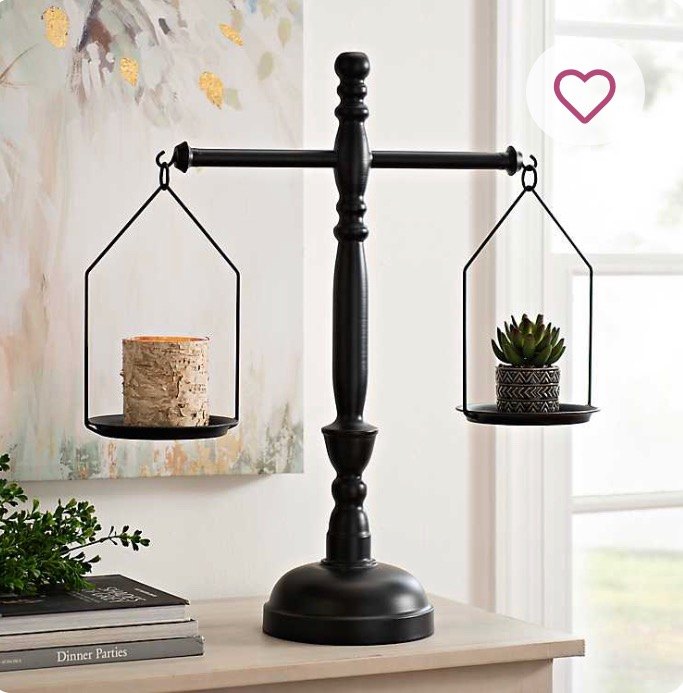
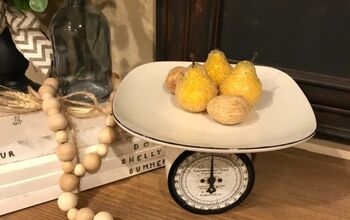
But me being me, I didn’t want to buy them; I wanted to make them. So I scoured the internet, studying just how I would do that. The scales that I found and used as inspiration came from Kirkland’s (see photo above).
While mentally dissecting this set, I came to the conclusion that I’d need a wooden spindle. The first place I checked was Facebook Marketplace. There, I found a set of four for only $8. I only needed the one but something told me I’d be glad I had extras.
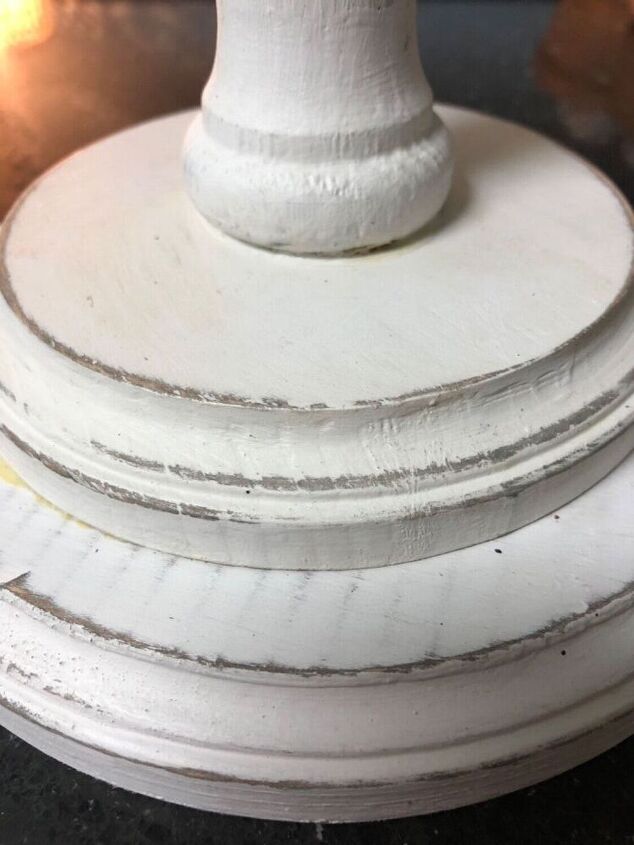
Next, I’d need a base to attach the spindle to. Since I am a closeted crafting hoarder, I went up to my craft room and found a 7” wooden plaque. While up there, I also found a 4” one. I stacked them on top of each other, making sure they were centered and I glued them together.
Then, I grabbed one of the four spindles that I had found and trimmed off a few inches from the top of the post where I would insert the dowel rod. I cut the bottom post completely off. Since I didn’t have a drill bit large enough to bore a hole for the dowel rod, I asked my wonderful husband if he could drill a hole using his drill press.
He did. However, he came back inside apologizing, telling me how we could fix the problem. It seems the post split when he drilled the hole in it. I told him, “No worries. I have three more.” 
This time I decided to bore the hole first before I trimmed the post down. By doing so, the wood didn’t split.
Next, I grabbed the two wooden plaques I had glued together for the base. I centered the wooden spindle on top of them, and glued it. Once it dried, I took a 3” screw and secured all three pieces.
.
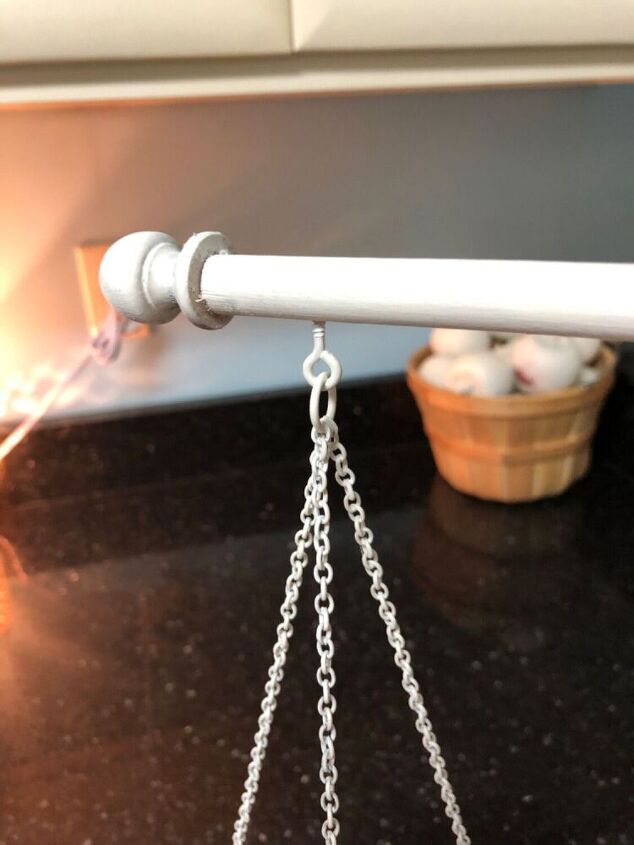
I inserted a dowel rod through the hole in the top of the spindle and attached an acorn dowel cap to one side. (Only to one side in case I needed to remove the rod for any reason.)
An inch down from the cap, I screwed in a tiny eye hook halfway into the dowel rod. (Not all the way through, as I didn’t want to compromise it’s integrity.) From that I attached a jump ring and from the ring I hung three strands of chains (think: necklace).
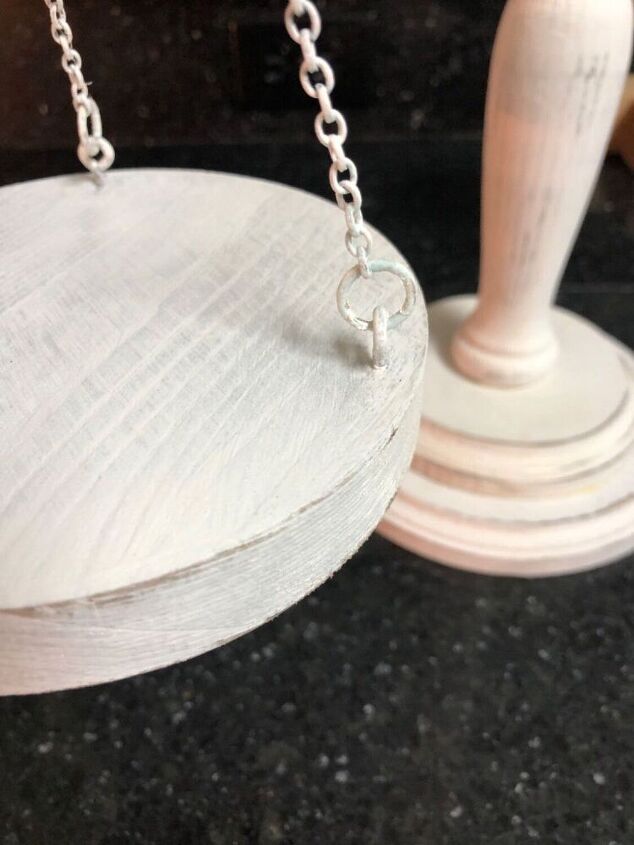
Each of the chains had a jump ring at the end, which attached to the the three eye hooks that had been screwed into a 5”x 3/4” piece of wood. (I had every intention of having my hubby saw this wood into two pieces since it was a little thicker than what I was wanting. After discussing this with him, I opted to keep it as is. I’d rather have it too thick than have my hubby lose a digit or two.)
I made sure the dowel rod was the correct length and repeated that process on the other side.
To dress it up a little, I decided to add a finial to the top, but that turned out to be a bigger task than one might think it’d be. The top of the spindle was square and all of the finials I found were round. And if you’re OCD like I am, you know that that would never work. Once again, I scoured the internet and, I don’t know how but, I found a curtain rod at the Family Dollar store that had a square finial. It wasn’t wood (it’s plastic) and it was more than I was wanting to spend ($10) BUT I got two out of the deal AND it can be painted.
Which I did...to the whole set of scales. Then I went back and distressed it, finally, sealing it with wax.
So I’m wondering...how would you rate it on a scale from one to ten? 
UPDATE:
I was still able to use the spindle my hubby accidentally split. All I had to do was cut off the top portion that was split. Since the top of it was now round, my OCD allowed me to use the wooden finial I was going to use on the original set of scales. 😉 Honestly, I like how this one turned out even more than my first one.
Enjoyed the project?
Resources for this project:
See all materials
Comments
Join the conversation
-
-
 Carolina's Art
on Nov 03, 2023
Honestly, I like yours much more than the one from the store. Nicely done!!!
-













Frequently asked questions
Have a question about this project?
How did the final cost compare? More or less than the store model?
I love love this!! Great job!! I’m like you as I like to make things and add my own spin to them. I think I need to go back and re read the details. I think I got lost in adding the dowel. It’s not a true scale is it? It looks like it in the end picture.