


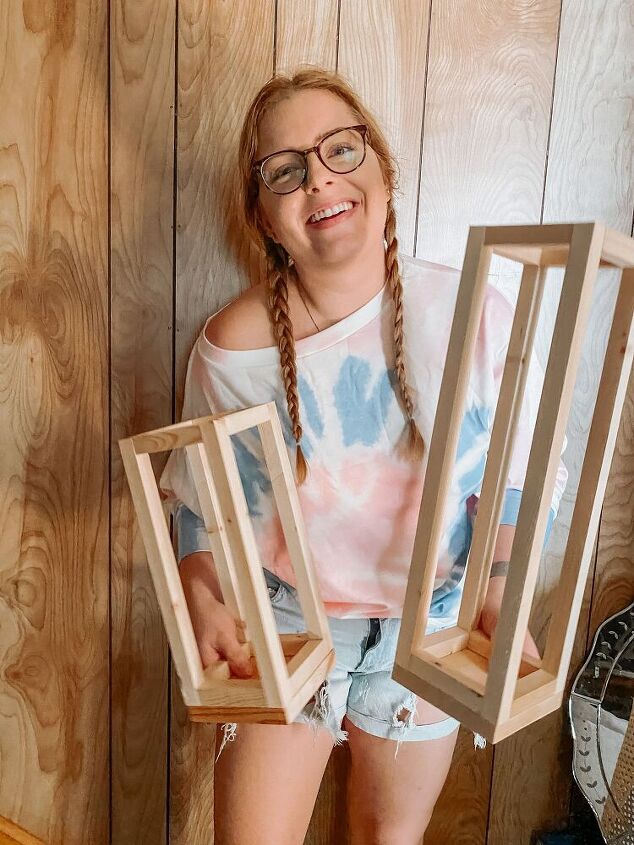
How to Build DIY Scrap Wood Lanterns
DIY FALL FRONT PORCH DECOR ON A BUDGET
These lanterns were essentially FREE! I used scrap wood that I already had and leftover stain from previous projects. These DIY scrap wood lanterns are definitely a great fall décor idea. Rustic outdoor wood lanterns are super easy and will look great for your indoor or outdoor space!
SCRAP WOOD
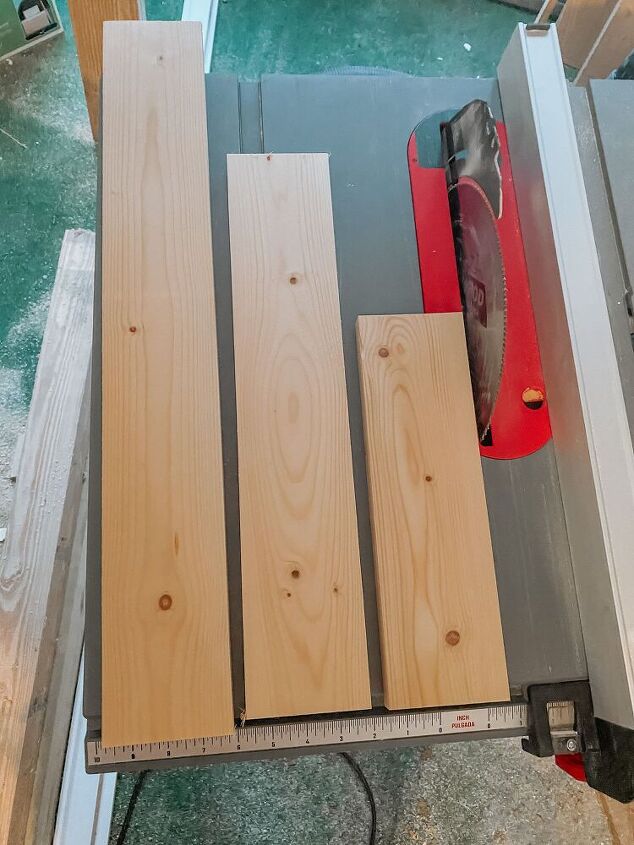
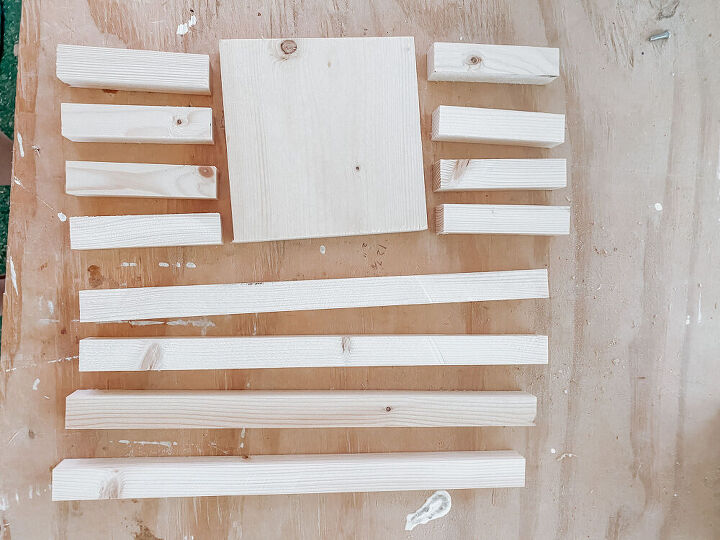
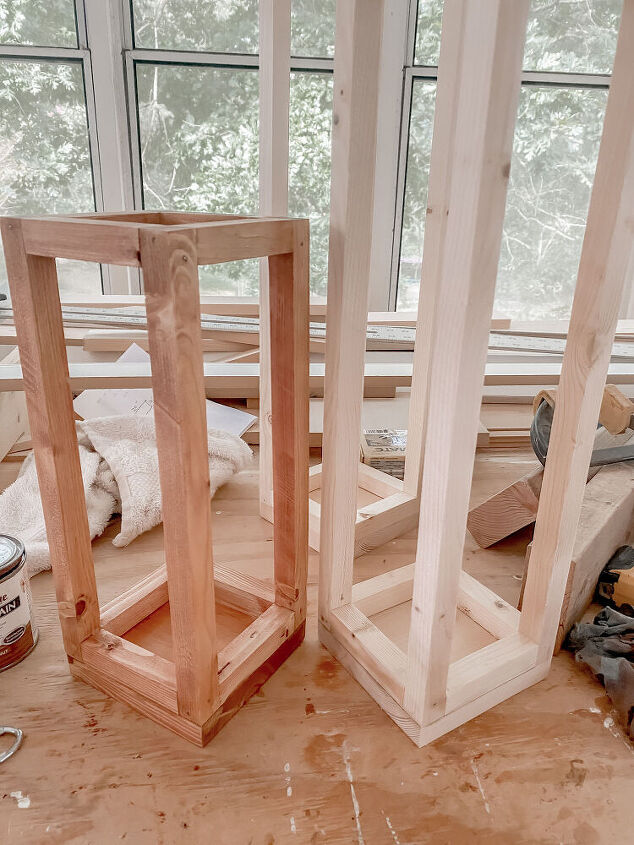
You can edit your plans to fit what you have but I had miscellaneous 1x4s and 1×6’s. The 1×6 was cut for the 3 bases at 5″x 5″. I have 3 lanterns at 3 different heights, but the same base size. The connector pieces were all 3 1/2″.If you want to make the lanterns proportional to each other, rather than all tall and skinny, the bases and the small pieces will need to scale up with the height. Adding an inch to the base and the short pieces for every 6″ added in height will help!
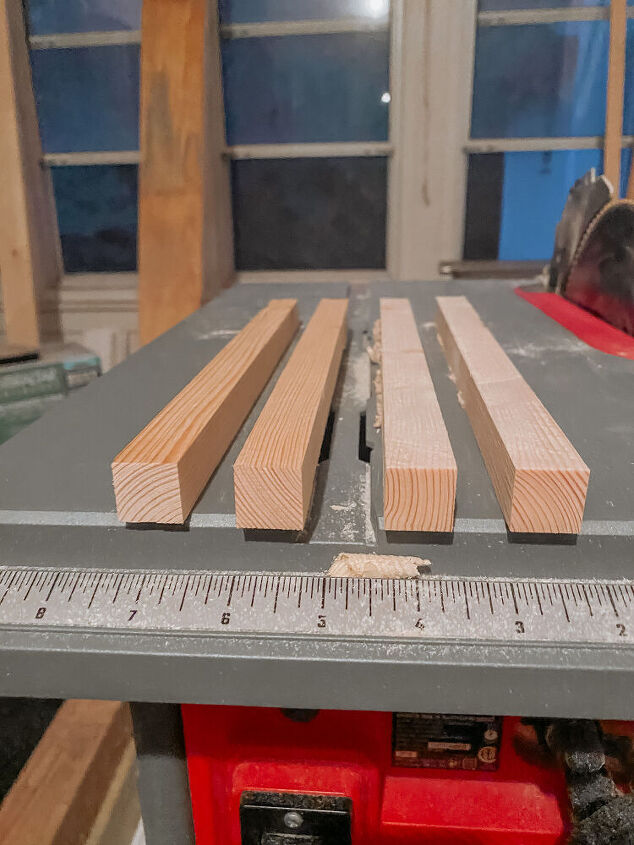
When a piece of wood is sold at “1×6″ that is just a nominal size, the actual size is less, more like 3/4″ x 5 1/2″. All the long pieces were cut to be exactly 3/4″ x 3/4″ X height. I went with 24″, 18″ and 12”. If you are buying wood, you can purser 3/4″ x 3/4″ pieces in the trim section. That way, you don’t need to have a table saw!
CUT
Once you’ve gathered all your scrap wood, cut it to size. Like I said above, you can really make it what you need!
If you truly want to do this all in one day, get your pieces sanded and cut as early as you can. There is lots of stain and glue drying times ahead.
I stuck with a 5″ x 5″ base to fit the hurricane vase but I made a huge mistake in calculating inaccuracies. I wanted the glass to fit inside the frame I was building. The vase was 3.3″ and the width of the frame on either side would be 0.75″.Turns out the 3.3″ was the inside diameter of the vase, not the outside.A 6″ square base would have given me more room on all sides in case things didn’t line up perfectly, which they never do!If I were to go back, I would make the proportionally scaled lanterns, even if that meant I needed to buy a little bit more wood. This means the smallest base would have been 6″x6″, the medium would have been 7″x7″ and the tallest lantern would have been 8″x8″. The corresponding short pieces would have been 4.5″, 5.5″ and 6.6″ respectively.
SAND
I always try to get a quick sanding in before assembly (if even before cutting). Sometimes it’s hard to get into all the corners when everything is put together. This sanding step, in my opinion, just makes everything easier.With that being said, maybe don’t use the orbital sander on the small 3 1/2″ pieces… they tend to go flying!
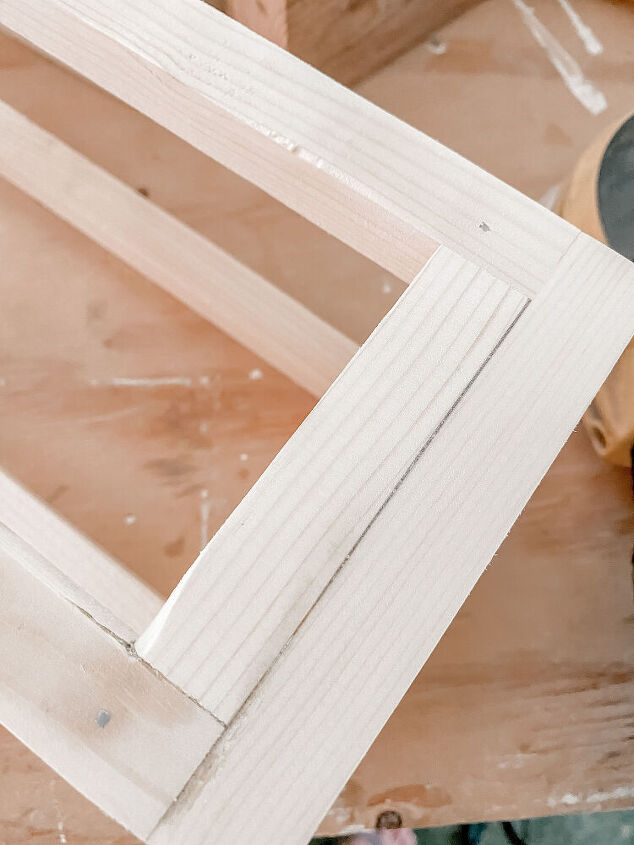
ASSEMBLE
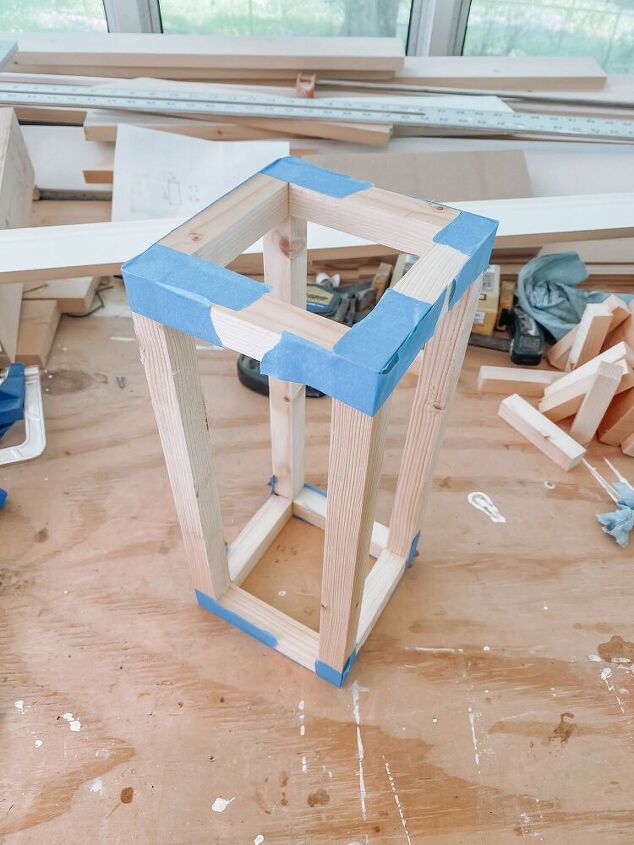
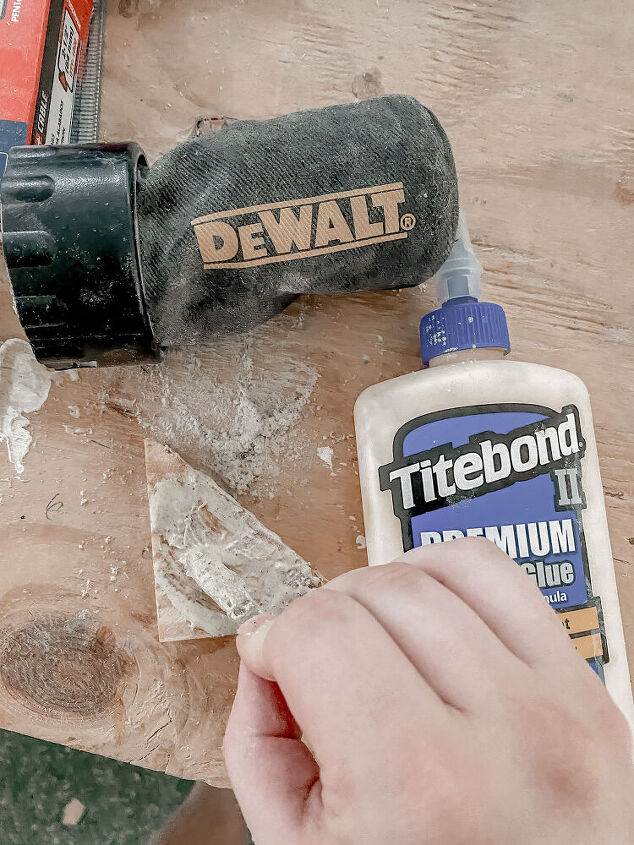
To get things started, I used wood glue and clamps. I don’t have very many clamps so it was a little slow going, but I’ve got some tricks for you. You could use the nail gun during this process or use painters tape to help keep everything together. This will cut down on your wait time.
If you want to move quickly and get this project done in 1 day, definitely glue and use the nail gun as you go. I glued, waited to dry, then nailed and it took longer than I hoped.Start with gluing the ends of the small pieces to the inside edges of the long pieces to create a rectangle. Once I have all my rectangles, Ill use the remaining small pieces to connect them till you’ve got a three-dimensional rectangular frame!I used the nail gun to make sure everything is secure. The wood glue won’t last long term outdoors so I needed a more lasting way to keep it all together.I plan to use these DIY scrap wood lanterns indoors most of the time but to place them outdoors when we have company or holiday decor. I’ll specifically place them under a covered area if I plan to leave them outdoor long term. This is mostly so that the vase and the candle don’t get rained on!Once the frame is together, glue and nail the 5″ x 5″ base to one end and let them all dry.
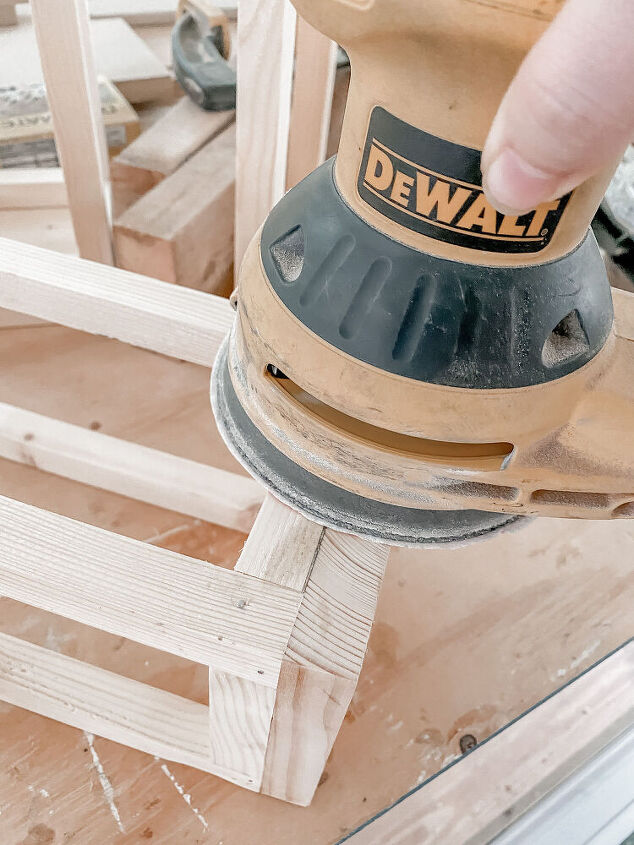
SAND AGAIN
Now that everything is dry and assembled, use this sanding step to smooth out any rough patches. If some pieces didn’t glue or nail quite into place, use the sander to smooth over the ridge.
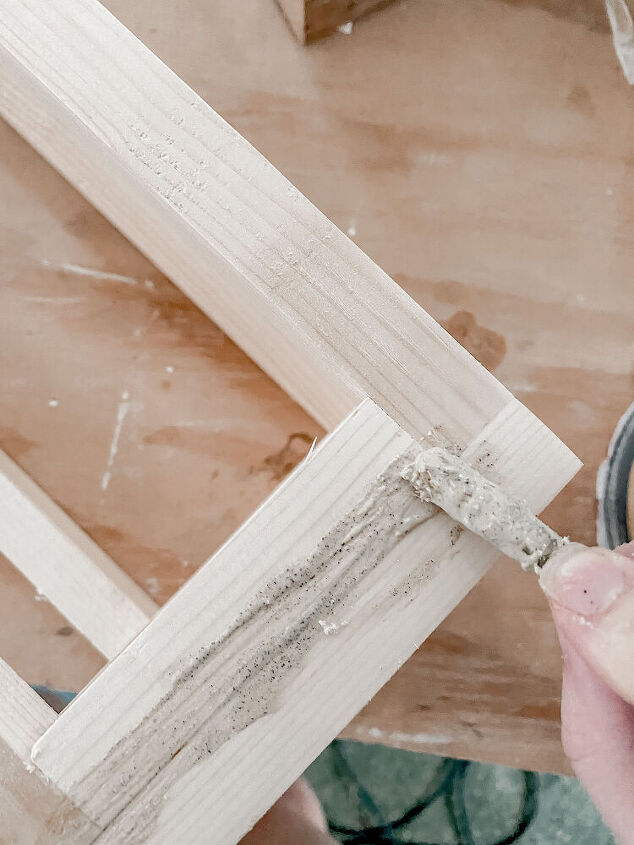
If you have a little gap at the joints, mix some sanding sawdust with some wood glue to create a paste. Push the paste into the gap and let dry. Once it is dried, sand till smooth. This is essentially homemade wood filler that will match your wood exactly.
STAIN
Using a wood conditioner will help give you an even stain application, or so I’ve heard. I still haven’t had the opportunity to try it out for you because the wood conditioner is still out of stock at my hardware store.The stain I already had on hand was, Varathane Weathered Oak mixed with Light Walnut. I can’t say I remember which projects they were used on but I used another scrap piece of wood to test it out and I liked this specific color combo for my needs.

SEAL
Once the stain has dried you can choose to apply polyurethane to seal it if you plan to have it outdoors. This will help protect it from moisture and ensure you have the lanterns for a long time.
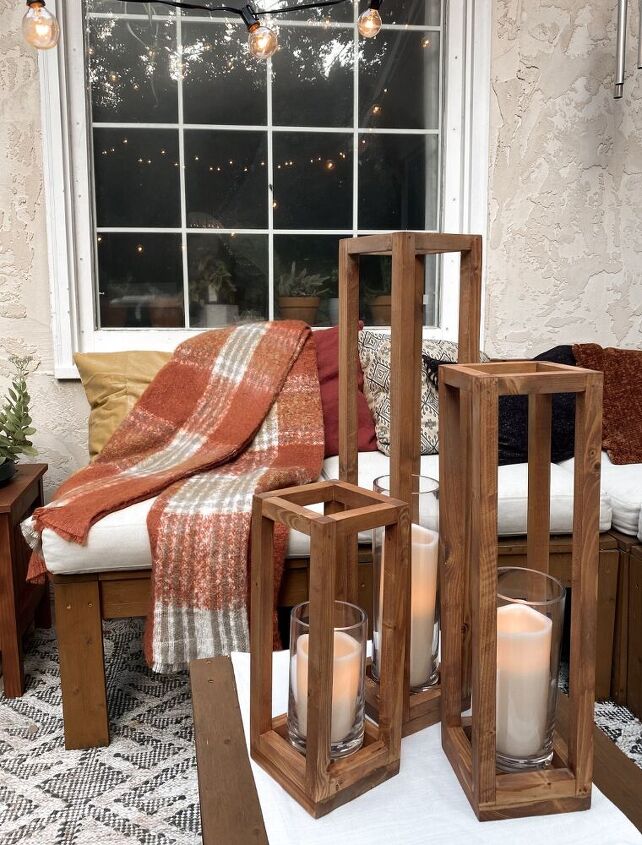
DISPLAY SCAP WOOD LANTERNS
Now that its assembled, stained, and sealed, all you need now is to slide your vase and candle in place! You could even use an LED pillar candle to help ensure that you can use this time and time again.
DIY fall lanterns
Resources for this project:
See all materials


Comments
Join the conversation
-
Just stunning!
-
Just want to lay down with a good book in your beautiful cozy corner! Love the rust color.


Frequently asked questions
Have a question about this project?