


How to Create a Book Page Apple
Turn an old book page into something new with this fun and simple book page apple craft tutorial. This inexpensive project is a great way to use old books.When it comes to crafts, there are few things more satisfying than taking something old and making it new again. In this DIY tutorial, we’ll show you how to take a book page and turn it into an apple.
It’s a fun and easy project that anyone can do, no matter your crafting level. Change things up by creating book apples of all shapes, sizes and colors.
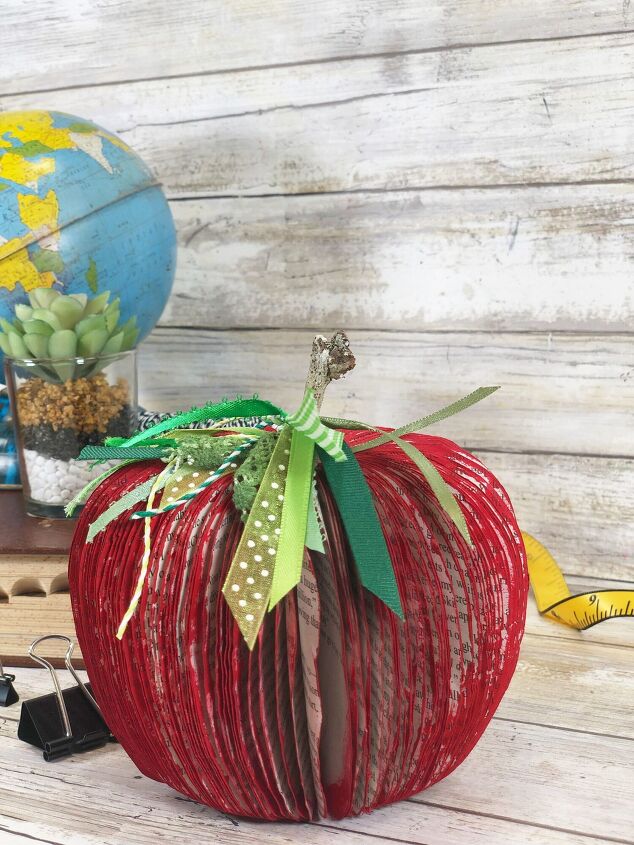
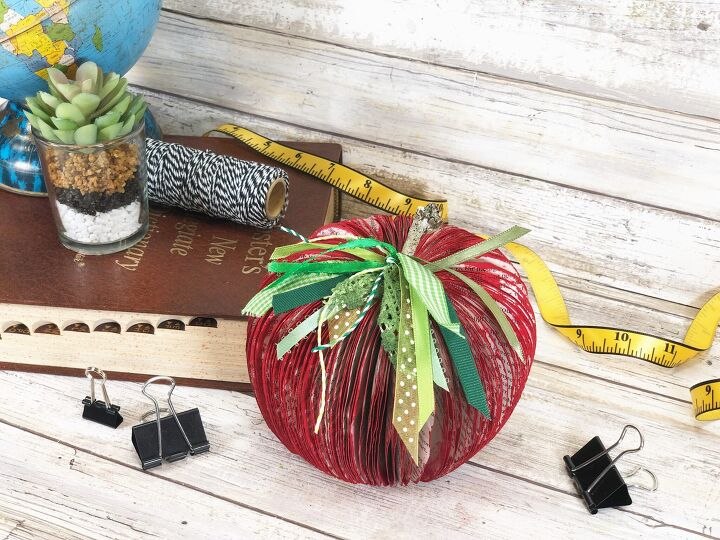
You can use your apple as a farmhouse style decor on the mantel or display your new creation on a bookshelf or desk. This easy craft would make for an excellent gift to show your appreciation to your favorite teacher.
How to Make a Book Page Apple
Supplies:
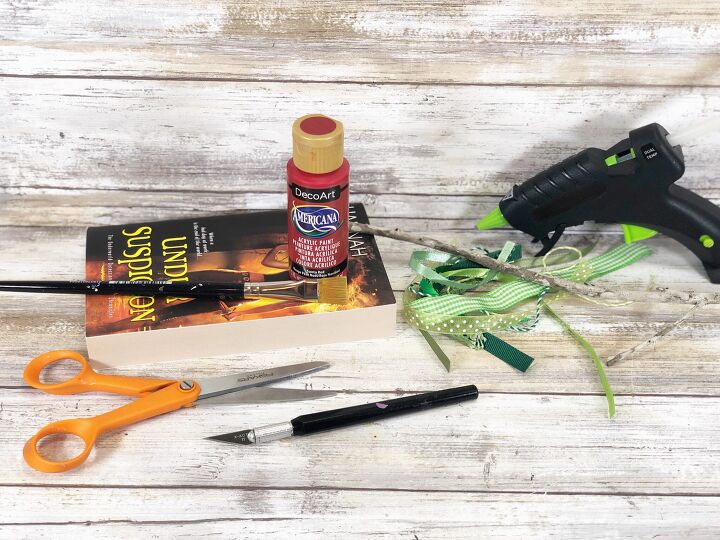
- 1 Paperback Book – find one at the dollar store, thrift store, a local book store, ebay or amazon
- Craft Paint – Red or Green Apple Colors
- Assorted Ribbon Scraps – Green
- Twig – From the Yard
- Pencil or Marker
- Exacto Knife
- Self-Healing Mat
- Paint brush
- Scissors
- Wire Cutters or Branch Cutter
- Binder Clip
- BOOK APPLE PATTERN – free download at the end of the post
Step by Step Tutorial
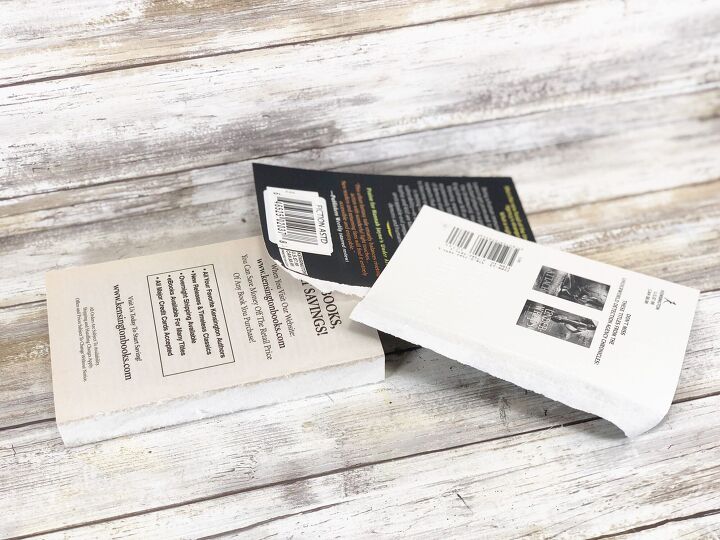
Gather all supplies. Remove the front cover and back cover of the paperback book.
Download and print the PDF File for the apple pattern or draw your own shape on the inside of the book covers with a pencil or marker.
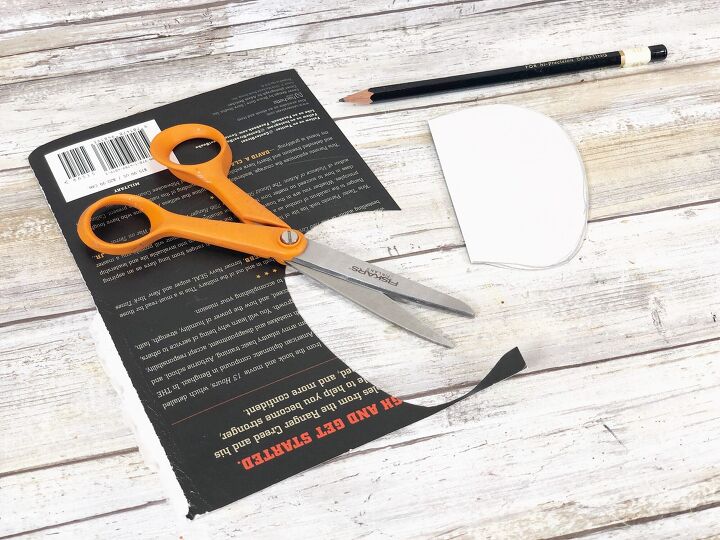
The next step is to cut out the pattern with scissors.
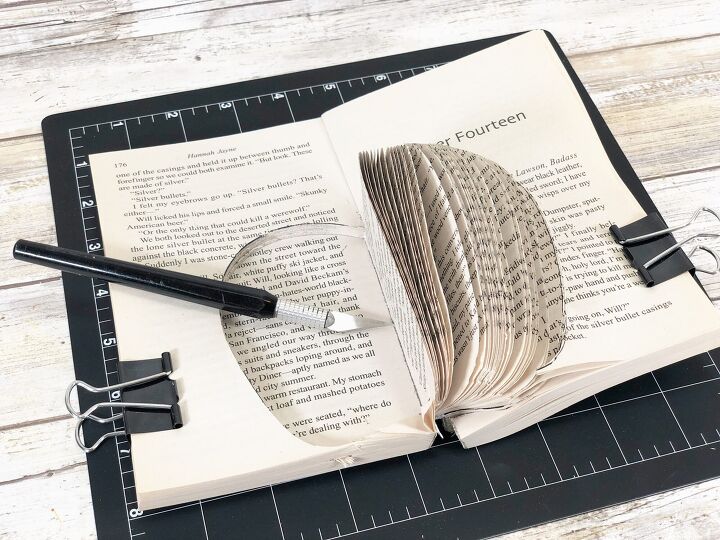
Open the book flat at the halfway point, trace the apple pattern on the right half of the open book with a pencil or marker.
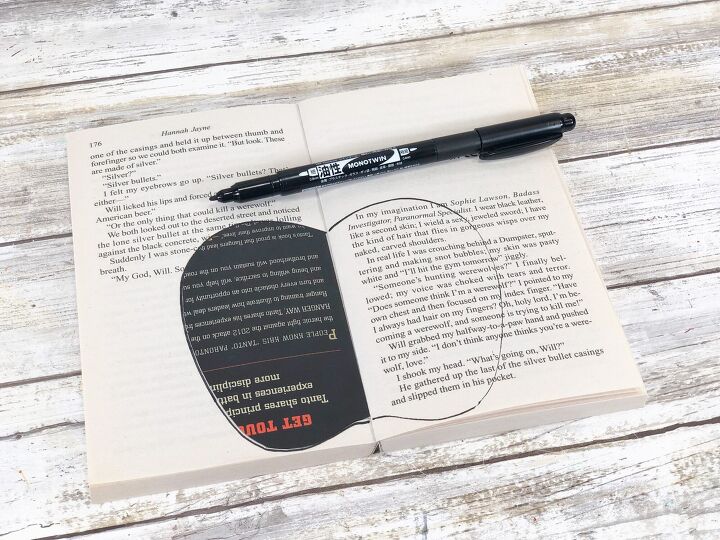
Repeat by tracing the apple pattern on the right page of the open book.
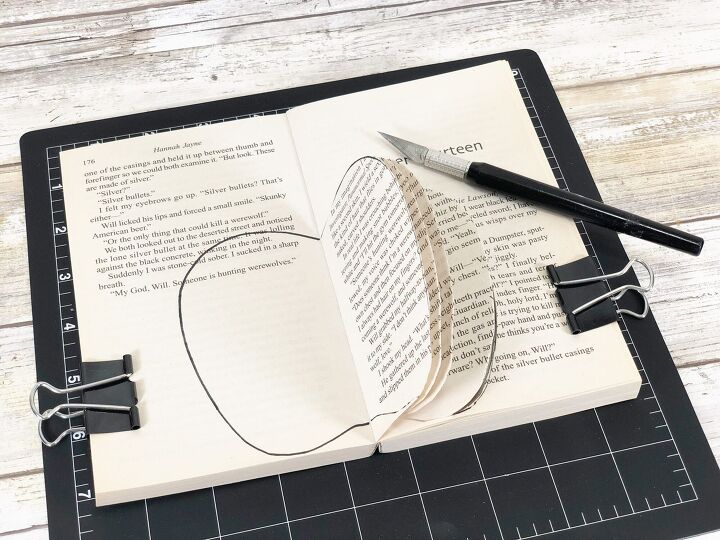
Using a new, sharp blade on a craft knife, carefully cut through the pages of the book a few at a time.
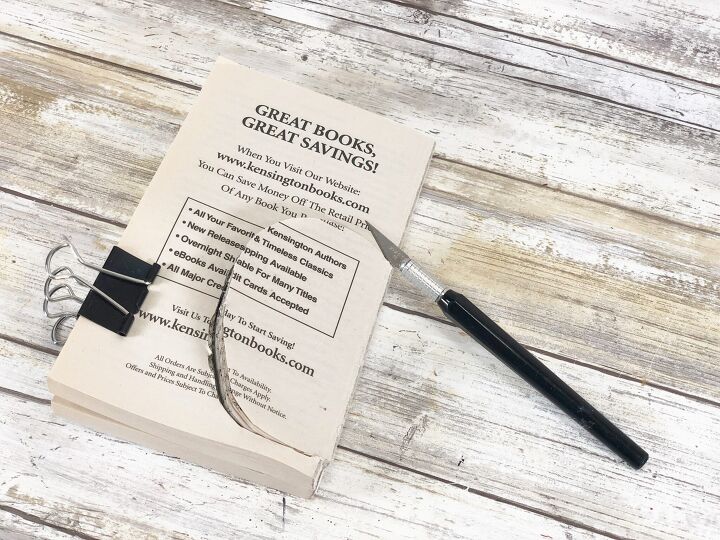
Insert self-healing mat under the book and continue cutting book pages until half of the pages are completely cut out.
Repeat on the other side of the book.
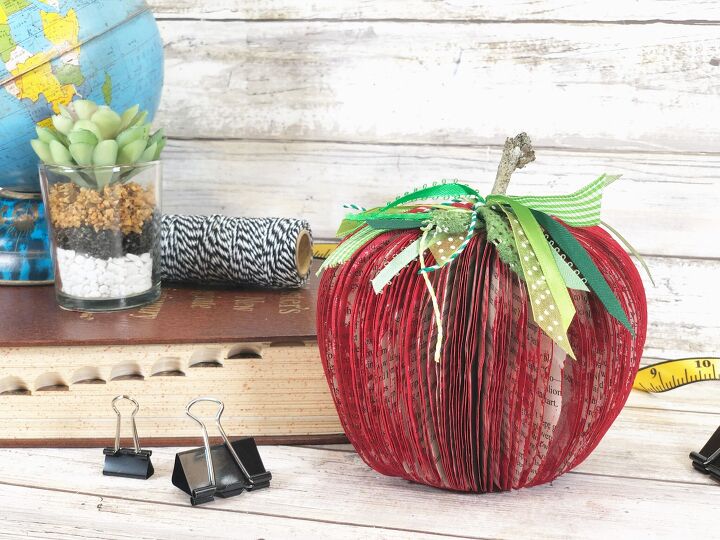
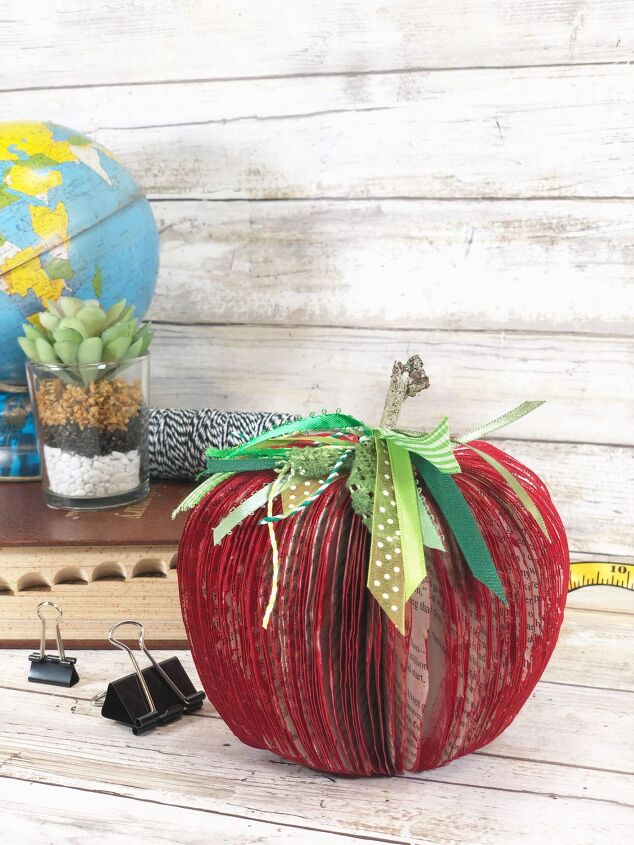
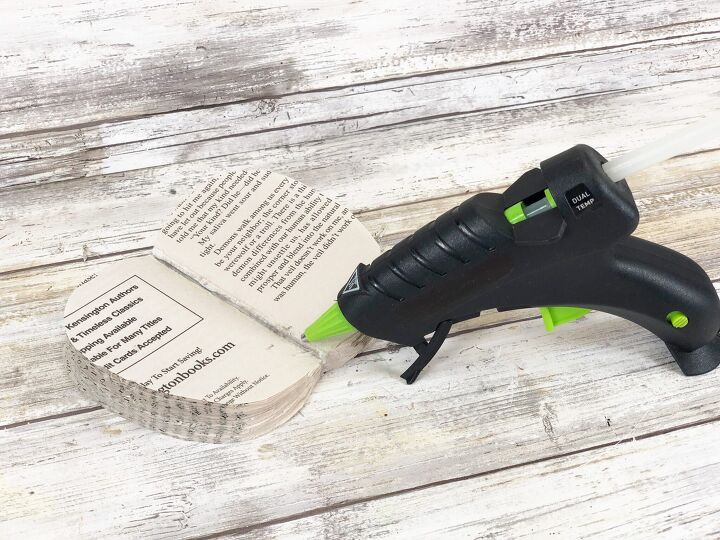
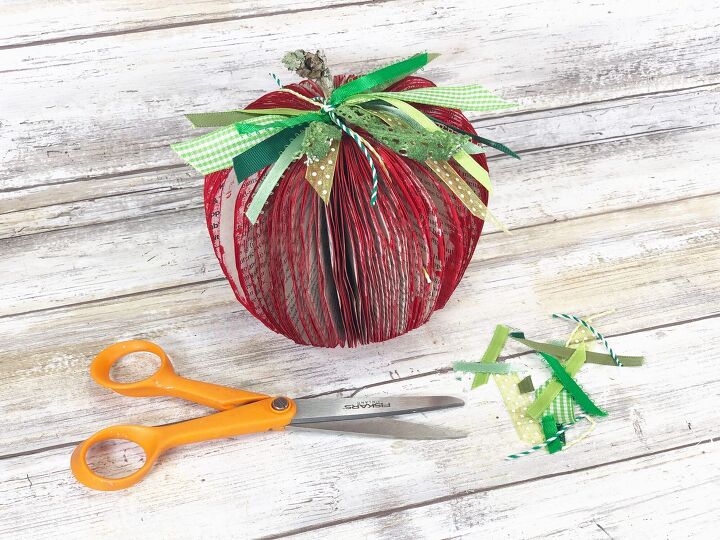
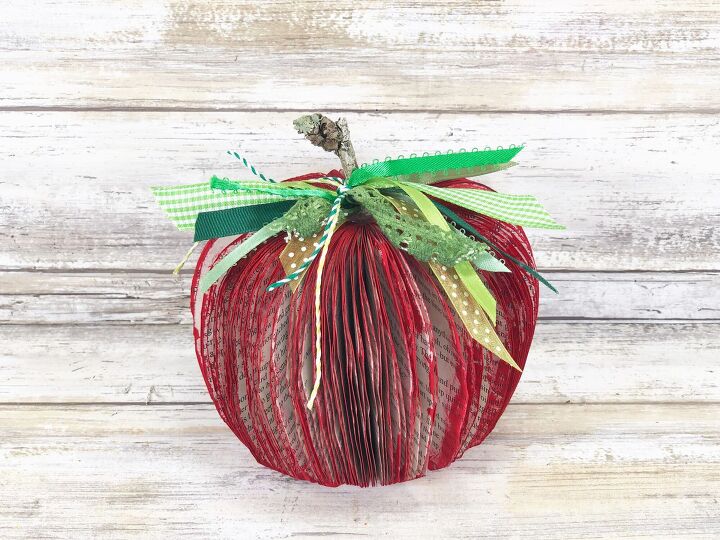
Flip cut out book apples on your work surface and attach the exposed spine together with a line of hot glue from a glue gun.
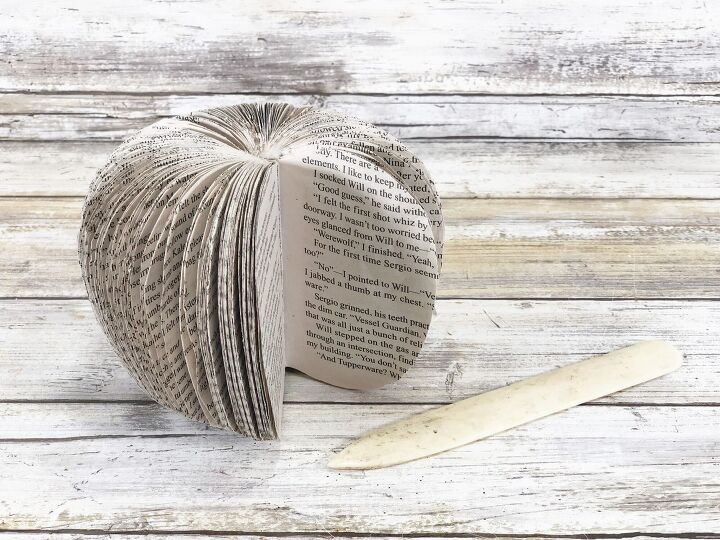
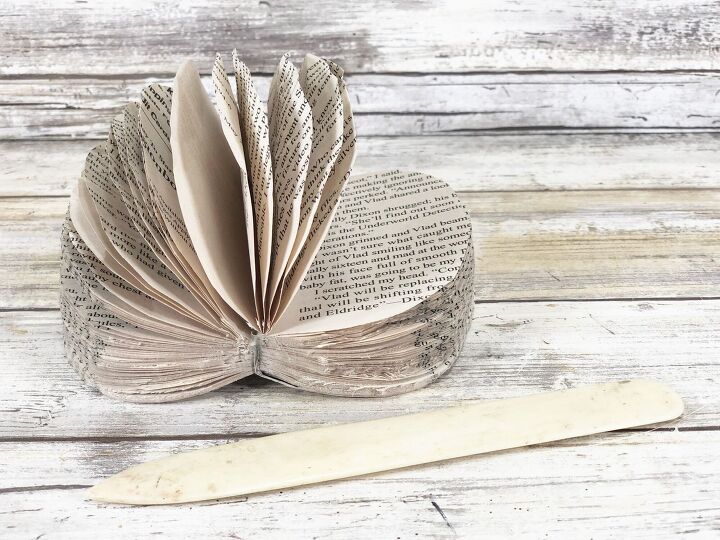
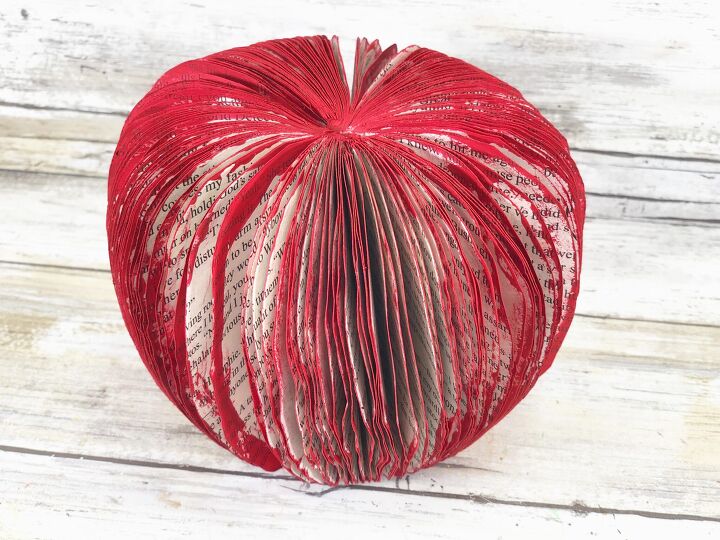
Fluff out the apple pages by crinkling and crumpling each page individually. Bend and score the spine of the book as you fluff out the apple shape.
Fold the book into half and hold it between your fingers and thumb. Dry brush red craft paint around the edges of the apple.
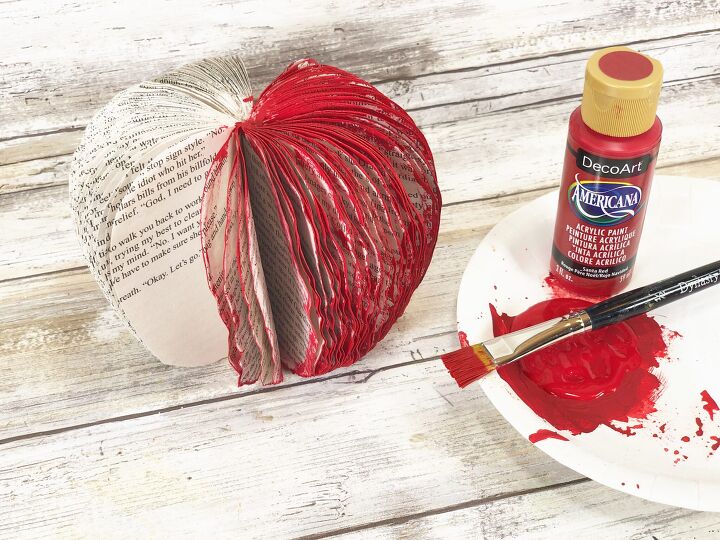
Carefully separate any pages that might stick together, then set aside to dry.
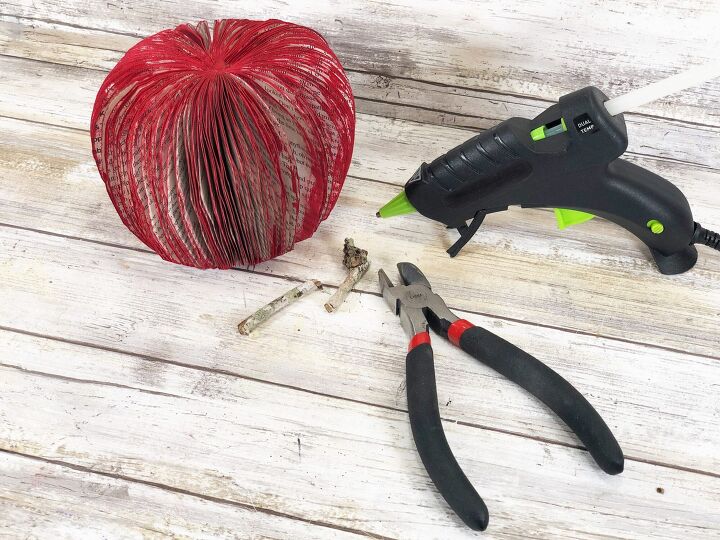
Gather a stick from the yard and cut it to size with wire cutters or branch cutters. Attach to the top center of the book apple with a glue gun and glue sticks. A cinnamon stick would work as well.
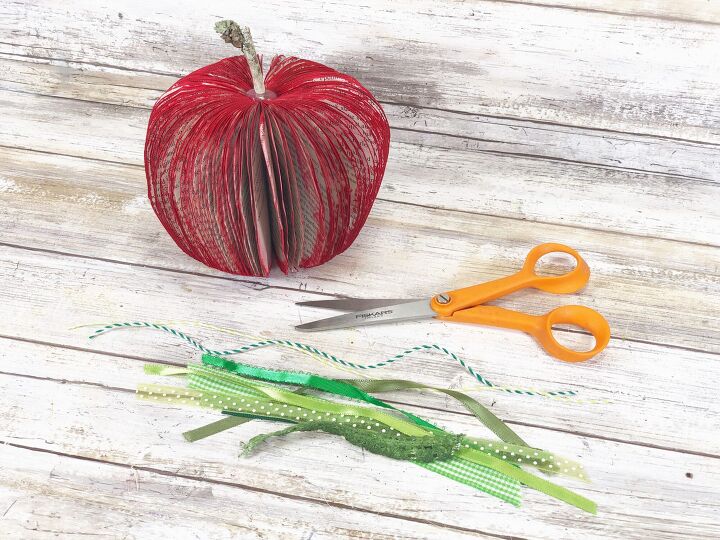
Tie assorted green ribbon scraps around the stem of the book apple to finish.
BOOK-PAGE-APPLE-CRAFT-PATTERN


Comments
Join the conversation
-
We need a working link for the Apple pattern please!!
-
So cute! Decided to do this for my grandaughters teacher's end of year gift. Thank you for sharing!


Frequently asked questions
Have a question about this project?
would it be easier to paint the edges before you spread them open?
Found the blog page-thank you for the great craft ideas !
I give up, why a self heating mat?