


How to Make DIY Massage Candles
Popular at summer festivals, these DIY massage candles - also sometimes refereed to as lotion candles - serve two purposes. These 2-in-1 DIY massage candles not only make your home smell great, but the melted wax can be applied and massaged onto skin to moisturize and add scent to your skin.
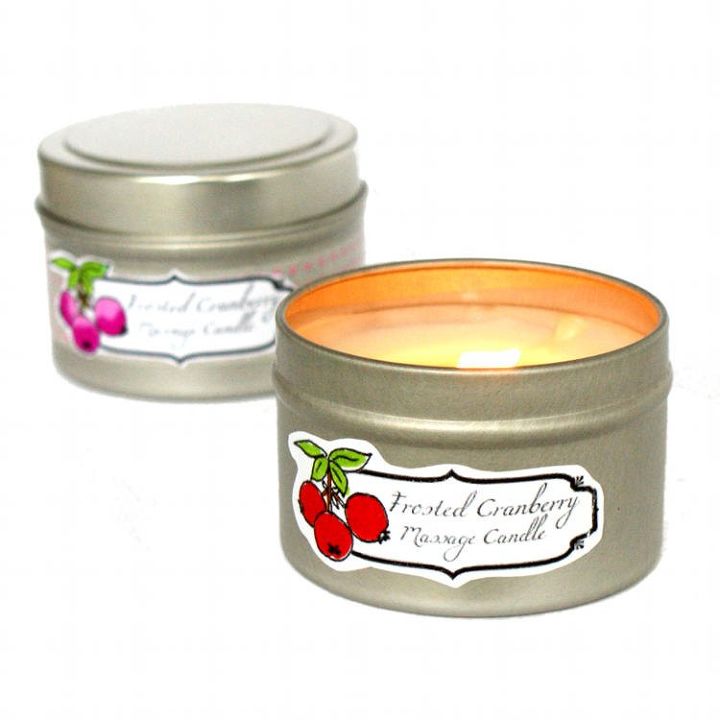
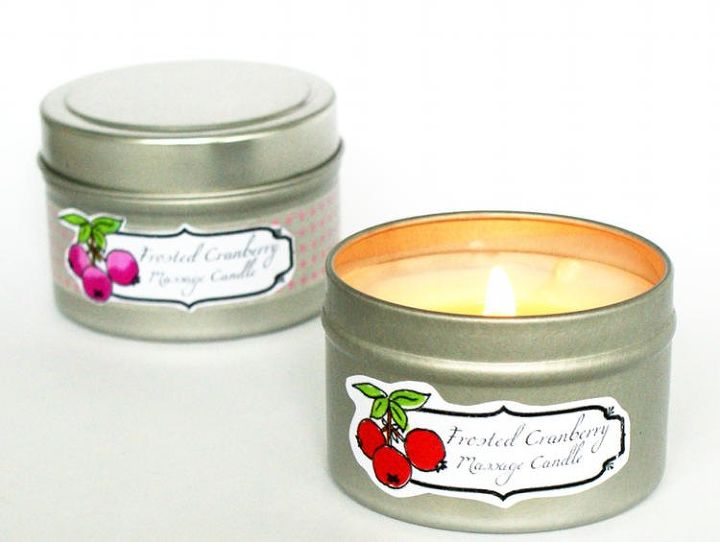
These DIY massage candles make really wonderful gift ideas for practically any occasion including Christmas gifts, stocking stuffers, housewarming gifts and wedding favors. I created my DIY massage candles using a frosted cranberry fragrance oil, however you can substitute the fragrance oil with any skin safe fragrance oil of your choice based on the season or occasion. If you're thinking ahead to Christmas and do choose to use the frosted cranberry fragrance oil, you can find free printable labels - including candle safety labels - for your finished DIY massage candles on the original blog post for this tutorial at Soap Deli News blog here. Also be sure to visit the original blog post for direct links to suppliers for materials and tools needed and for additional information.
This DIY massage candle project will yield one 4 oz. candle. However, with the minimum purchase of materials you purchase you can make about seven candles. If you prefer to use essential oil rather than a fragrance oil, use half the amount (or less) of a skin safe essential oil.
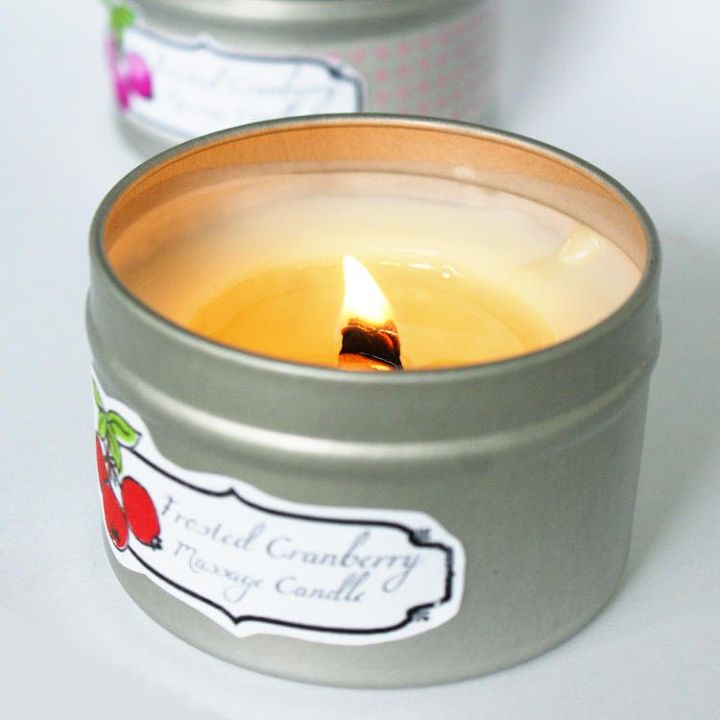
Start by placing the wooden wick inside the metal tin then use scissors to cut the wick so it’s just a hair shorter than the tin. Place the wick inside the metal base and set inside the middle of the metal tin. Now, using a digital kitchen scale, weigh out the soy wax and shea butter inside the glass pyrex measuring cup. Heat in the microwave at reduced power until the wax and shea butter have melted, approximately 2 minutes. Carefully remove from the microwave using a potholder or kitchen towel as the measuring cup will be hot. Place the container of wax and shea butter onto the digital kitchen scale and press tare. Using a plastic transfer pipette to slowly add the fragrance oil to the wax base, weigh out 7 grams of fragrance oil. Then stir with a metal utensil. I generally use a butter knife. Now slowly pour all of the scented wax into the metal tin. If your wick shifts, don’t worry. You can easily reposition it after you’ve poured the wax. Finally, allow the wax to cool completely then label, use or gift! The safety and caution label should go on the bottom of each candle. If desired, you can color in the labels with markers to give your candles a handmade touch or to express your own creativity. Be sure to trim your wick to 1/4″ high before every use and blow out the candle before dipping your fingers into the wax to avoid accidental burns from the flame. If you like this DIY candle project then you may also like my DIY for making your own odor neutralizing candles that really work! You can find the tutorial for that project at Soap Deli News blog here.


Frequently asked questions
Have a question about this project?