


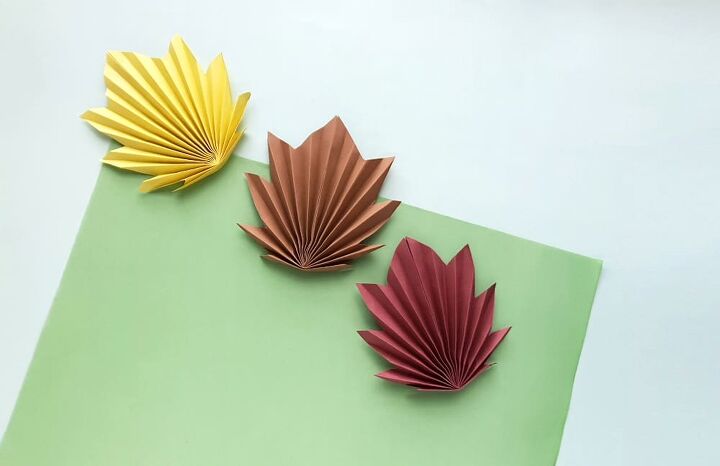
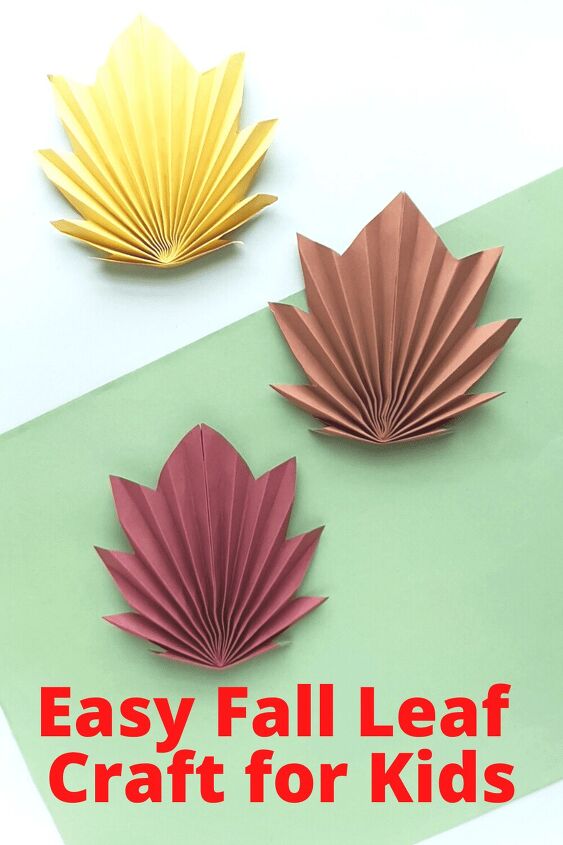
How to Make This Easy Fall Leaf Craft for Kids
This easy fall leaf craft for kids is a fun project to celebrate the change in seasons. Here’s how to make it with your family.
Who else is ready for fall? After months of high temperatures here in Iowa, we’re ready for the change in seasons and cooler temps to come our way. With school just a few short weeks away and the flowers and trees already starting to change, fall is on our minds here at Two Kids and a Coupon. We are ready for changing leaves, fall colors and cool, crisp air. To help your family get ready for the change in seasons in your area, we have some fun new craft projects and recipes coming your way. First up is this fun fall project that makes a cute decor too!
This easy fall leaf craft for kids is a simple project that can be made in less than 30 minutes, using supplies you probably already have at home. All that is needed is cutting out a shape, a little creative folding and a touch of glue to fasten it into shape. These would make adorable decor to hang on the wall with two sided tape, add a magnet back to decorate your refrigerator, or make a tiny hole in the bottom and add string for the cutest fall garland that you’ve ever seen.
Want to make this project with your family? Here’s what you need and how to make it!
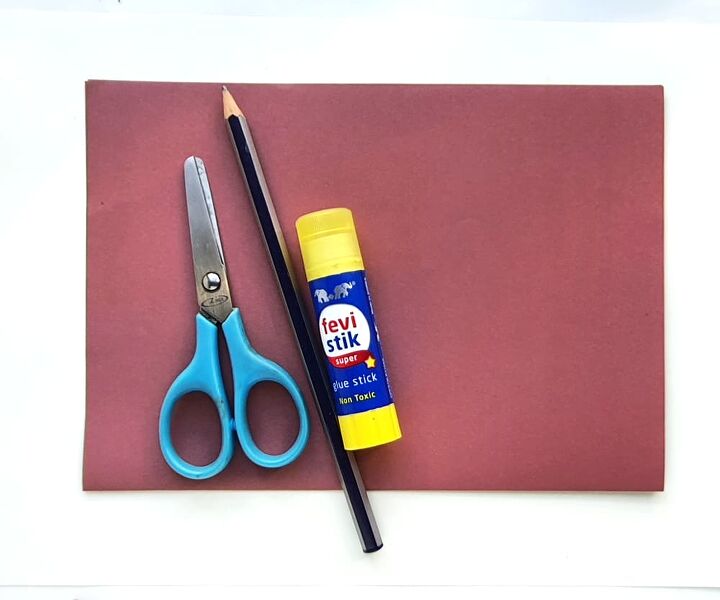
To make this project, you will need colored craft papers or construction papers, craft glue or a glue stick, a pencil and scissors. We used paper size A4 which is 8.5″ x 11.0″ size.
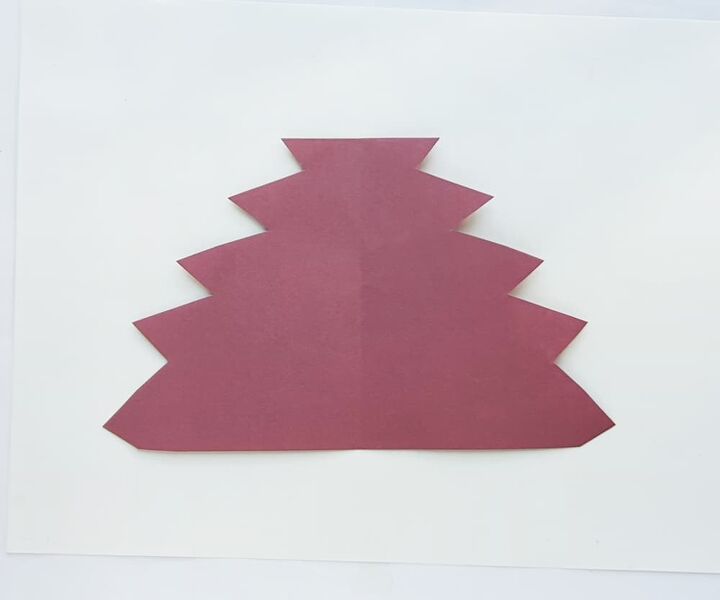
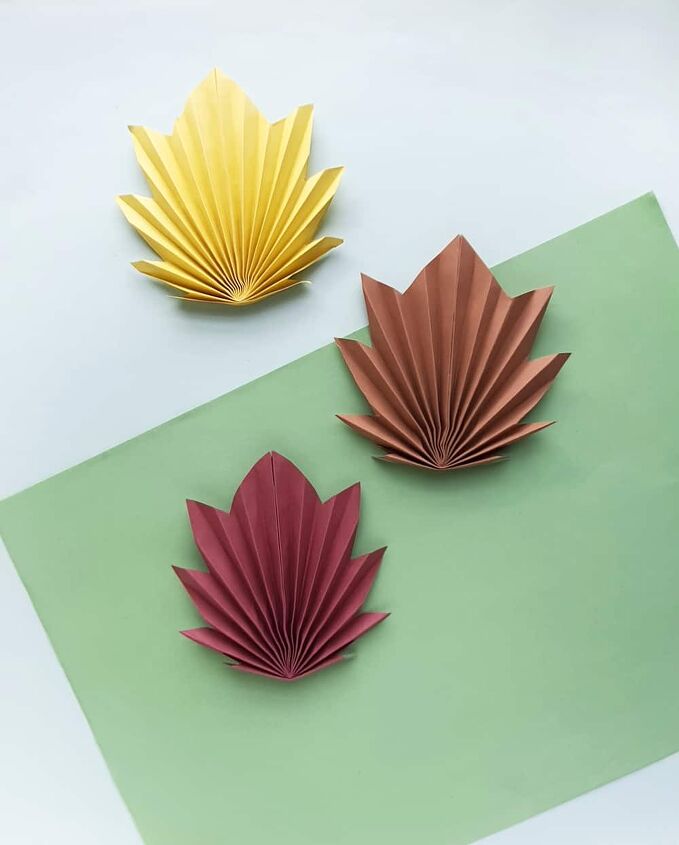
For the first step, you will need to cut out the leaf shape. You can print out our easy to use Paper Leaf Template and use it to trace your leaf pattern onto construction paper. Or to make it even easier, place a sheet of construction paper in your printer and print the template on that paper for easy cutting. You will need one leaf shape for every leaf you plan to make. We used yellow and brown here, but you can also red, orange or any other color you like and have appropriate paper for.
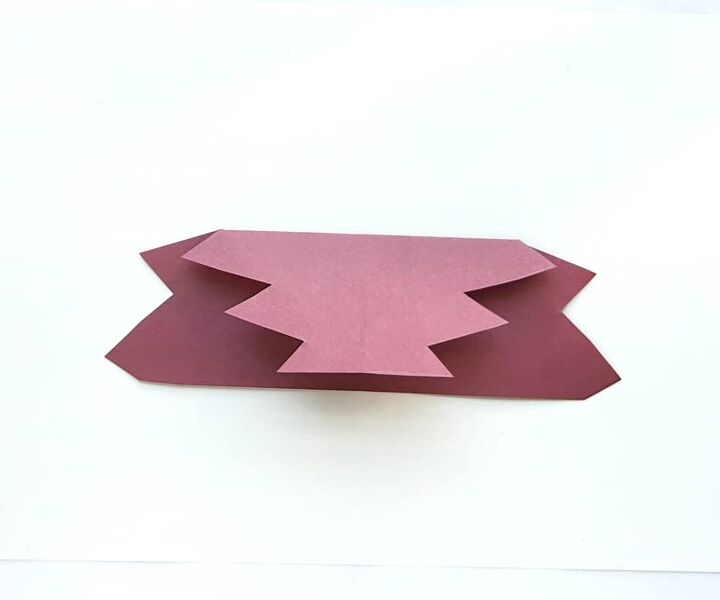
To start making your leaf, you will start doing some folding to form the shape. You will want to fold the cutout pattern into half symmetrically. Then you will want to unfold the half fold again, this is for the crease. Then you will want to fold the pattern into half, horizontally.
Fold your easy fall leaf craft for kids into half again. We are going to do this a couple of times to make the texture on the leaf.
Fold your paper leaf into half again, for the 3rd time.
Fold the leaf into half one last time. This time it might seem a little difficult to make the half fold. In that case, you can fold the 2 sides into half separately. Kids might need a hand making this last fold due to the thickness.
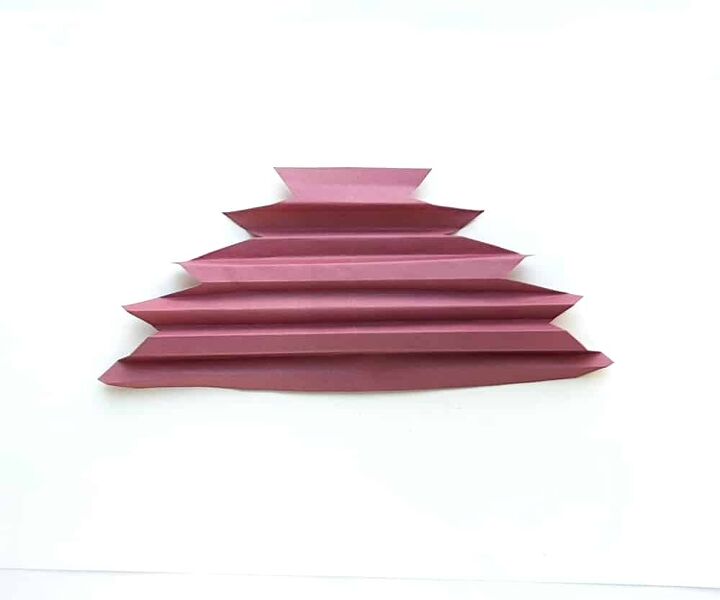
Unfold all the half folds from the previous steps. These creases will help you to create the accordion folds evenly.
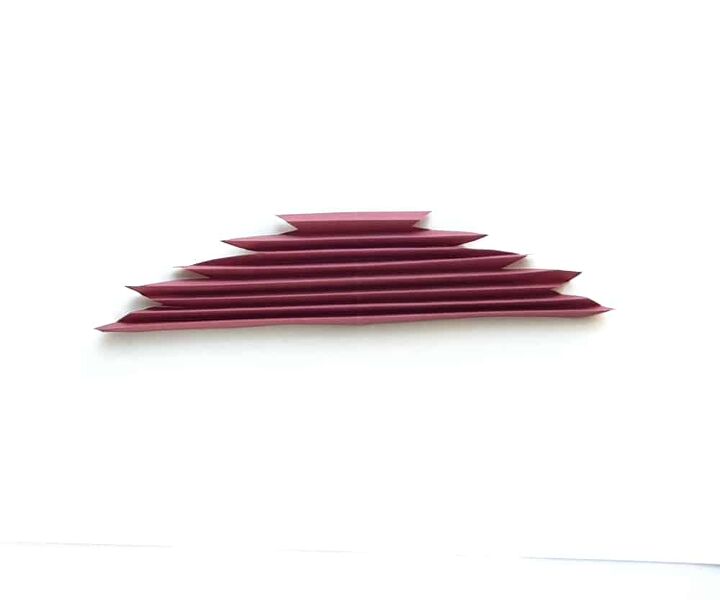
Now, use the creases created in the previous steps to create accordion folds on the pattern.
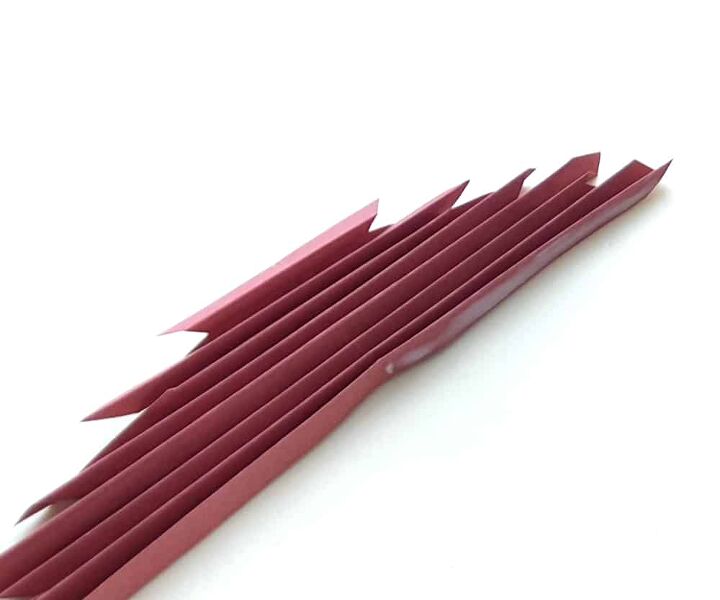
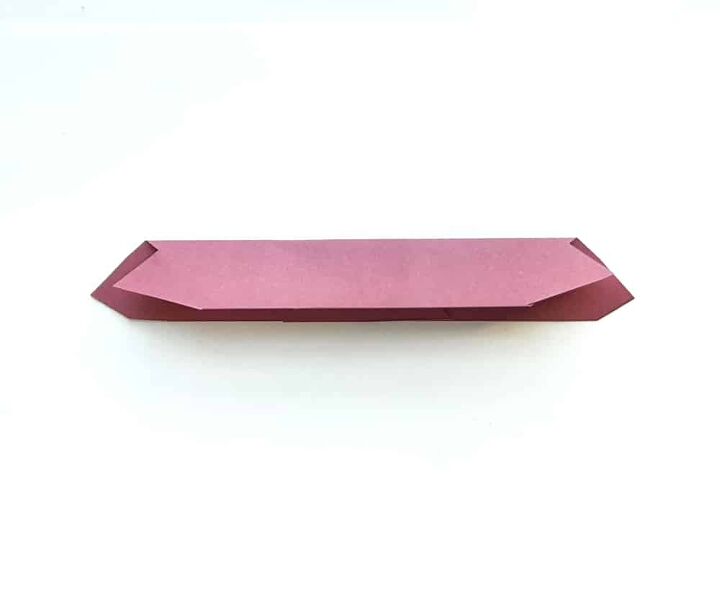
Apply glue along the outer side of the wider side’s last fold.
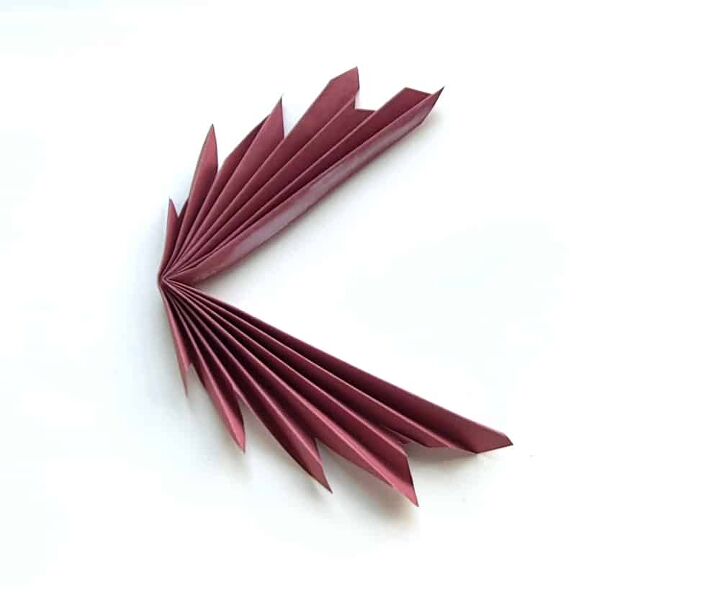
Hold and bring all the folds together in the middle of the pattern.
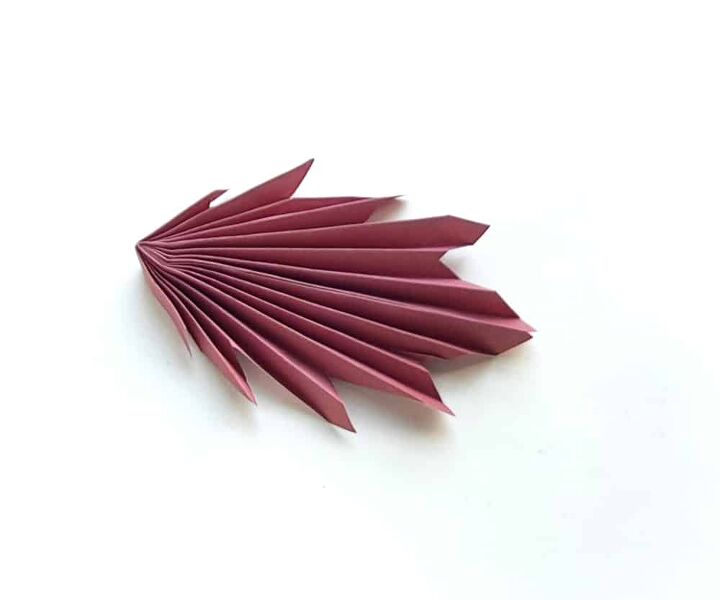
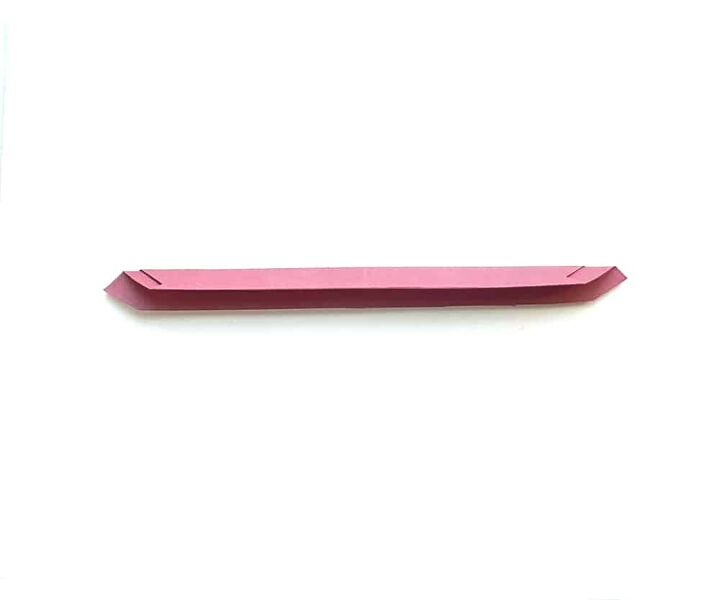
Carefully join the 2 (half) parts of the wider side and glue them to secure it. Allow the glue to dry before proceeding to the next step.
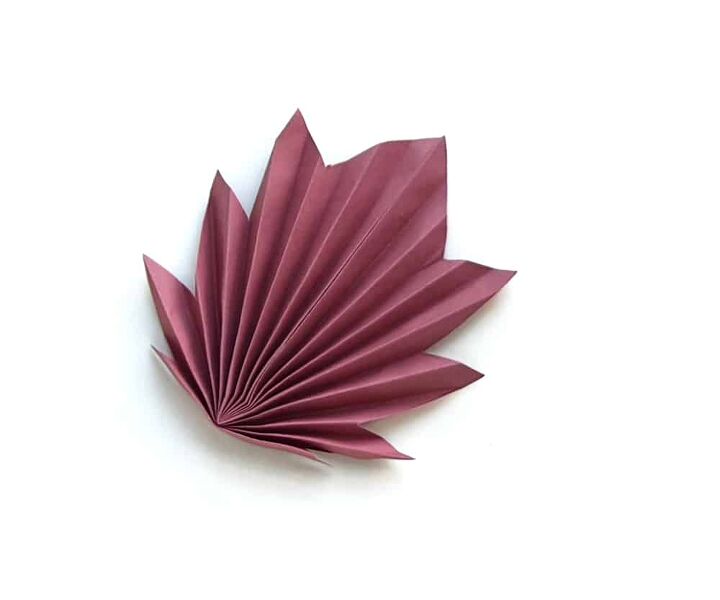
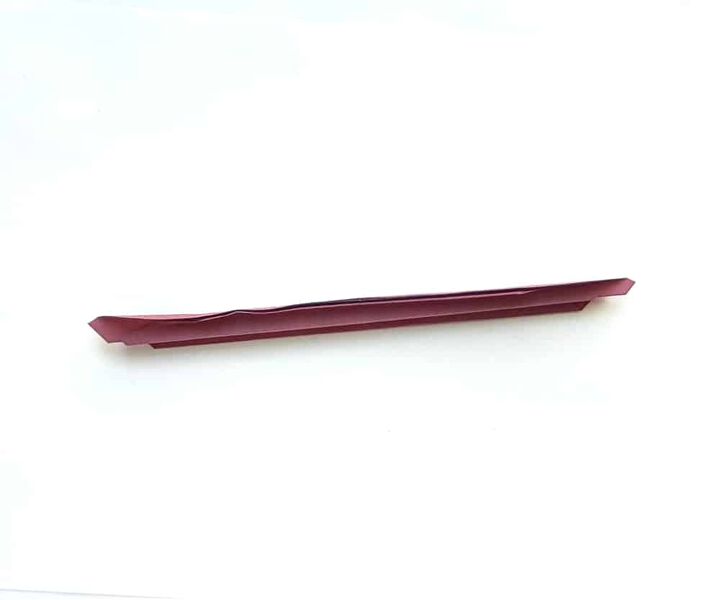
Use your finger tips to carefully loosen the accordion fold a little. And done!
Want to make this easy fall leaf craft for kids with your family? Use the card below to print out the instructions now, or save it to Pinterest using the graphic above. Are you looking for more fun fall crafts? Be sure to check out these fun crafts for kids for fall here.
Do you have a project that you’d like to see here on Two Kids and a Coupon? Leave a comment below and we will see what we can do to make it happen!
-
colored craft papers or construction papers -
craft glue or a glue stick
-
Scissors -
Pencil
- Select a colored craft paper of A4 size (8.5" x 11". Trace our printable template pattern on the selected paper; or place the construction paper in the printer and print the template directly on the paper for easy cutting. Cut out the pattern nicely. You will need one for each leaf.
. - Fold the cutout pattern into half (symmetrically). Unfold the half fold again, this is for the crease.
- Fold the pattern into half, horizontally.
- Fold it into half again.
- Fold it into half again, for the 3 rd time.
- Fold the current pattern into half one last time, this time it might seem a little difficult to make the half fold. In that case, you can fold the 2 sides into half separately.
- Unfold all the half folds from step 2 to 5. These creases will help you to create the accordion folds evenly.
- Now, use the creases created in the previous steps to create accordion folds on the pattern.
- Apply glue along the outer side of the wider side’s last fold.
- Hold and bring all the folds together in the middle of the pattern.
- Carefully join the 2 (half) parts of the wider side and glue them to secure it. Allow the glue to dry before proceeding to the next step.
- Use your finger tips to carefully loosen the accordion fold a little. And done!
As an Amazon Associate and member of other affiliate programs, I earn from qualifying purchases.

Craft Sticks

Construction Paper
Kids Scissors
Disclosure: This post may contain referral or affiliate links that help support this site at no cost to you. As an Amazon Associate, I earn from qualifying purchases. Shop recommended items in our Amazon store at www.amazon.com/shop/2kidsandacoupon. All opinions and love of saving money are completely and totally our own.


Frequently asked questions
Have a question about this project?