


Industrial Wall Sconce Repurposed Sewing Machine Edison Lamp

5 Materials
$150
8 Hours
Advanced
I’ve been putting together a few pieces of decorative furniture recently. Treadle sewing machines have caught my eye. I’ve been trying to use the every part of these wonderful machines. With the addition of this lamp I have made as many as 4 pieces of furniture from one treadle sewing machine.
{
"id": "3900080",
"alt": "",
"title": "",
"video_link": "https://www.youtube.com/embed/NvWZbKNCZvs",
"youtube_video_id": "NvWZbKNCZvs"
}
{
"width": 634,
"height": 357,
"showRelated": true
}
The step by step for this project is listed below. You can also watch the accompanying video for more information.
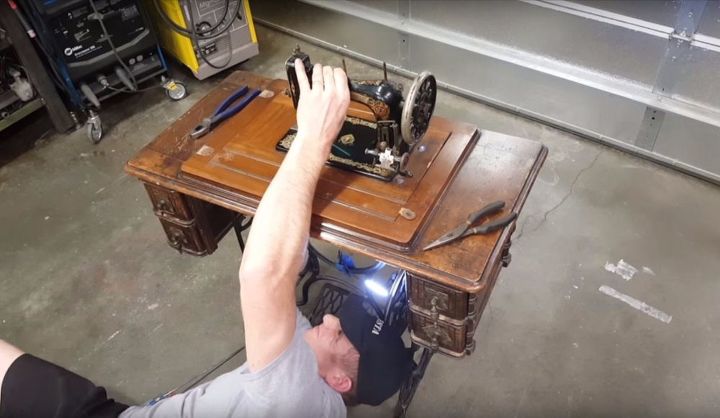
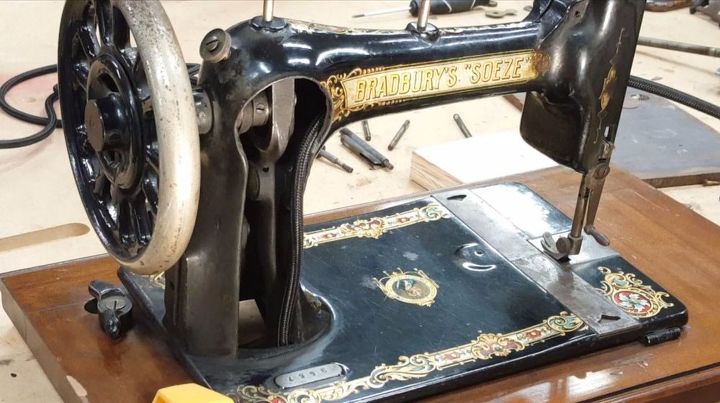
First find an old (broken beyond repair) treadle sewing machine. Then carefully remove the sewing machine from the cabinet.
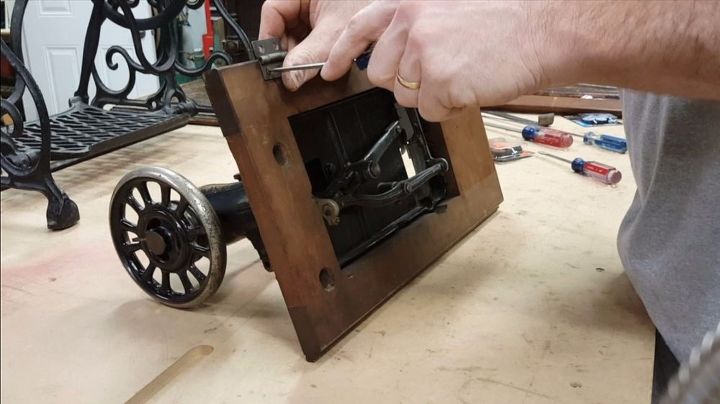
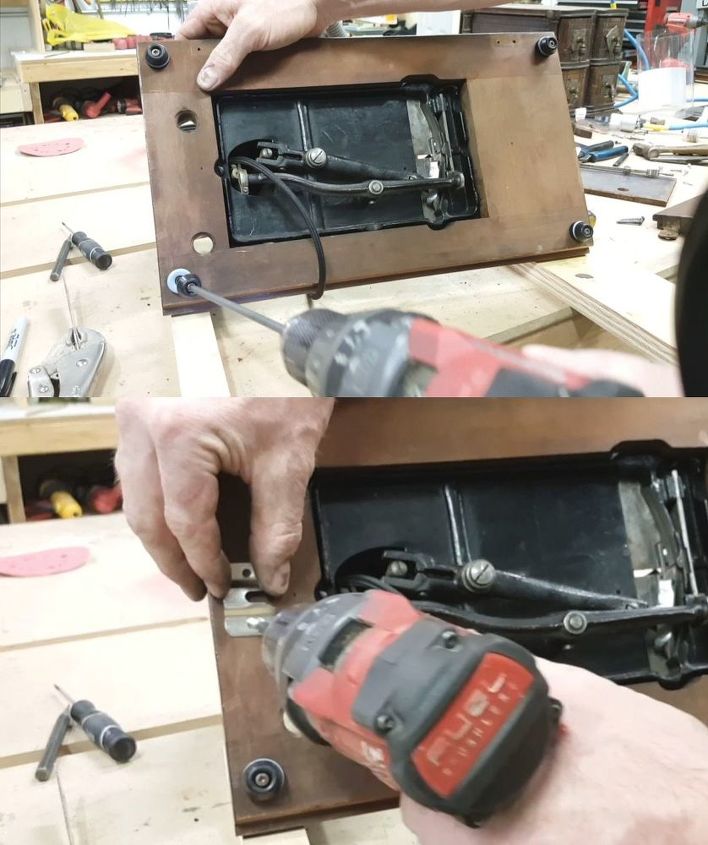
Once you've removed the sewing machine remove any superfluous hardware that may be in the way or could cause a safety hazard.
You can see here that I chose to remove the old hinges. (I kept them for another project of course)
Inspect all of the potential pathways for the electrical. One of the more difficult parts of this lamp will be safely navigating the lamp cord through the sewing machine. It needs to be done so the cord will not be severed by the internal mechanisms. That way it's safe for anyone to spin the wheel on the sewing machine.
Remove the front cover and take a look at what has to be removed. This front compartment has to have room for the lamp cord and the bulb housing. Save the front cover because you'll need to modify it soon.
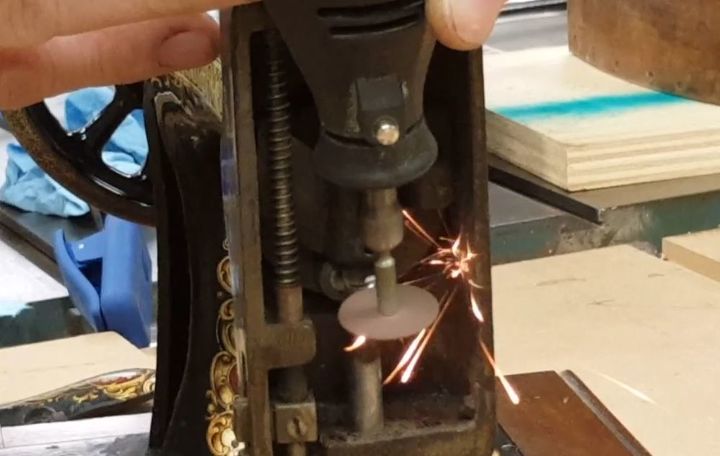
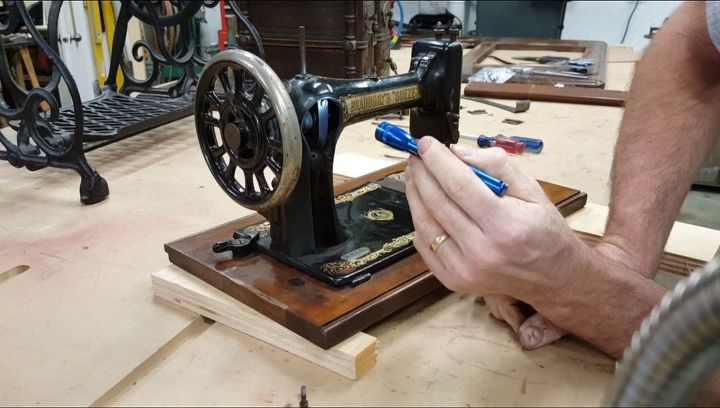
I use a Dremel tool to cut and remove the unnecessary mechanisms. Try to make space for the new lamp parts while trying to keep as many of the original parts. Any parts that show on the outside of the sewing machine will need to stay.
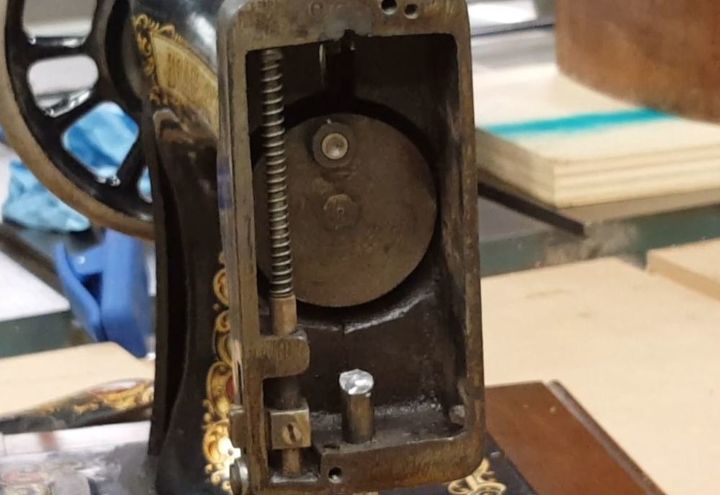
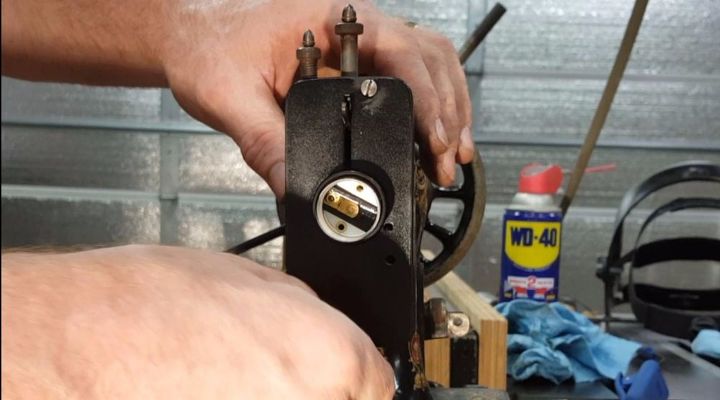
The circular disc portion in the center will vary from machine to machine. It's attached to a shaft that connects the treadle to the sewing machine's wheel. The entire disc and shaft must be removed.
On this particular machine I had to hand cut the shaft with a make-shift hacksaw. The trick is to hold a reciprocating saw blade with Vise Grips. I show to to do this in the video.
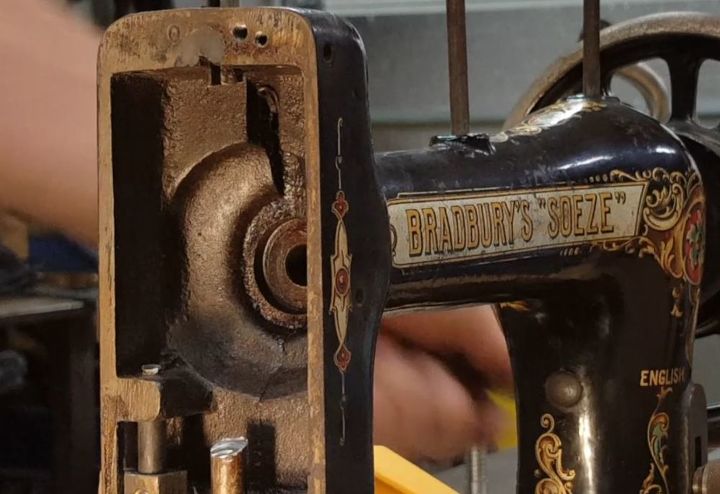
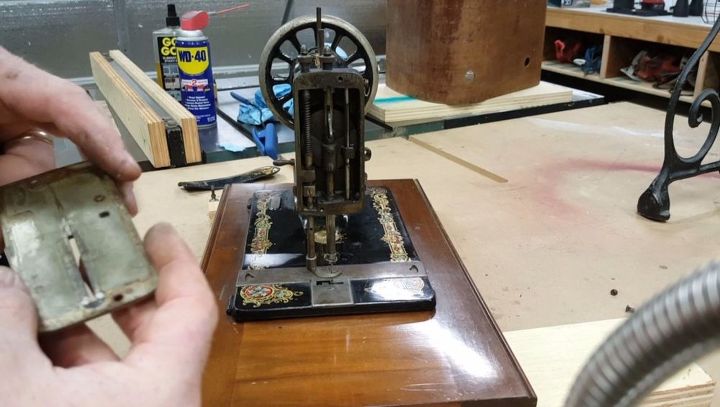
Here's what it looks like with the disc removed.
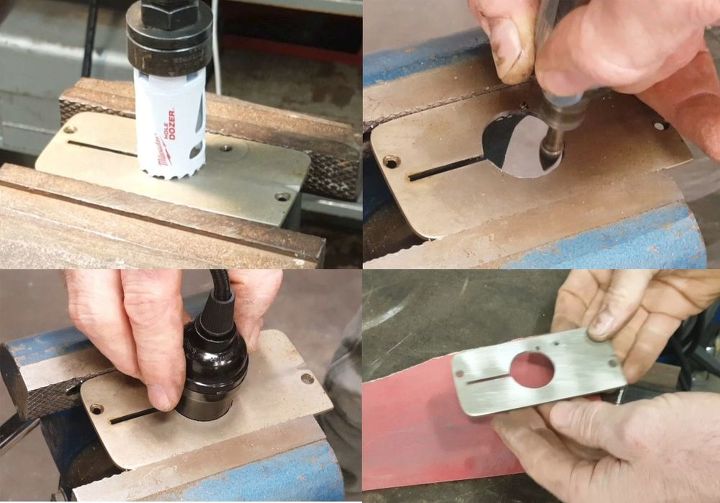
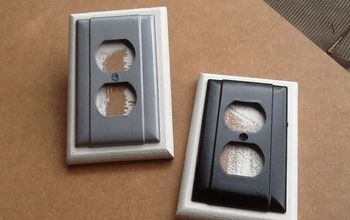
Time to modify the face plate. This hole saw was a little too small for the light bulb housing diameter.
I finished sizing the opening with a die grinder. A Dremel tool would work too. Go until the light bulb housing fits.
Clean and sand the sewing machine face. I chose to paint it black but a brushed finish would look good too.
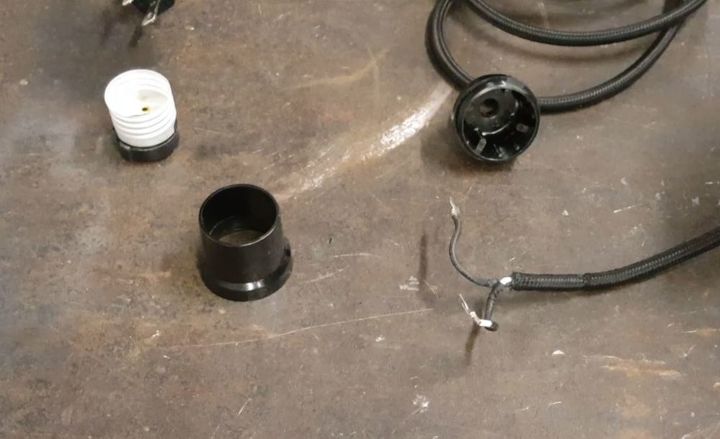
Dismantle the lamp cord so it can be fished through the sewing machine.
Here's an image of the cord after I fished it through the machine.
Reconnect the light bulb housing to the cord and install the modified front cover plate.
Install rubber feet and a hanger if you would like to use your lamp a wall sconce.
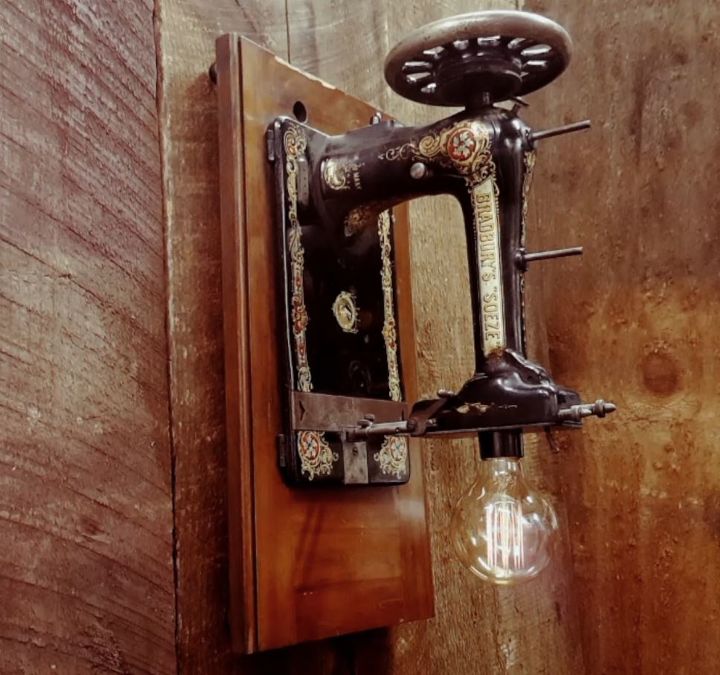
Enjoy your new sewing machine lamp!
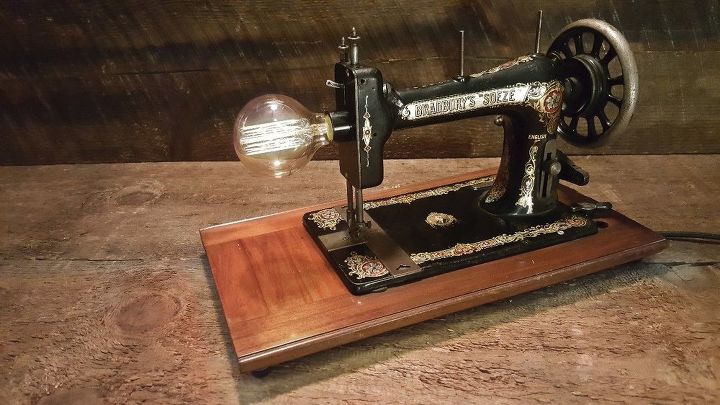
It can be used as a desk lamp too.
Thank you for reading my instructions!
Comments
Join the conversation
4 of 81 comments
-
no
-
I love this! These machines are so beautiful and to make them into something useful rather than sitting in the attic or dump is fantastic!


Frequently asked questions
Have a question about this project?
I have a 1906 White treadlein good working condition but the cabinet is really bad. Dwould you happen to know where I might find a cabinet?
What do you do with the bottom of the table? I have an idea for it.
Wow, inspiring! I'd love to do something like this, but I live in Japan and old school sewing machines like this "even broken" cost an arm and a leg! Is this hanging in your house somewhere?