Milk Jug Turned Into a Watering Can

by
Jordan Britt
(IC: paid contributor)
3 Materials
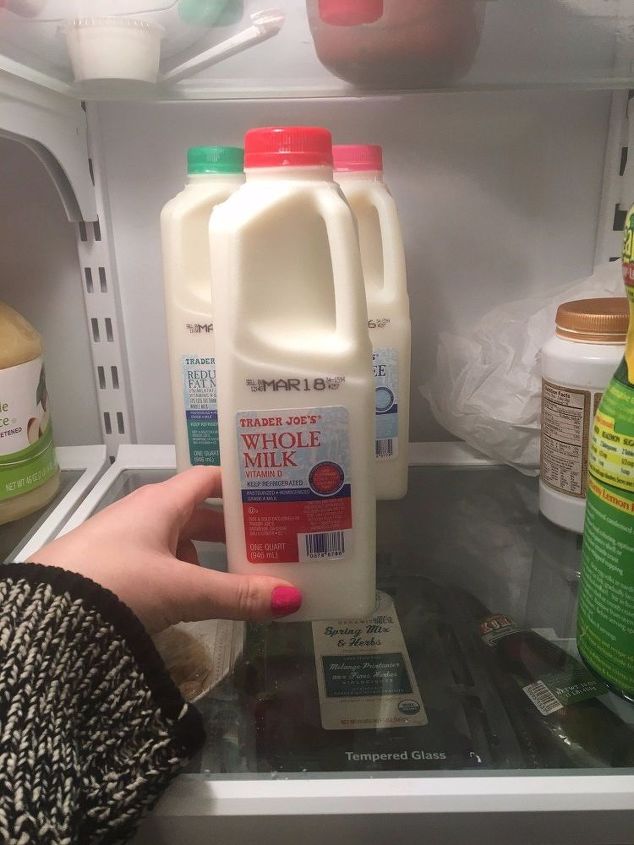
With spring just around the corner, over here at Hometalk we decided to step up our plant game. The only issue was that we didn't have a watering can. Of course we decided that we could make our own! We decided to wait until we finished our milk that we use for coffee and up-cycle it. We only had to wait about two days..
You can use whatever size milk jug you want- this is the size that we had!
Be sure to rinse out any milk residue so that water doesn't have a funky smell!
We used this adorable washi tape and made our own label. We measured a piece of card stock and cut it to match the size of the jug.
This was my favorite part! I got to color and decorate the label :)
Making the spout was SO EASY! All you need is a screw or a regular nail. We used a hammer and lightly made 5 holes in the cap. Be careful because it doesn't take much force to get the screw through cap!
Fill the jug up with water!
Twist the cap on tight and water your plants! We are so excited that we saved money, recycled, and our plants are happy and healthy! Happy almost Spring!!!
{
"id": "3769639",
"alt": "",
"title": "",
"video_link": "https://www.youtube.com/embed/bVcEmihEPWQ",
"youtube_video_id": "bVcEmihEPWQ"
}
{
"width": 634,
"height": 357,
"showRelated": true
}
Enjoyed the project?
Suggested materials:
- Milk Jug
- Washi Tape
- Card Stock Paper
Published March 6th, 2017 9:32 AM
Comments
Join the conversation
3 of 41 comments
-
 Peg12484435
on Sep 30, 2017
From Painesville Ohio
-
You can also use it on your desk for your staple gun ,pencils and ink pens.
 Peg12484435
on Sep 30, 2017
-
-
-
 Doreen Kennedy
on Dec 31, 2020
I love using mine. Plastic bottles make the best plant watering containers. They are so versatile too. I punch one small hole for my vegetable seedling then add more holes as they grow.
-















Frequently asked questions
Have a question about this project?