


Turn an Empty Jar Into a Reusable Gift Jar

$3.00
4 Hours
Medium
When visiting friends or relatives a kind gesture is to bring a small gift. Their favorite candy, cookies or other treats is always a good choice. Bringing the treats in a reusable container will make a big hit.
In this project I turned an empty jar into a gift jar. You need to know how to operate a lathe before attempting this project. For an experienced wood turner, this is a simple project that will take 2-4 hours of work. However the process will last for 2 days because you have to let the glue dry completely in 2 stages. The first stage is gluing the wedges and the spacers, the second stage is gluing the 2 discs together.
My projects are made from reclaimed materials so I don't know what type of wood I used. The wood came from an old office chair.
There is a video attached to this project showing me making this decorative lid for this jar.
{
"id": "3688696",
"alt": "Watch the video and see how I made it.",
"title": "Watch the video and see how I made it.",
"video_link": "https://www.youtube.com/embed/4B4_8g5HKKY",
"youtube_video_id": "4B4_8g5HKKY"
}
{
"width": 634,
"height": 357,
"showRelated": true
}
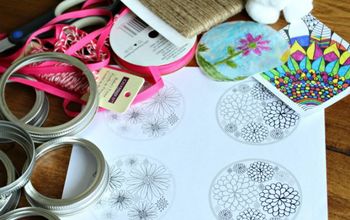
Tools and supplies I used:
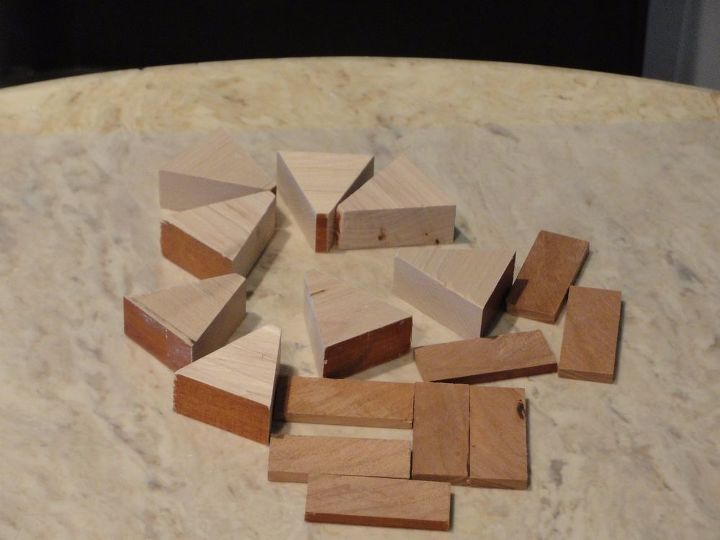
Preparing the wood:
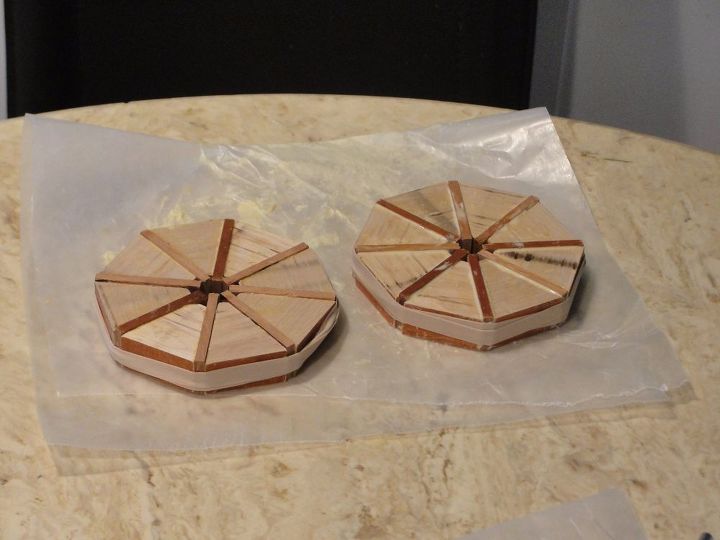
Assembling the wedges into discs:

Preparing the rings for the lathe:
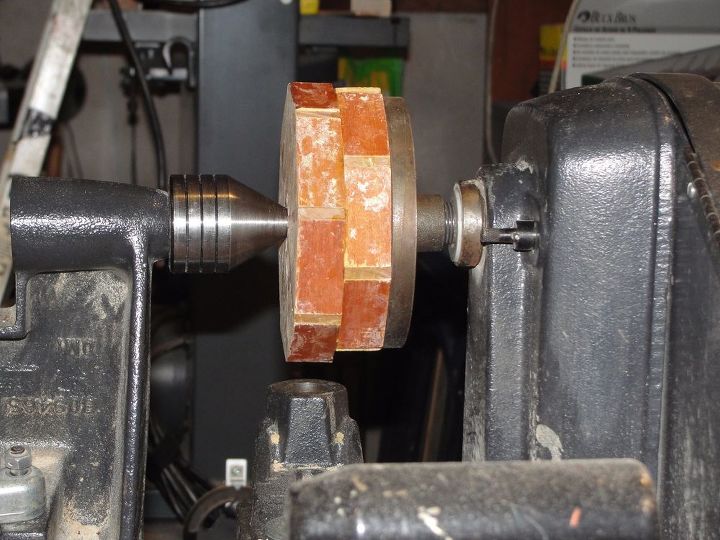
Creating the decorative top:

After sanding I used danish oil as a finish. Since the wood will not be in contact with food the finish you use does not have to be food safe.
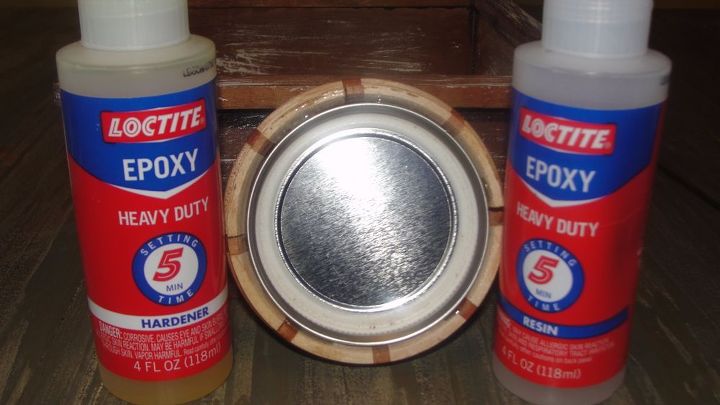
Attach the new decorative cap to the lid using 2 part epoxy or hot glue
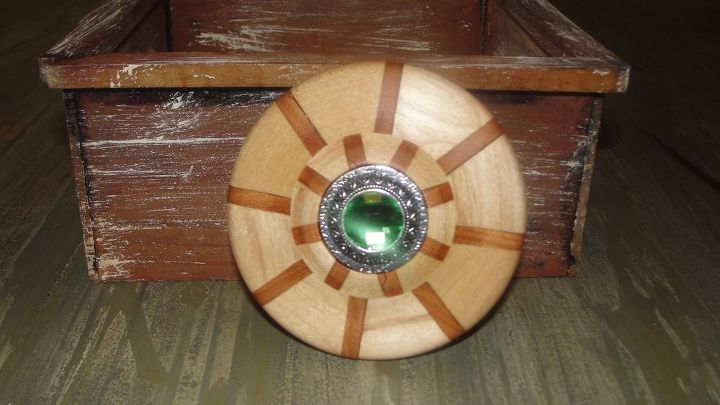
Add a decorative detail to the top
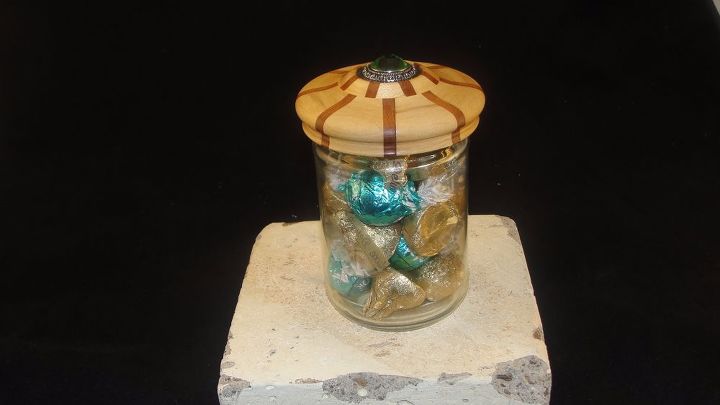
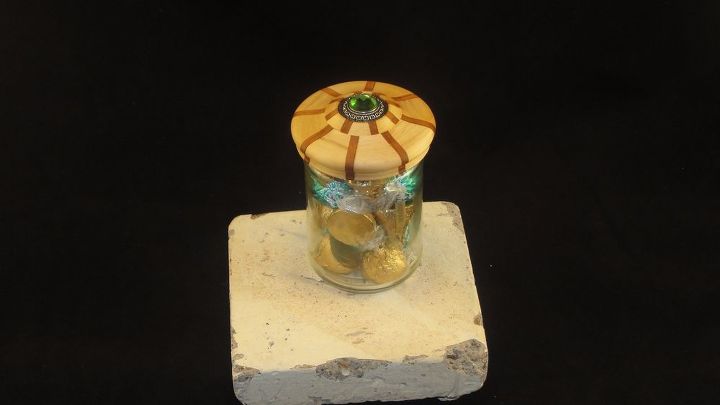
Fill with candy, cookies, nuts or whatever you like and you have a one of a kind hand made decorative, reusable jar to give as a gift.


Frequently asked questions
Have a question about this project?