


Barn Quilts
You may have seen Barn Quilts while driving through the countryside but never really thought about them, especially in the context of your own home. This blog will teach you how to make one that will add drama and massive design impact to your space.
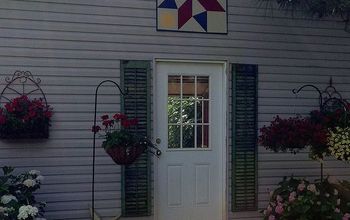
Back in the summer when I asked people what workshops I should offer, my friend, Christie G., said to do Barn Quilts. I had seen them before but never really paid a lot of attention to them. So, the research began. Barns have been painted on for hundreds of years, but this current trend began only in 2001 by a woman named Donna Sue Groves in Ohio. She wanted to honor her mom, a quilt maker, while attracting attention to a friend’s nearby business. She took a single quilt block, blew it up, and put it on the side of her barn creating the first Barn Quilt. Now they are everywhere and there is even a Barn Quilt Trail. (If you want to know more, check out this website.)
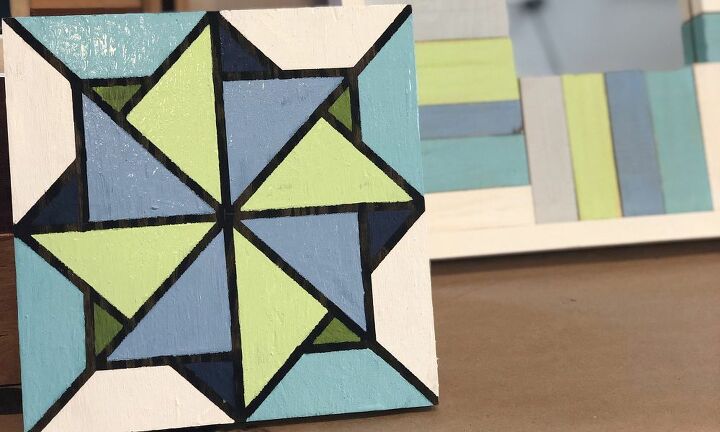
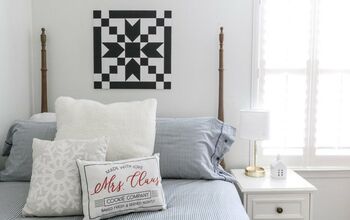
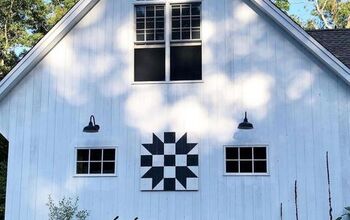
But you are thinking, ‘But I don’t have a barn’. Well you don’t need one. We are making ours for interior use. These works of art are beautiful and bold. They can be super country or very modern, totally depending on your artistic decisions which make them truly for everyone! Pinterest has so many beautiful designs! The permutations of pattern and color are literally infinite. (Okay math people, don’t get theoretical on me.) My point is, the options are overwhelming so you just have to pull the trigger on something. For my own, I first decided on where it was going in my home. That dictated the colors and I found a pattern I liked.
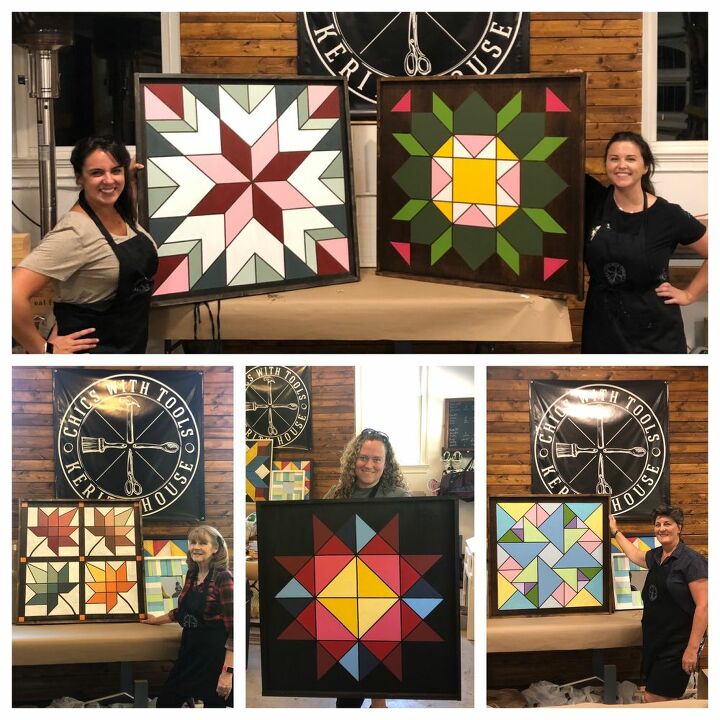
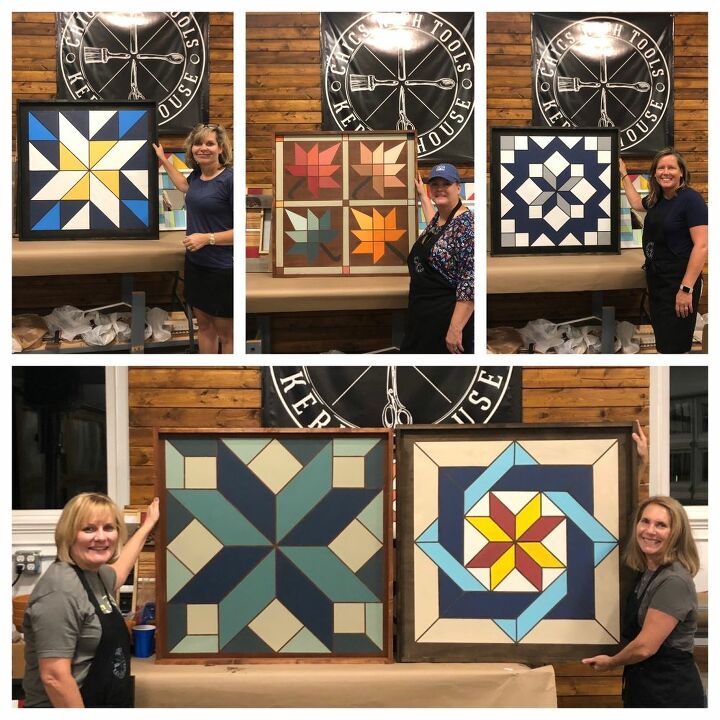
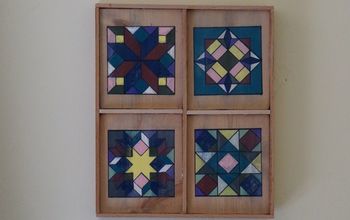
For the first round of workshops, ladies made 3’ x 3’ pieces. The next one, we will go smaller with 2’ x 2’. After that, we will try miniatures, only 1’x1’, which are great for small spaces and limited time. They would also be a perfect activity for a party.
So, what makes Barn Quilts so popular? I think my husband nailed it on the head when he said that they have a low level of difficulty (the way we do it) but have a massive impact. Every one of my students have knocked it out of the park. Even the self-proclaimed “non-artistic” ones have left the Makery with gorgeous and very impressive pieces.
There are several ways to do Barn Quilts, but I have settled on one that enables anyone to create a beautiful finished piece in a short amount of time. The key? Ultra-thin masking tape.
If you want to add drama to your home read on to find out how to make one of these show-stoppers. Or you can watch the video.
STEPS
- Using sanded plywood, cut board to desired size. (Home Depot can do this for you)
- Cut 1” x 2” boards to create a frame.
- Standing them on edge, nail 1”x 2”s to the plywood. Use butt joints at the corners.
- Stain the board and frame all the same. Let it dry completely.
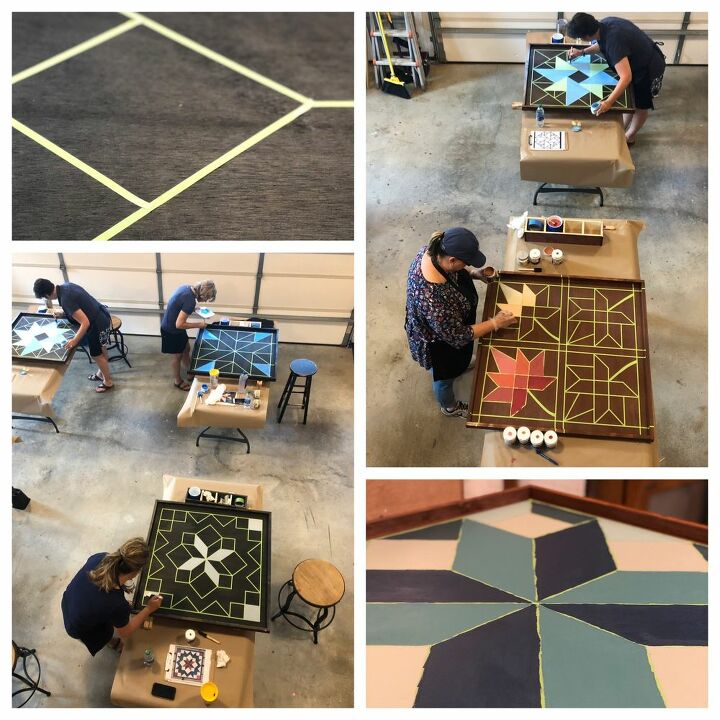
- Mark out your pattern. (I used pegboard for this. See video)
- Place masking tape over all the lines, creating the pattern. Rub it down very well.
- Using foam or traditional brushes and craft or latex paint, apply color starting on tape and going away from it. If using one coat, go in the same direction for the whole piece.
- After applying all the coats, pull the tape off. (This is really cool)
- Attach hanging hardware.
- Hang it up and impress your friends and family!


Frequently asked questions
Have a question about this project?