


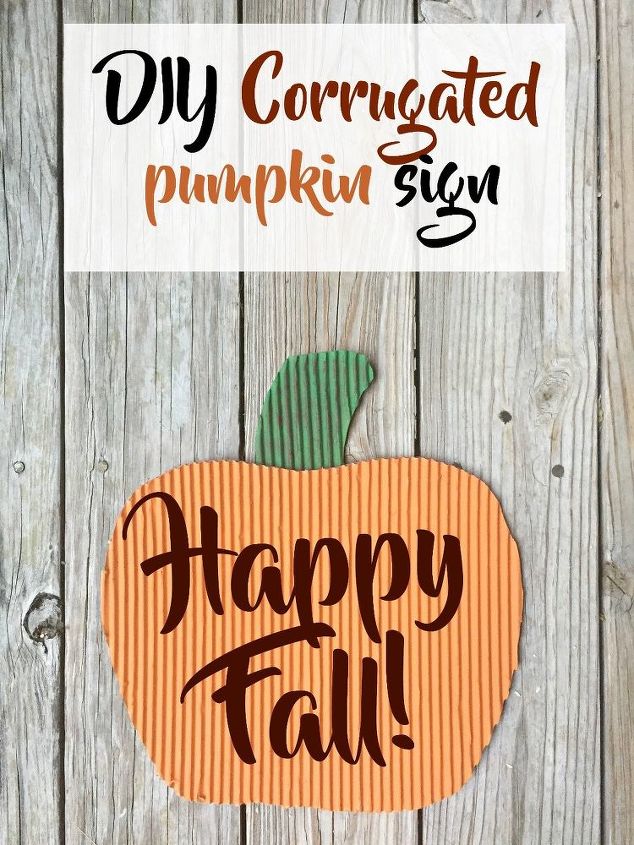
DIY Corrugated Pumpkin Sign

by
Sahana
2 Materials
$10
1 Hour
Easy
Corrugated metal signs are so expensive and I am sharing a perfect way to DIY, which costs almost nothing when compared.Hope you will give them a try.
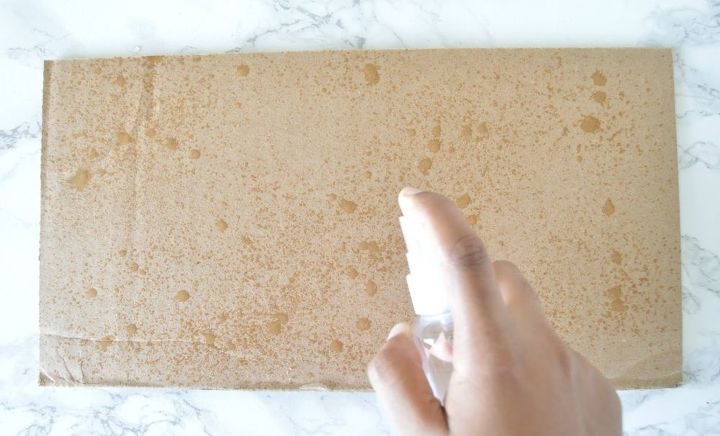
Take a piece of cardboard. You can cut a piece from the shipping boxes you already have at home. You want to remove the top part of the one side of the cardboard to get the textured/ Corrugated look.
To do this, you can just peel the top layer or use a spray bottle filled with water and spray over the cardboard and then try to peel the top layer.
I find the spraying with water was easier and gives best results. If you still have few cardboard pieces here and there, you can spray some water and peel them off. For detailed description and pictures, click here and refer step 1 and 2.

Draw the pumpkin shape on the back of the cardboard and cut the shape with the craft knife.
You can draw the whole pumpkin as such. Since I had a small cardboard box, I drew the stem separately and attached it later using glue.
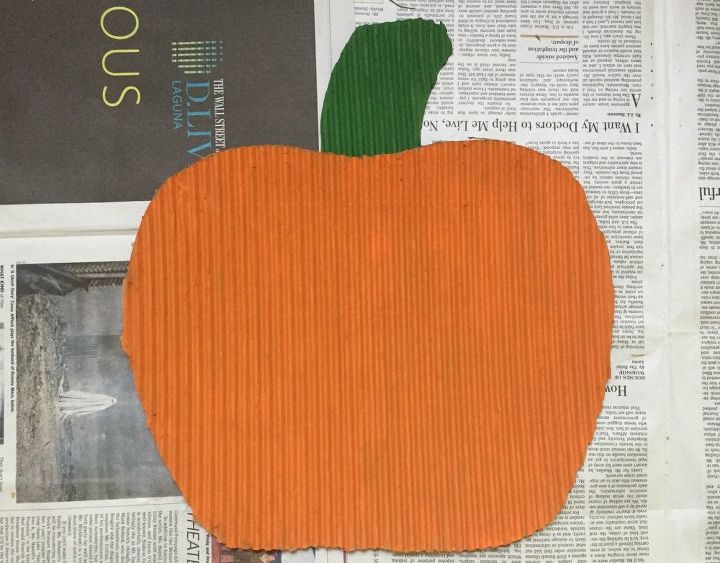
Paint the pumpkin using acrylic paint. Dry brush brown paint on the top of green paint for the stem. Glue the stem to the pumpkin if you have cut it separately.
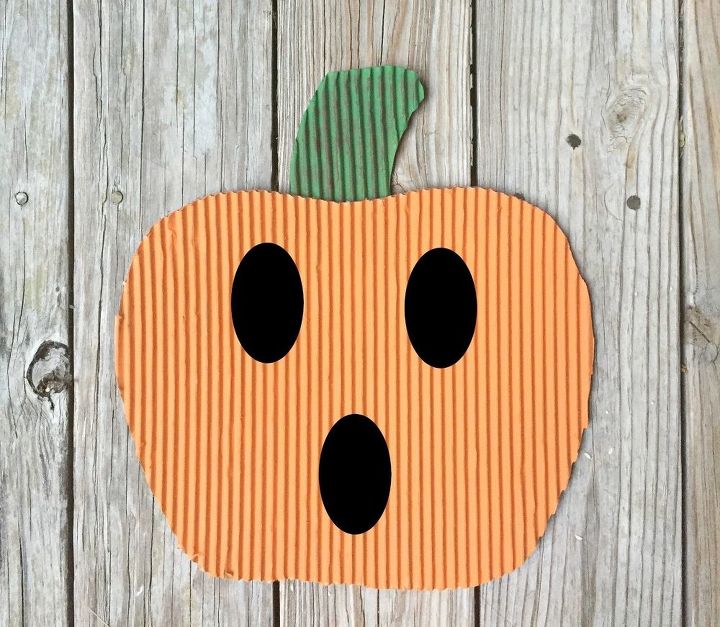
Cut the letters in black cardstock and attach it to the pumpkin. You can use an electronic cutting machine if you have one or just write the letters on a black cardstock and cut it using scissors. Alternatively, you can also cut creepy eyes and mouth shapes to make it as a Halloween decor.
Cut the letters in black cardstock and attach it to the pumpkin. You can use an electronic cutting machine if you have one or just write the letters on a black cardstock and cut it using scissors. Alternatively, you can also cut creepy eyes and mouth shapes to make it as a Halloween decor.
Want more details about this and other DIY projects? Check out my blog post!


Frequently asked questions
Have a question about this project?