


DIY Open Shelving
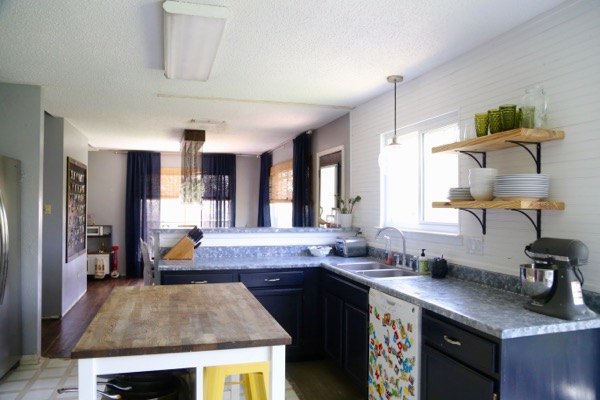
I wanted some open shelving in my kitchen, but didn't want to spend a ton of time or money putting it together. So, my husband and I got creative with some simple and affordable materials and ended up with some shelving that's a little bit rustic, gorgeous, and cost us under $50! You can see the full post and all of the details by clicking here.
We started off with some very low-profile brackets that we found at Lowe's and a chunky 2x12 piece of wood.
We had the wood cut down to size. A tip - Lowe's and Home Depot will often cut the wood for you for no charge! We had ours cut in the store so it would fit in our car...it's a perfect solution if you don't have any power tools at home!

Once the wood was cut, we oiled it with some Danish oil to bring out the natural color and knots in the wood.
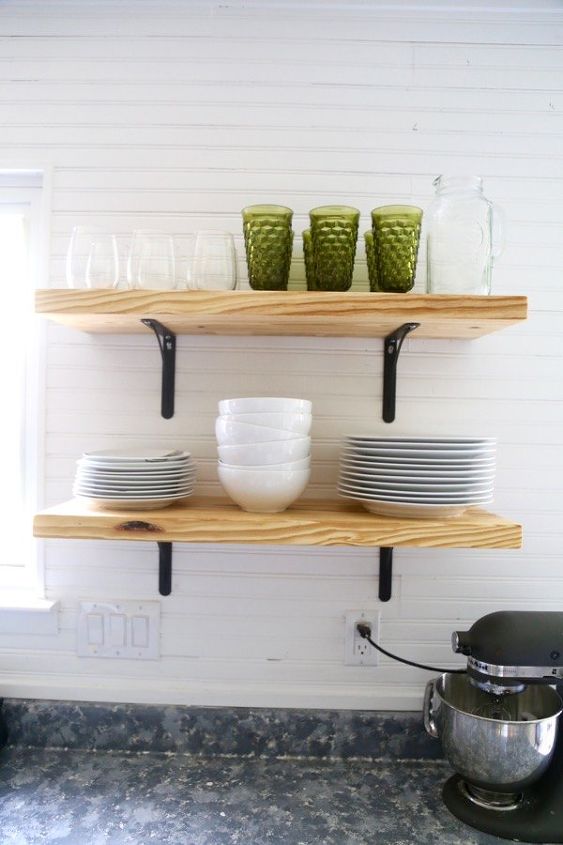
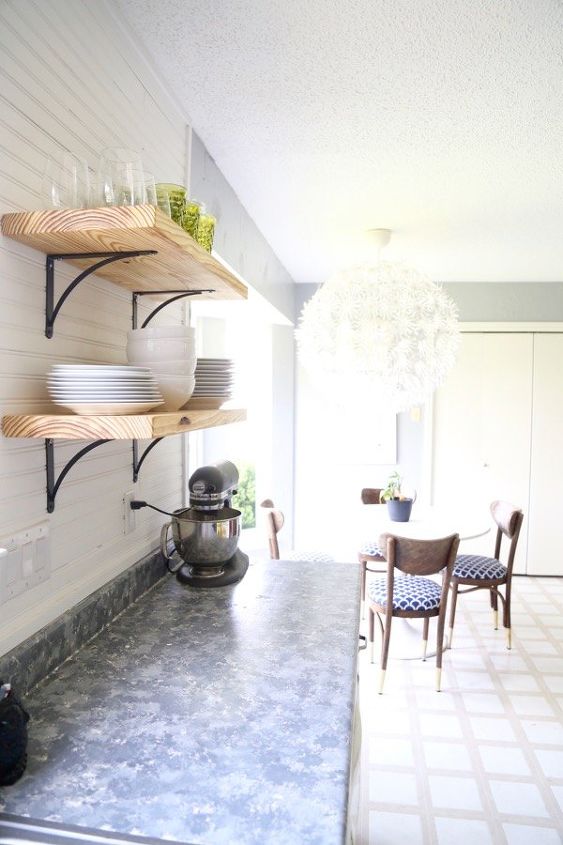
All that was left was to screw the brackets into the studs on the wall, put the wood shelving on top, and screw them in from underneath! It took less than an hour from start to finish, and the result has a great farmhouse feel! Details on sizing and spacing for the shelf can be found on the full blog post!

Want more details about this and other DIY projects? Check out my blog post!
Comments
Join the conversation
2 of 3 comments
-
Your open shelves look great, really fit well in your kitchen!
-
I love your beautiful shelving.


Frequently asked questions
Have a question about this project?