


DIY SHIPLAP - How to Get the Look for Less While Keeping It Authentic

Let’s talk shiplap again! By now, you probably know I’m slightly obsessed when it comes to shiplap. I would literally shiplap every surface of my home if I could.
But that would take a lot of time and cost a lot of money! So instead I’ve been settling on features walls here and there.
For the most part, I’ve gone with simple options such as shiplap wallpaper and sharpie shiplap.
But I was ready for the real thing this time!
Well as real as you can get without living in an old home, I guess!
I was determined to create a DIY shiplap wall in our master bedroom for as little money as humanly possible.
So I got to thinking and got started, and I couldn’t be happier with the results!
Today, I’m sharing exactly what we did so you can recreate the look for less, too!
First things first, make sure you measure your wall or the area you’re wanting to shiplap. Get an idea of the square footage you need to cover.
Then make your supply list! We went with the following…
- 4x8x1/4 Sanded Pine Plywood
- Brad nails
- Common Nails
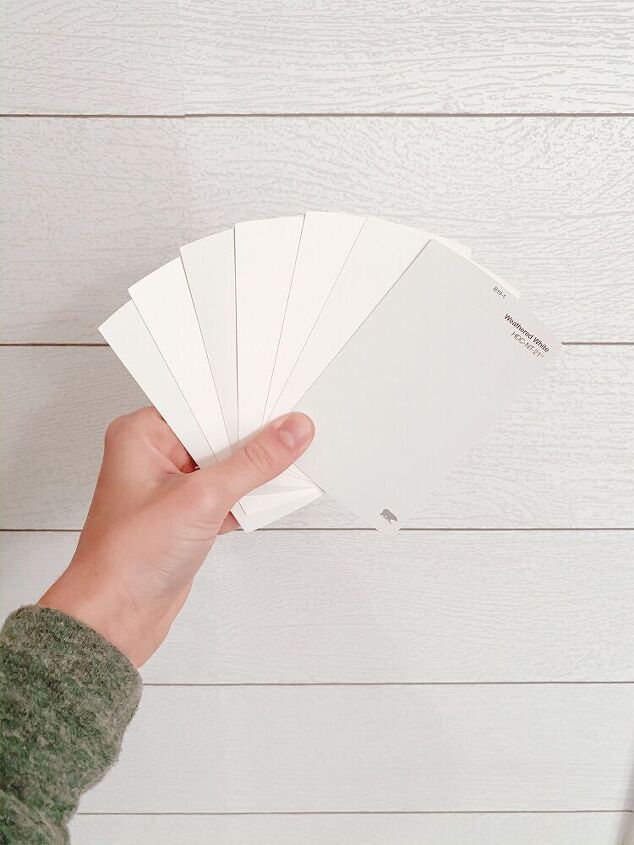
- White paint (we chose Bit of Sugar by Behr, but head here to choose the right farmhouse paint for you!)
Supplies and tools you might also need…
- Table saw
- Miter saw
- Hammer
- Paint brush
- Finishing nail gun
- Sanding blocks
Before you run away because you don’t have the tools listed above, hear me out — you have options!
We started with the list of what we needed. We wanted to do this as cheaply as possible which meant buying sheets of plywood and cutting them down ourselves.
But you could always go with boards that are already cut or have your friends at Lowe’s or Home Depot cut your boards down for you! Some stores will, some stores won’t. So plan accordingly!
You can also rent tools for projects from your local stores as well, so that’s always an option.
And you can always ask around to see if a friend or family member has one you can borrow. This is usually our go-to when it comes to tools we need!
Finishing nail guns are inexpensive and great to have on hand if you’re a DIYer. Ours doubles as a staple gun and didn’t cost more than $50. We use it for a number of projects!
Now that the tools are out of the way, I’m sure you’re asking, “Why plywood?”
Because it’s incredibly inexpensive! We got our sheets for $13/board and only needed 4 boards for our project. You do the math!
We actually ended up getting 5 boards just in case. though. The last thing you want is to have to run back out when you’re 75% done with a project to get more supplies!
Plywood is also thin, easy to nail to the wall, and easy to saw.
Once you have all your supplies on hand, you’ll want to start by cutting down your boards with a table saw if you weren’t able to get your stores to do so for you!
We cut our boards into 8ft x 8in strips. So essentially, we got 6 boards out of every plywood board. That’s 6 boards for basically the price of one finished board that you can buy as supply stores. Totally worth the elbow grease for those savings!
Once your boards are cut down, sand down the edges and make sure to wear gloves while you do so. Trust me on that one!
Remember — they don’t have to be perfect! Frayed edges, uneven boards, and inconsistencies will only make your shiplap look that much more authentic.
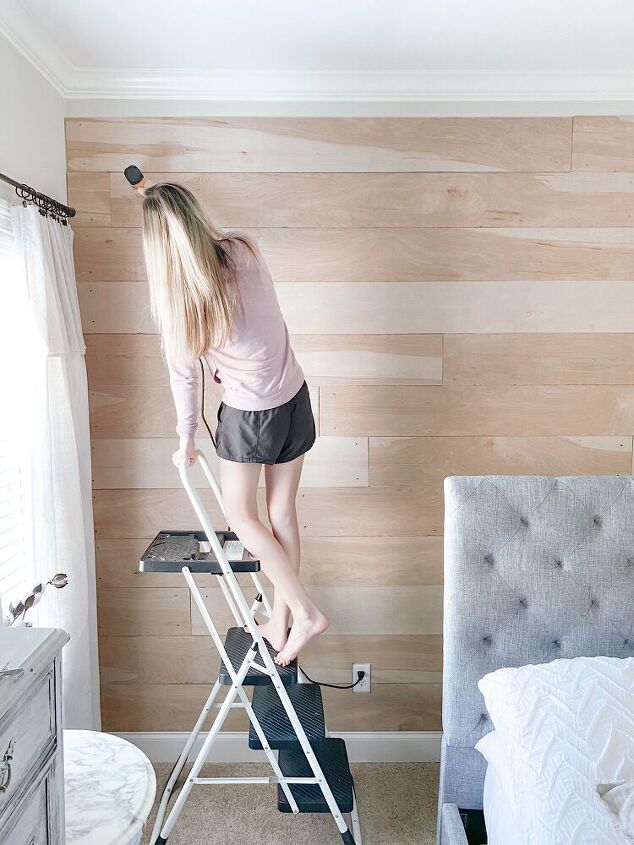
TIME TO INSTALL
Starting at the bottom of your wall, begin installing your boards from left to right. Cut off the excess boards on the right and start back on the left with what was leftover.
This will allow your pattern to vary throughout your rows and will also help you to not waste any wood!
Nail them up with your brad nails, and you might want to use a hammer to make sure they go all the way into your boards so they’re hidden. You will want to use your brad nails every 6 inches or so to ensure your plywood doesn’t bow anywhere. Don’t worry, you won’t notice them once your wall is done!
Also think about spacing between your rows. Authentic shiplap has some gaps! Use coins to help you create spacing or eyeball it for slight, purposeful inconsistencies!
Follow this process until your wall is totally done! And note, you might have to cut some boards lengthwise on the last row to allow them to fit. So if you rent or borrow a table saw for this, keep it until your installation is complete!
IT'S ALL IN THE DETAILS!
We wanted our shiplap to look as authentic as possible, so we used our common nails and nailed two nails into each side of every board. This really made it look real and was such a cheap and easy addition! I highly recommend it if you’re creating your own shiplap!
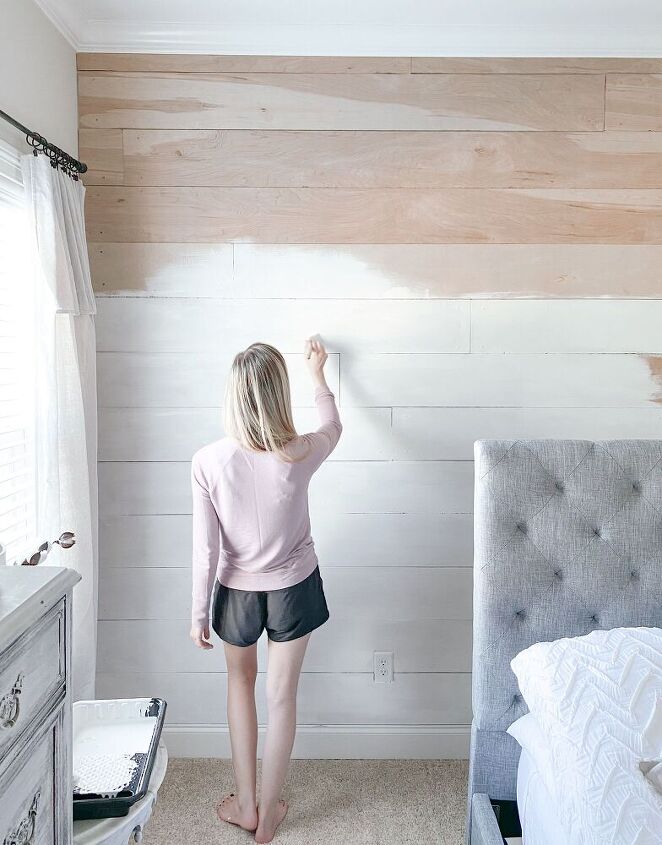
Then it was time to paint! We used Bit of Sugar by Behr because it’s a slightly toned down, aged white. If you want your shiplap to look authentic, you’ll want to be conscious of paint!
We used a brush to paint our entire wall. I know, that’s commitment! But we wanted there to be some variation in the paint. You could totally use a roller, but we didn’t.
The brush also helped us get in the gaps really well! We did two coats on the wall on the same day, making this all-in-all a 2 day weekend project that cost us a total of less than $100!
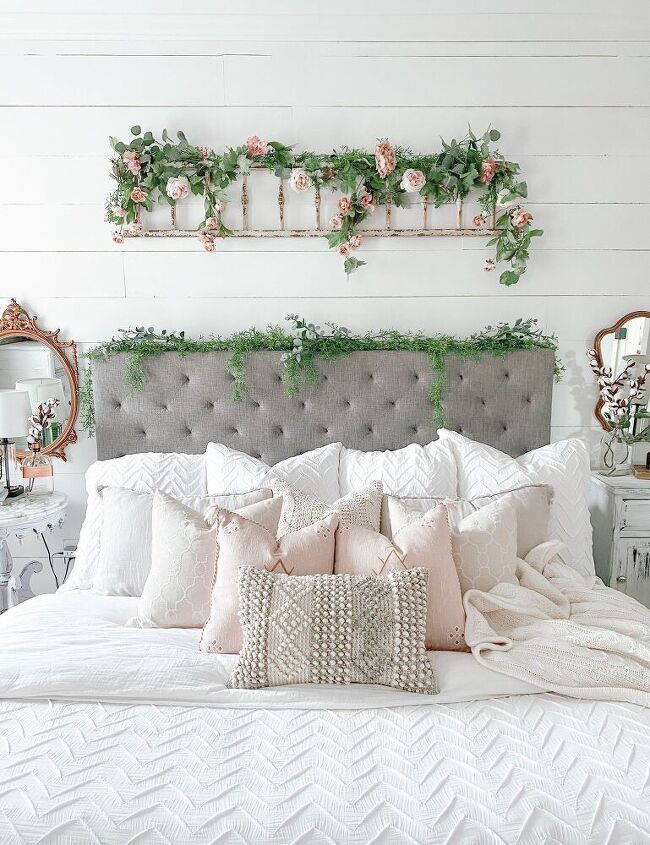
It sounds involved, but honestly as far as DIYs go, it went a lot more smoothly than we expected! We would 100% do it again! So what do you think? Will you give it a try? Let me know!
Comments
Join the conversation
-
It looks amazing! I love the last shot of your bed; it looks heavenly!!💙
-
We did the exact same thing in our den! The only difference? I liked the natural Burch plywood so well, we just used a wood sealer and left it natural. At some point when I want a change, I will paint it. Great job!


Frequently asked questions
Have a question about this project?
Did you treat the plywood with anything before installing or painting?