


How to Create a Transferware Wreath
This vintage transferware wreath is super easy to create, and can be used for Valentine's Day, 4th of July, and even Christmas decorating. I collect most of my transferware from local thrift/antique stores, or online at places like Etsy and eBay. Red is the most versatile in my opinion (At least holiday wise), but blue, green, and brown would be beautiful too! This wreath was inspired by my friend Katie of Baker Nest - go check her out!
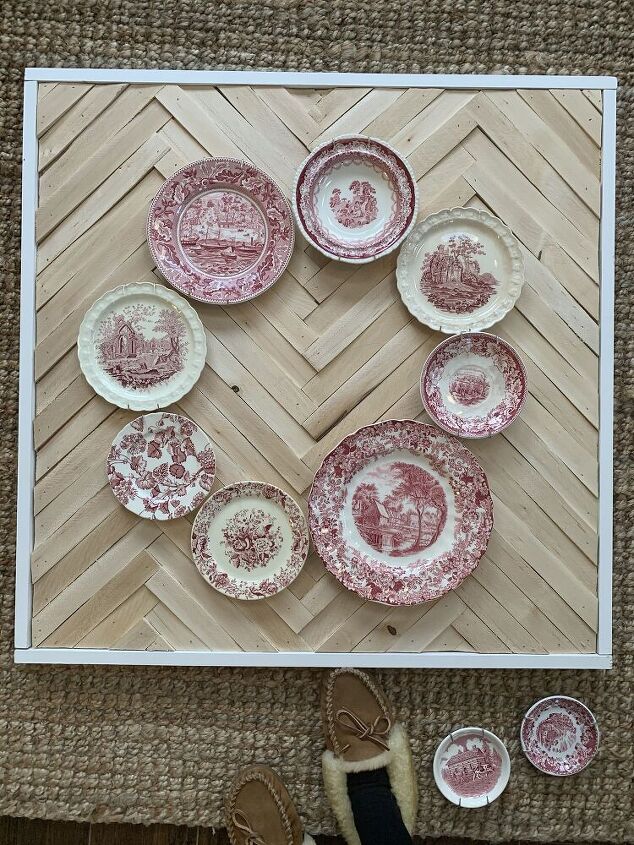
Step 1: Collect and arrange your transferware on whatever surface you like. I attached mine to my DIY shim art for some added dimension and texture, but you can also hang straight on a wall.

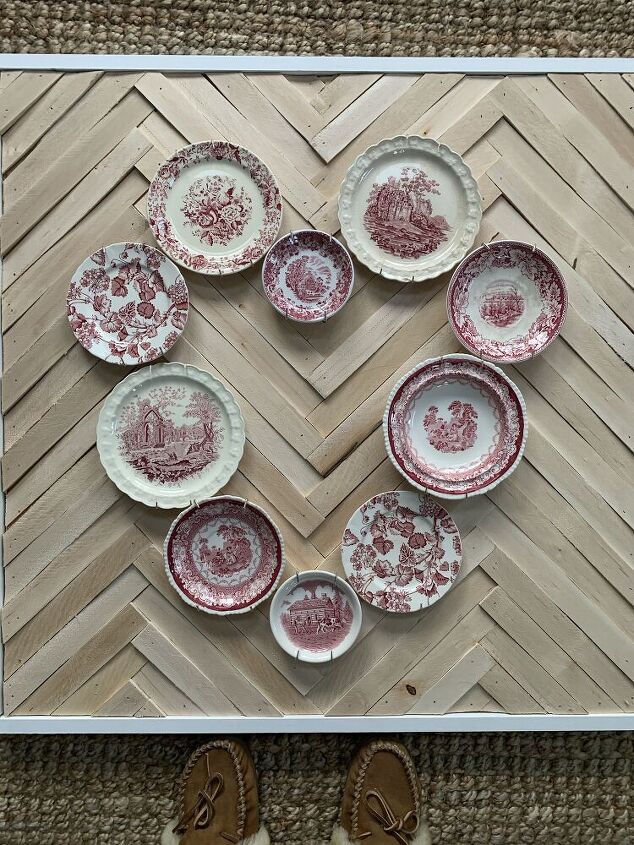
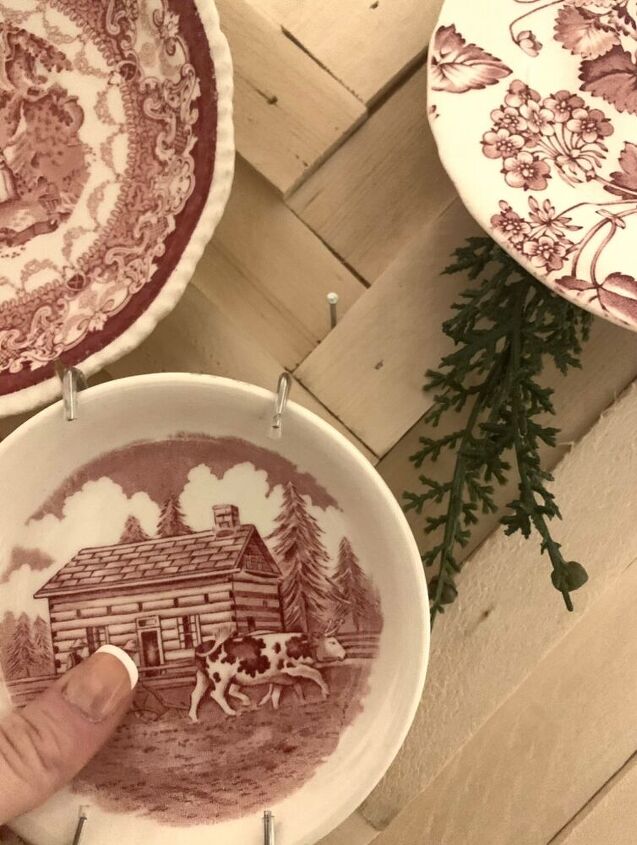
Step 2: Attache plate hangers to your various plates. I buy all of mine on Amazon!
Step 3: Once you find an arrangement you like (I decided on this heart share for Valentine's day), take a photo and roughly measure where your top nails will need to go. You can lightly mark them with a pencil as well.
Step 4: Using small finish nails, nail into your surface (if you're nailing straight into drywall, I recommend longer nails and making sure they are hung at a downward angle, or using actual picture hanging nails/hooks). Hang your plates one by one onto your nails. Repeat until your entire wreath is complete!

Step 5 (optional): Stick in some greenery for fun! I used faux cedar from Christmas since it's still winter!

And voila! Super easy and fun! The perfect vintage look for the day of love! More Valentine's Inspo over on my blog at fiddleleafblog.com. And if you're interested in starting a blog of your own, come join me in my free workshop at fiddleleafblog.com/invited :)


Frequently asked questions
Have a question about this project?