


Ideas on How to Display a Scrap Map

So..... I bought my other half a scratch map for Christmas years ago and it's just sat in the tube ever since.
We talked about getting it framed but then I kept thinking about having to keep taking it in and out the frame when we came back from out travels.
Then I suggested a Cork board. But couldn't find one big enough for my vision.
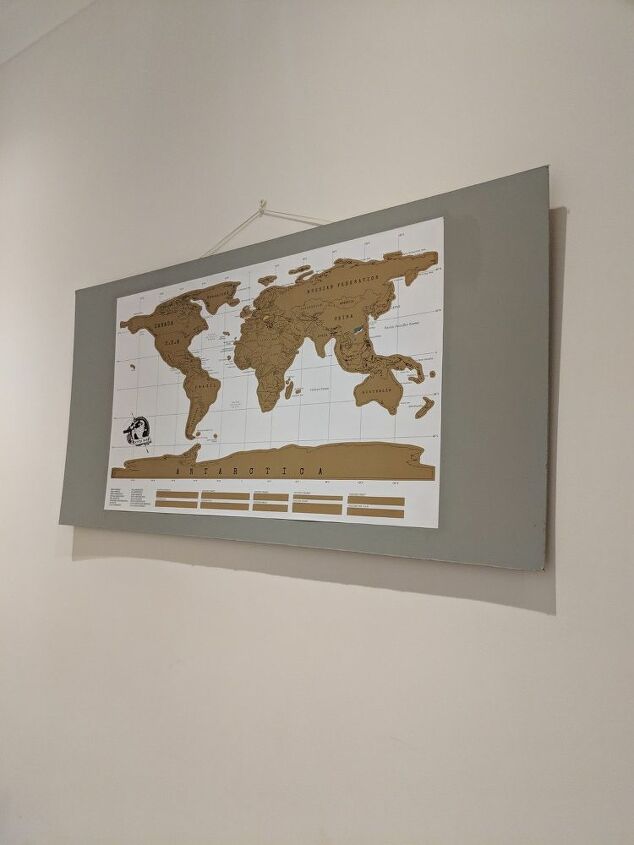
Then came this.
I wanted to creat a talking point.
It needed to be big and bold.
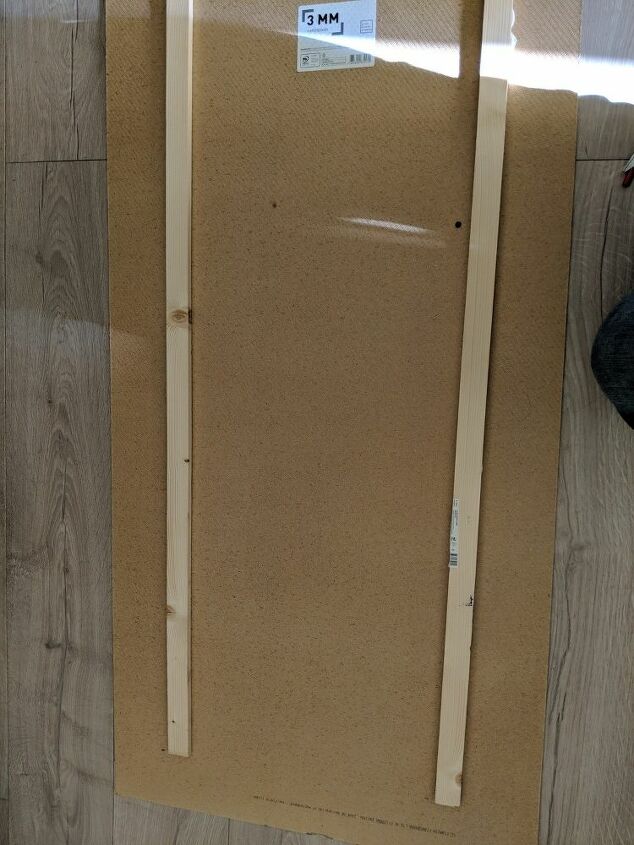
I ran down to B&Q and purchased some ply board and 15mm deep stick of wood.
It was little over £15 for both.
I then painted the ply board in some left over paint and used modge podge glue to stick the map down.
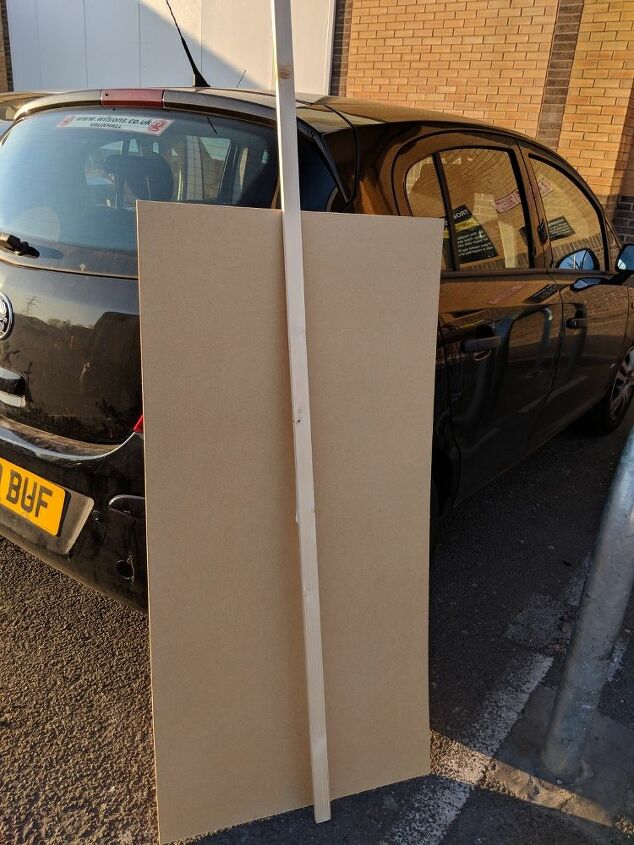
The idea on the long 5mm thick wood was to give some depth and something to apply the hanging kit from.
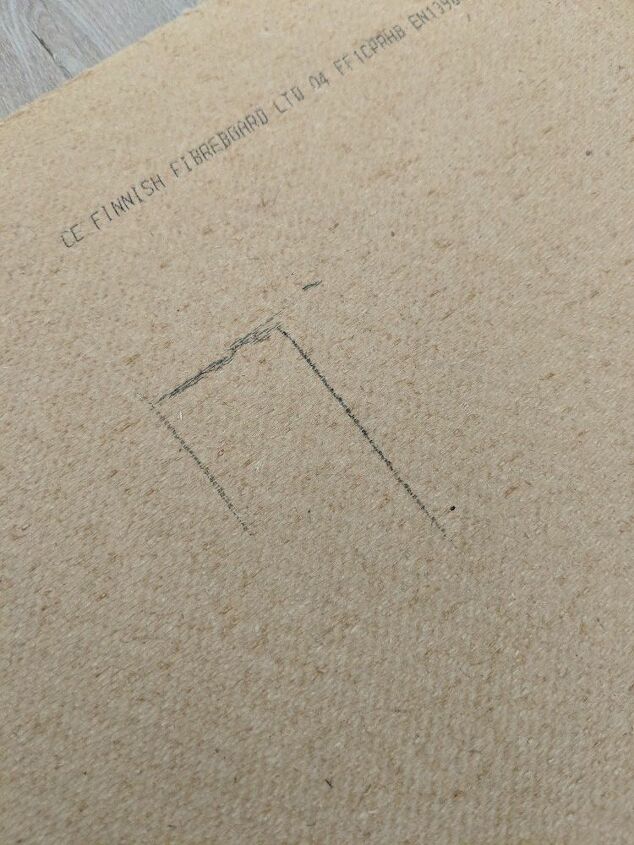
I cut the 5mm wood in half, and marked out where I wanted them to be applied.
Not only does this wood provide some depth but also keeps the plywood straight.
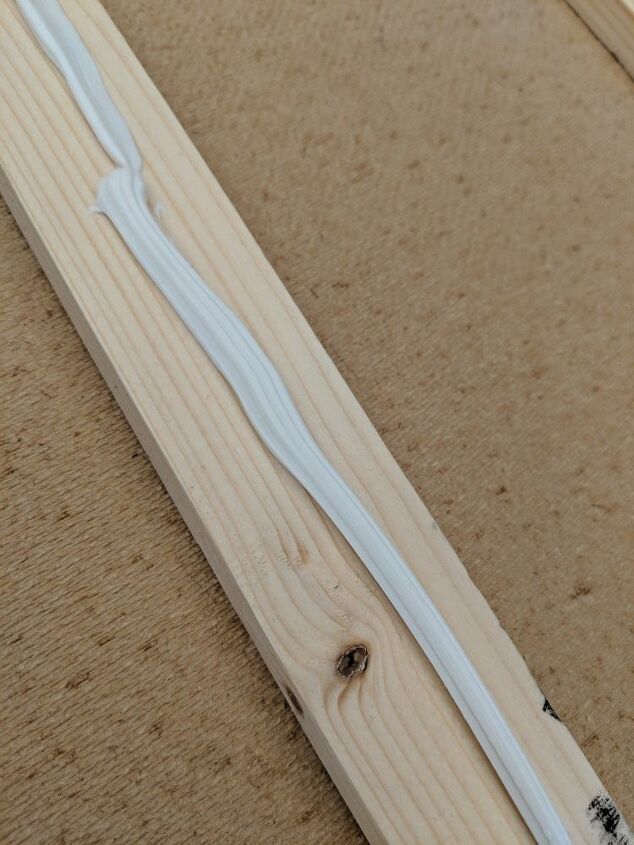
I then glued the wood and plywood together with no more nails
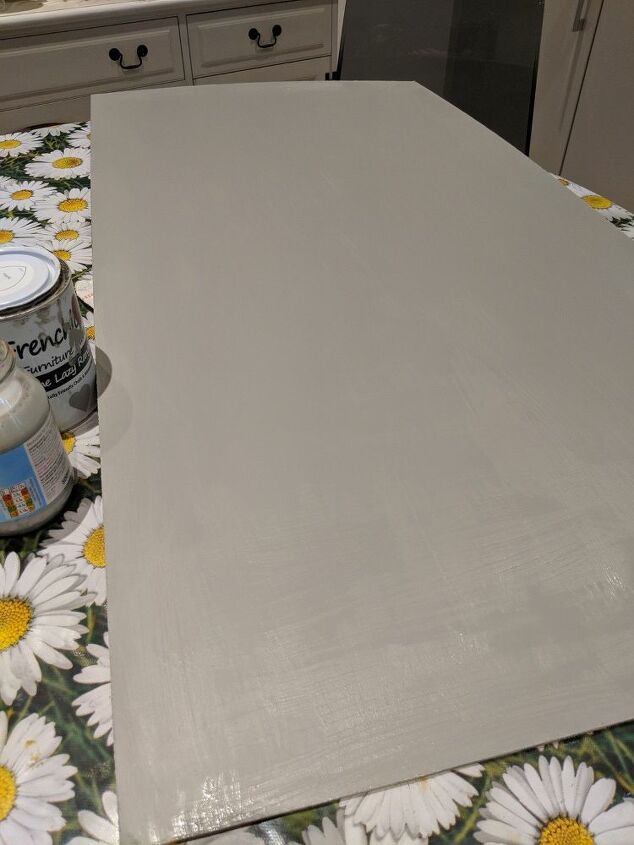
I decided to paint the plywood in some left over paint from Frenchic furniture paint in spitfire.
This gives a base for the map and photos, giving us time to fill it with more adventures.
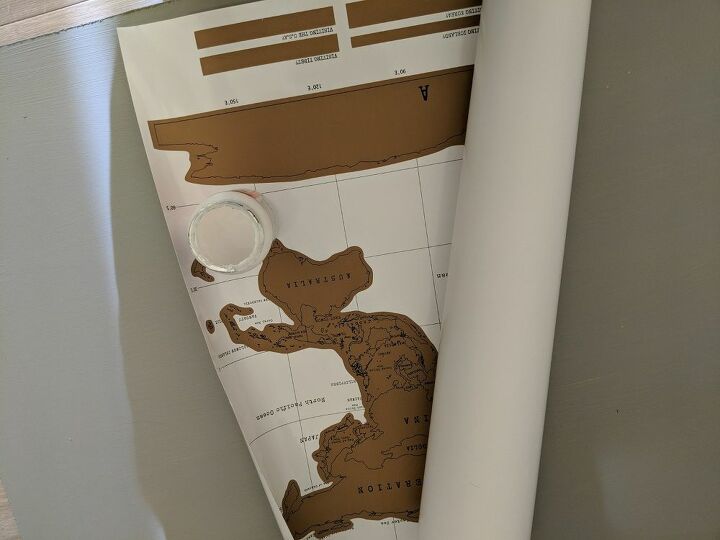
It was then time to stick down the map.
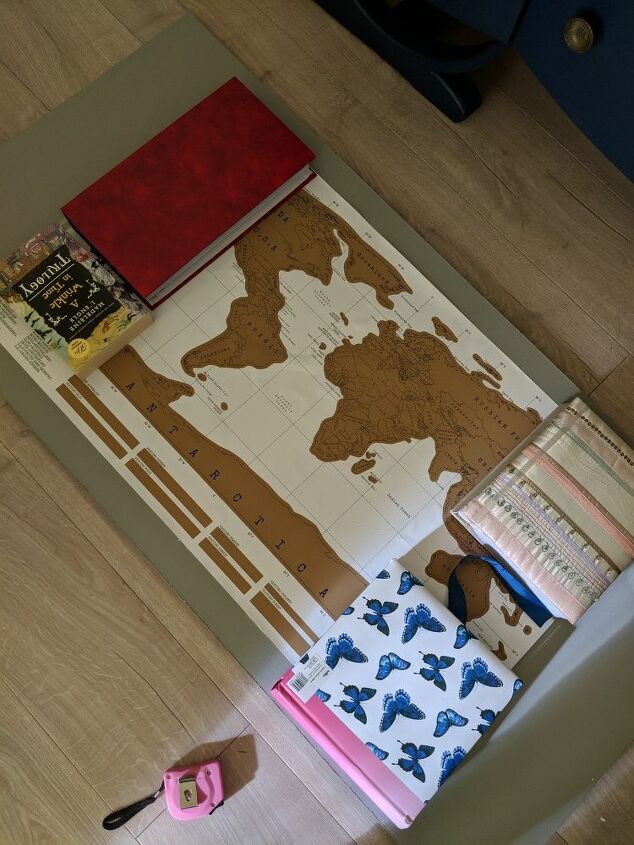
As it had been rolled up for years, weighing it down with books helped keep it in place while the glue dried.
I used modge podge. Coating the entire underneath of the map, not just the edges.
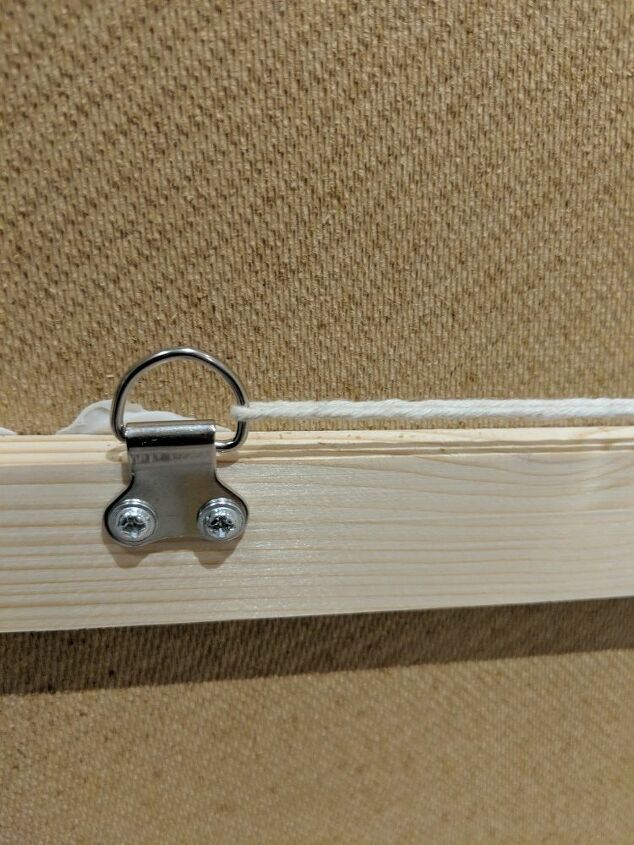
Once this was dry, I was then able to apply the hanging kit to the wood on th back.
I screwed in some picture hanging hooks to the wood and tied string to eat end.
There are two hooks, one each end. This is to spread the weight, taking off some of the pressure from the pin in the wall.
I will replace th string with wire at some point as string stretches.
This wasn't enough of a statement for me.
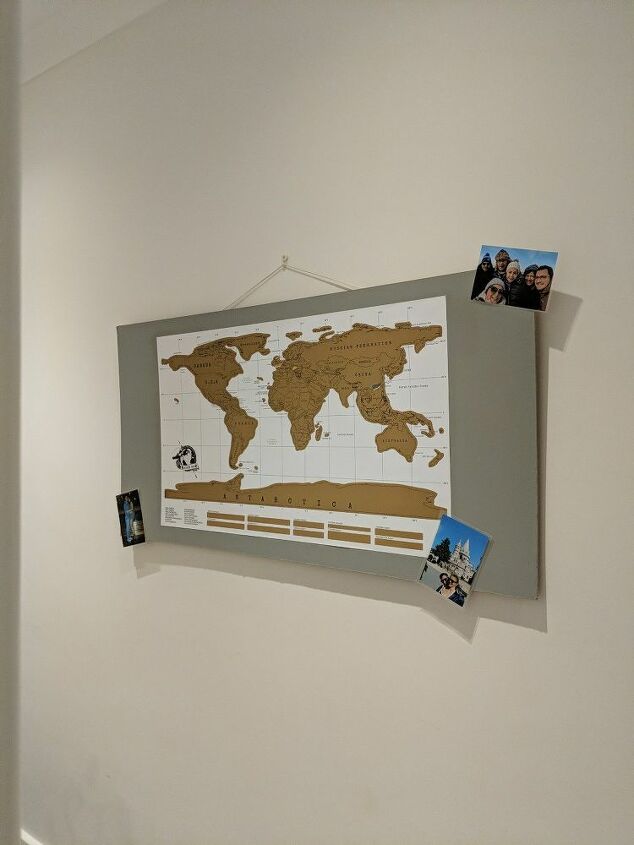
Although it's rather big and stands out in my hallway it didn't really have a talking point about it.
I wanted to add photos of out travels around the map.
Photos tend to get doggy eared and sun damaged very quickly. I his gave me the amazing idea of laminating the pictures and/or ticket stubs etc before attaching them to the plywood. This way they should be protected.
I used a dollop of no more nails to apply the laminated photos (as this was closest to hand at the time)
I'm thinking of adding colourful string from each photo to the place th photo had been taken.
Now I just need to find the rest of out holiday photos to add them on...

Resources for this project:
See all materials


Comments
Join the conversation
-
Now it works as a beautiful piece of art! Love it!
-
very clever


Frequently asked questions
Have a question about this project?