


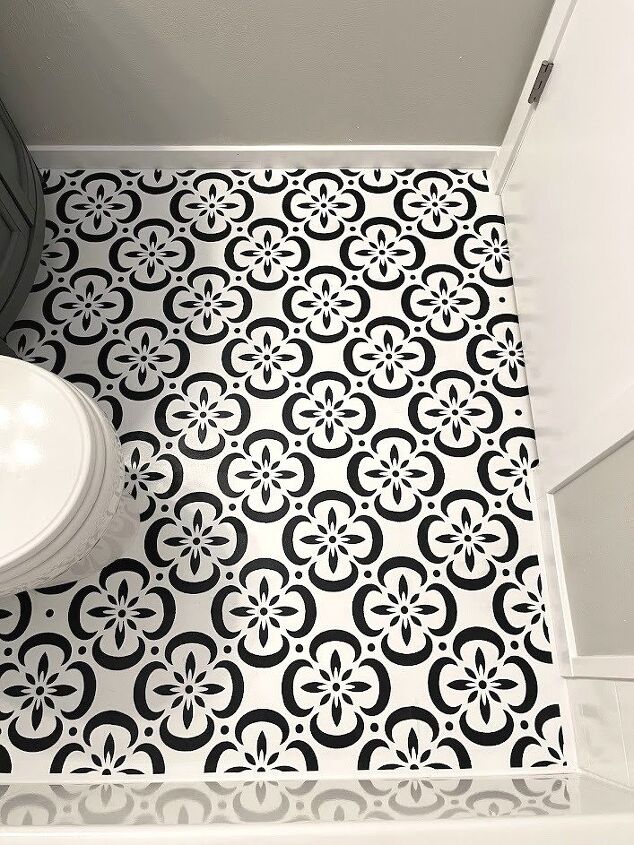
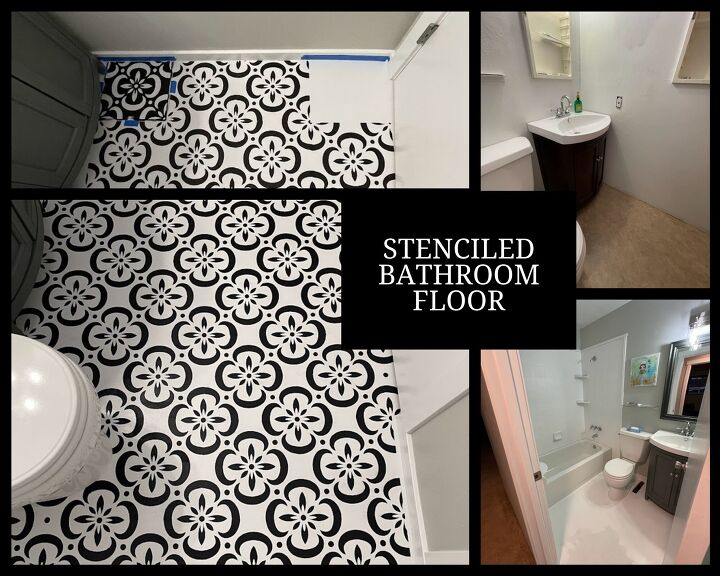
Black & White Stenciled Bathroom Floor

Have you stenciled a floor? While I've stenciled walls several times, I haven't tried stenciling on a floor....that is, until now! I've been helping one of my sons update his first home. His color preference for walls, floors, doors, trim is different than the previous owners. So, I've been doing a LOT of painting! From ceilings to walls, doors, trim, and cabinets, I think I've gone through 15 gallons of paint. Painting is one of the things that I love to do so when he suggested the main bathroom floor be stenciled instead of covered with laminate, I jumped at the chance! How fun would this be?! Well, I came to discover that it was not quite as much fun as I had expected....read on for how this project went.
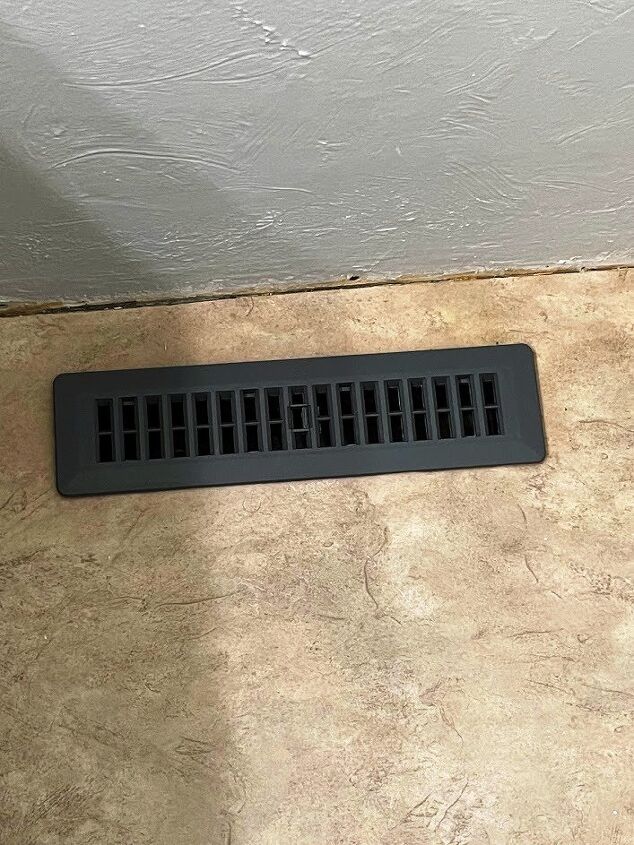
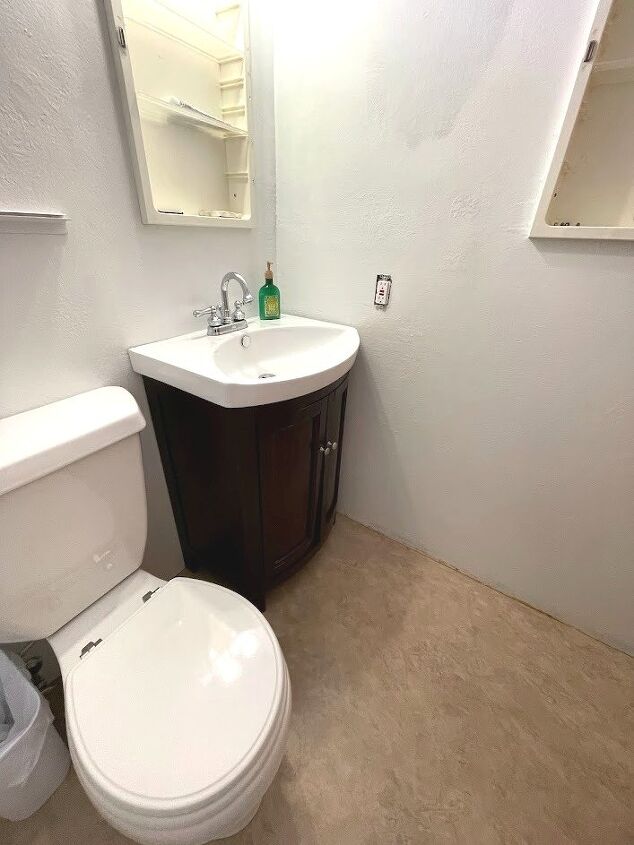
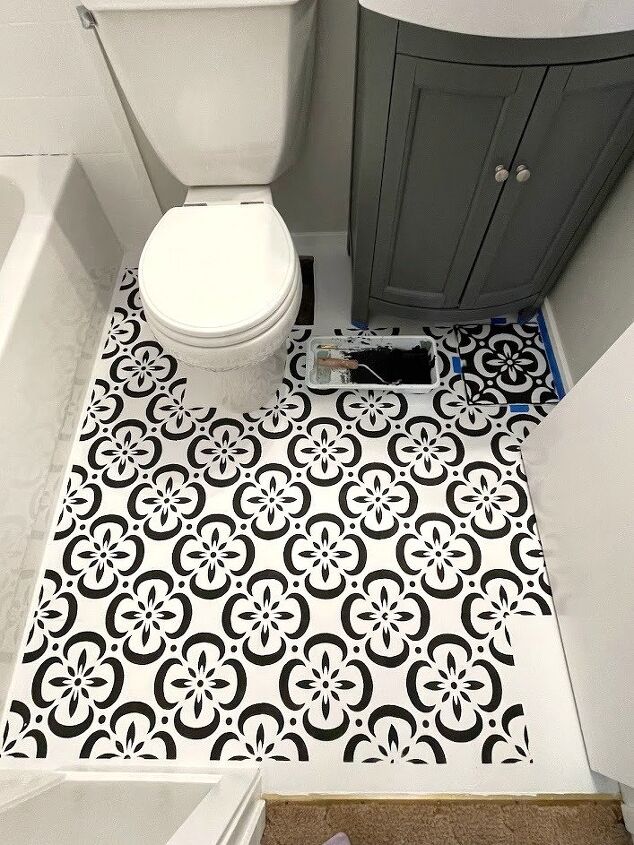
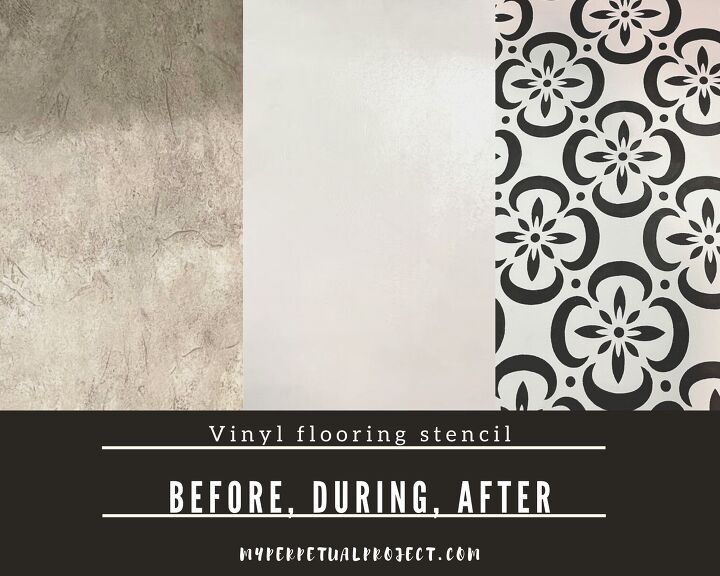
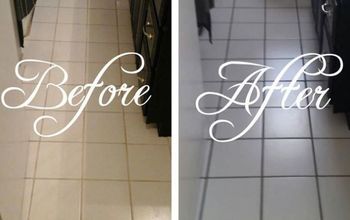
This is the original vinyl floor in the main bathroom. My son's color scheme is white, grey, black with some pops of color. Even though the vinyl floor was still in good shape, the brown tones clashed with the grey walls.
Before starting this project, I researched the tips, products, and the best way to apply the paint. I gathered my supplies and started prepping the floor. The supply list contains the supplies & products that I used.
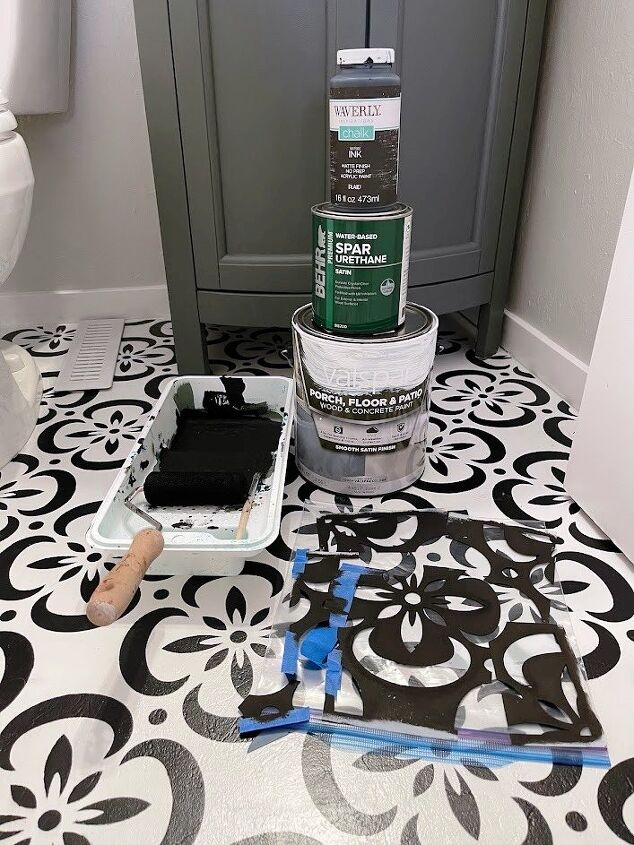
Supply list:
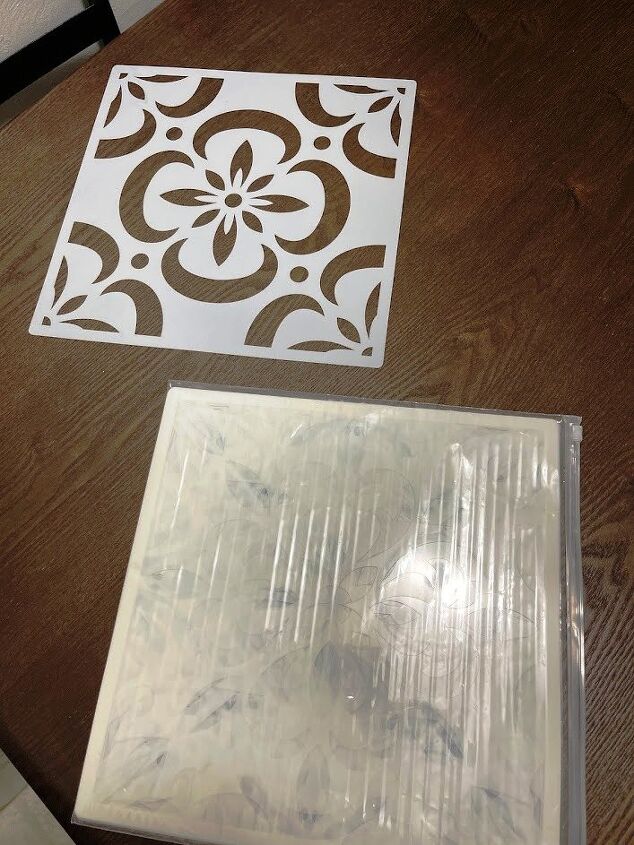
Stencil
Stencil brush and/or 4" paint roller
Paintbrush
Artist paintbrush
Paint tray
Liquid Sandpaper
Primer
Floor & Porch paint
Chalk paint
Water-based polyurethane
Painter's tape
Piece of cardboard
Kneeling pad
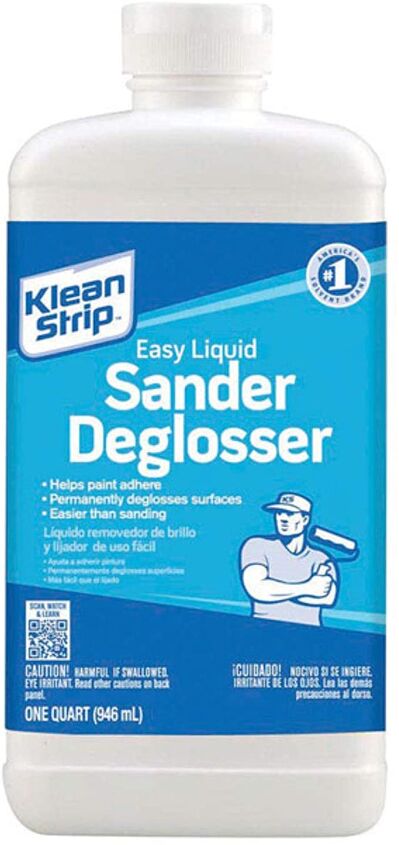
The goal with prepping a vinyl floor before painting it is to make sure it is clean & not shiny. This floor was matte. If the vinyl you plan to paint has a sheen, you may also want to sand it. Since this floor was not shiny, after cleaning it well, I used a liquid sandpaper product which was also a degreaser & deglosser. The liquid sandpaper dries in under 15 minutes.
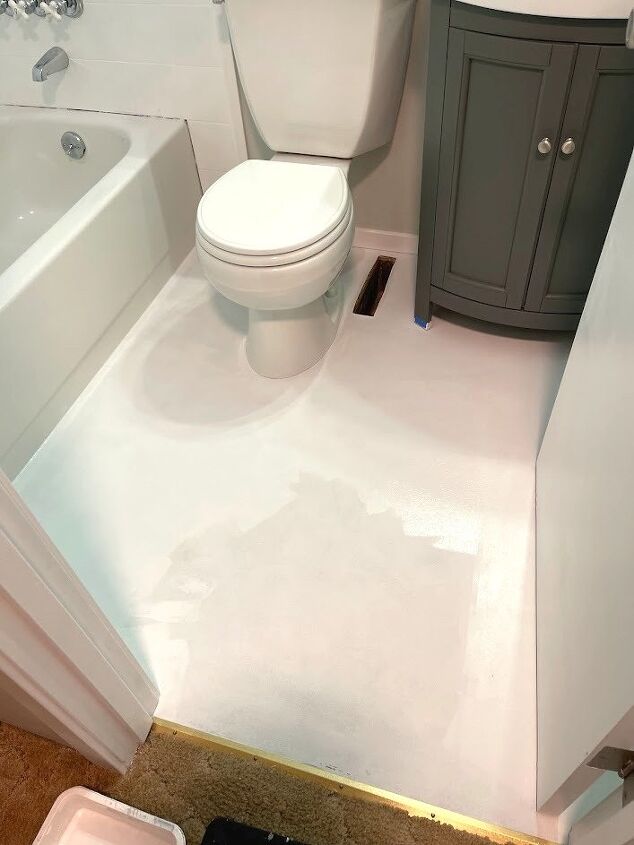
When the floor was clean and deglossed, using a 4" roller, I applied two coats of Kilz Primer with 2 hours dry time between the coats. After allowing the 2nd coat of primer to dry for a couple of hours, I applied the 1st coat of white Floor & Porch paint. From the information I read, this is the best type of paint to use for your base coat. It is formulated to withstand heavy foot traffic and will hold up well over time.
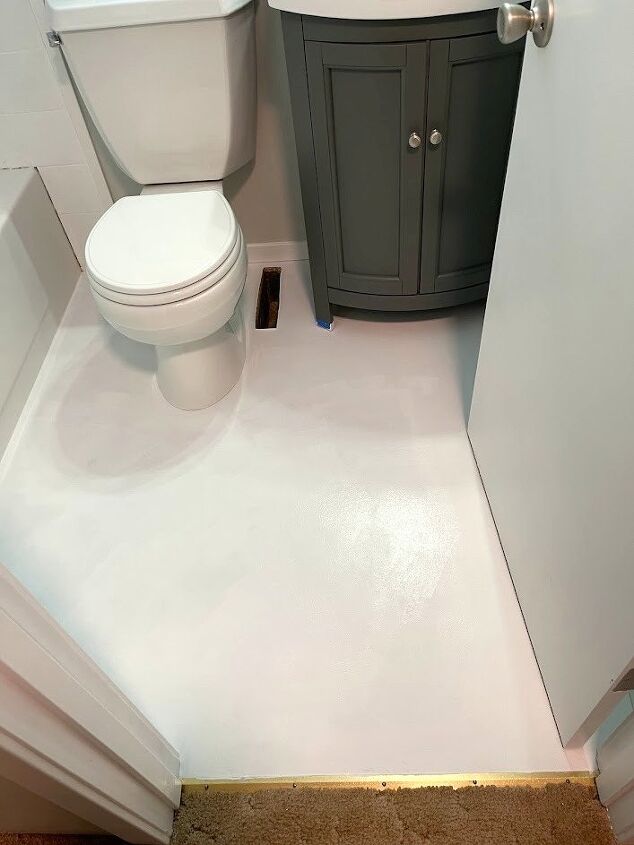
I allowed the 1st base coat to dry overnight then applied the 2nd coat. I also allowed the 2nd coat to dry overnight before beginning to stencil.
Now that the base coat was dry, it was time to stencil. Deciding where to start your stencil may take you a bit of time. Some people choose to start in the middle of the room and work outward to the edges. I decided to begin stenciling by the tub.

My son uses a rug there and I thought that if it looked bad, no one would see it ;) I also felt like it would give me time to get used to how much paint to use in an area that wasn't smack dab in the center of the floor. I placed the stencil next to the tub & wall then taped it down with painter's tape.

Next, I rolled a 4" dense paint roller into the black chalk paint then rolled it on a piece of cardboard to remove excess paint. You don't want too much paint on your roller (or stencil brush if you use one) or paint will seep under the stencil. I lightly rolled over the stencil then carefully lifted the stencil from the floor.

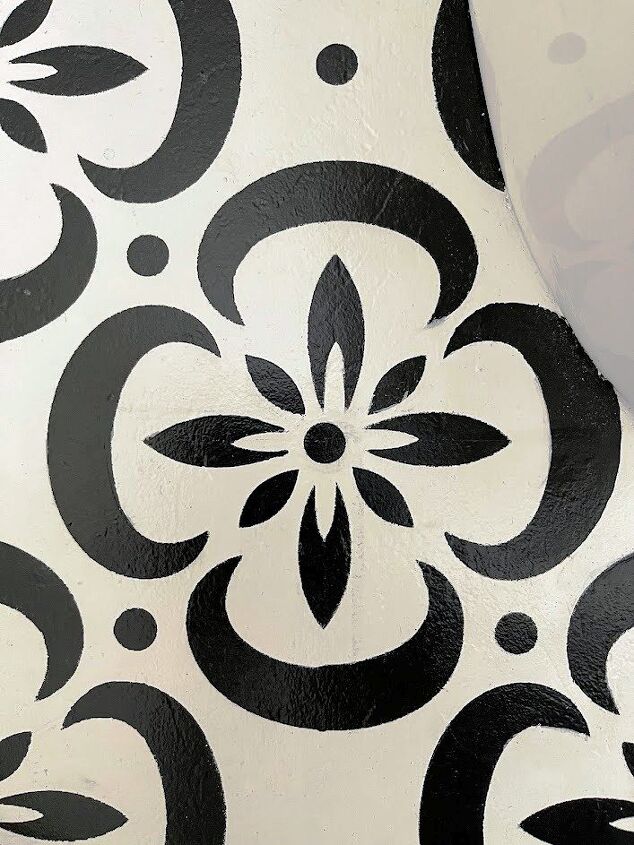
Wow! My first stencil looked good! (This excitement would wane as time went on)

Since I only had one stencil, I had to wait for the paint to dry to continue the process. I was working on other projects at the time, or I would have just stood there watching the paint dry. I continued painting along the bathtub until I got close to the wall where I could not fit the full stencil.
At that point, I started on row #2 then #3 etc. After stenciling 3 rows, I washed the stencil. The stencil will gather paint as you go which will keep it from laying flat on the floor and that allows more paint to bleed under the stencil.
To wash the stencil, I put it in the bathtub and scrubbed it with water using my fingers. When most of the paint had been removed, I dried it with paper towels.
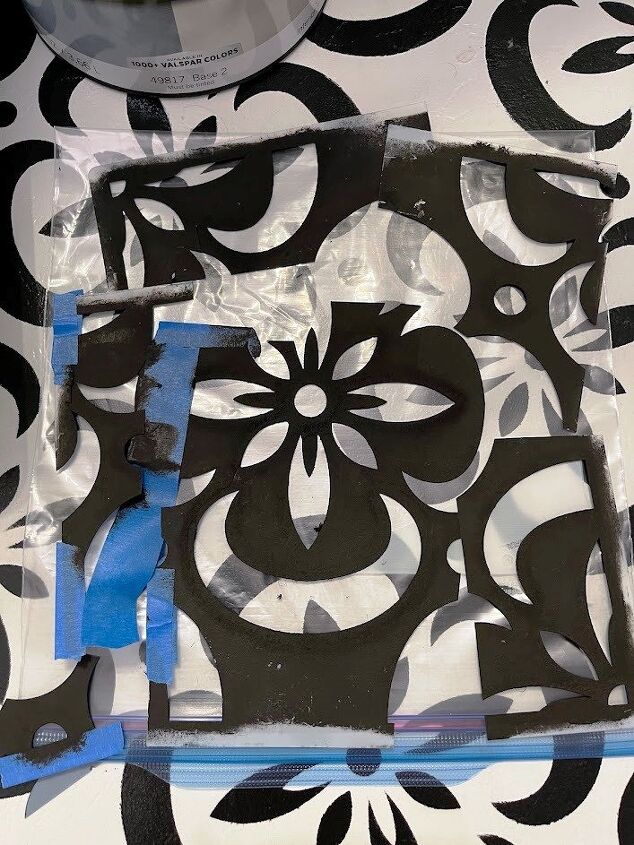
After I had stenciled everywhere that the full stencil would fit, it had to decide whether or not to cut the stencil to help it fit in the tight spots. At first, I didn't want to cut it so I laid it close to the base of the toilet and tried to paint that area. I found that doing it that way was messy and was going to take a lot of time. It would be easier if the stencil was cut.
Before cutting the stencil, I looked around the room to find the largest of the unstenciled areas. I then cut the stencil to fit those spots. I continued cutting it smaller as the white areas that remained were smaller. As you can see in the picture, my stencil ended up in many pieces.

When I had finished stenciling all the small areas as well as under the vanity as far as I could reach, it was time to do touch-ups. Stenciling does not leave nice, clean lines. If you are going for the rustic look, that's fine but if you want your stencil to look a little more polished, you'll need to grab an artist brush and get to work.
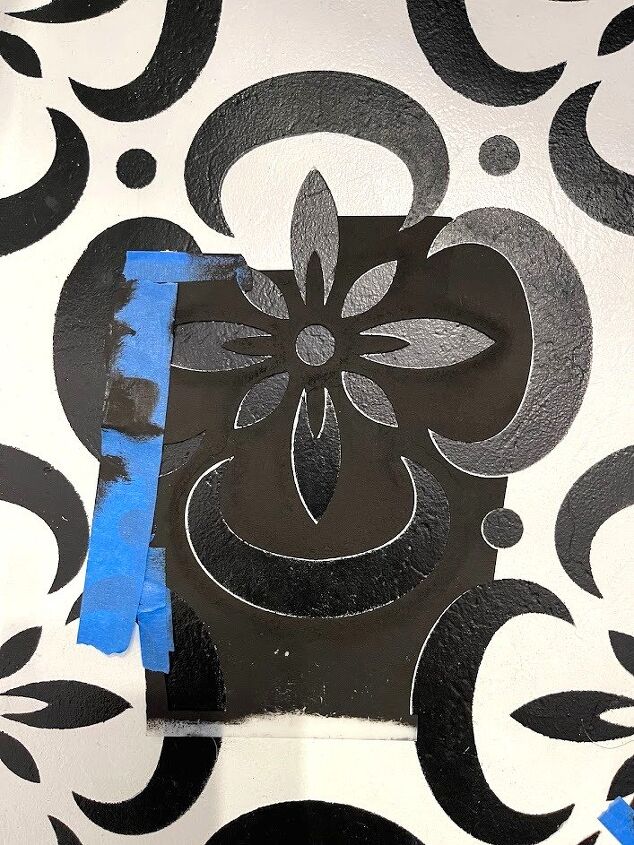
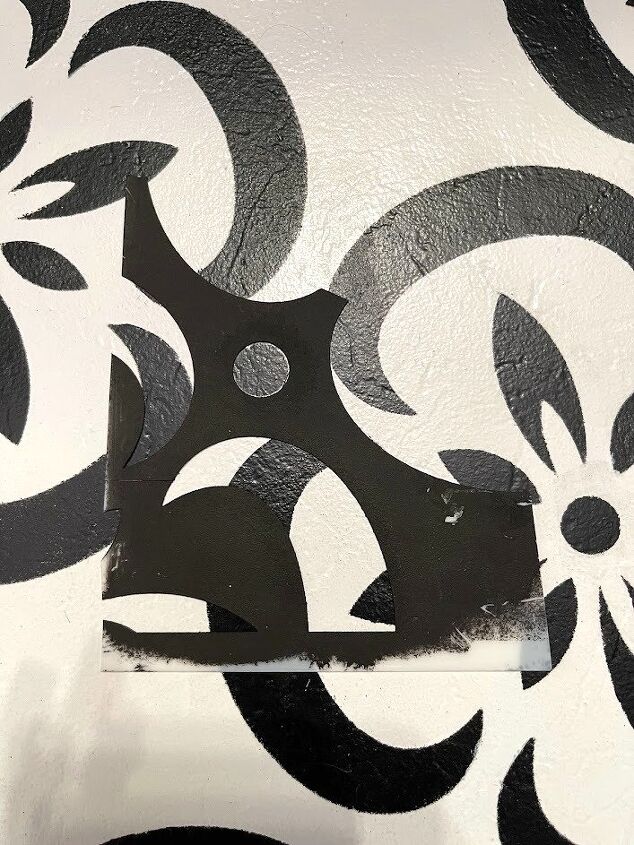
Here is how I crisped up a lot of the lines. I began the clean-up by using the cut pieces of the stencil. I laid a piece of stencil over a section that needed cleaner lines then used a stencil brush to paint over those areas. I used a stencil brush for 2 reasons: 1 - the roller would have been too big and 2 - you have better control of just where you are applying paint.
As you can see in the first picture, the center dot is very wonky! Before fixing the dots, I painted over them with primer & floor paint so I had a blank slate.
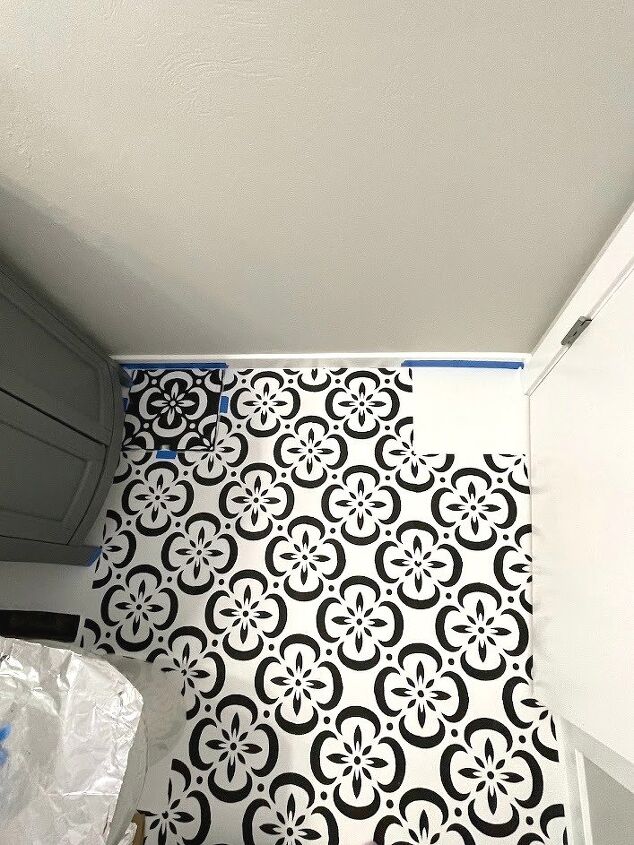
After using the stencil and stencil brush to do most of the touch-ups, I used an angled artist brush to do a little more fine-tuning on the pattern. The time spent on the clean-up will vary depending on how big your stenciled area is and how picky you are.
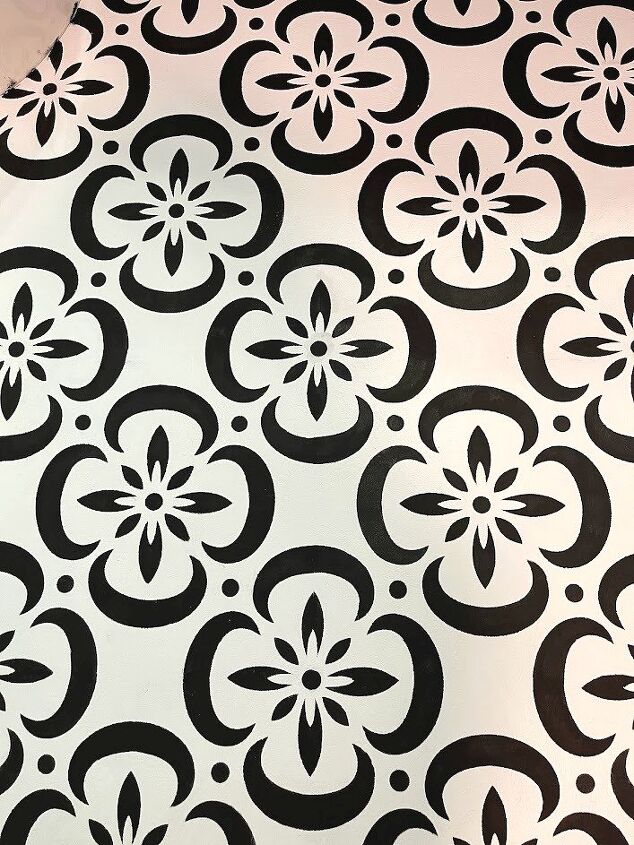
Even before sprucing up the design, the stencil looked really good when I was standing. It was when I was on the kneeling pad that I could see how much clean up was needed.
Once I was satisfied with how the design looked, it was time to seal the floor. I used a water-based polyurethane by Behr and applied three coats with a 3" paintbrush. I let the first coat dry for 2-3 hrs before applying the second coat which I left to dry overnight. I applied the 3rd coat the following morning then stayed off the floor for the day.
In the beginning, I was so excited to start this project! During it, though, I was pretty frustrated. Although I was careful with how much paint was on my roller, inevitably there was bleed under.
It wasn't until I was finished with all the touch-ups that I realized that some of the bleed under was due to the grooved pattern of the vinyl. Well, that did make me feel better! I just wish I had realized that little detail sooner.
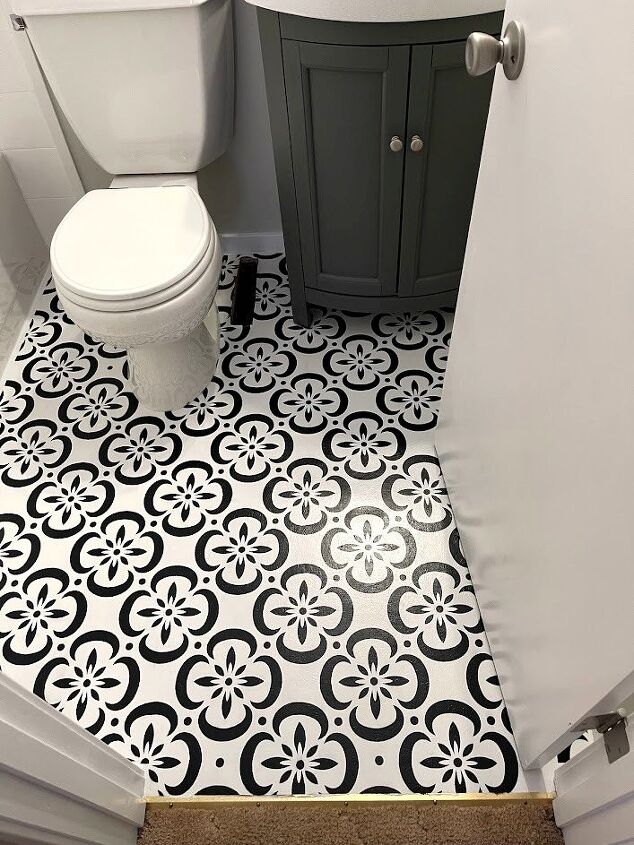
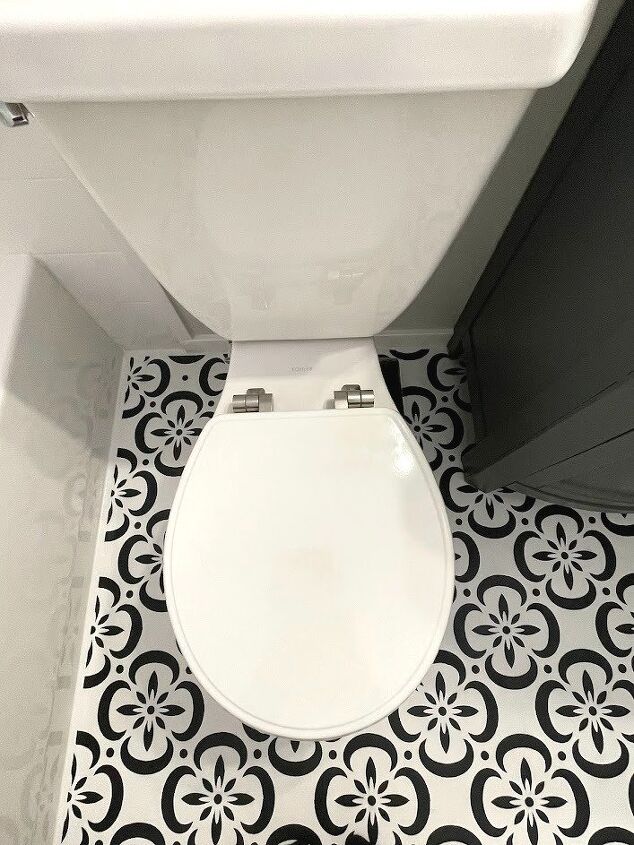
Even though this was way more work than I anticipated, it really does look nice and my son loves it! I would do it all over again with just a few tweaks. See below for tips and what I would do differently next time.
I estimate that the cost is around $75 but I have all the products to stencil several more times. The stencil I used is cut up but it came in a package containing 9 stencils.
Instructions
- Clean floor
- Use liquid sandpaper to degrease & degloss surface
- Apply 2 coats of primer with either a brush or roller
- Allow each coat to dry according to directions on product
- Apply 2 coats of Floor & Porch paint
- Allow each coat to dry according to directions on product
- Decide where to start stenciling
- Secure your stencil to the floor in a couple of places using painter's tape
- Using a 4" roller or stencil brush, dip it into the paint
- Roll the roller or tap the brush on a piece of cardboard or paper plate to remove excess paint
- Gently roll or tap over the stencil being careful not to push paint underneath
- Carefully lift the stencil and set it aside
- Allow paint to dry
- Place the stencil next to the previously painted section, lining up the pattern
- Once all the areas where the full stencil fits are painted, bend or cut stencil to fit into the smaller areas
- Using a stencil brush & bits of the stencil, touch up lines that you feel need to look more polished
- Using an artist brush, clean up any remaining lines that need fixed
- Using a roller or paintbrush, apply 3 coats of water-based polyurethane
- Allow each coat to dry according to directions on product
- Stand back and admire your creation!
Tips & things I would do differently:
Use a stencil brush instead of a roller. This takes more time initially but will save a lot of time touching up the design because there will be less paint seeping under the stencil
Before starting the project, gather all the supplies you need
Have a wet rag on hand to remove any stray paint while it is wet
Buy more than one of your stencil. You can find stencils in a 4 pack.
Next time I would buy those so I have extras to make the stenciling process go faster and also an extra one to cut up
Since I only had one stencil, a blow dryer would have been a good idea so I could help the paint dry faster
I would have painted the floor black and used white paint for the stencil. With all the white in the room (door, baseboards, fixtures), I was constantly wiping up black paint
Focus on the big picture and don't try to touch up every wonky line
Plan to have the room tied up for a few days. Once the primer and/or the base coat is dry, you can walk on it but while you are doing the stenciling, plan to stay off the paint until the topcoat process is finished
Resources for this project:
See all materials


Comments
Join the conversation
-
Looks great, thanks for the tips!
-
You did a brilliant job❤️


Frequently asked questions
Have a question about this project?
I might have missed it, but how long did it take you to complete the floor from start to finish?
I am a novice stenciler. How would more than one stencil make the job go faster? Don’t you still need the paint to dry before you can put a stencil down? I’m assuming they overlap a bit as to line them up correctly… ???
Thanks for any input from any sencilers!
can you do this on a ceramic tile floor? I have old 8x8 tiles that are dated. is there a primer etc that could be used to that? have you ever done that, or anyone else? would love to cover my existing tiles!