


Everything You Need to Know About How to Install a Carpet Runner
If you’ve ever wondered, “can I use a carpet runner on stairs?”, the answer is YES, you absolutely can! Installing a carpet runner on your stairs is not only a beautiful upgrade but a practical one! I’m here to share how to install a carpet runner on your stairs.
Carpet runners for stairs help to protect your home’s flooring from wear and damage from heavy traffic, as well as from cleaning and exposure to the elements.
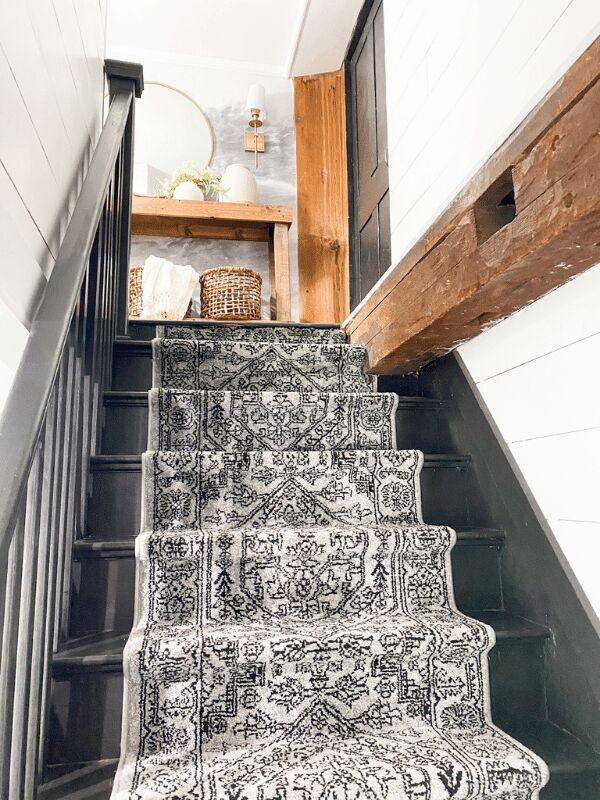
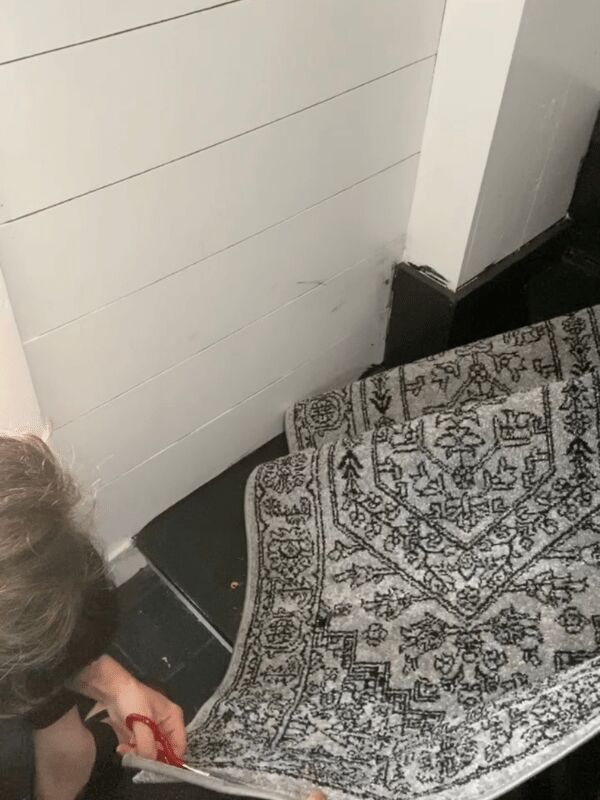
Yes, you definitely can! Installing stair runners is a moderately simple project, which can be easily DIY’d in one day without a lot of specialized tools. *Is your carpet runner too wide and needs to be trimmed down and re-bound? I’ve got you covered. Read all about how to bind the edges of your runner here!
- Carpet runner
- Carpet padding *optional
- Double-sided carpet tape
- Carpet knife
- Scissors
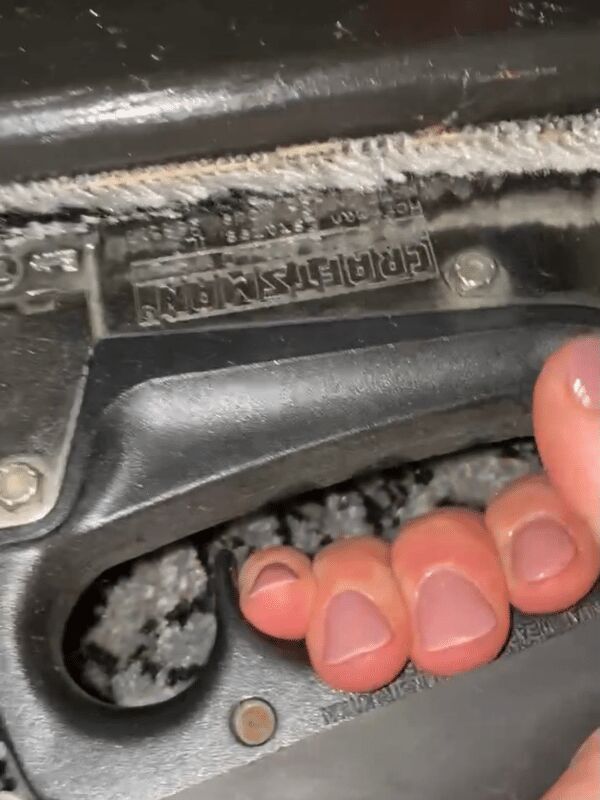
- Staple gun and staples
- Measuring tape
- Bolster chisel
Begin by measuring the depth of one stair tread and the height of one riser. Multiply the height by the number of risers, and the depth by the number of treads.
Add these figures together, plus six inches for waste. This is the length of the carpet runner you will need to select for your stairs.
The width of the runner is up to you, but stair runners look best when there are about 4-6 inches of the exposed floor on either side. Once you choose a runner, measure its width, as you will need this measurement to cut the carpet padding to size.
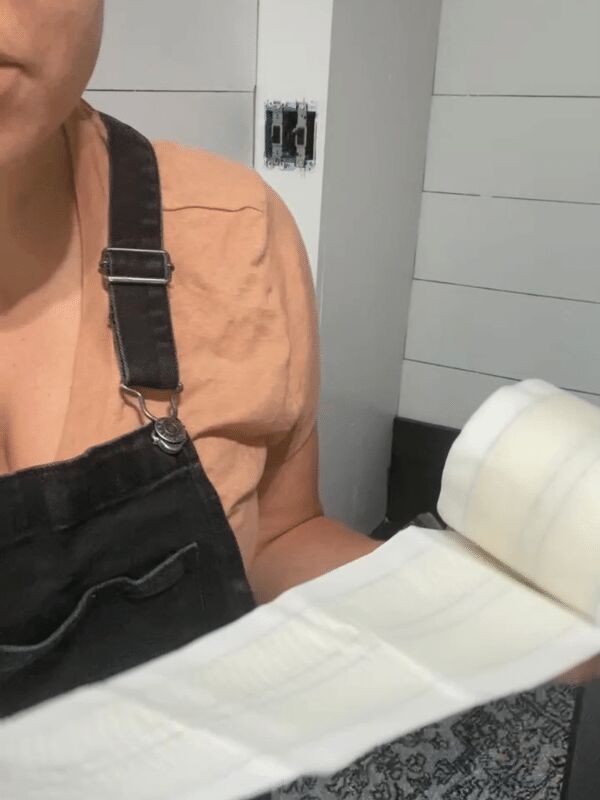
Step 2: Create and install carpet pads
In order to keep the runner in place, you will need to create and install one pad for each stair tread. This step could be skipped if you use enough staples. If you choose to go this route continue to read on, if not skip to step three.
Using the measurements you just took, cut one pad to be the width of the runner minus 1 inch, and the depth of the stair tread minus ½ inch. Use this pad as a guide to cut as many as you will need for each stair tread.
Using a measuring tape for accuracy, center the pad on the bottom tread and align the long edge with the riser above. Leave a space about the width of one fingertip between the pad and the back of the riser.
Drive one staple into the center of the pad, then evenly place two more staples on either side.
Next, smooth the pad over the tread and pull tightly over the nose, careful not to over-stretch the pad.
Staple the pad to the underside of the nose, repeating the pattern of one staple at the center line, and two on either side. Trim any excess padding if necessary. Repeat this process until one pad is attached to each tread.
Unless you choose a runner with a non-slip backing, you will need to use carpet padding. Ideally, carpet padding should be used under any rug that is at risk of sliding around.
Without carpet padding, stair runners are at risk of slipping out of place, which can not only look sloppy, but lead to dangerous slips and falls.
Note that carpet padding is designed specifically to go over either carpeted or hardwood floors, so be sure to choose the right one for your situation. Padding designed for hardwood floors will not work well over carpet!
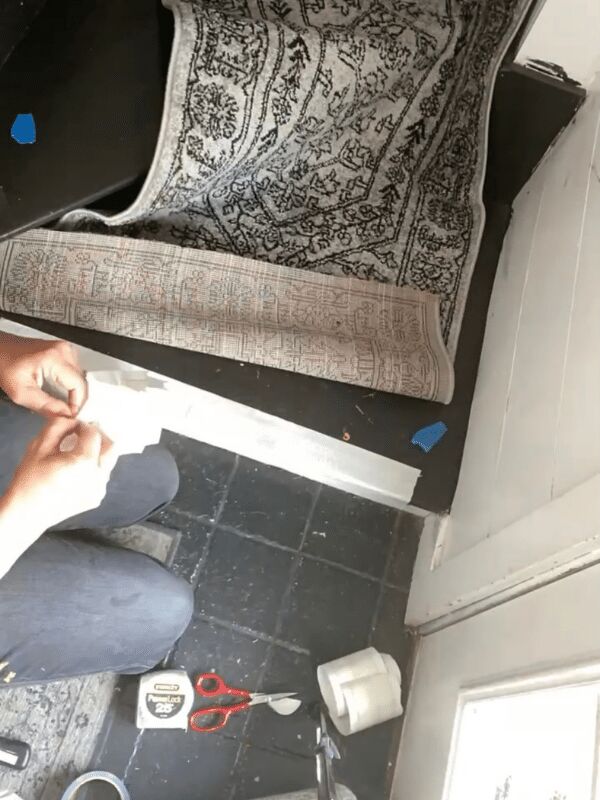
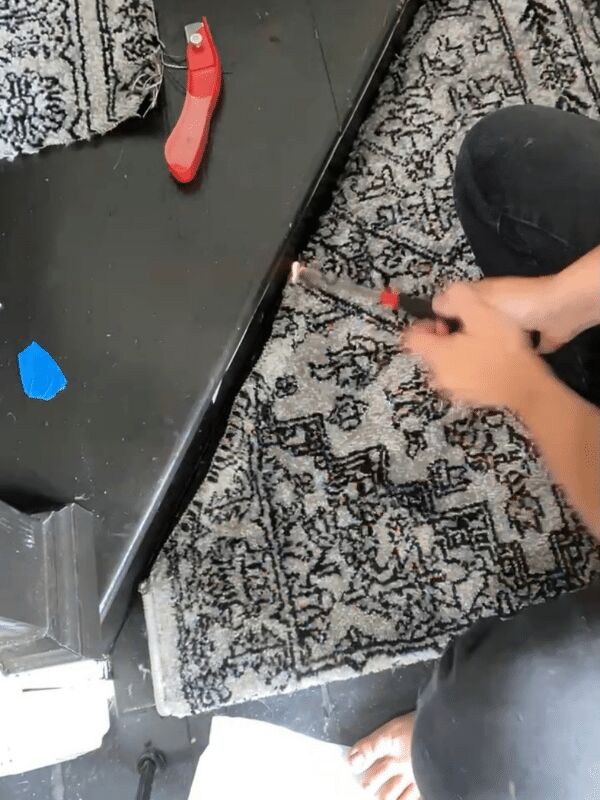
Begin by cutting a strip of double-sided carpet tape, slightly shorter than the width of the carpet runner. Place this tape along the riser of the first tread, just under the nose.
Next, take the top edge of the runner and press it firmly to the tape.
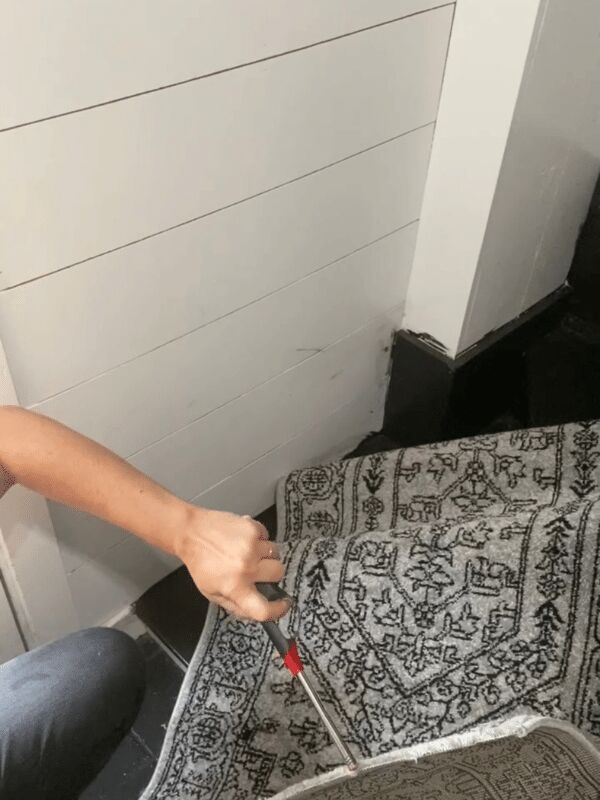
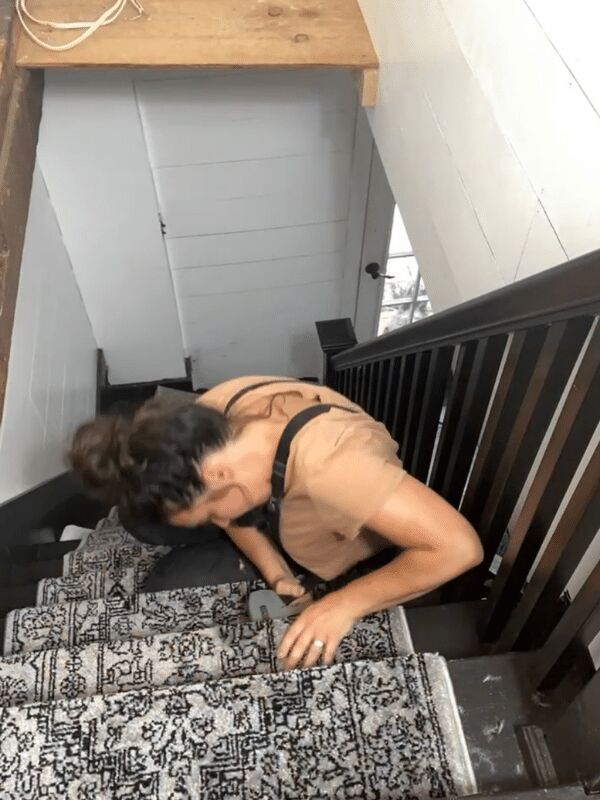
Once the runner is attached to the tape, use your staple gun to drive one staple into the center of the edge of the rug, and another every three inches from the center on either side.
Be sure there is a staple on each of the outer edges of the runner.
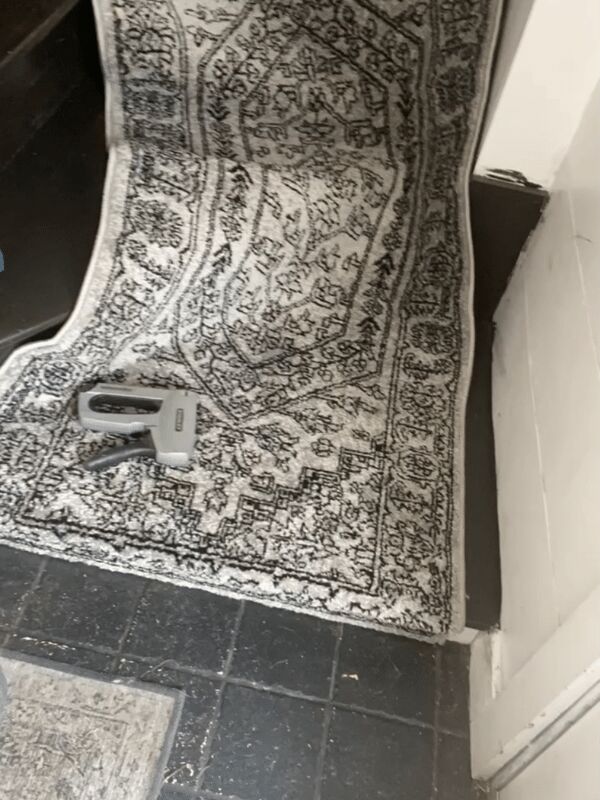
Smooth the rug tightly against the riser, pressing the bolster chisel into the crease of the next tread.
Using the same pattern as before, staple the rug to the bottom of the riser in the center of the rug, then again every three inches from the center on either side.
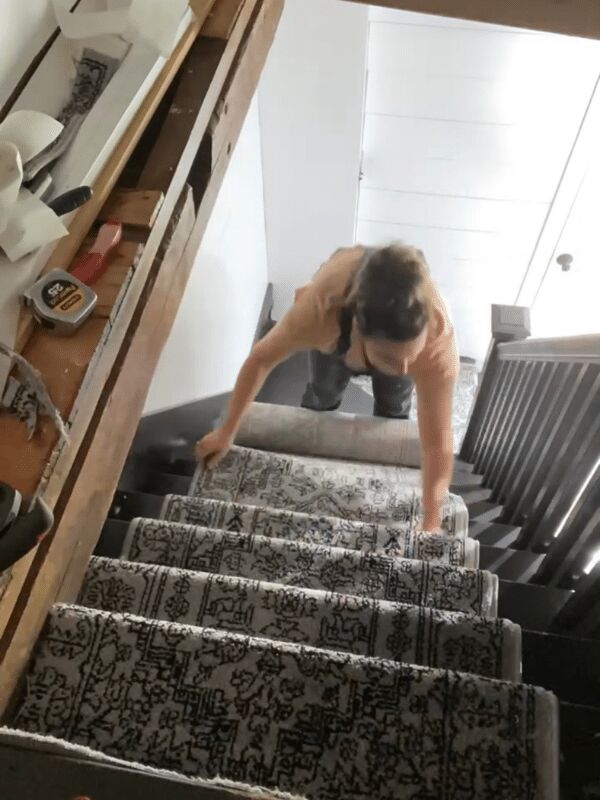
Repeat this process of stapling the runner over each tread and to the base of each riser until the entire staircase is covered.
Once you reach the final riser, fold the end of the runner under and press it tightly against the riser, then staple the runner into place. This will create a clean, finished look.
If you’d like to see another example of how to instal a Capet runner check out HGTV’s!
The easiest way to install a stair runner without the use of nails is to use a heavy-duty staple gun instead.
If you opt not to use any hardware, be sure to use a high-quality carpet tape and carpet pad that grips strongly to the surface of the stairs.
This can also be done if you’d like to install the carpet runner without damaging hardwood!
When installing stair runners on basement stairs, it’s very important to use carpet padding that will grip the surface well.
Some basement stairs are made of materials such as concrete or raw wood or may have a slippery, painted surface.
In this case, nails or staples may not be an option, and normal floor tape and carpet padding may not be effective. You may have to use a carpet pad with heavy-duty rubberized backing in order to hold the runner in place.
Another option to give the runner extra stability is to install stair rods once the runner is in place. Stair rods are typically slim, metallic tubes that are attached to brackets.
They lie on either end of the stair runner, and are installed on each individual stair.
- Carpet rods and brackets
- Rotary drill
- 1/16 drill bit
- Pencil
First, install the brackets by lining one against either edge of the runner, and sliding them back until they are sitting in the crease where the riser and the tread meet. Be sure they are aligned flush with the runner as well as the crease!
Holding the brackets in place, mark the location for the drill holes with a pencil, then use a 1/16 inch drill bit to create a pilot hole at each mark. Secure the brackets in place using the drill and included hardware.
Next, press the rods over the carpet into the crease of the stair. Secure the rod into each bracket, and repeat until they are all secured. Home Depot has a great tutorial on installing carpet rods. Be sure to check it out to see a more step by step tutorial.
Be sure to to pin for later

Want to shop the supplies to install your own carpet liner? Just click on an image below! *These links are affiliates. If used I make a small commission costing you nothing. Thanks for supporting the brands that support this blog of mine!

Thanks so much for reading along!
That’s all for now.
Talk soon,
Kori

Comments
Join the conversation
-
It’s beautiful and everything ties in nicely! Great job DIYing is so satisfying…
-
May I ask where the carpet came from? I really like it.


Frequently asked questions
Have a question about this project?