


How to Install Drip Irrigation in Your Garden
Installing a DIY drip irrigation system into your garden is a great way to reduce your garden chores while also reducing the amount of water you use in your garden. Drip irrigation is easy to install and even easier to use. Once you’ve got your DIY irrigation system in, you’ll have more time to enjoy your garden! 
Decide where you’d like to have drip irrigation!!
STEP 1: PREP
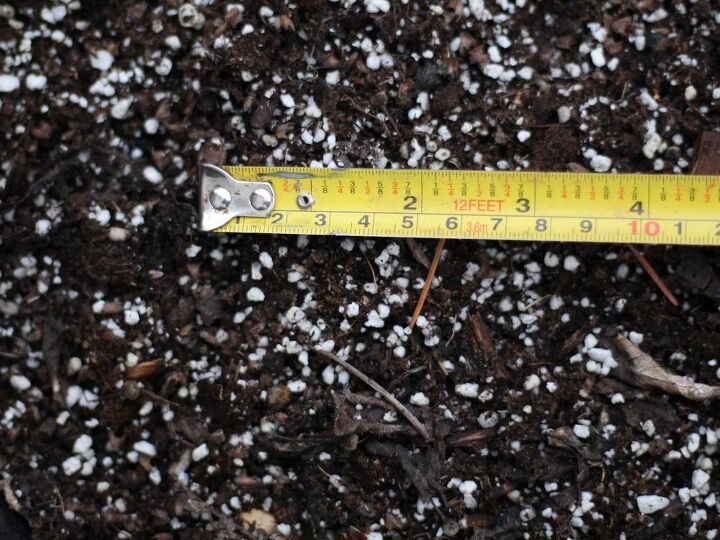
Measure and sketch the garden area. Measure the length of the desired drip line lengths by wrapping the measuring tape or a piece of string around the garden. Sketch in the proposed drip lines close by existing or planned plants. Draw solid hose line to connect the drip line from the garden to the water tap.
STEP 2: PLAN
Add up the total length of required emitter line and solid line that you'll need for your irrigation system. Plan to buy 5-10% more line than you'll need. Add up the type and number of connectors/collars required for your line configuration. Make sure you've sketched out exactly where the emitter line will go and where the solid line will go before you make your shopping list. Purchase your supplies….and keep the receipt!
STEP 3: LINES
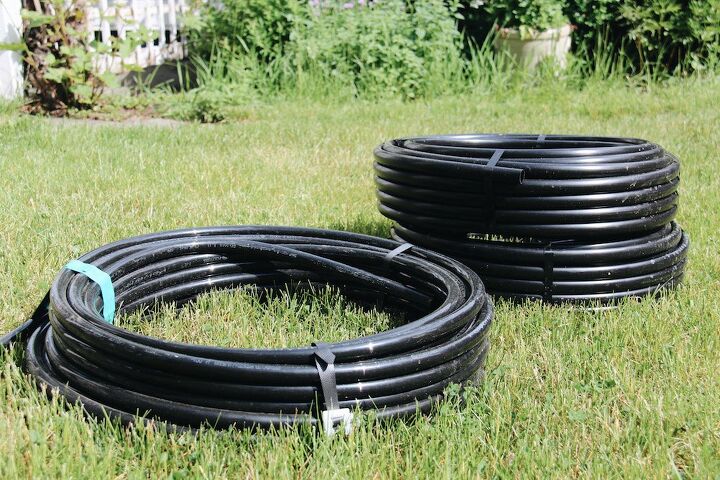
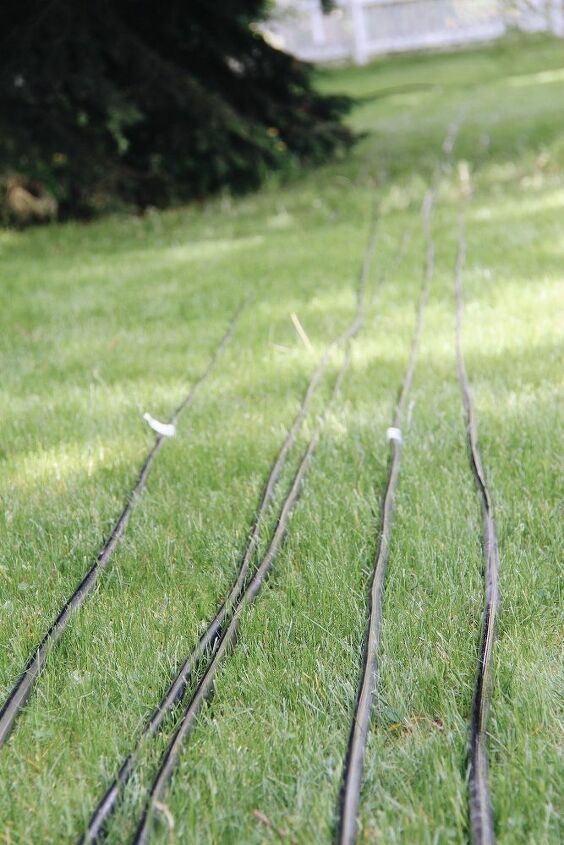
Gently uncoil and lay out the PVC lines to allow them to relax. I took off the unsightly tags (see photo above). Then lay out the solid PVC line from the water outlet to the garden. Lay out the emitter PVC line around or beside the garden. Cut the solid and emitter PVC lines to length. It’s always easier to leave a bit extra!
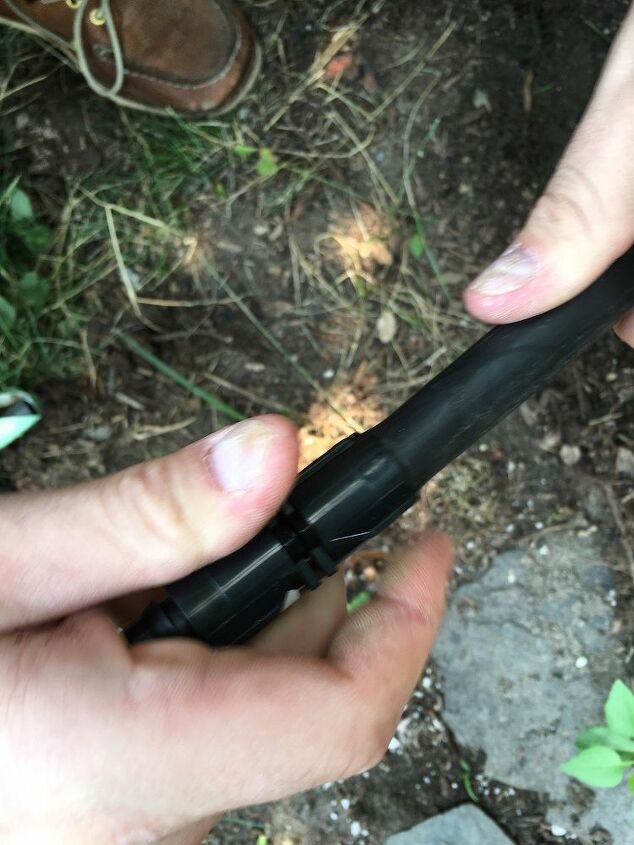
STEP 4: CONNECT
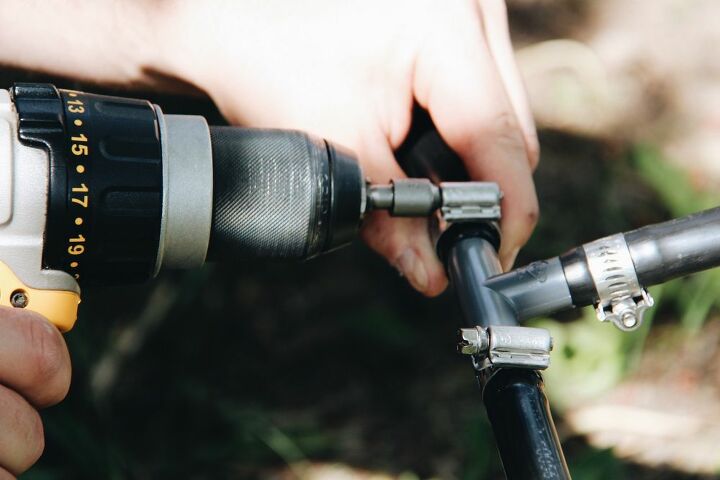
Place metal connector collars around all the PVC ends. Push the PVC connector into the cut ends of the hoses. Slide the metal collars around the connectors, using the drill to tighten them on. Install any remaining connectors. Install the hose connector on the end of the solid line that goes into the outlet.
STEP 5: TEST
Connect the hose connector to the watering timer. Use the timer's manual setting to pressure test the drip irrigation system. Check each connection. Affix the line into it’s permanent location using landscape staples.
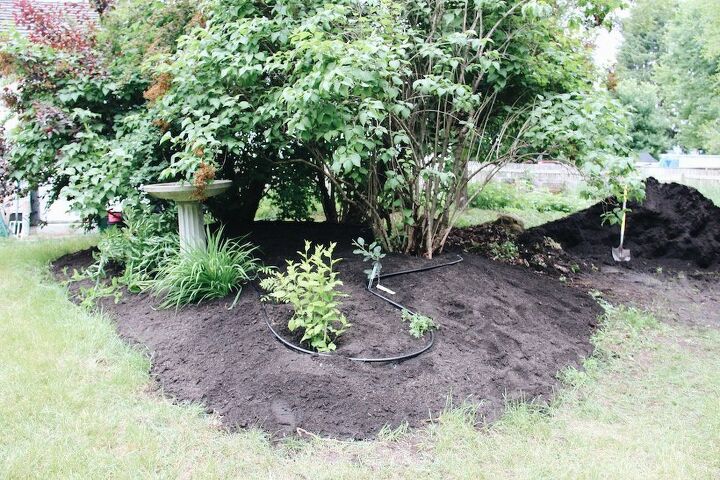
Enjoy how your new drip irrigation!  A nice layer of organic mulch will hide the lines from sight.
Resources for this project:
See all materials


Comments
Join the conversation
-
Home for the Harvest by Mary Jane Duford, a wonderfully useful post. Remember you can also place rainbarrels in or near your garden areas and attach drip irrigation to these also. Barrels can be painted or hidden behind tall bushrs, etc. And they are also easy to do and eco friendly.


Frequently asked questions
Have a question about this project?
Will this hold up season to season if we get snow here?
I really would like to see more details. The information you presented seems general.