


DIY Water Propagation Station & Tips - CuterTudor

While I still have a lot to learn about plants, I have an easy DIY water propagation station and a few water propagation tips to share with you!
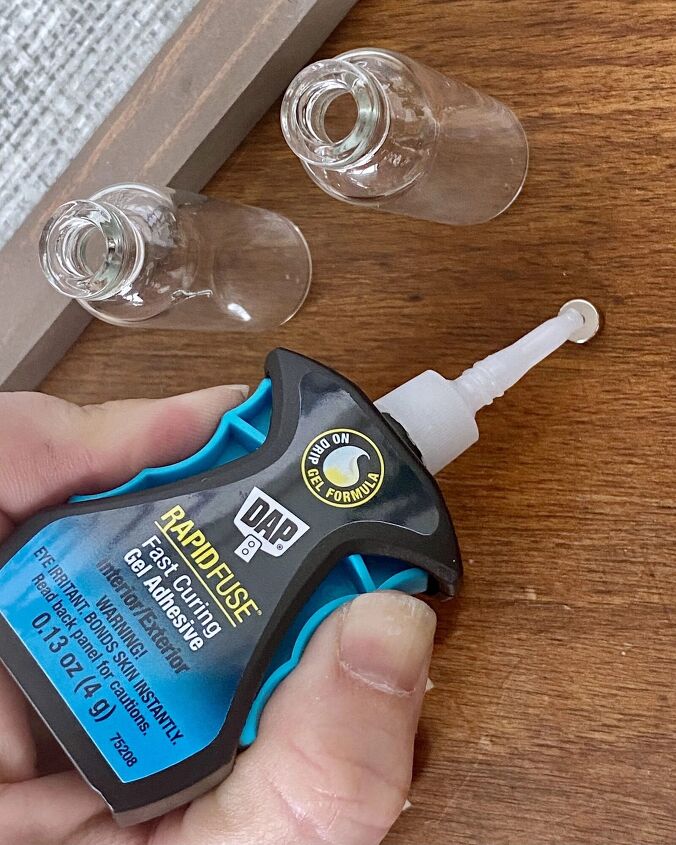
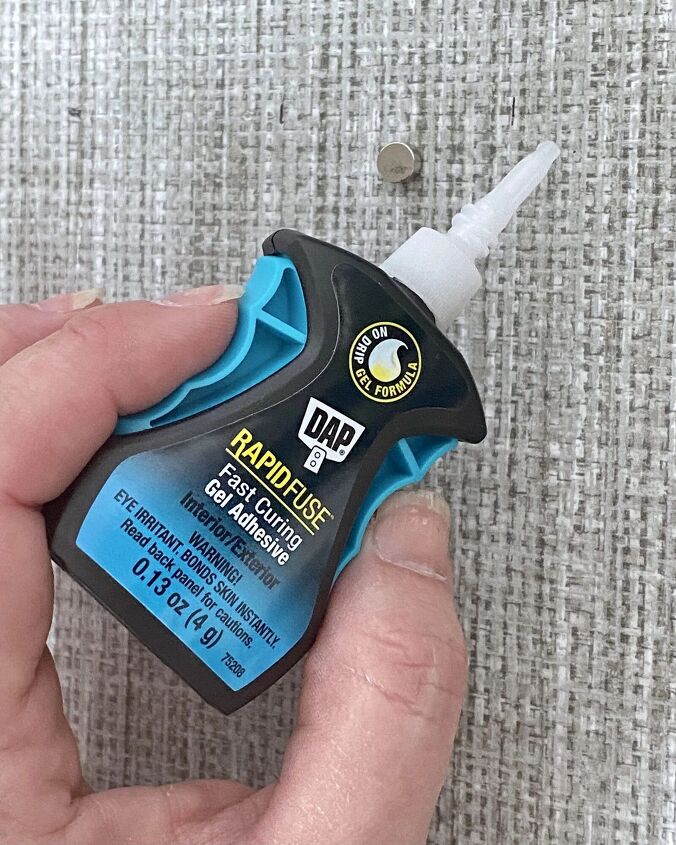
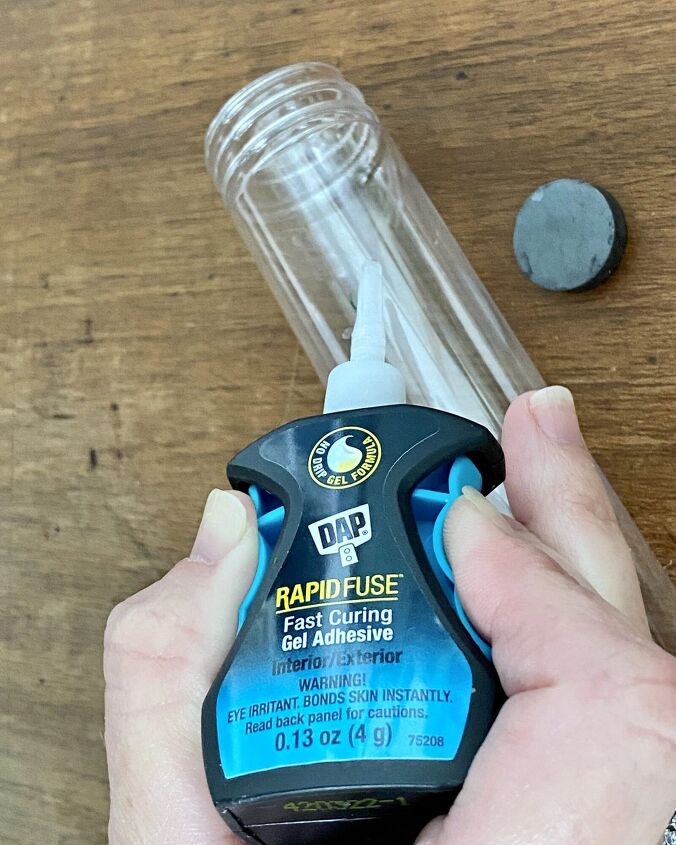
Thank you to DAP, who partnered with me to try their new RapidFuse Fast Curing Gel Adhesives with Gel Control Applicator. All opinions and ideas are my own. The RapidFuse Fast Curing Gel with Gel Control Applicator is perfect for this DIY. The adhesive is better than super glue! In addition, the thick gel doesn’t drip and can easily be applied with the control applicator.
Typically, I decorate my home with faux plants, trees, flowers, stems… all fake! Last year, I challenged myself to become a plant lady! However, my goal was simple… to keep at least one real plant alive. I have not only kept a handful of succulents but an Alocasia (elephant ear) plant alive, too. The elephant ear was originally planted in my flower bed, but the sun roasted it every summer. So, I replanted it in a large pot, and kept it indoors, mostly in my shower for the humidity. It has been thriving for over a year!
Since then, I have acquired several additional house plants, like Pothos (devil’s ivy), and have become interested in the benefits of plants. As a new ‘plant lady,’ I began reading more about plant care, gardening and water propagation tips. For years, I have grown vegetable cuttings in the kitchen window. It’s satisfying to watch roots grow or vegetables regenerate.
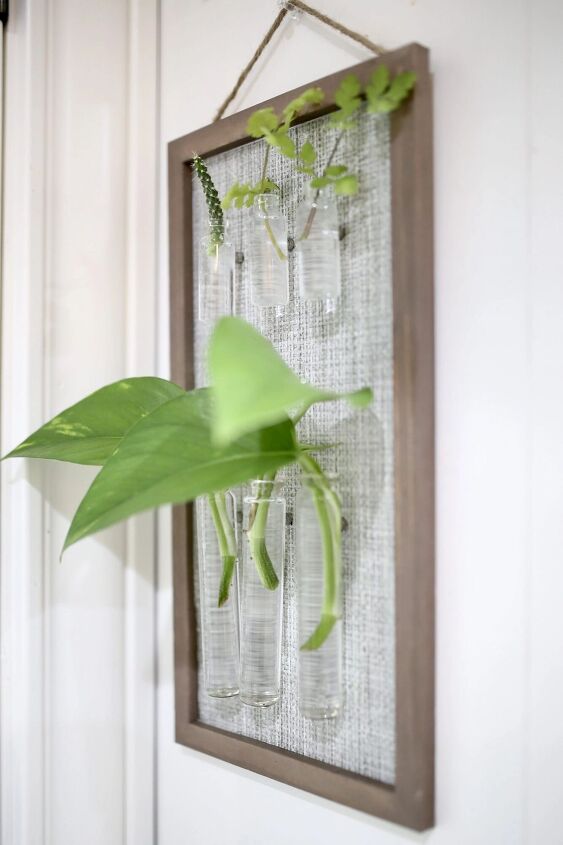
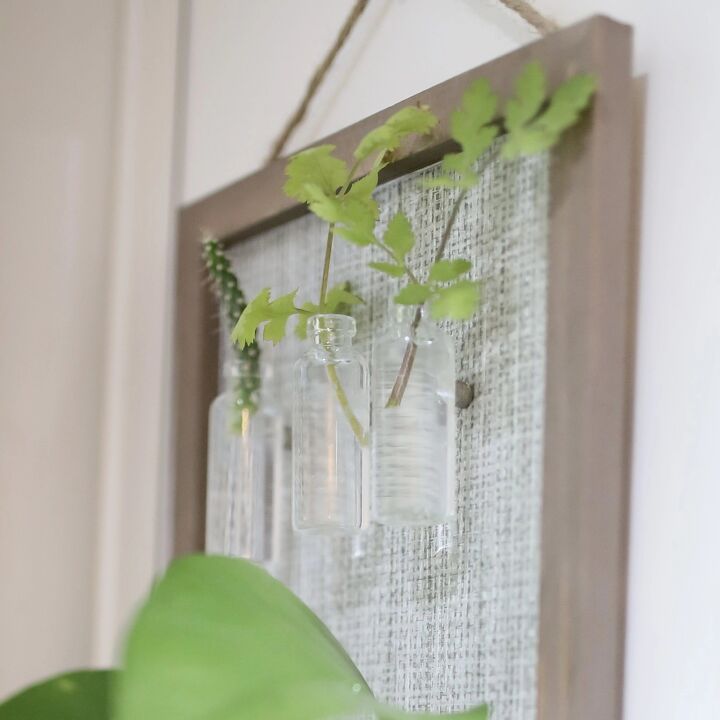
DIY Water Propagation Station
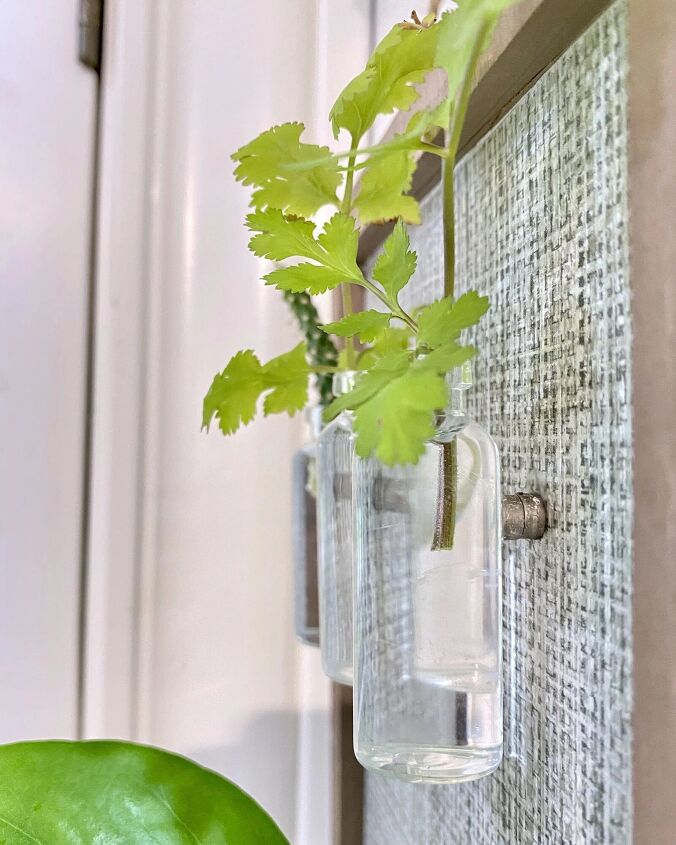
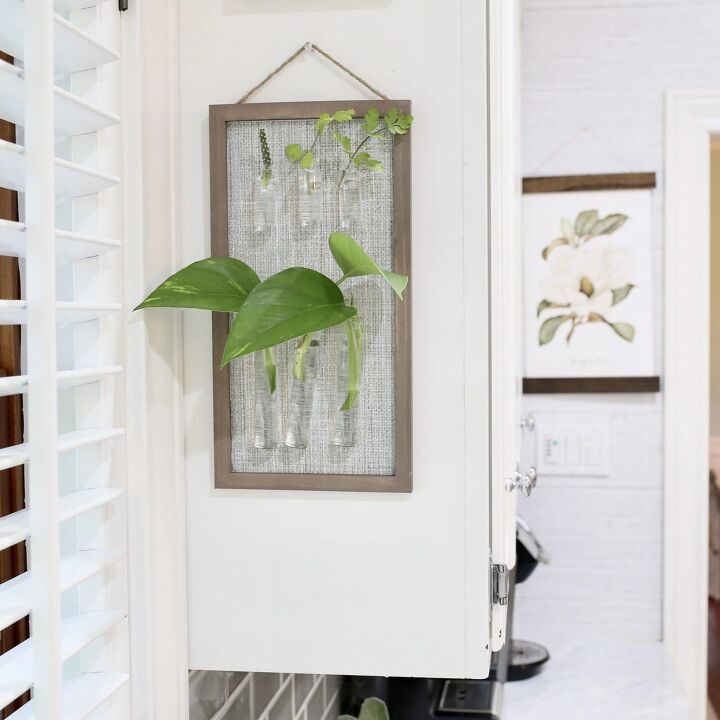
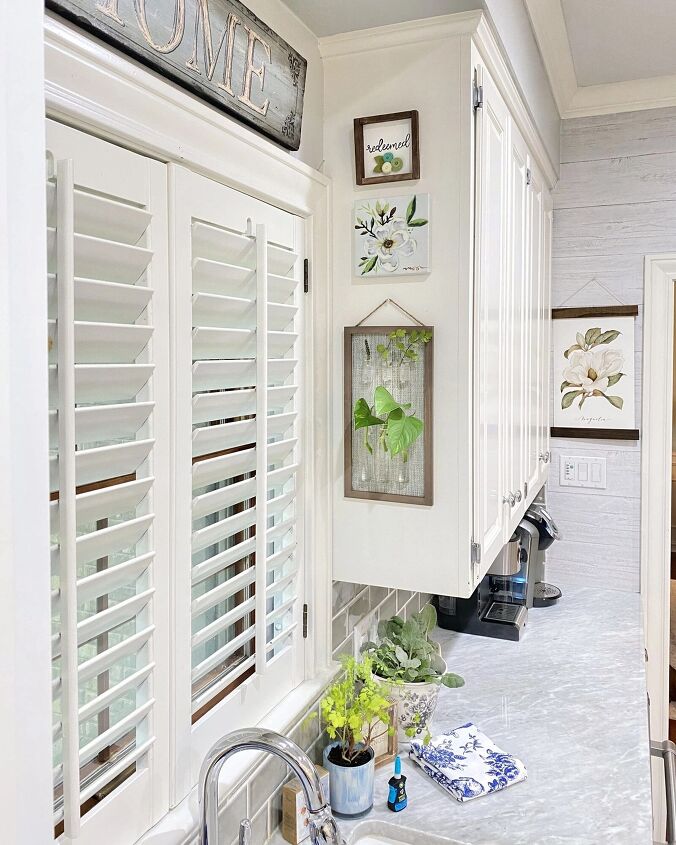
This water propagation station is hanging so I can display it near kitchen window. In addition, magnets make it possible to remove the tubes to refill or change the water. When working with magnets, it is important to use a glue that is stronger than the magnetic force. DAP RapidFuse Fast Curing Gel with Gel Control Applicator is water-resistant when cured, so it is perfect for this project.
What To Do:
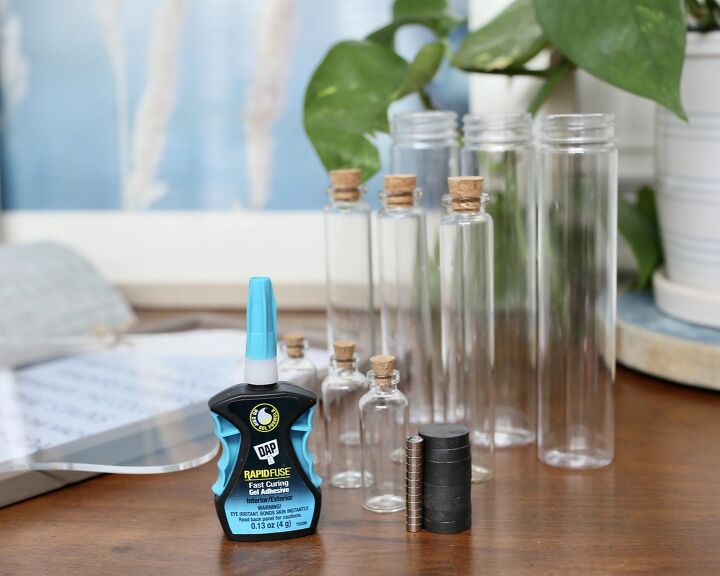
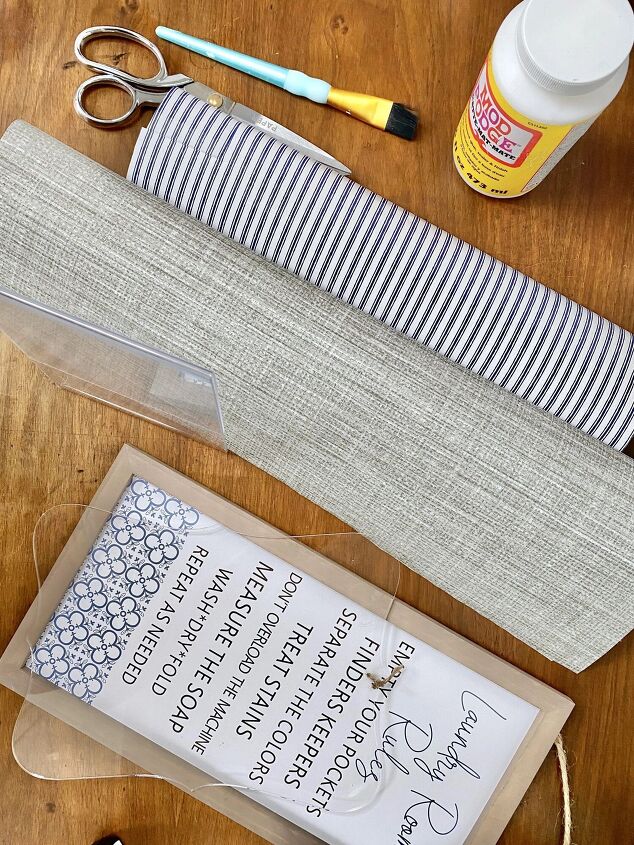
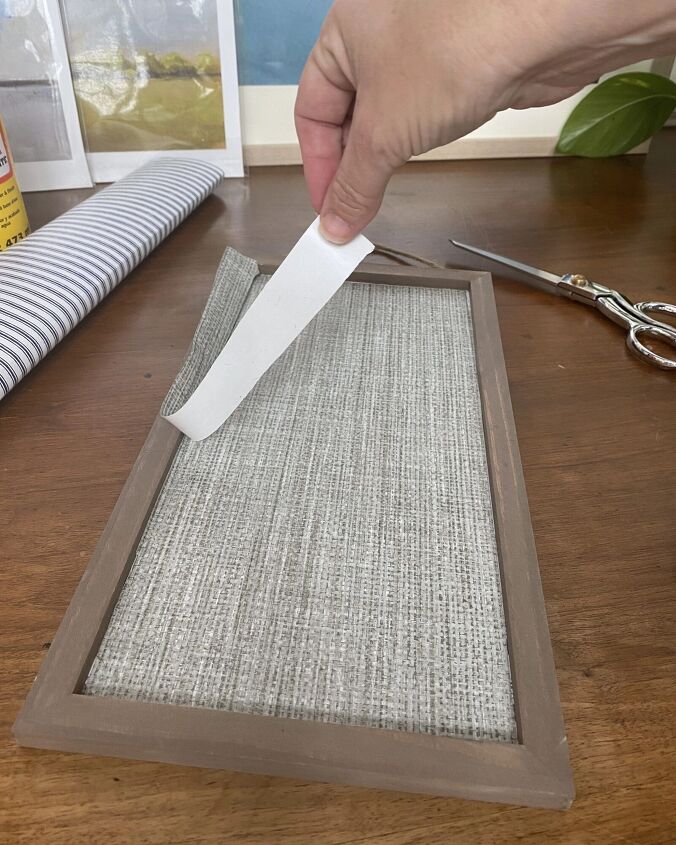
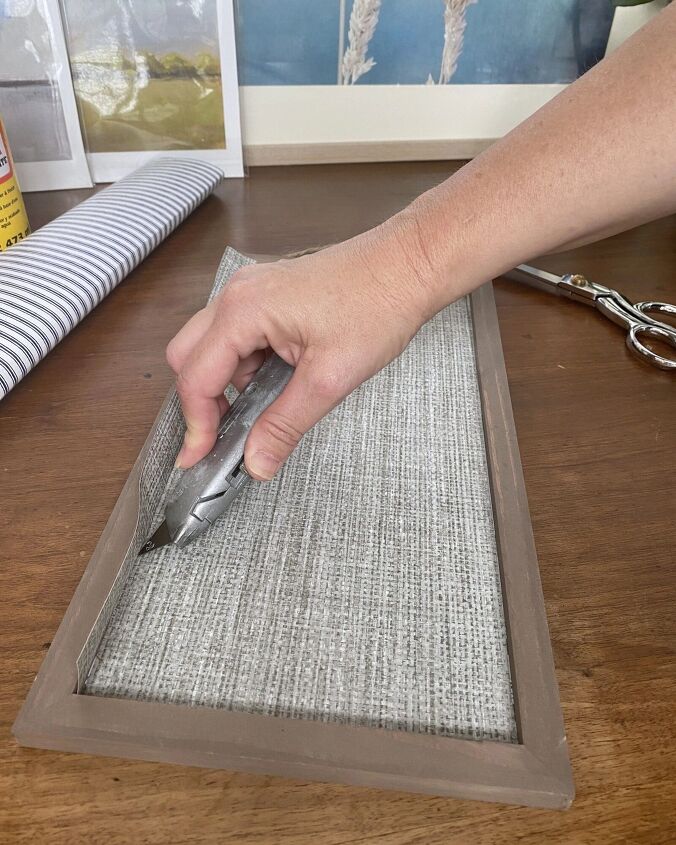
- Gather your materials from your favorite craft store. You will need a hanging backboard, neodymium magnets, glass tubes or jars, and DAP RapidFuse Fast Curing Gel with Gel Control Applicator. For the backboard, you can use almost any blank sign because the RapidFuse Fast Curing Gel with Gel Control Applicator works with wood, metal, plastic, rubber, fabric, stone, tile, ceramics, glass and more. I covered an inexpensive wood sign in grasscloth wallpaper.
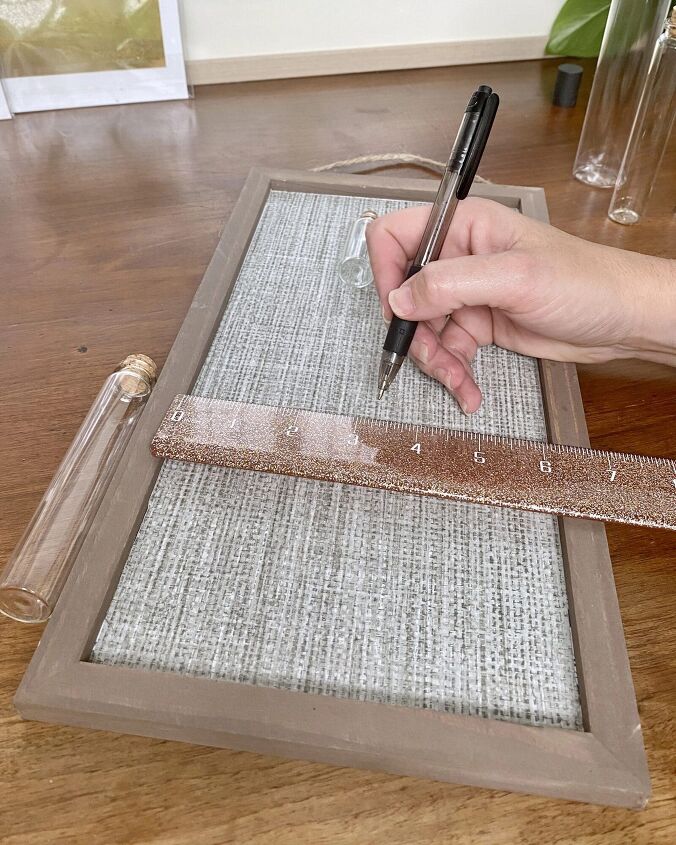
- Take Measurements. Measure the width & height of the backboard and glass jars to determine where each magnet will be placed. For example, if using three tubes, place one in the center of the board. Then, split the difference between the center jar and edge of the frame.
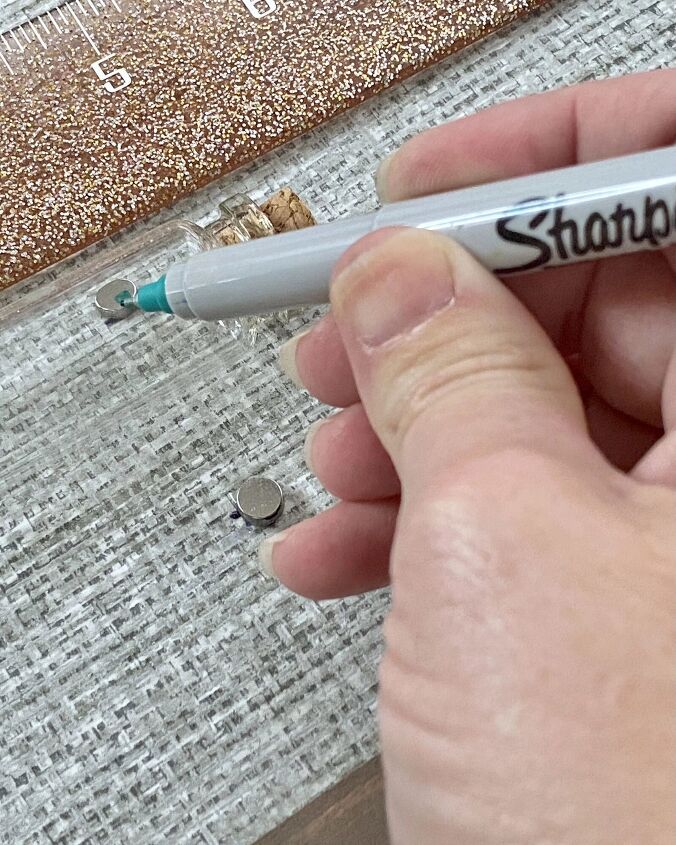
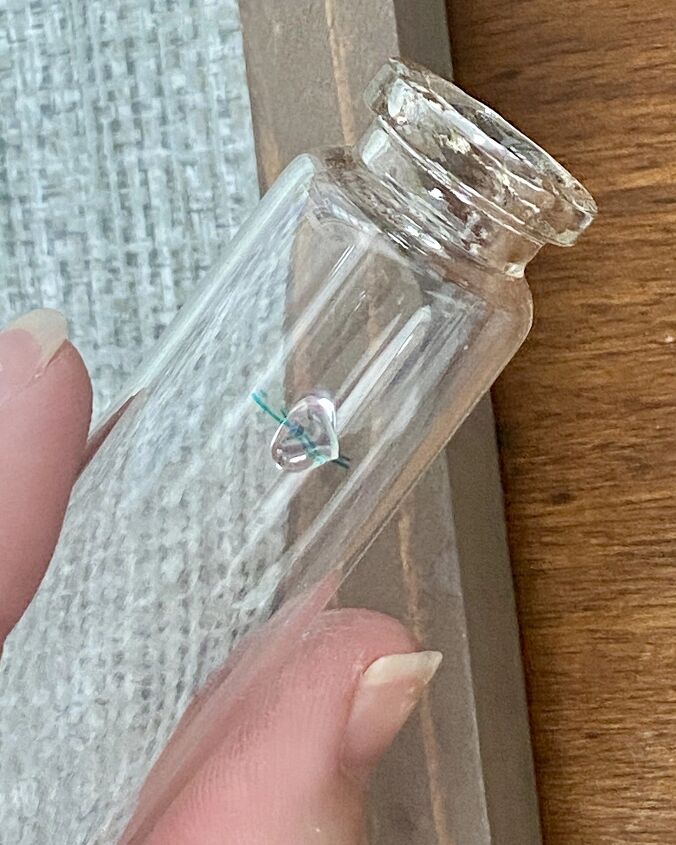
- Make your mark. Next, mark location of magnets on the board and on the glass jars with a marker. Remember that opposites attract, so pair up two magnets and note which side to glue down.
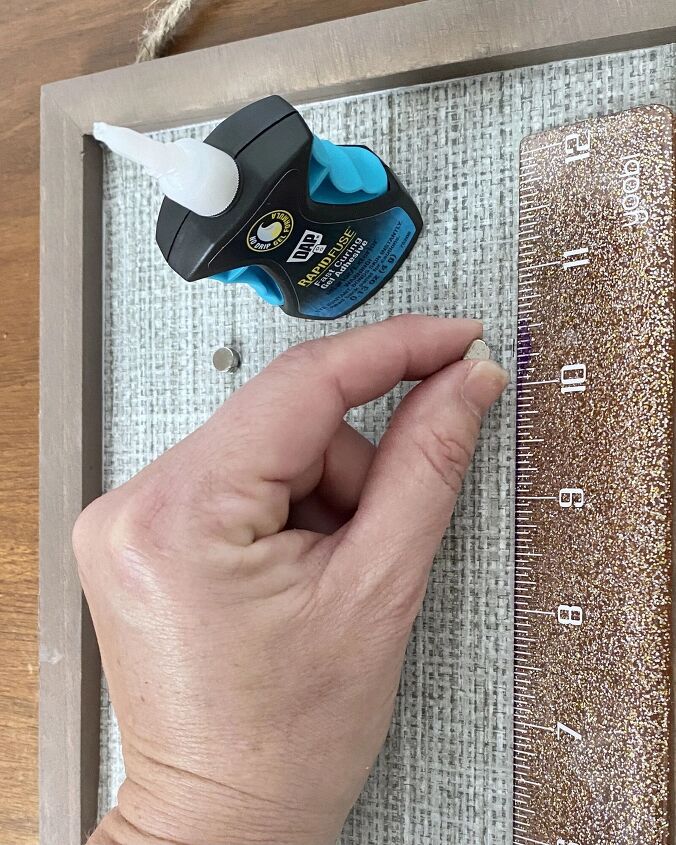
- Glue the magnets to the board. RapidFuse Fast Curing Gel with Gel Control Applicator doesn’t set instantly, so you can pull apart and reposition before it sets if you don’t get it right on the first try. However, it sets in 30 second when pressure is applied to join substrates.
- Glue the magnets to the glass jars. Allow to cure 30 minutes before placing magnets together.

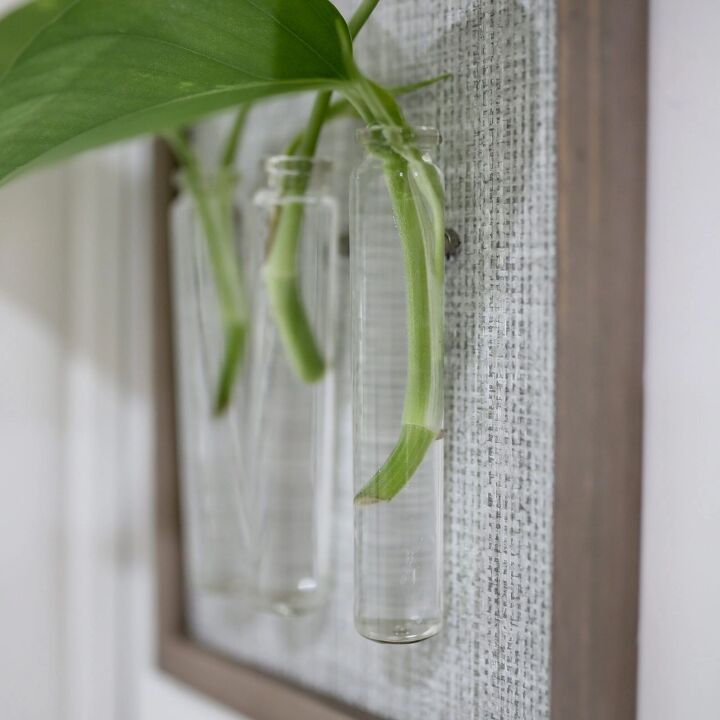
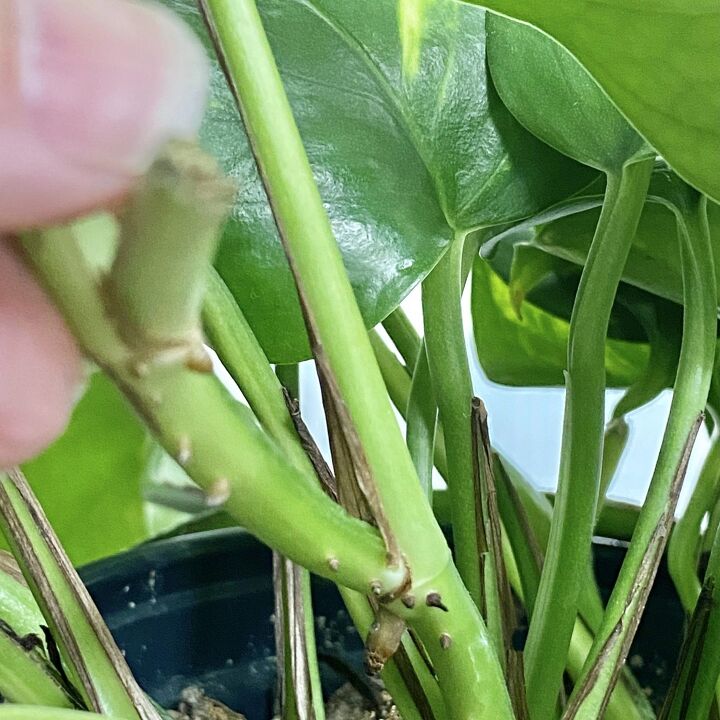
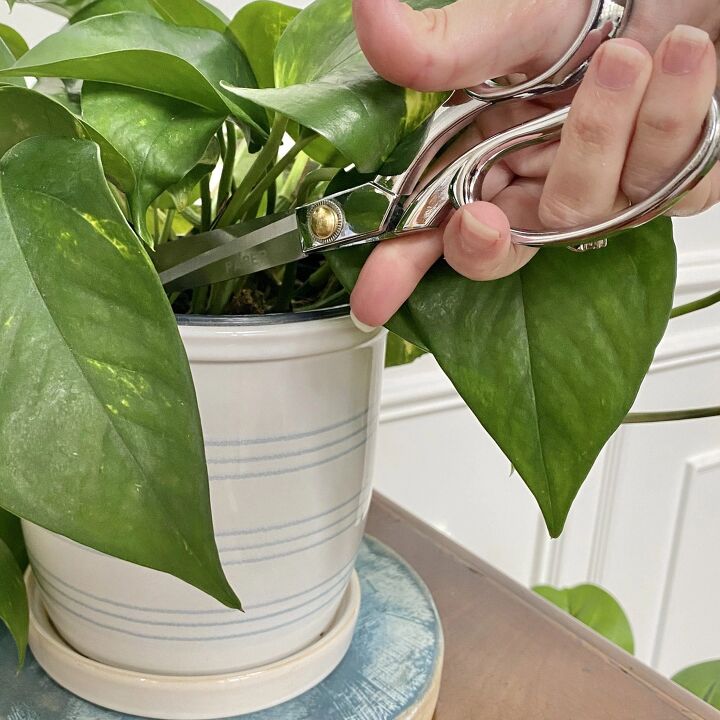
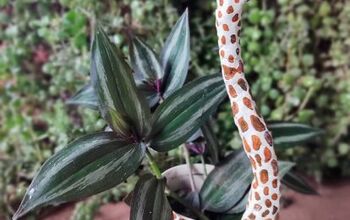
- Cut plants to propagate.
- House plants, like the Pothos, have nodes where new growth is happening. These will begin to form roots in the water.
- For succulents, pluck a stem and allow to dry out on a damp paper towel for a few days before water propagation.
- Soft stem herbs like basil, mint and cilantro are great for beginners learning water propagation.
- Vegetables like green onions, celery, or leeks can have the roots or head placed into the water.
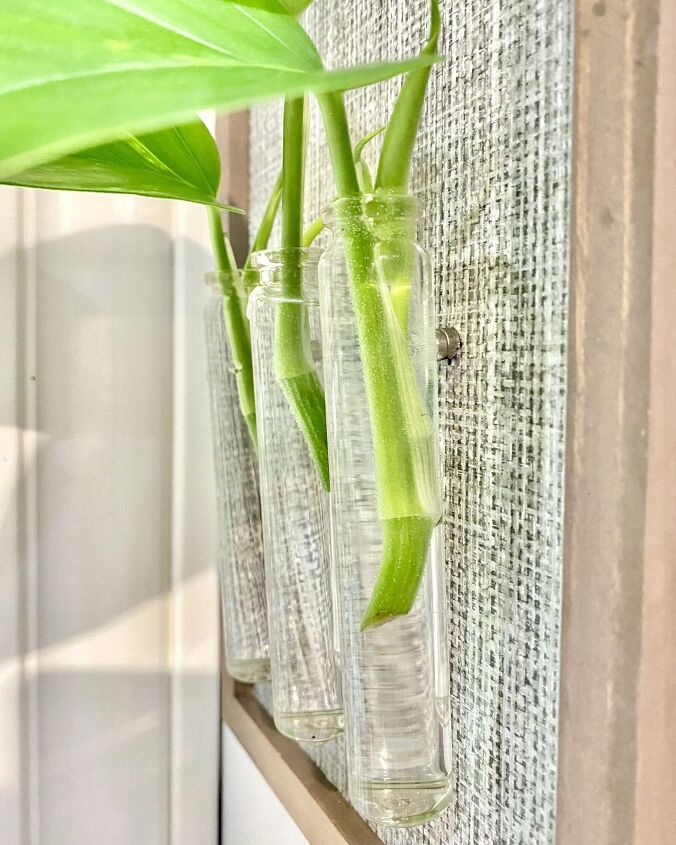
- Propagate! Fill the glass jars with water and plant cuttings. Lastly, connect the two magnets together to adhere the glass jars onto the water propagation station.
Same DIY – Different Materials
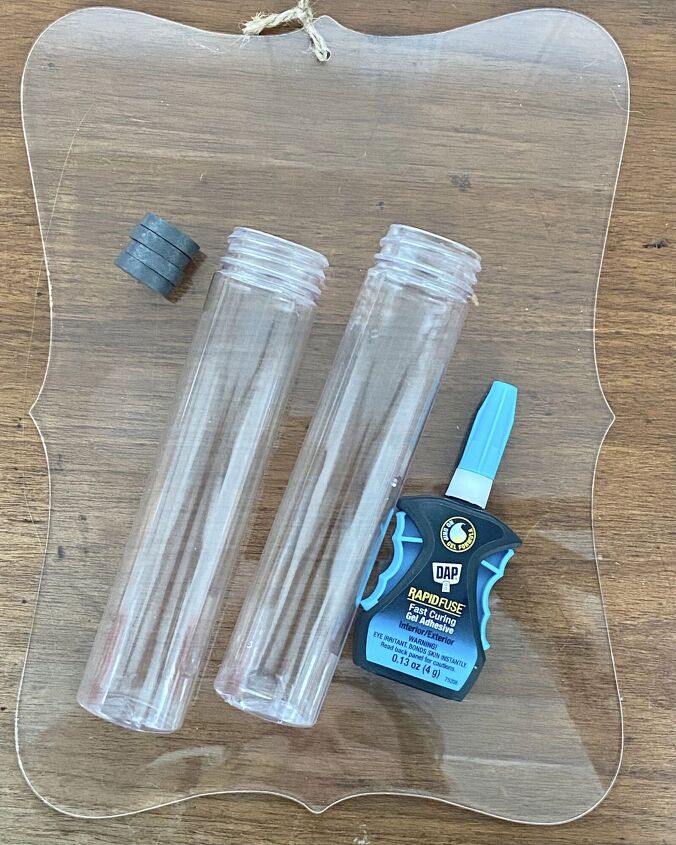
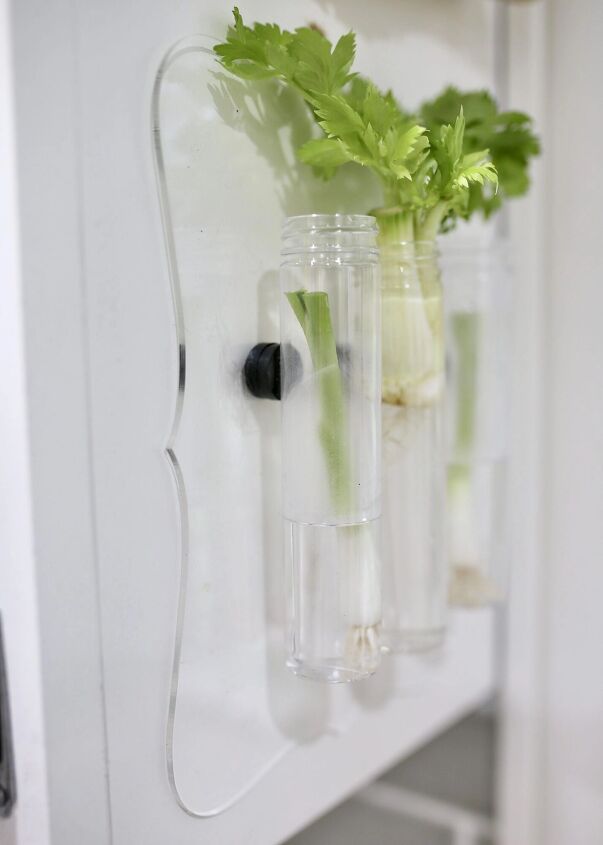
The RapidFuse Fast Curing Gel with Gel Control Applicator bonds virtually everything. Therefore, I wanted to see if it would work with an acrylic sign and plastic tubes. It worked perfectly! (For polyethylene, polypropylene, or PTFE plastics, use the RapidFuse primer prior to using the gel adhesive.)
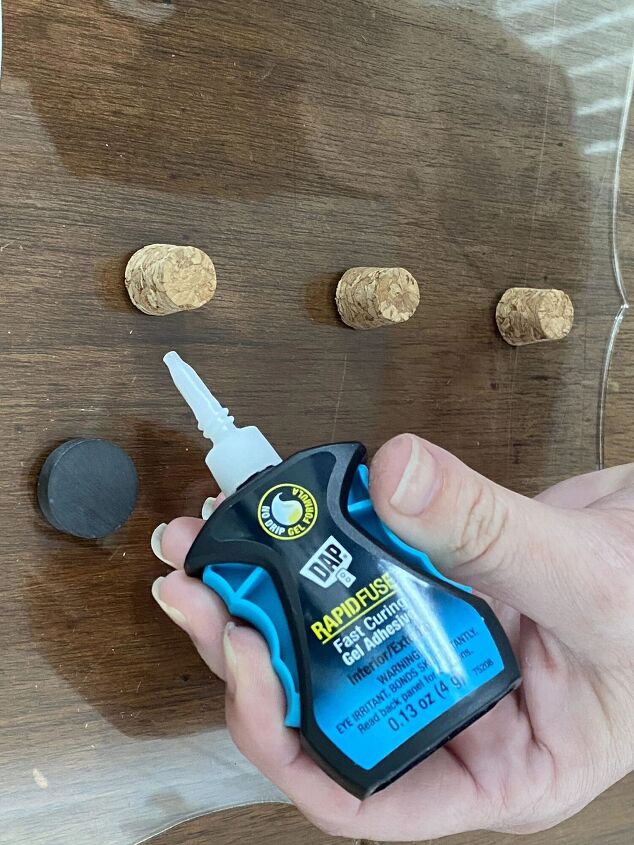
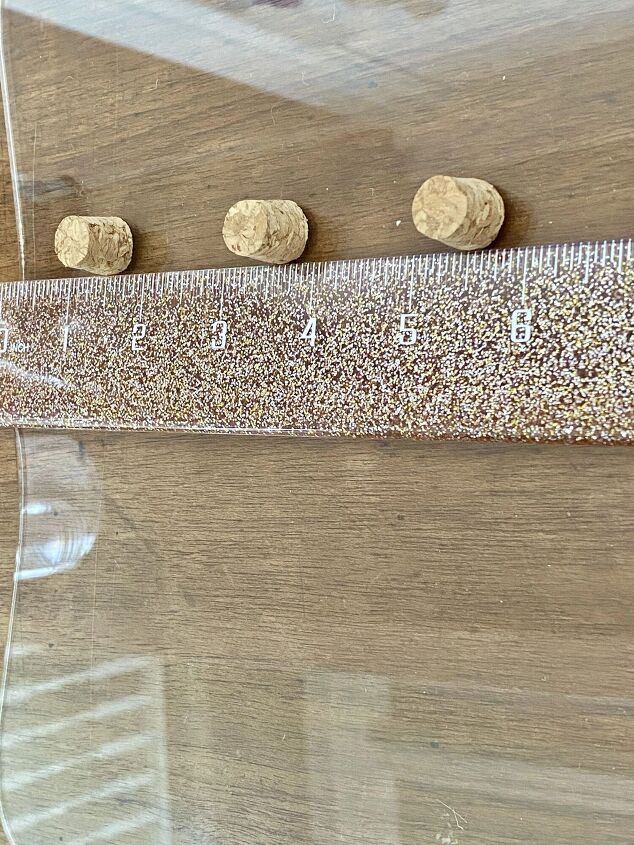
For this water propagation station, I used an acrylic sign, 3 plastic tubes and ceramic magnets from the craft store. I used the same technique, as above. First, take measurements to determine where to glue. These cork tops acted as temporary markers for the magnets. Next, use the RapidFuse Fast Curing Gel with Gel Control Applicator to glue the magnets onto the acrylic frame. Then, adhere the magnets onto the plastic tubes. Allow to cure 30 minutes. Lastly, fill with water and plant cuttings to watch them grow!
These larger tubes are great for vegetable cuttings like green onions or celery.
Water Propagation Tips
The fun part for me of water propagation has been ‘trial and error.’ I can read all the tips on the internet, but doing it myself has been the best learning experience! For instance, seeing the celery head begin to rot, noticing the murky water and finally, realizing I should change the water often. Some stems may not regenerate and that’s okay.
Here are a few more water propagation tips:
- Place in bright, indirect sunlight. Avoid really warm window sills.
- Change the water every 3-5 days. Use filtered or spring water if desired.
- Be patient! New growth takes time; once formed, roots take off.
- Observe! From the nodes on the plants before cutting to the water clarity.
- When transitioning water roots to soil, consider a mix of half soil and half water to acclimate the roots.
- Transfer to a good, organic potting mix with fertilizer made specifically for that plant: succulent, houseplants, vegetables, etc… in a pot with good drainage.
Want to see how I press herbs in the microwave for inexpensive art? Read this blog post: How to Press Plants, Flowers or Herbs. If you love learning new things, save this to your Pinterest board for water propagation tips and to build your own easy DIY water propagation station.
DIYgardeninghome diyplantplanterplantswater propagation
Resources for this project:
See all materials


Comments
Join the conversation
-
Great ideas - simple, clever, and productive. Thanks for sharing!
-
Definitely. I'm also a new plant momma ( grower). This ingenious.


Frequently asked questions
Have a question about this project?
The picture shows Dap gel glue, the supply list shows Loctite super glue gel?